Siggy’s Tiny Art Show

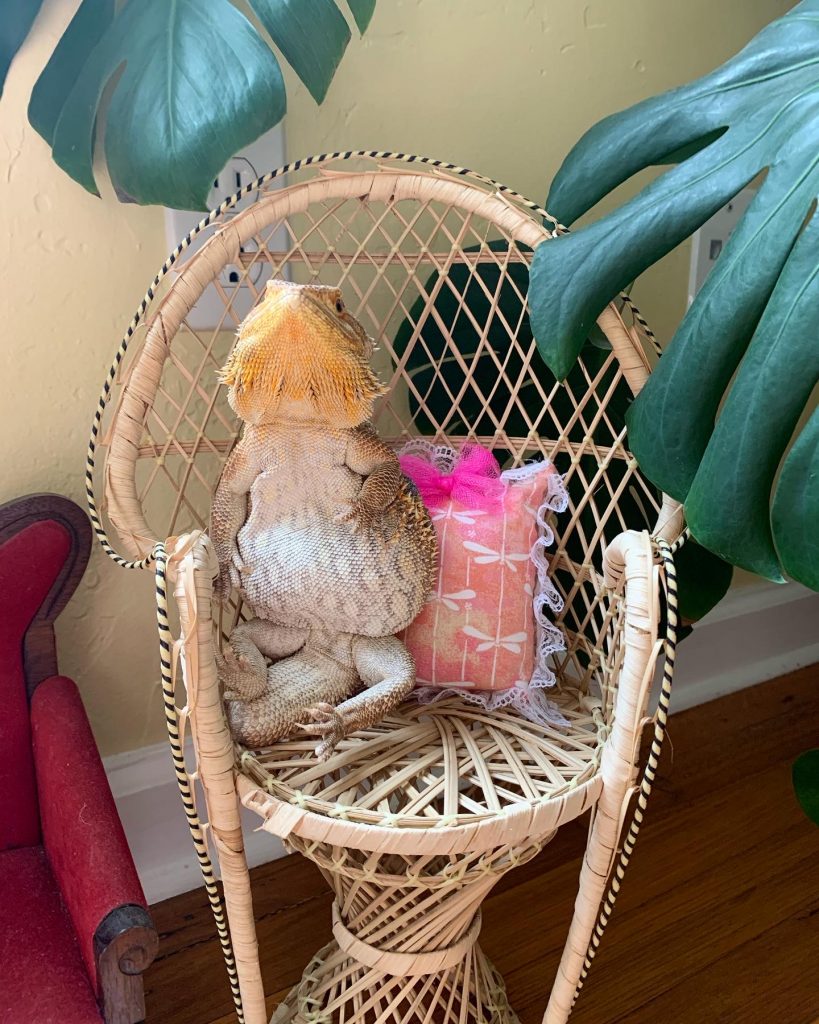
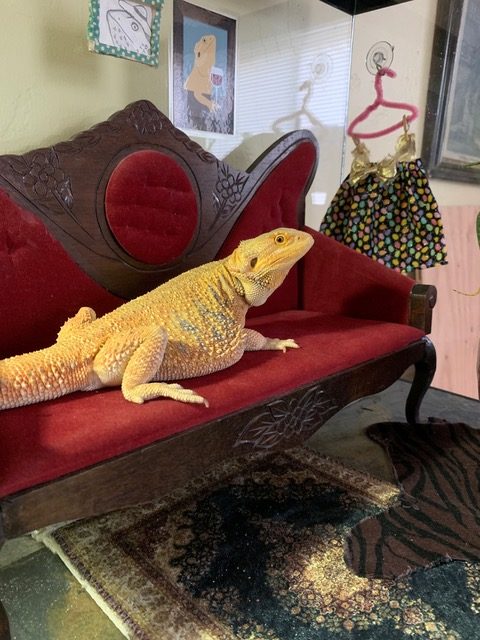
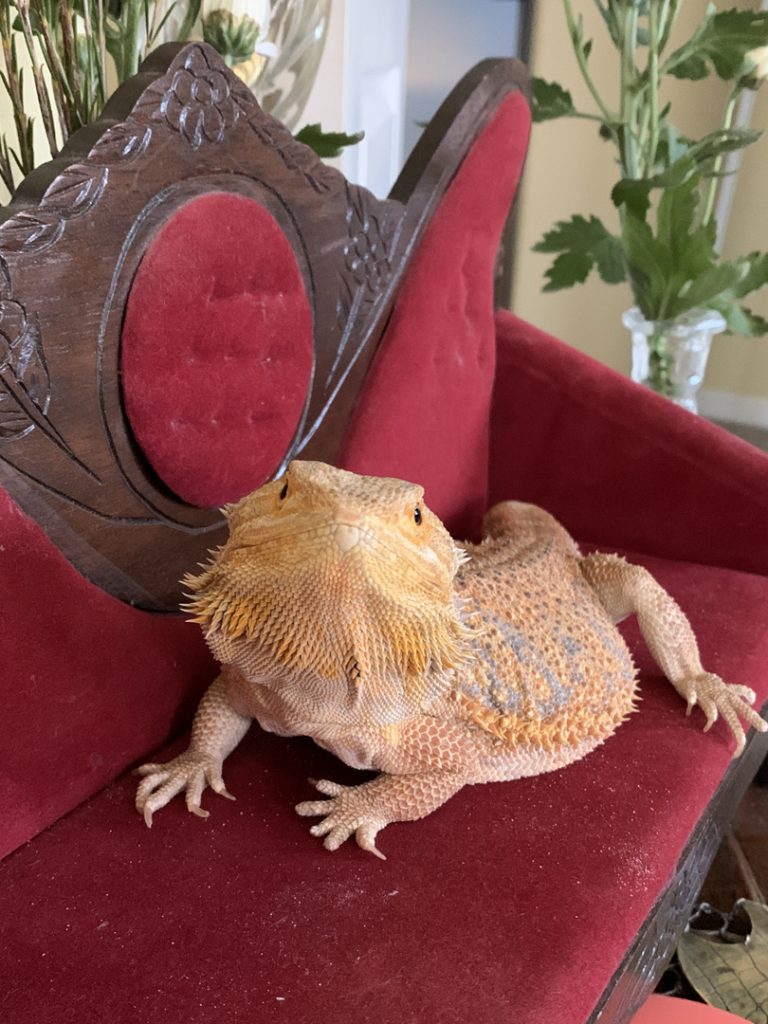
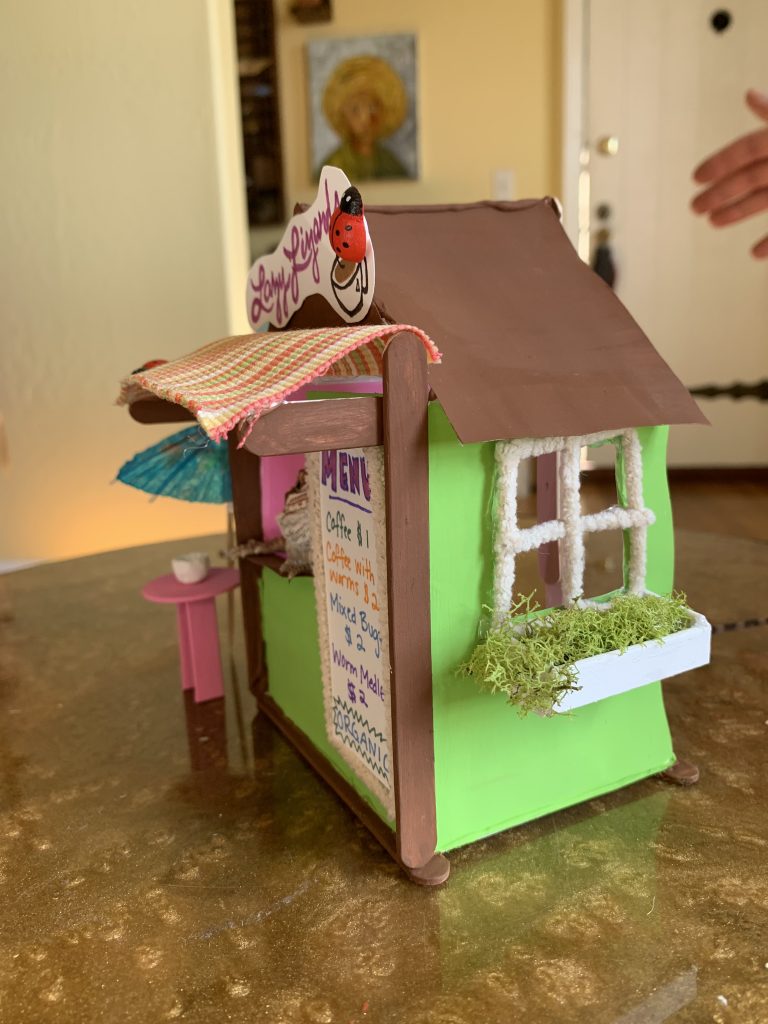
Hi Everyone! Do you know Ms. Amy’s bearded dragon, Ms. @siggy_sue? She is quite famous around the studio. Children LOVE to make her clothing, accessories, furniture, anything you can think of. She has quite the wardrobe and apartment.

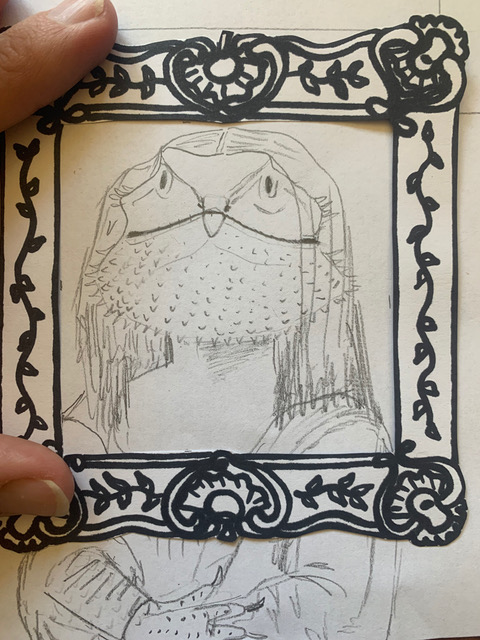
So, that brings us to ‘Siggy’s Tiny Art Show,’ inspired by @tinyartshow on instagram! Students will create a bearded dragon themed piece of art (extra points for recreating famous artworks) and give it a decorative frame! We love gold frames, just sayin’. Then, Ms. Amy will curate a tiny art show for Siggy Sue’s viewing pleasure.

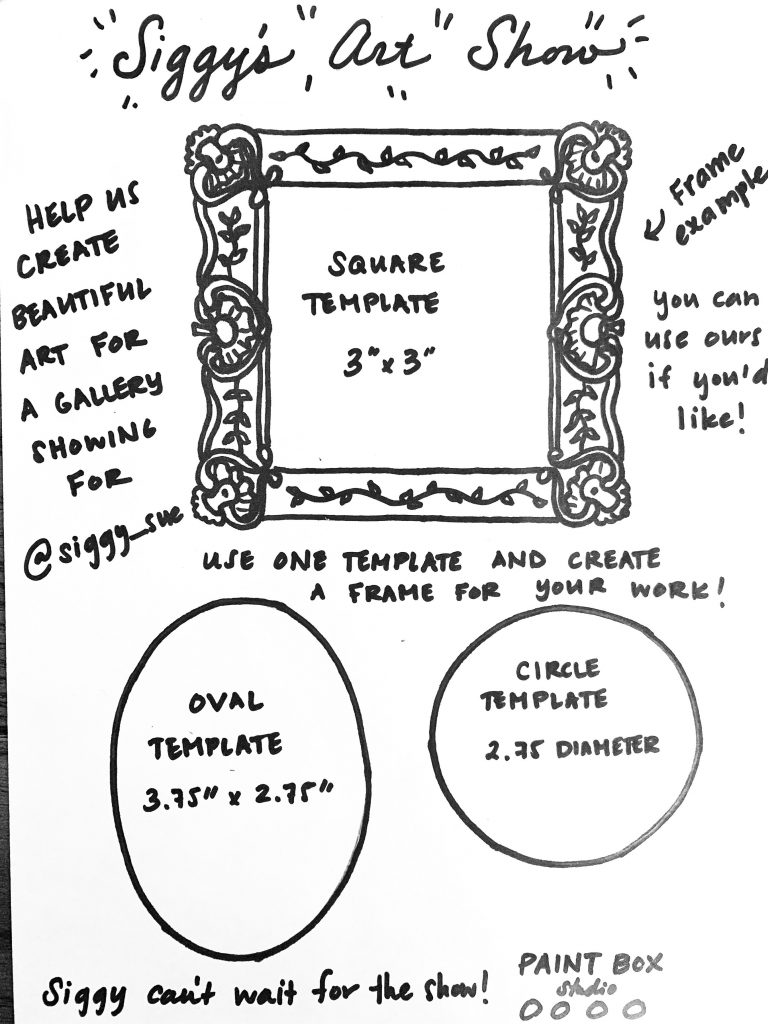
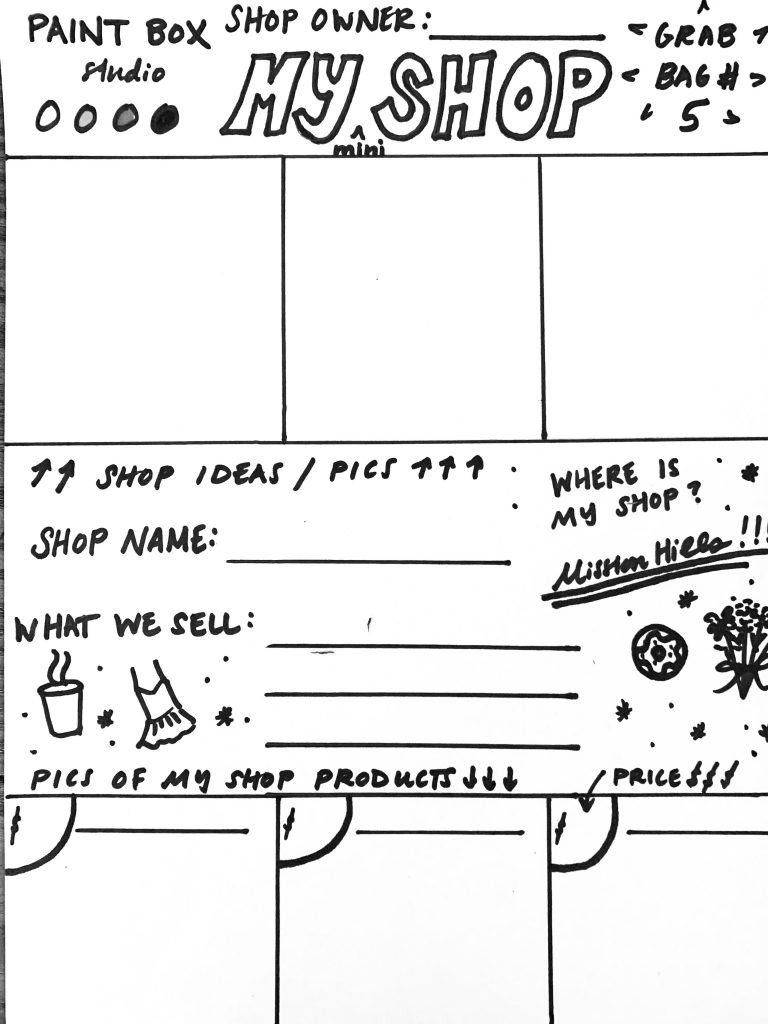
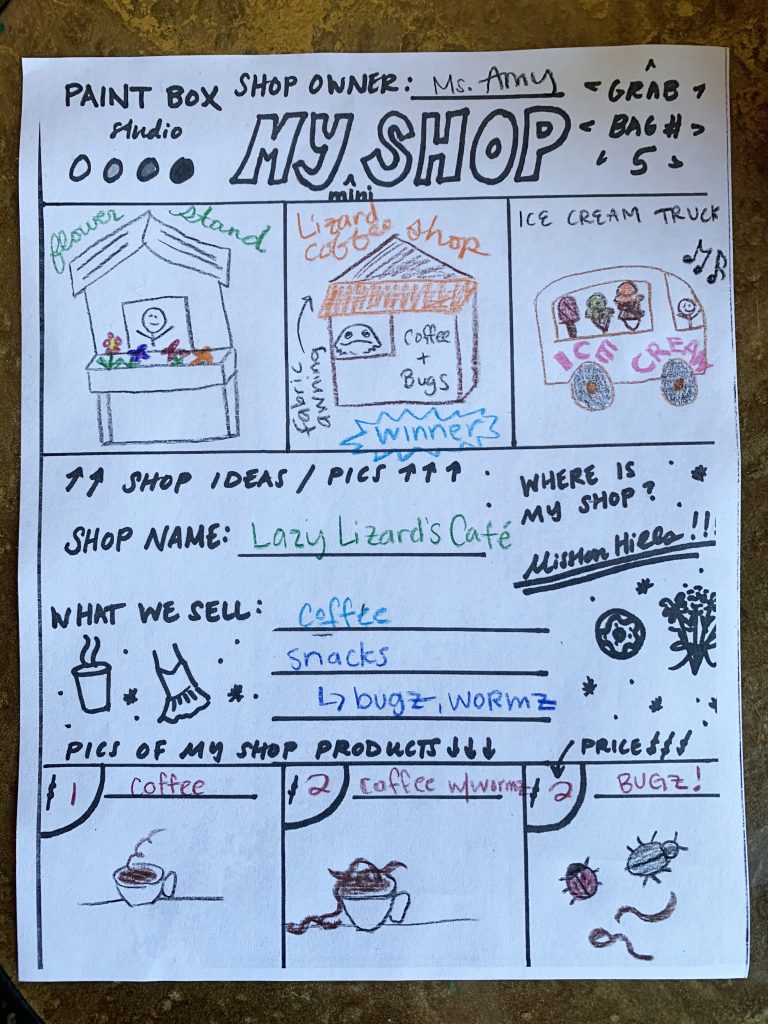
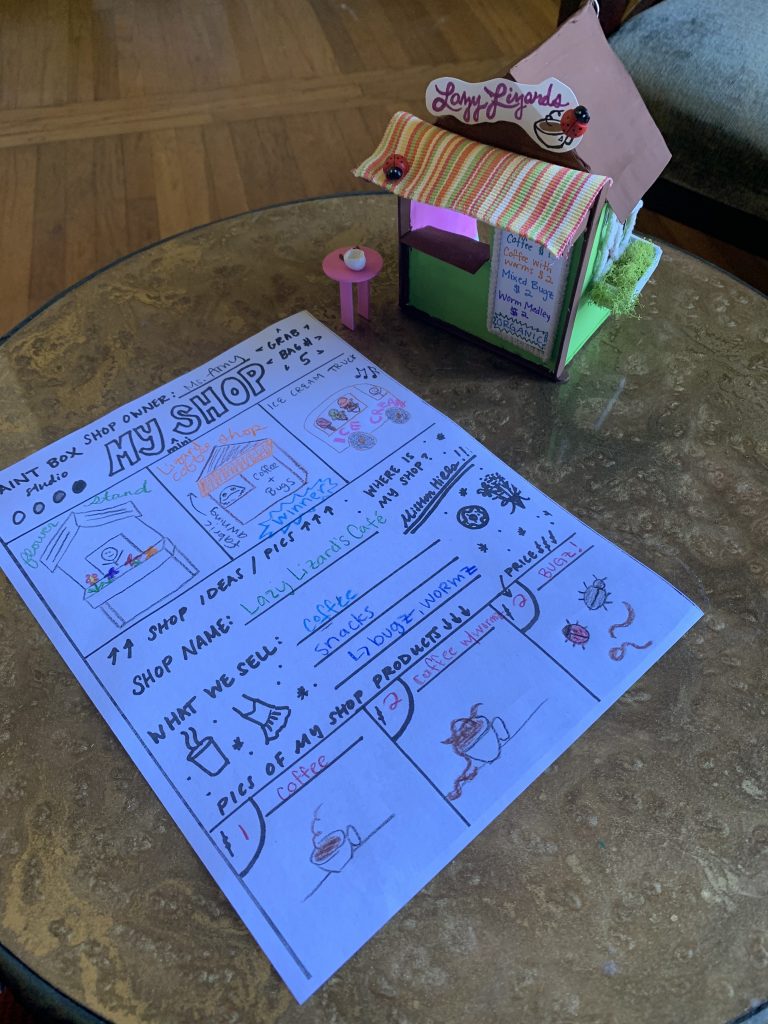
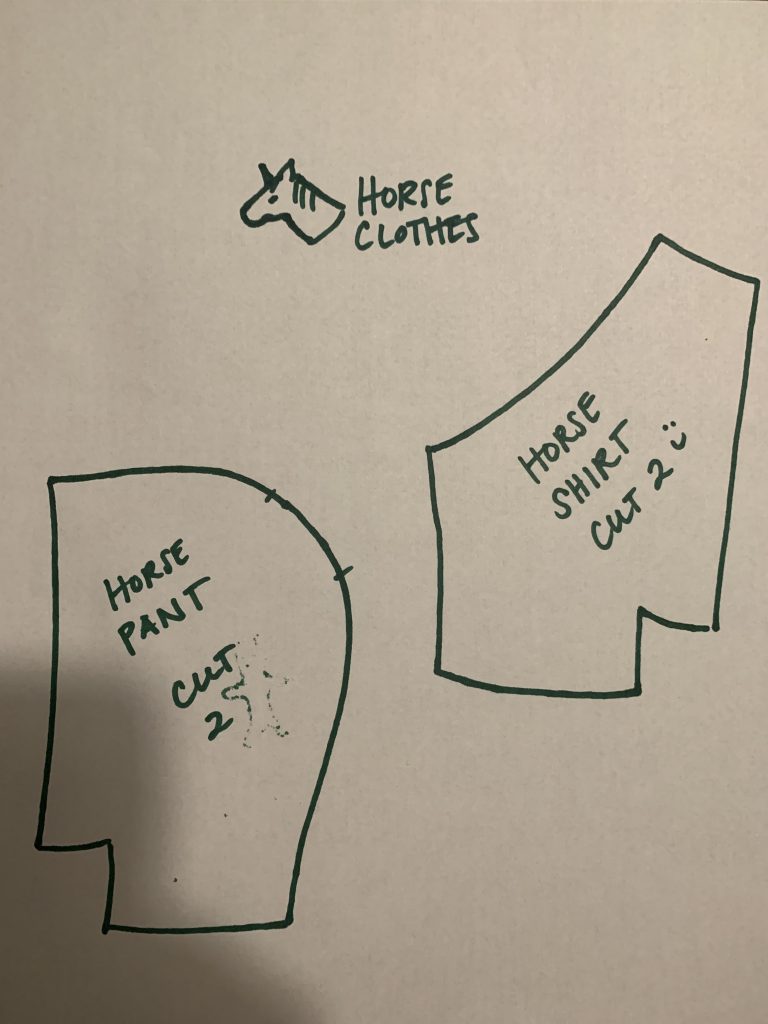
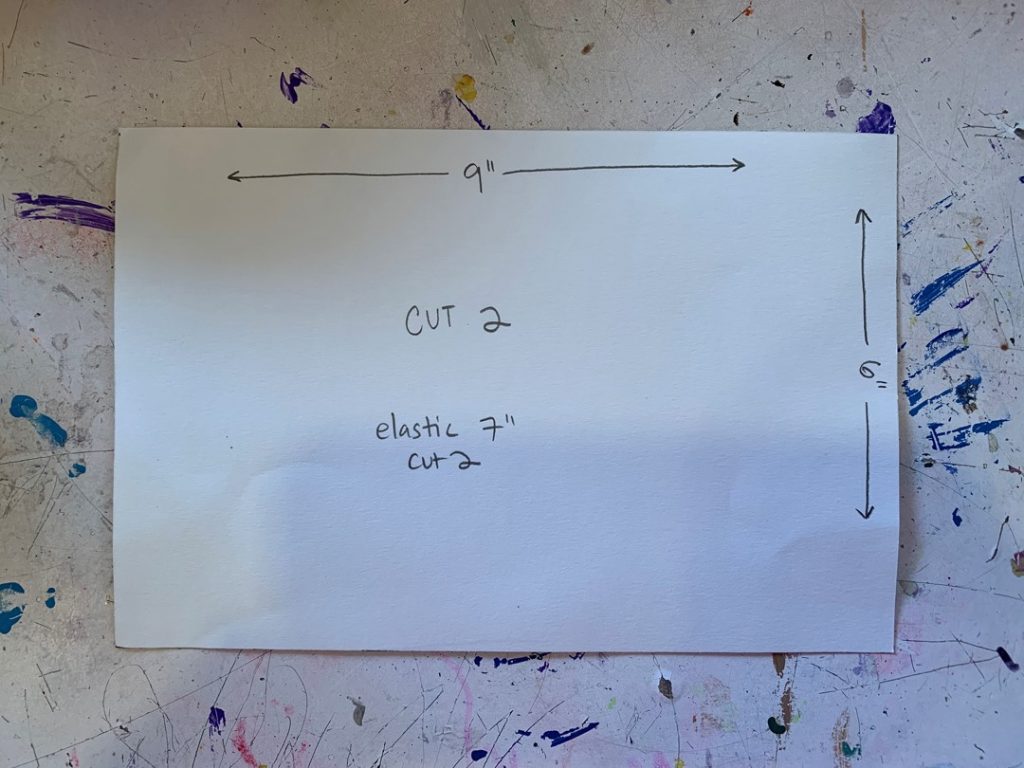
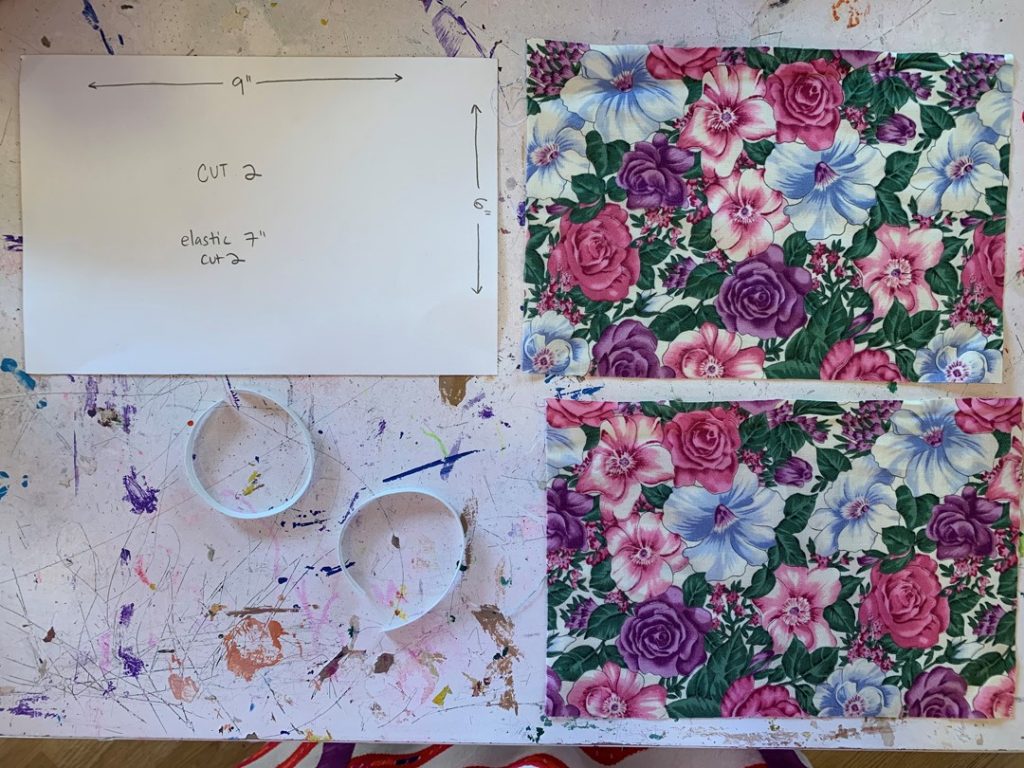
We have created a template for you to print. Or, just follow the size guidelines on this sheet.

RULES

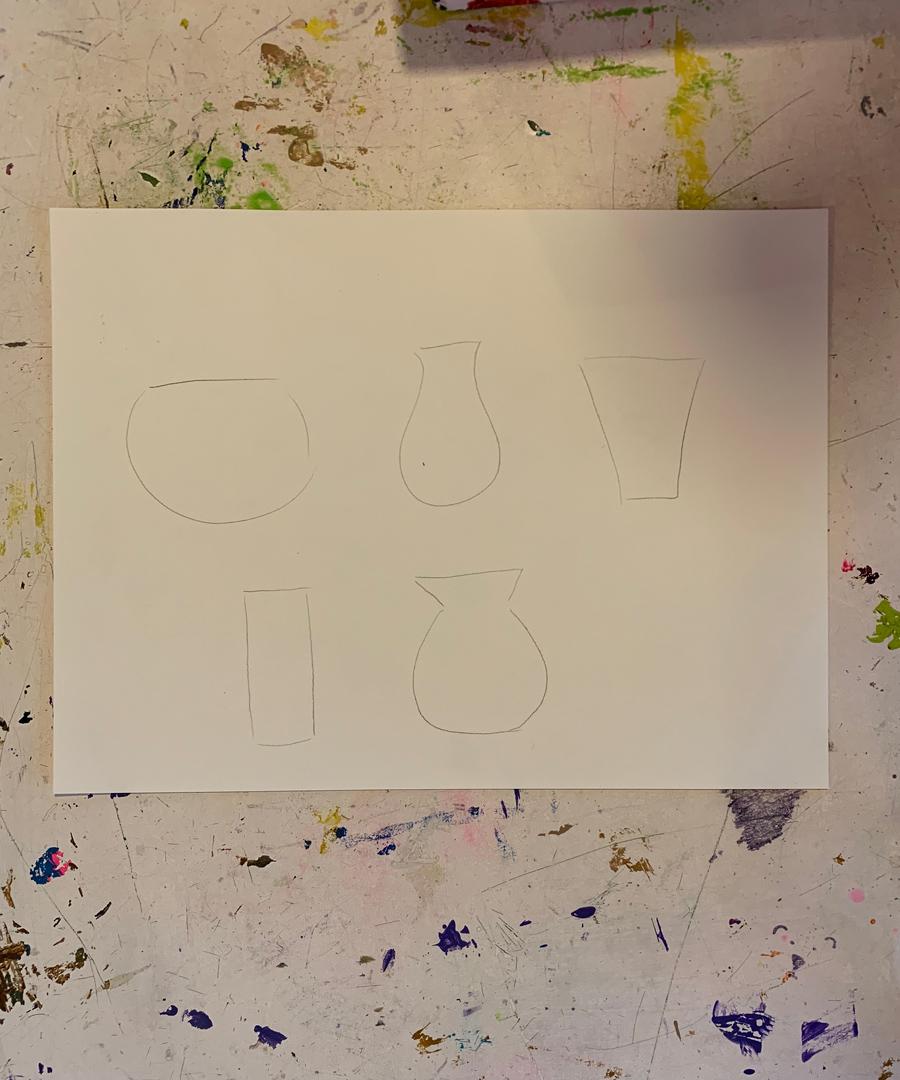
1.) Use one of the templates attached for your mini art: Oval, Circle or Square. 
2.) Use any medium to create a work of art that involves Bearded Dragons – you can use any type of paper or mini canvas as long as it is equal to or smaller than the template size. If you are feeling very adventurous, you can even create a small sculpture!
3.) Add a FANCY frame to your work… bonus points for golden frames!
4.) All artwork is due to the drop box at the studio by May 8th at 12pm!
5.) Our show will be live streamed online May 11-15 and available for mini viewing outside the studio for a big gallery opening once the quarantine is over. 
6.) All participants will receive a Siggy’s Art Show tee shirt featuring the art from the show!!
7.) Please email jaimee@paintboxartstudio or amy@paintboxartstudio so we know you are participating!

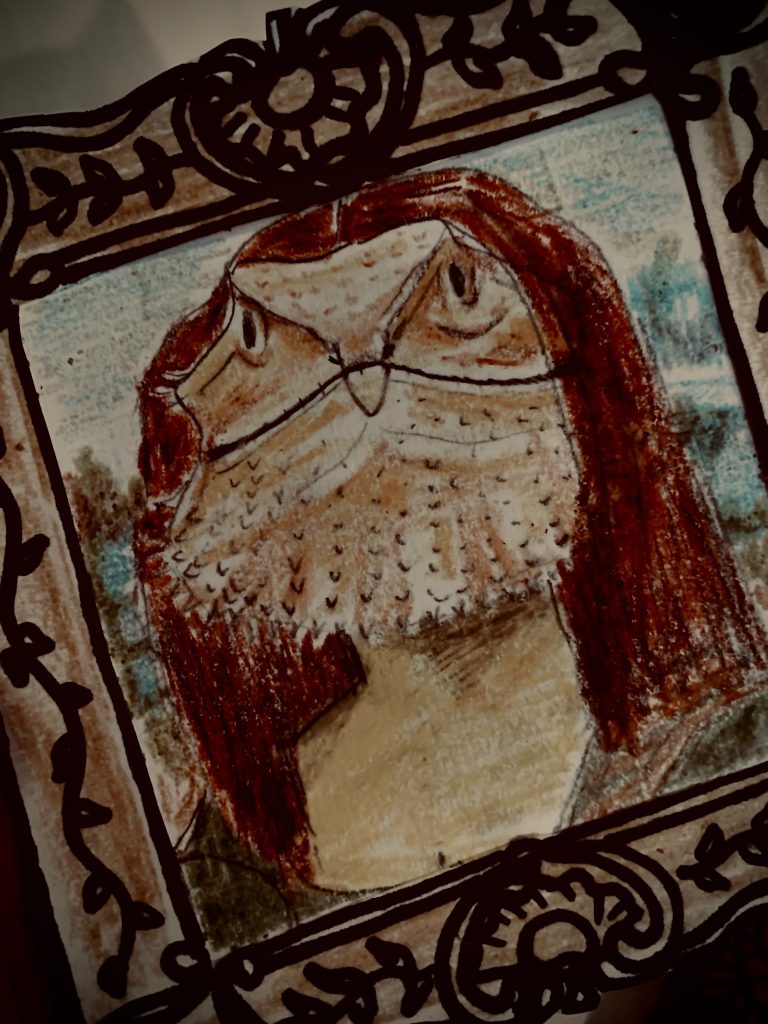
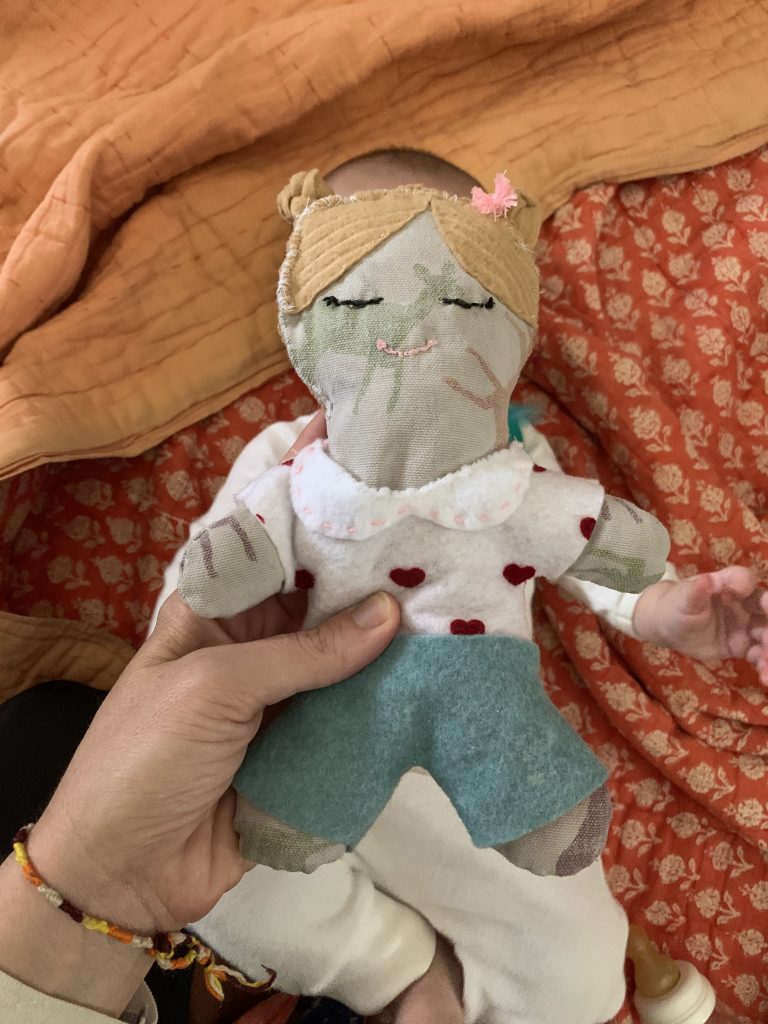
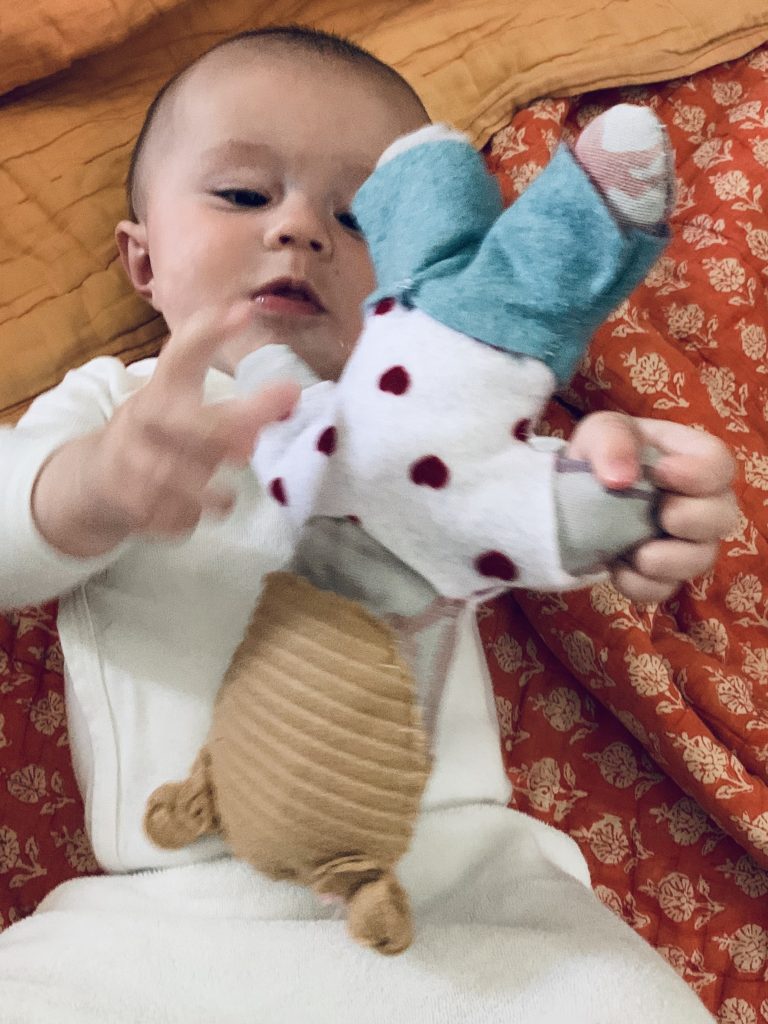
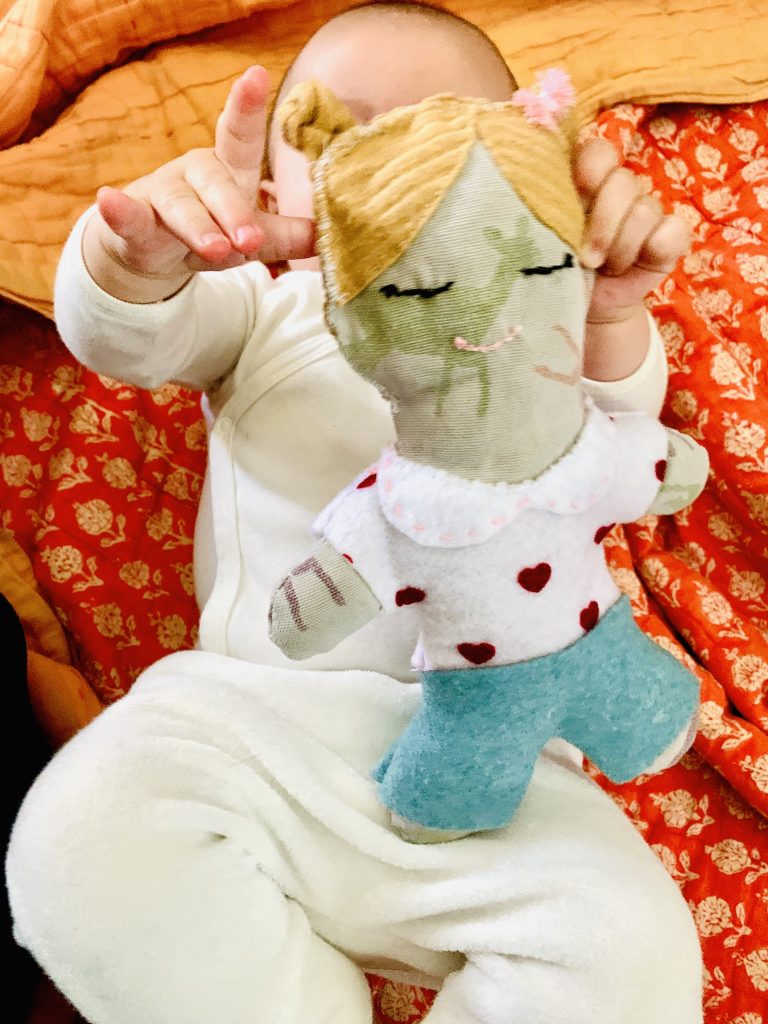
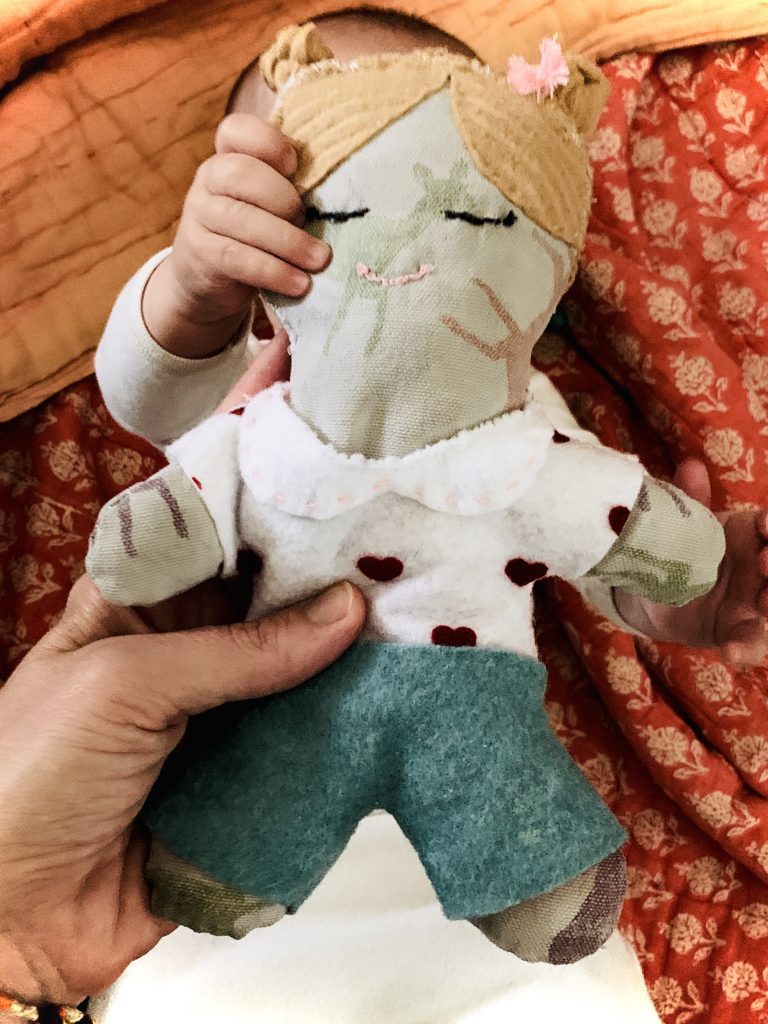
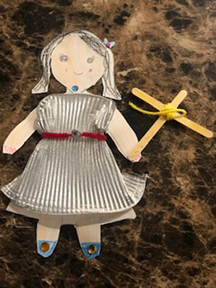
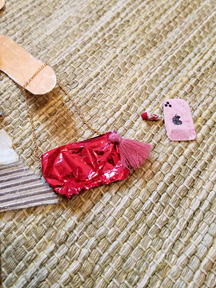
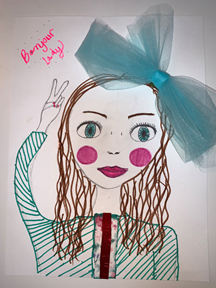
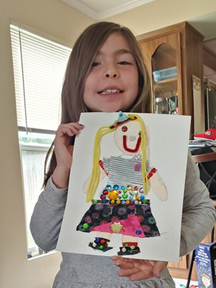
“Siggy Lisa” by Ms. Jaimee

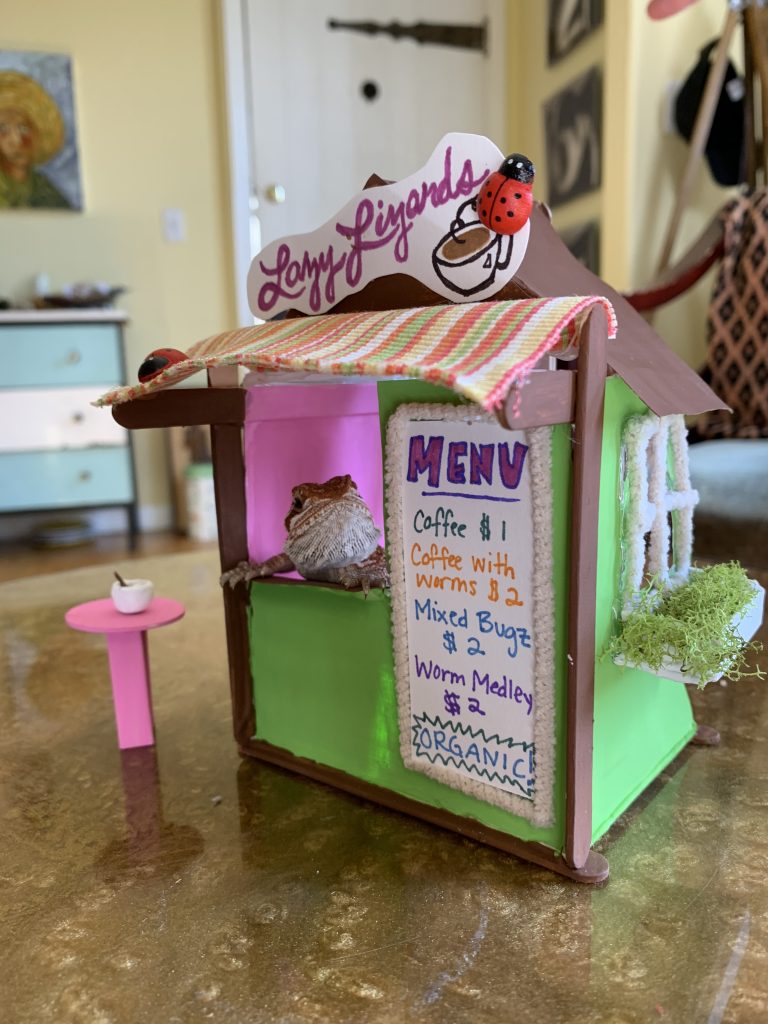
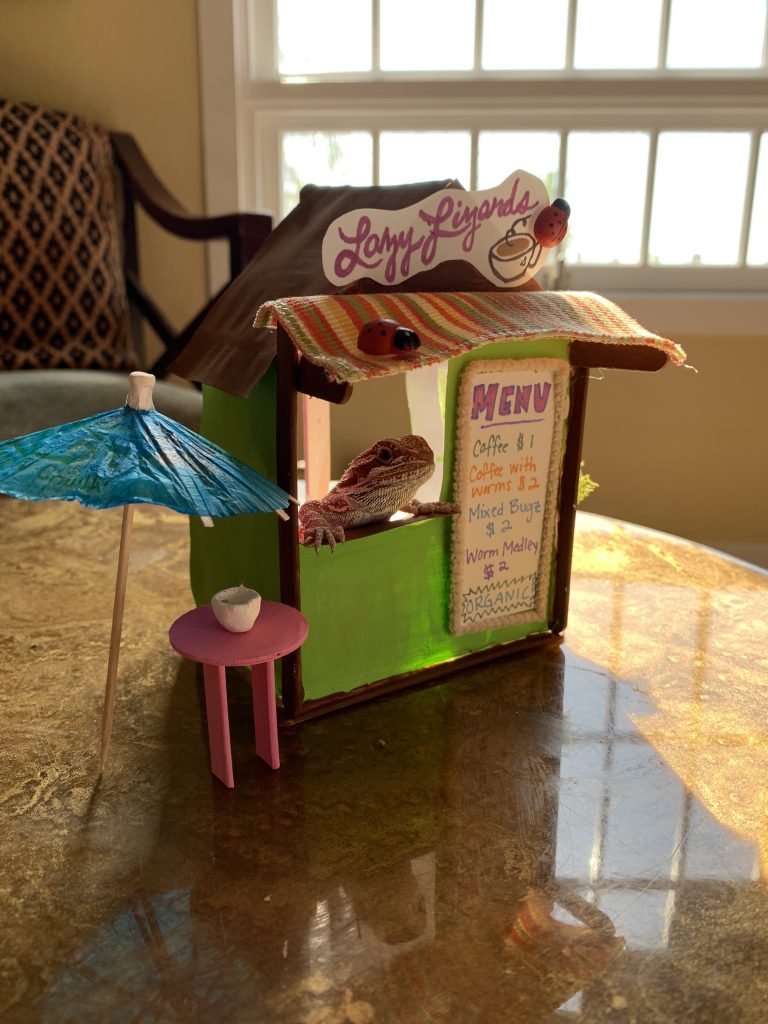
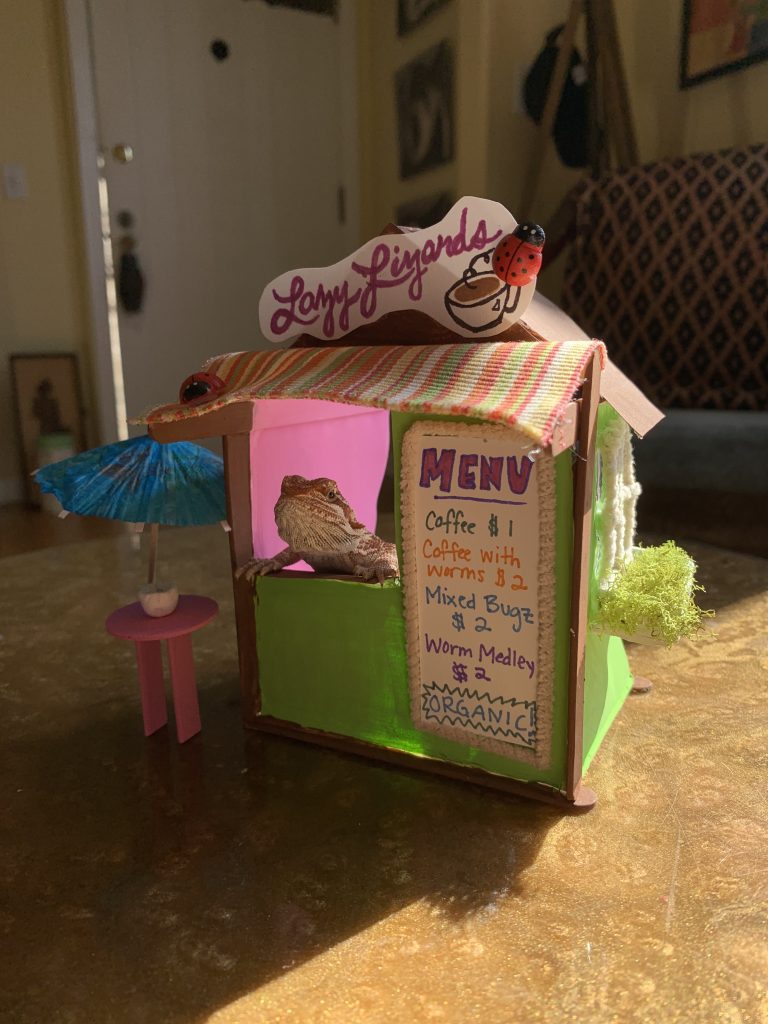
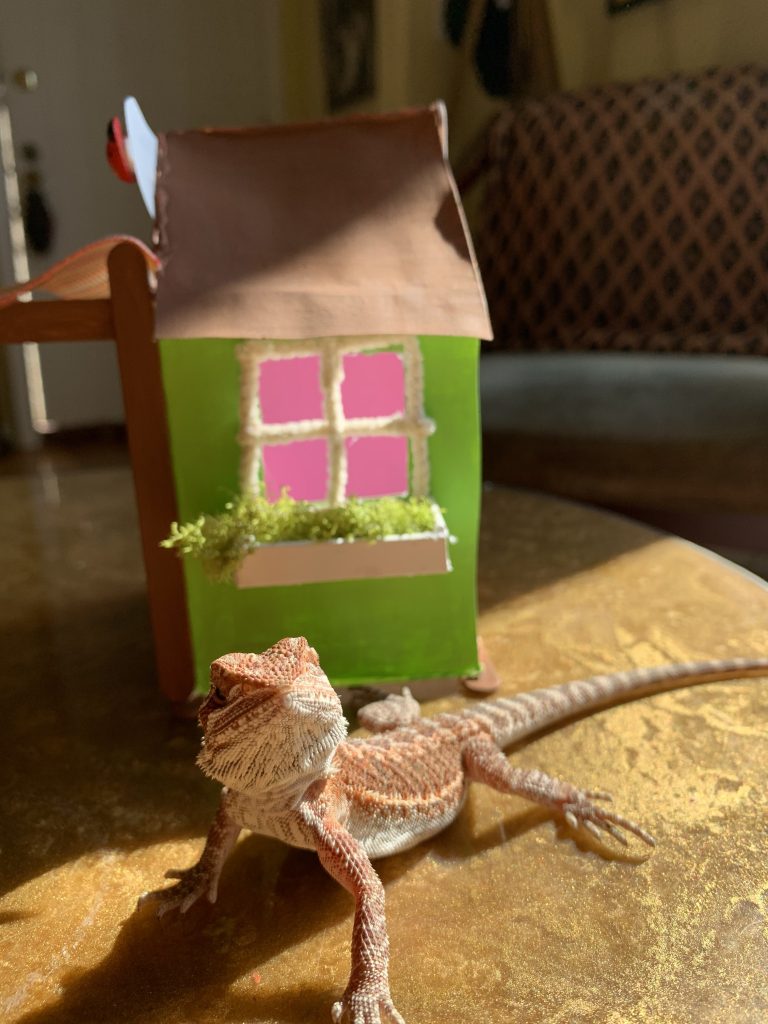
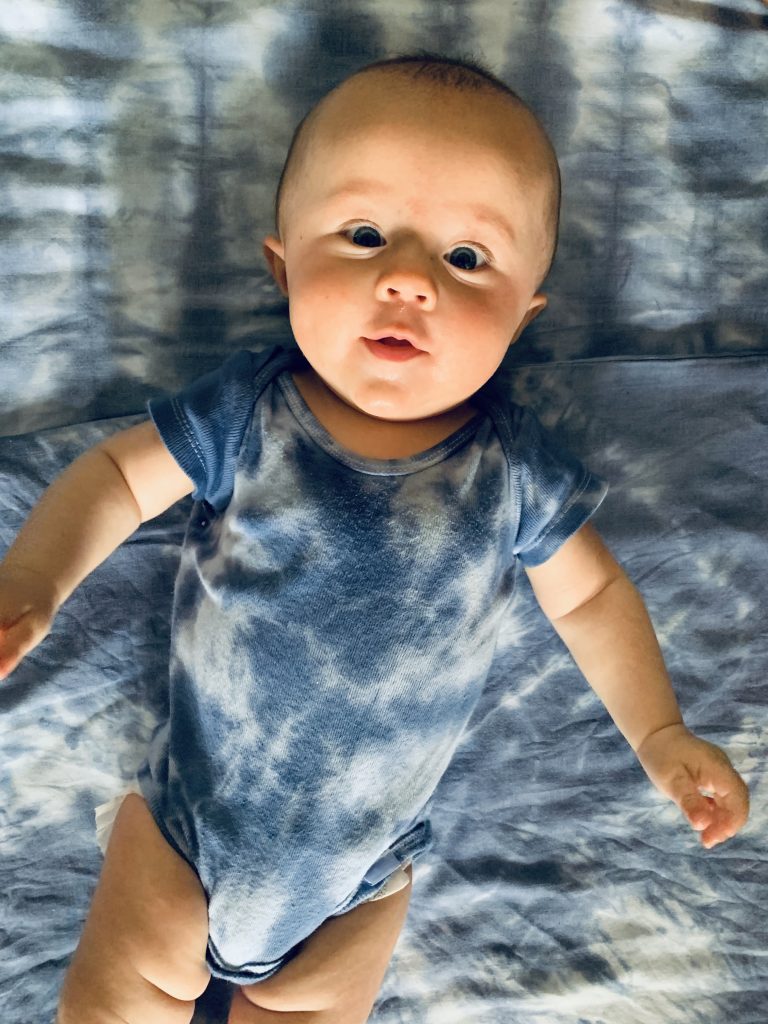
Here is Siggy eagerly awaiting her show:

Follow along on our instagram for more updates and information! @paintboxartstudio

My Mini Shop!

Hi Everyone! We wanted to share this week’s grab bag theme with everyone because we are loving this project and it can easily be done at home with whatever materials you have. If you don’t know, each week we create a grab bag for curbside pick up full of materials and supplies to get creative with. Each bag revolves around a different theme. For example, we’ve done “magical fairy lands,” “Easter worlds,” and “paper dolls!” Plus, we have many more exciting ones to come! I have been taking this time to do some SERIOUS studio organizing and have found some real gems for our upcoming bags! 🙂

So, this week’s theme: My Mini Shop!

We created a worksheet to fill out and get ideas flowing. Just print this sheet to begin!

I’m a little too obsessed with my pet lizards as many of you know (yes, lizards plural, I’ve adopted a second during quarantine). I made a mini lizard coffee stand inspired by Meshugguh Shack in Mission Hills to put the new baby in. Here’s my worksheet along with photos of the finished “Lazy Lizards” cafe!

We hope this gives you a little inspiration and that you create your own mini shops at home! Make sure to share what you make with us! We can’t wait to see!

Miss you all! -Ms. Amy

Doll Makeover

Remember when we sewed a doll in quarantine week one out of the dish rags we had hanging around the house? If you don’t.. see our ‘come sew with me’ post where we give you the doll pattern and a pattern for a horse too. Fast forward a few week and our Doll got a make over!

I have included a shorts and shirt pattern for both your doll and your horse below. The instructions are the same.. stitch together your shirt at the shoulder and the side seam and your shorts at the side seam and the crotch. Make sure when you print these patterns out you select ‘fit to page’ for a 8.5×11 sheet. This should fit our previous doll pattern perfectly.

Then you just shove her malleable body into the shirt and shorts. The one adjustment you will need to make(photo below): once the shorts are on, pinch the back to make them tight and then stitch in place.

You can add your own special details to your shirt or shorts. Our shirt has a sewn on collar and some embroidery detail. For her face, we used embroidery floss and for her her hair, we just stitched down some fabric.

Here is a shot of the back pant pinch

Happy Decorating!

Tablecloth Playhouse

This is an adorable at home project that will keep your children happy and busy. What more could you want? The video below has step by step instructions, so follow along and have a playhouse made out of old bed sheets in no time!

Materials: Extra sheets and a homemade window frame pattern.

Step 1: Lay the sheet over your table and pin the sides shut. Then, draw a line as your guide for sewing and sew the four sides shut. Once they’re sewn, it will fit perfectly over your table.

Step 2: Cut a door. Using a pillow case as a template for size, cut out the door from a different material and pin it to the front of your sheet.

Step 3: Making the window template frame. The frame is a 10×10 square, and inside draw 4 even squares to make it look like a four pane window. Cut them out.

Step 4: Cutting the windows. Cut out the windows in a different fabric than the house is made of (perhaps the same as the door). You want two window pieces cut. Then, pin them to either side of the house.

Step 5: Fold in the raw edges of the door and pin. Then, draw a line up the middle of the door and pin that as well.

Step 6: Sew your door and both your windows down.

Step 7: Cut out the squares in the windows, and cut straight up the middle of the door.

Step 8: Return the tablecloth to the table and start to play!

Hand Blown Eggs

In simpler times we had a really fun adult egg paint at MRH Interiors. So fun!

For you Easter celebrators! We love doing hand-blown eggs around the studio during the spring months and sadly, this year it’s not to be!

But, you can easily blow out eggs at home! Just use a big needle to make a small hole on top of the egg and you make a slightly bigger one on the bottom. My mom likes to shake the egg before blowing to break everything up. Once you poke the holes, you just get in there and blow.

What follows is truly gross but it will only take a minute to get the job done. After blowing out the yolk, we like to run them under cold water and blow that out as well…

egg top
egg bottom

Once your egg is good and cleaned out, get your paint on! You should make a small ring out of paper and tape to hold your egg. We use acrylic paint and don’t seal them after.. but you can. If you want to add some extra fun, I always like doing the cross lines with hot glue and filling them in. I also used white out that we had around our vacation home to do the white dots on the green egg. Bonus points for gold pen and gold foil.

Here are some sweet egg ideas! If you were in our animal drawing class this week, you now know how to make every bunny pose and this amaze chicken. Send us your egg pics! We love painting eggs.

If you want to *hang* your eggs, perhaps on a cute egg tree, you can! Make your holes a little bigger and insert a ribbon. The bottom will have a knot to hold it in place and you will tie it onto your tree with the top of the ribbon.

Happy Decorating!!

Shibori Time

Yesterday was Amy’s bday – I hope everyone gave her a ton of love! I really wanted to finish this post for her bday but the truth is, I am really enjoying my family time during this quarantine and after 5:30 we eat dinner together and play cards for 5 hours. So, I have been a little lax on my blog posting. To make up for it, I have 2 easter blog posts.. one sewing and one art and a fantastic sewing instruction from Ms. Deanna that will all go up before the weekend!

Since I am trapped far away from my art studio, I want the focus of these lessons to be what everyone can do from home, without all of the fancy supplies from the studio. For this lesson, we found some old pillow cases from the cupboard and bought the rest of the supplies from good old Vons. I understand if the Vons near you feels infectious. We are very lucky to have a very low traffic Vons where we are. As an alternative to blue dye, you may consider purple from cabbage juice. We tried it and it worked swimmingly.

Here is my Shibori lesson brought to you by myself and Ava P, who was really the driver of this whole project. Her dying skills are insane. We picked out 4 different kinds of Shibori dye techniques for you: Kanoko, Itajime, Arashi, and Kumo. We finished up with a couple of our tie dye favorites with the left over dye. We will tackle each type one by one…

Supplies

  • Fabric: old sheet/pillow case, Cotton based tee shirt.
  • Rit Navy Blue dye (available at Vons). We also had leftover Purple Cabbage Juice from an awesome science experiment we did earlier in the week which makes a really nice deep purple color if you don’t have anything else. You just cut the cabbage and boil it for a few hours and let sit overnight. Bonus: If you add baking soda to cabbage juice it turns bright teal for bright teal dying.
  • Salt
  • Water – boiled
  • dish soap
  • Rubber Bands
  • Cardboard from the inside of a paper towel roll
  • 2 pieces of cardboard – rectangles.

It’s important to note that the internets told us to wet some of the fabrics before we dyed. But, we ignored and it still turned out ok.

KANOKO

Let’s start with the Kanoko. We will go through each folding process and then show the dying at the end as we dyed all of our folded fabrics at the same time. This one is the easiest so it’s a good warm up.

you just pinch little areas of fabric like you are putting pony tails in your hair and rubber band them all over.

KUMO

Kumo is the bullseye.. you pinch the middle of the fabric and let it hang, then rubber band as far as you want the bullseye to be.

See.. then you have a horn.

ARASHI

Arashi turned out super cool. All internet videos we watched used a PVC pipe to wrap but since paper towel is so in vogue, we used the cardboard from the middle of the paper towel holder and it worked fabulously.

You start with an accordion fold..

Attach your fabric to the top of your cylinder with a rubberband

Then wrap it around and rubberband.

ITAJIME

This one is so rad. It involves a lot of folding but its worth it! Our folding was a complete train wreck and not perfect like the videos we watched but it still looked super cool.

you start by folding each side into the middle

Then you fold in half again..

Then you do a flag fold… in person ours was so bad that I made a diagram instead lol. I give you.. Flag Fold!

You fold your flag all the way up until you have a little triangle that looks like a spanakopita. Then.. you put it between 2 cardboards and rubber band it. On the net, there were many perfect versions that used clamps. But, ours still worked.

After you sandwich and rubber band it looks like a s’more. I wish I had a s’more right now.

DYING PROCESS

We threw everything in this big trough because it allowed us the space to throw all of the pieces in at once. The amount of supplies we used would dye probably 25 projects. we only had 7 pieces. Oof.

To dye 25 pieces you use 3 quarts water, 1/8 cup salt, a couple drops of dish liquid and a whole container of RIT dye. We wanted it to be super dark so we used the whole thing.

We started by sprinkling the salt and then adding dots of dish soap. Then we added the boiling water and finally, the dye..

One by one we put our folded pieces in the dye with tongs. We let them sit in the dye for about 5 minutes to fully saturate.

Mari and I were a super big help.

The horn of plenty.

After we realized we had so much dye, we went around the house desperately searched for more things to dye. We found onesies.

For these onesies, we used some classic tie dye techniques that we use often at the studio. If you have extra pieces and you want to depart from traditional shibori.. you may want to add these.

SPIRAL

Start in the middle of your fabric or wherever you want your spiral to center. Pinch the middle and turn like a cinnamon bun.

Wrap it up with rubberbands.

and.. viola! Not the best spiral, but cute none the less.

MEGATWIST

The megatwist is our all time favorite dye pattern. I’m sure someone created it and calls it something special, but Ava just started doing this one back in the day on a whim and it stuck. It turns out so good every time.

To megatwist, you straighten out your fabric and you guessed it.. twist.

Twist until you can twist no more. Then rubberband.

See.. so good.

Now back to dying –

Like I said before, we let the pieces sit in the dye for a few minutes to saturate.

Then, we took them out one by one and rinsed in cold water.

We kept rinsing until no dye came out. Then we let them sit in a pot overnight which I feel contributed to their success after washing.

We washed on warm not hot and on a delicate cycle at first and the result was awesome! Once you are done feel free to take a Shibori photoshoot.

Ok – now go dye stuff! We want to see. Send us an email to jaimee@paintboxartstudio or tag us on insta!

Grab Bag Week 2

Grab Bag Challenge Week 2: Paper Dolls!

Last week’s grab bag challenge was too cute.  Each student was given a paper with a doll outline on it to use as they wanted.  Their bags were full of random fabrics, buttons, chain, tulle, yarn, gems, ribbons and more!  We absolutely loved to see how the material was put to use.  So many clever ideas—these kids clearly have an eye for fashion!

Thank you to all who participated!  We went back and forth for so long and finally decided that we just couldn’t pick a winner this round!!  There were too many amazing pieces.  So, instead of a winner, we are going to add a little goodie to everyone’s bag who participated this week since we think you ALL deserve a prize.

Here are the photos and videos we received of everyone’s pieces.  Hope you all enjoy seeing them as much as we did!

Alexa:

Amerie:

Audrey:

Billie:


Bria:

Cat:

Darwin:

Emmy:


Lila:

Lily:


Lisey:

Nahlia:


Savannah:

Scarlett:

And here are all of the video submissions!!

Mia:

Olivia:

And.. some of our above designers submitted videos too! To see all videos, see our Vimeo Channel!

Mask Tutorial

Hello All! You made it through another week! Congrats.

As promised, here is the fabulous mask tutorial from Ms. Amy to help everyone keep safe. She will be offering another zoom class to walk you through the process if you have a machine at home. Follow the register here link on our homepage to find next week’s class. We provide the materials!

Step One:  Cut Your Material

Start by cutting two 9”x6” pieces of fabric and two 7” pieces of elastic.

Step Two:  Pinning Your Mask

Place one piece of your fabric right side up, and place one of the elastic pieces sticking 1/2 inch outside of the left top side of your fabric (allow for seam allowance at the top).  Then, place your second fabric right sides together (inside out) and pin the elastic in place.  Repeat on the bottom left side.  The elastic will be hidden inside of your fabric.

When you pull the fabrics open, you should see the elastic ear strip on the inside of your fabric.  Now, repeat this step on the other side and then continue to pin the rest of the mask shut.

Step 3:  Sewing Your Mask

Sew ¼ inch inside your edge and leave an opening at the bottom of the mask to flip it right sides out (see the line drawn on the image above).  Make sure you backstick over each elastic!  This will add some extre security to the elastic.  Flip right sides out.

Step Four:  Pleating Your Mask

Make three small pleats on either edge of your mask (make sure your folds are facing the same direction on both sides) and then pin them in place.

Step Five:  Topstich Your Mask

Start at the top of the hole that you left to flip your mask, and sew ¼ inch inside your edge.  Sew over the hole and around the whole mask two times.  This will close your hole and further secure the elastic. 

Step Six:  Wear Your Mask!

Make sure we put these to good use and wear them every time we leave the house until we get through this.  We are all in this together.  Thank you for caring!

Multi Media Flower Vases

Collaged Multi-Media Flower Vases

Hi everyone!  Amy here. I have a fun lesson on collaged multi-media flower vases with a few variations that are easily done with at-home materials!  I did an example with oil pastel, watercolor and fabric scraps. But, there are plenty of things to use if you don’t have any of the supplies I mentioned.  We’ve done these around the studio a few times, so I have some kid examples to show as well. Let’s get started!

Supplies:  

  • Watercolor paper 
  • Oil pastel or crayons
  • Fabric scraps, magazine cut outs or coffee filters
  • Watercolor paints 
  • Scissors
  • Glue 

Step 1 – Drawing the Vase:  

(If you choose to make the coffee filter flowers, do that step first so they have time to dry while you create your vase—instruction at the bottom of the post)

First, let’s start by drawing the vase we would like our flowers to be in.  I chose a round, short vase, although you can choose whatever you would like.  I drew a few vase shapes as examples to choose from. After you draw your vase on the bottom half of the page, place it on a surface (like a table) by drawing a line behind it.  

Step 2:  Color the Vase

I always like to put some patterns onto my vase, and I encourage you to do that too!  Some simple repeated shapes, lines or dots really give the piece an elevated look and complement the collaged aspect nicely.  I love oil pastels, so that’s what I’ve used for the example. Crayon is the next best thing if you don’t have any oil pastels.  I started by drawing a few simple patterns, chose a nice terra-cotta color and oiled everything in. After I finished the pot, I colored in the table. Notice the shadow behind the pot at the top of the table.  The shadow gives it some dimension so it looks as if the pot is sitting in front of the back edge of the table.

Step 3:  Add the Stems

Still using pastels (or crayon), I drew some stems coming out of the pot and added some leaves to give the stems a fuller look. I used a couple of different greens in the stems and leaves to create some more dimension here.

Step 4: Painting the Background

One of the reasons I love oil pastels so much is because of the way they repel watercolor paint. Since oil and water don’t mix, you can paint right over the top of the pastels, and they will show right through.  So, I quickly did a light blue wash over the background covering the rest of the paper that has been left blank.

Step 4:  Adding the Flowers

Lastly, I decided to use some fabric scraps to cut out the flower shapes for my piece.  I had originally planned to use the tie-dye coffee filters I had made, although after seeing how my piece turned out along the way, I decided everything looked much too bold to have the coffee filters on top. You never know how things will end up when you start, and it’s always good to be open to changing your mind along the way!  That’s the beauty of art. 

Cut out a few flower shapes (fabric scraps, coffee filters, magazines, other paper you may have painted) and lay them out over the stems until you have them placed in a way that is pleasing.  Glue them down, and then if you want to add anything in the centers of them, great! I added some yellow oil pastel centers.  

And that’s it!  Woohoo!  

Here are some student examples:

Fabric, colored pencil and watercolor

Oil pastel, tie-dye coffee filter heart flowers

Instructions for the coffee filters:

Materials:

  • Coffee Filters
  • Markers
  • Scissors
  • Water

Making flowers from filters is super simple! First, cut out the shape you would like to work with from the filter in a few different sizes and then color them with markers.  Add multiple colors on each piece so that they will bleed into each other and give it a tie-dye effect. Try some with patterns and some random! You don’t need to be very precise, because the marker will bleed and cover the whole filter.  Once you’ve colored the filters, simply drop water on top of them and watch the marker bleed (you will definitely want to do this on a protected surface). Move them to a paper towel to dry.

Hope you guys enjoyed this lesson!  Make sure to share what you come up with.