RBG Tiny Art Show

We need your submissions to make our tiny art show great!
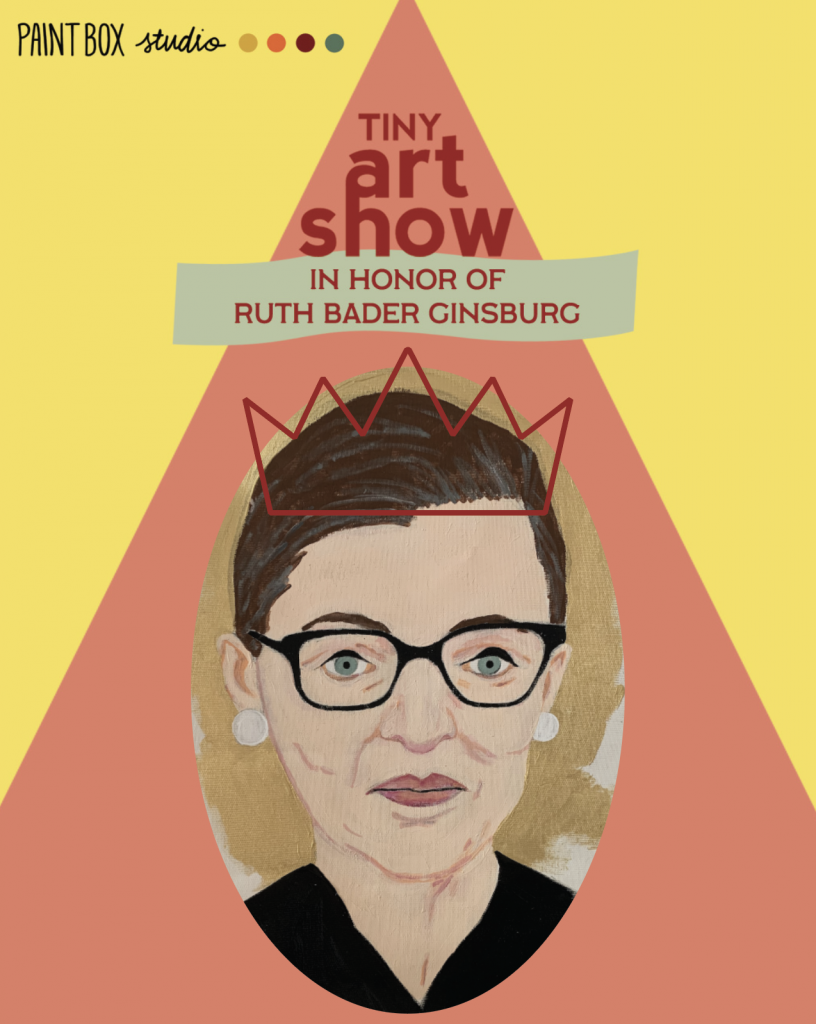
Ms. Jaimee’s submission is trucking along!
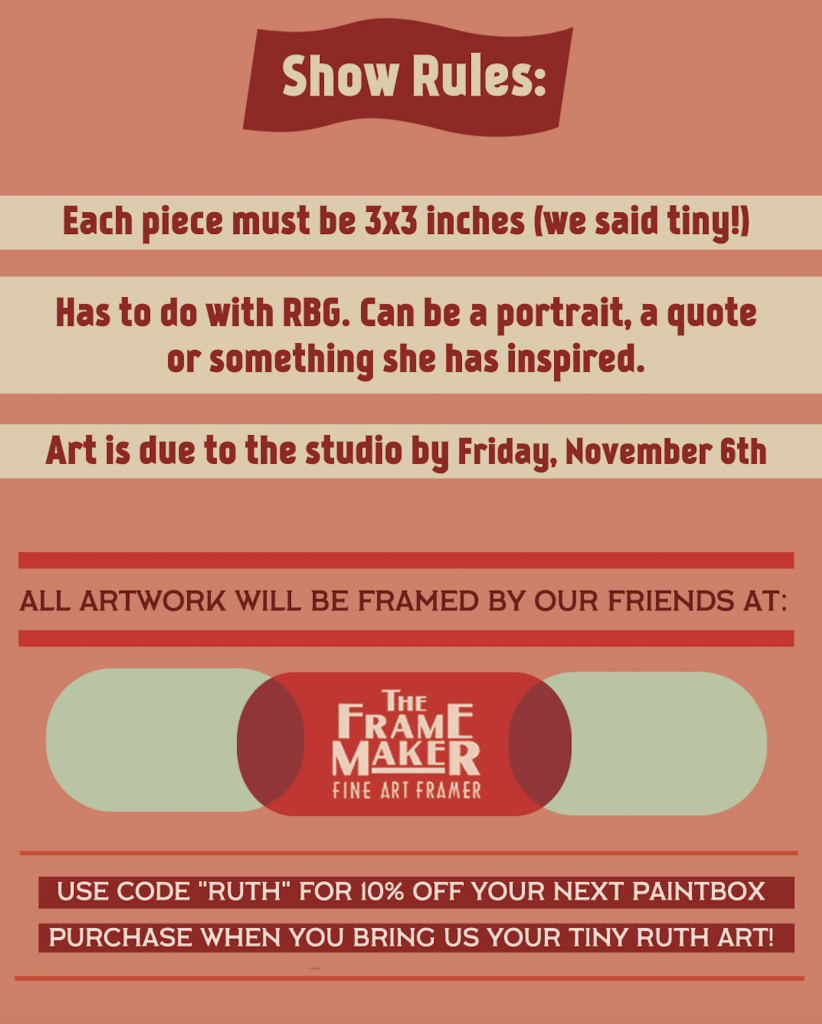
All artists young and old are welcome!
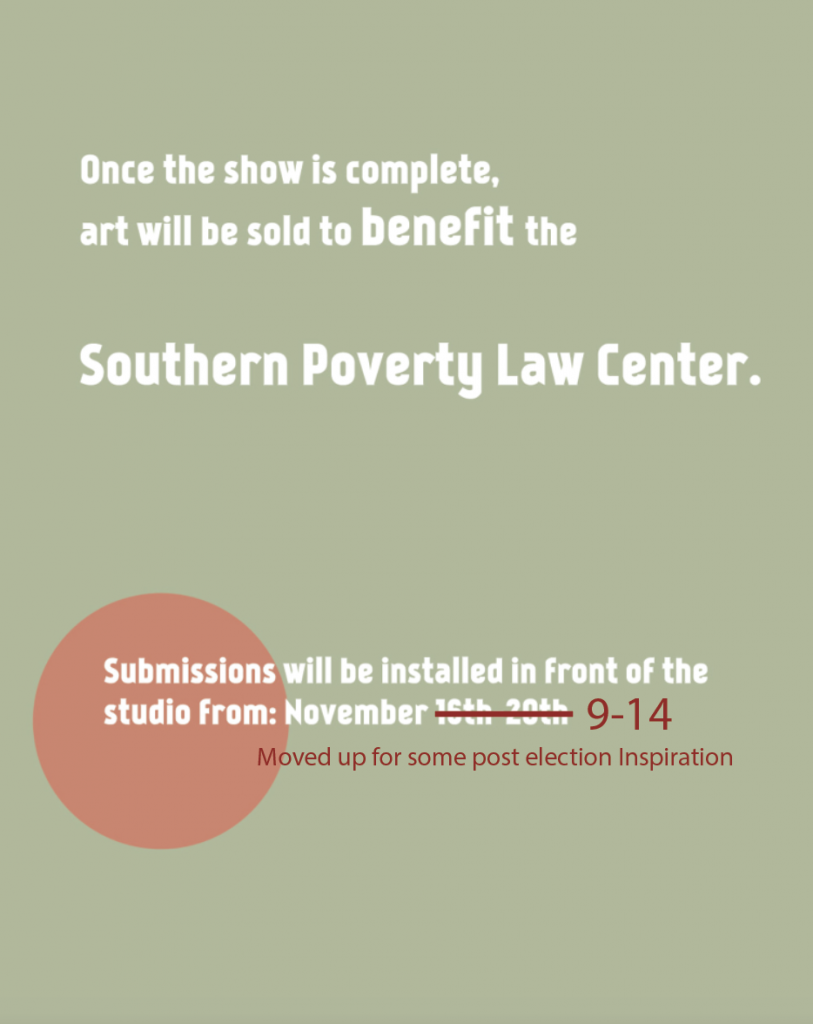
Parent’s : use this display of art and the creation of the art as a tool to have family discussions about RBG, The Supreme Court, Voting and Election Day!

Let’s all channel our Election Day anxieties into creating some awesome art inspired by an awesome example of wit, determination, strength and innovation.

Multi Media Flower Vases

Collaged Multi-Media Flower Vases

Hi everyone!  Amy here. I have a fun lesson on collaged multi-media flower vases with a few variations that are easily done with at-home materials!  I did an example with oil pastel, watercolor and fabric scraps. But, there are plenty of things to use if you don’t have any of the supplies I mentioned.  We’ve done these around the studio a few times, so I have some kid examples to show as well. Let’s get started!

Supplies:  

  • Watercolor paper 
  • Oil pastel or crayons
  • Fabric scraps, magazine cut outs or coffee filters
  • Watercolor paints 
  • Scissors
  • Glue 

Step 1 – Drawing the Vase:  

(If you choose to make the coffee filter flowers, do that step first so they have time to dry while you create your vase—instruction at the bottom of the post)

First, let’s start by drawing the vase we would like our flowers to be in.  I chose a round, short vase, although you can choose whatever you would like.  I drew a few vase shapes as examples to choose from. After you draw your vase on the bottom half of the page, place it on a surface (like a table) by drawing a line behind it.  

Step 2:  Color the Vase

I always like to put some patterns onto my vase, and I encourage you to do that too!  Some simple repeated shapes, lines or dots really give the piece an elevated look and complement the collaged aspect nicely.  I love oil pastels, so that’s what I’ve used for the example. Crayon is the next best thing if you don’t have any oil pastels.  I started by drawing a few simple patterns, chose a nice terra-cotta color and oiled everything in. After I finished the pot, I colored in the table. Notice the shadow behind the pot at the top of the table.  The shadow gives it some dimension so it looks as if the pot is sitting in front of the back edge of the table.

Step 3:  Add the Stems

Still using pastels (or crayon), I drew some stems coming out of the pot and added some leaves to give the stems a fuller look. I used a couple of different greens in the stems and leaves to create some more dimension here.

Step 4: Painting the Background

One of the reasons I love oil pastels so much is because of the way they repel watercolor paint. Since oil and water don’t mix, you can paint right over the top of the pastels, and they will show right through.  So, I quickly did a light blue wash over the background covering the rest of the paper that has been left blank.

Step 4:  Adding the Flowers

Lastly, I decided to use some fabric scraps to cut out the flower shapes for my piece.  I had originally planned to use the tie-dye coffee filters I had made, although after seeing how my piece turned out along the way, I decided everything looked much too bold to have the coffee filters on top. You never know how things will end up when you start, and it’s always good to be open to changing your mind along the way!  That’s the beauty of art. 

Cut out a few flower shapes (fabric scraps, coffee filters, magazines, other paper you may have painted) and lay them out over the stems until you have them placed in a way that is pleasing.  Glue them down, and then if you want to add anything in the centers of them, great! I added some yellow oil pastel centers.  

And that’s it!  Woohoo!  

Here are some student examples:

Fabric, colored pencil and watercolor

Oil pastel, tie-dye coffee filter heart flowers

Instructions for the coffee filters:

Materials:

  • Coffee Filters
  • Markers
  • Scissors
  • Water

Making flowers from filters is super simple! First, cut out the shape you would like to work with from the filter in a few different sizes and then color them with markers.  Add multiple colors on each piece so that they will bleed into each other and give it a tie-dye effect. Try some with patterns and some random! You don’t need to be very precise, because the marker will bleed and cover the whole filter.  Once you’ve colored the filters, simply drop water on top of them and watch the marker bleed (you will definitely want to do this on a protected surface). Move them to a paper towel to dry.

Hope you guys enjoyed this lesson!  Make sure to share what you come up with.