Hello All! You made it through another week! Congrats.
As promised, here is the fabulous mask tutorial from Ms. Amy to help everyone keep safe. She will be offering another zoom class to walk you through the process if you have a machine at home. Follow the register here link on our homepage to find next week’s class. We provide the materials!
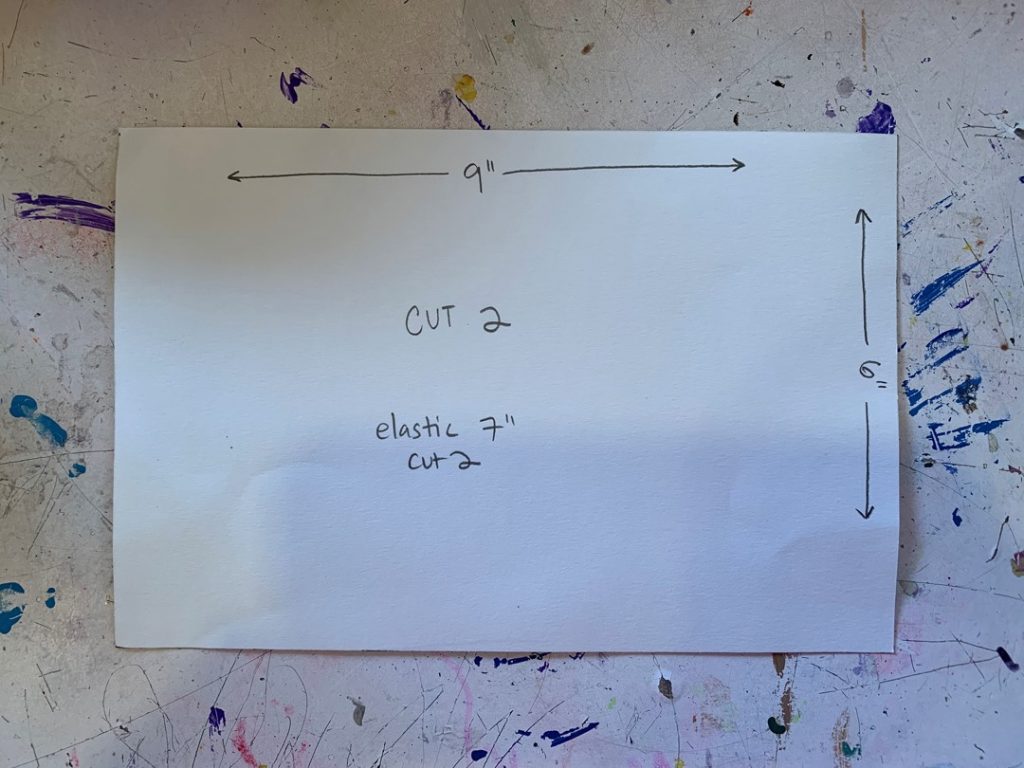
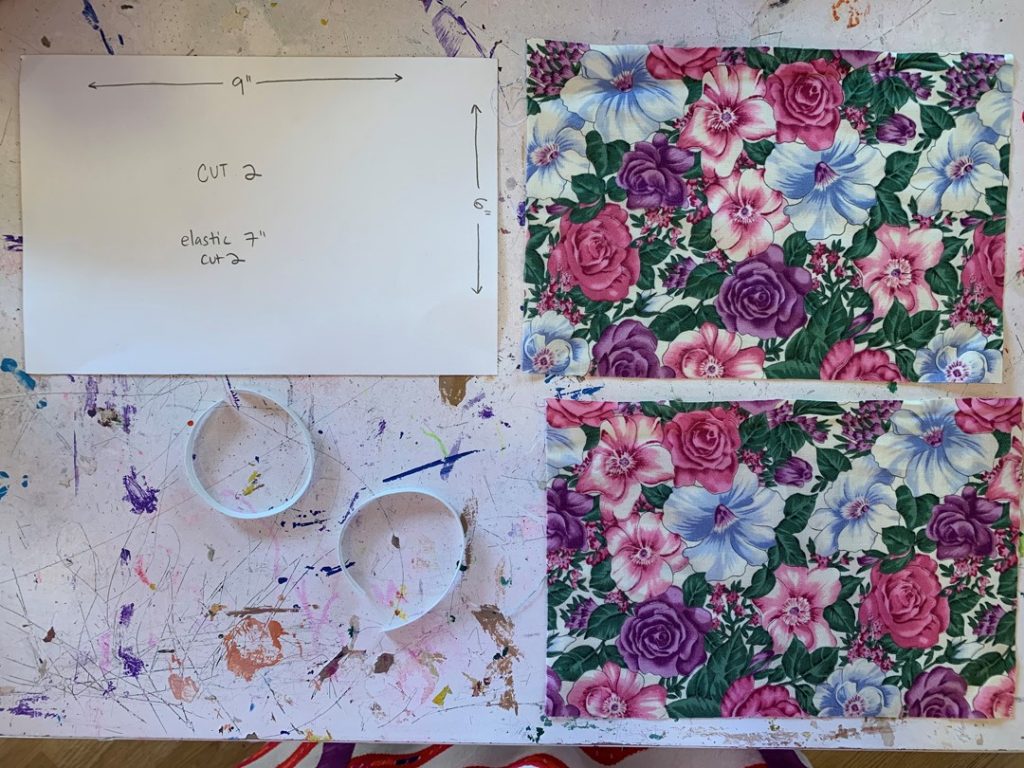
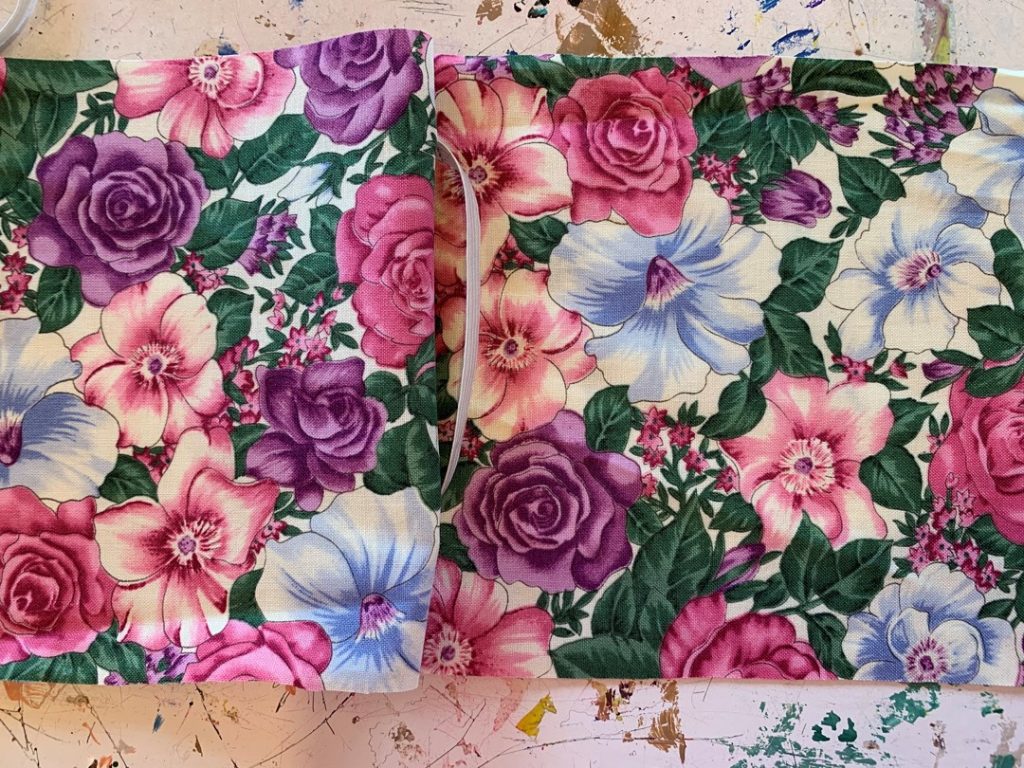
Step One: Cut Your Material
Start by cutting two 9”x6” pieces of fabric and two 7” pieces of elastic.
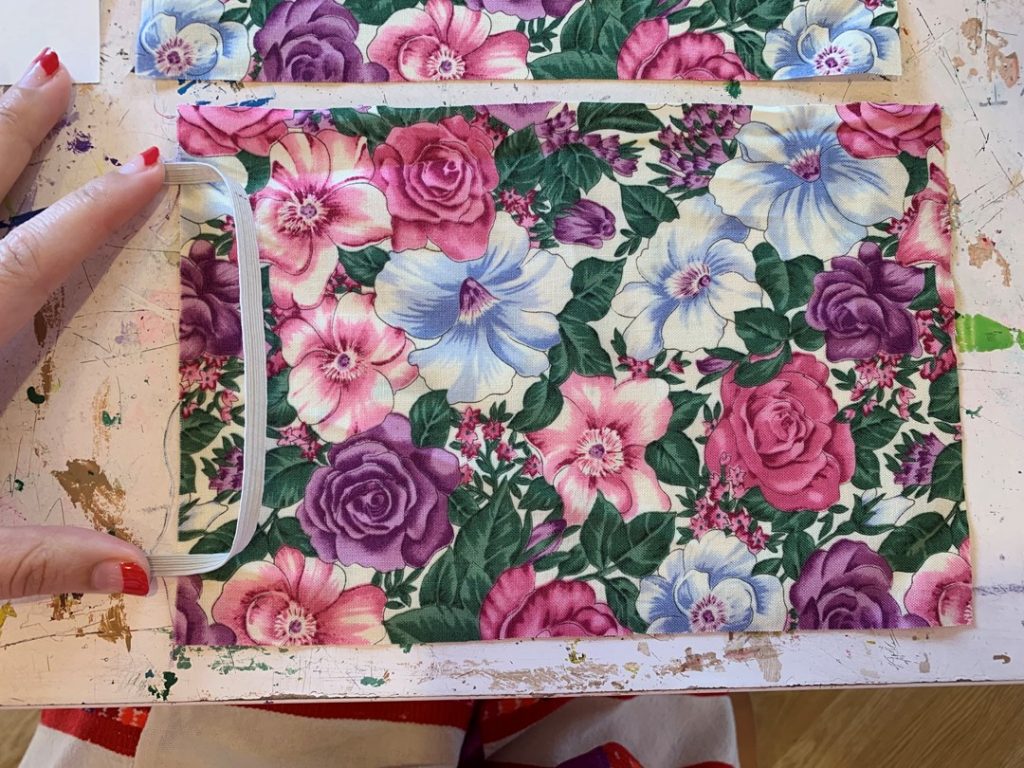
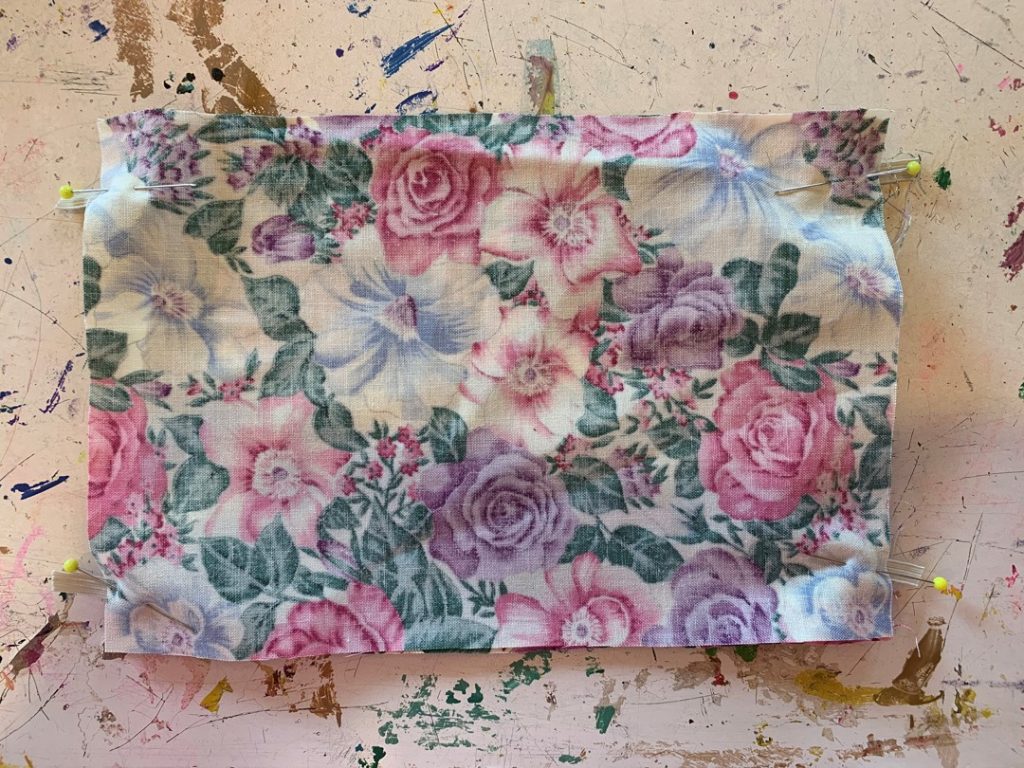
Step Two: Pinning Your Mask
Place one piece of your fabric right side up, and place one of the elastic pieces sticking 1/2 inch outside of the left top side of your fabric (allow for seam allowance at the top). Then, place your second fabric right sides together (inside out) and pin the elastic in place. Repeat on the bottom left side. The elastic will be hidden inside of your fabric.
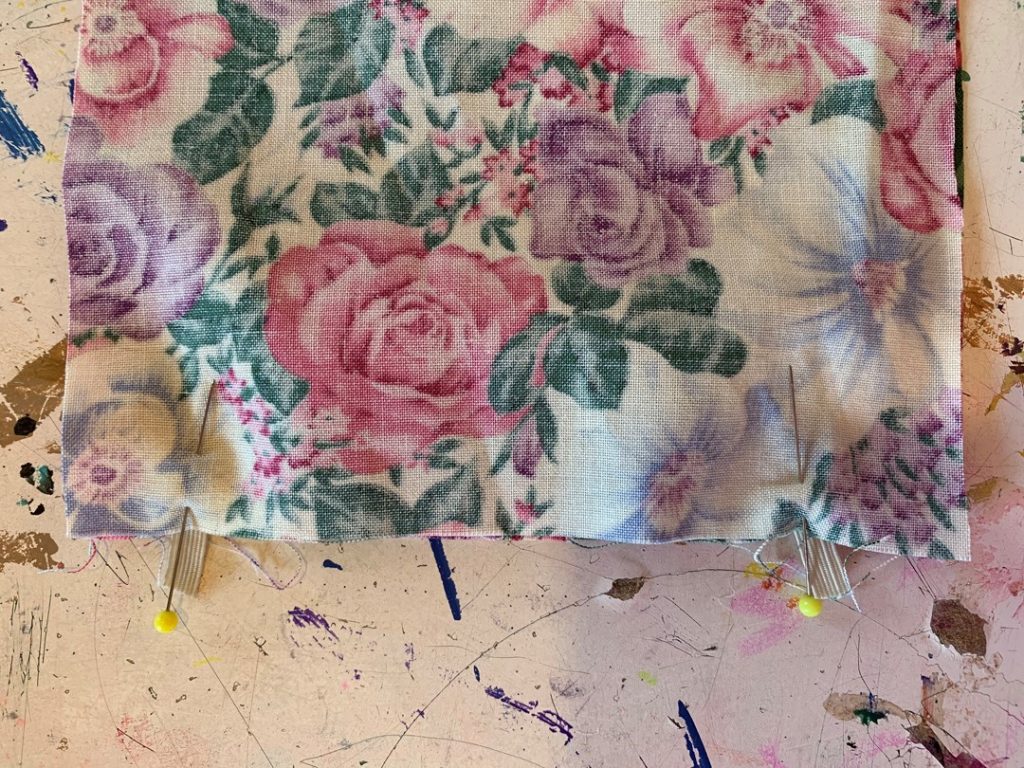
When you pull the fabrics open, you should see the elastic ear strip on the inside of your fabric. Now, repeat this step on the other side and then continue to pin the rest of the mask shut.
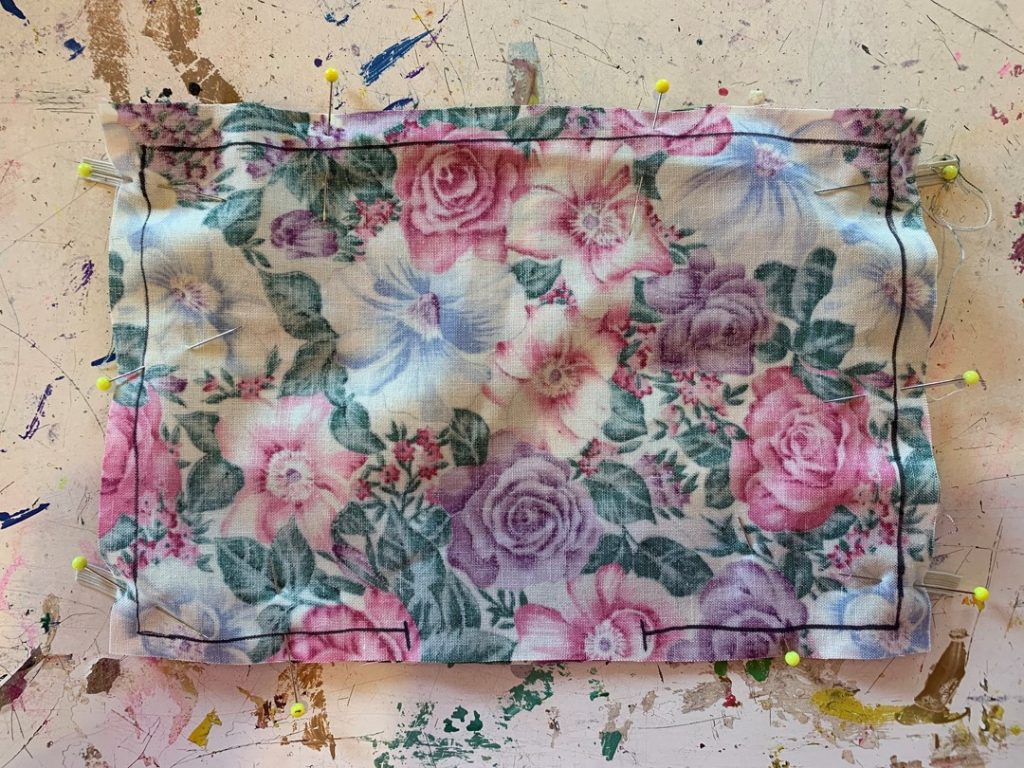
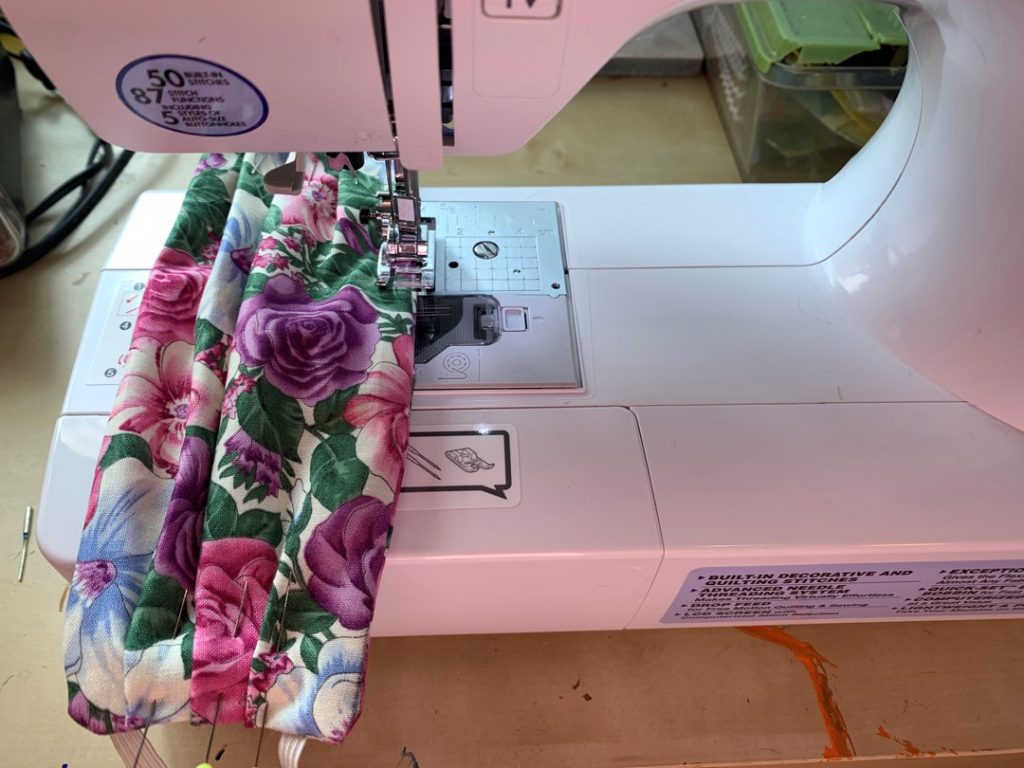
Step 3: Sewing Your Mask
Sew ¼ inch inside your edge and leave an opening at the bottom of the mask to flip it right sides out (see the line drawn on the image above). Make sure you backstick over each elastic! This will add some extre security to the elastic. Flip right sides out.
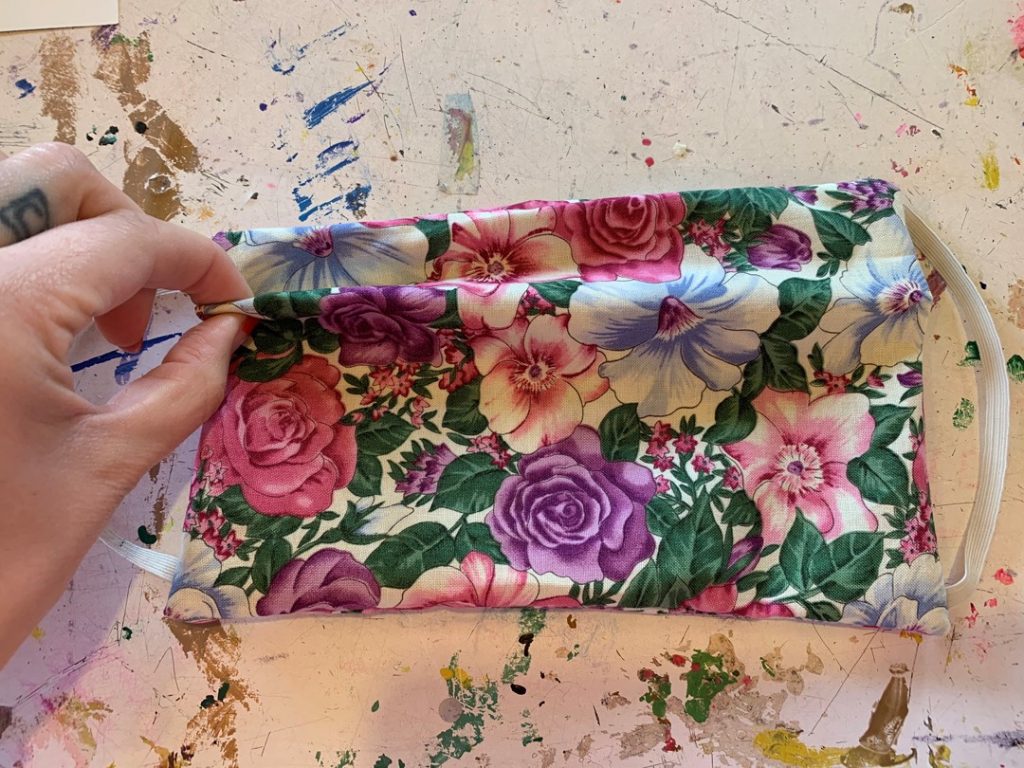
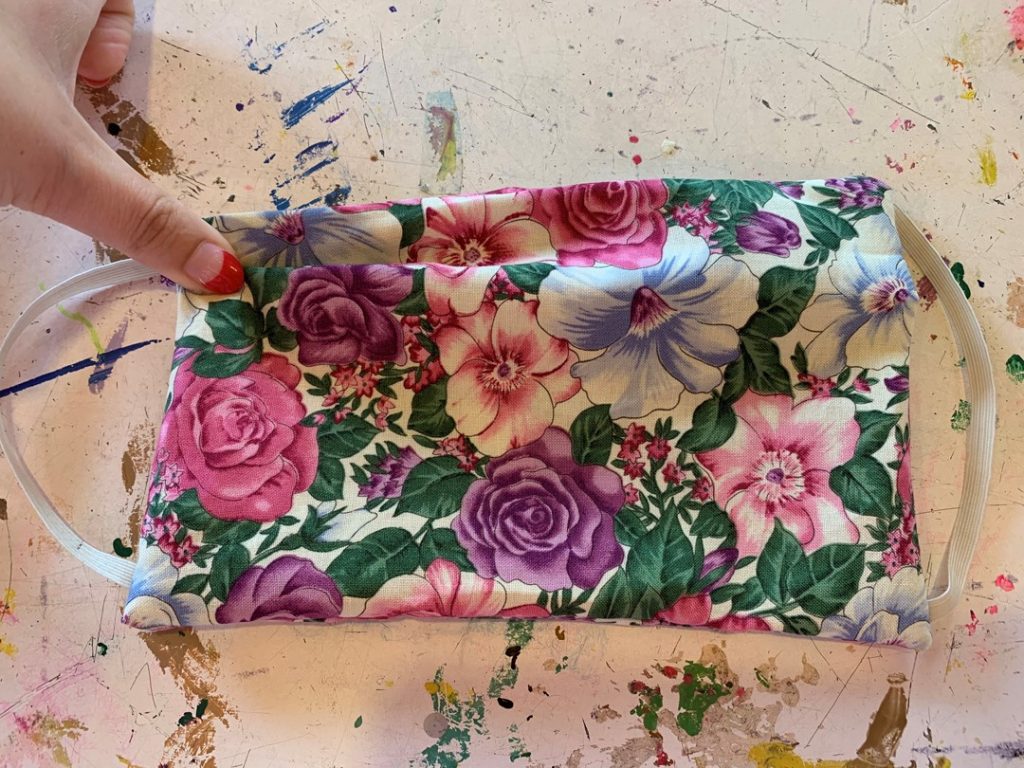
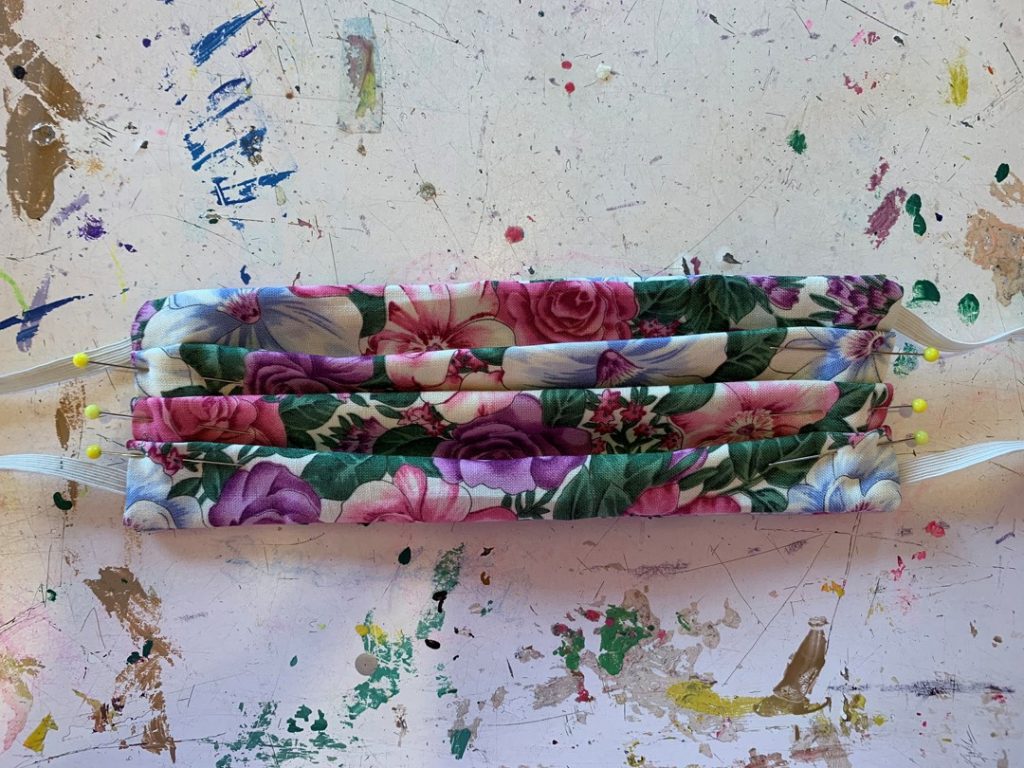
Step Four: Pleating Your Mask
Make three small pleats on either edge of your mask (make sure your folds are facing the same direction on both sides) and then pin them in place.
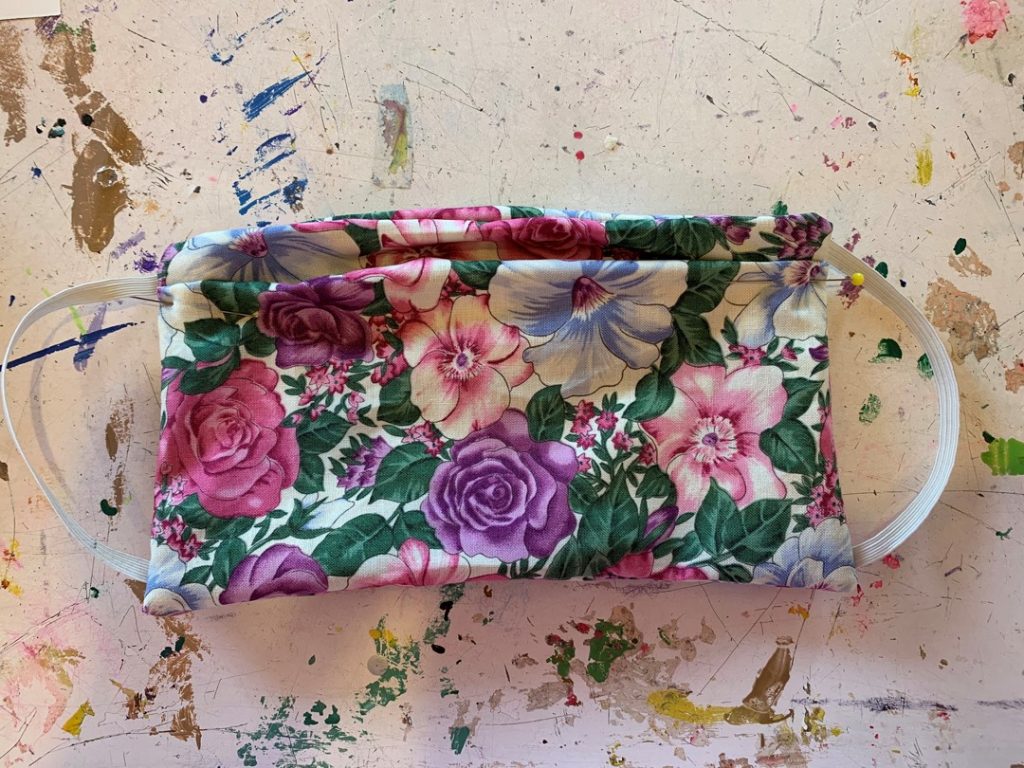
Step Five: Topstich Your Mask
Start at the top of the hole that you left to flip your mask, and sew ¼ inch inside your edge. Sew over the hole and around the whole mask two times. This will close your hole and further secure the elastic.

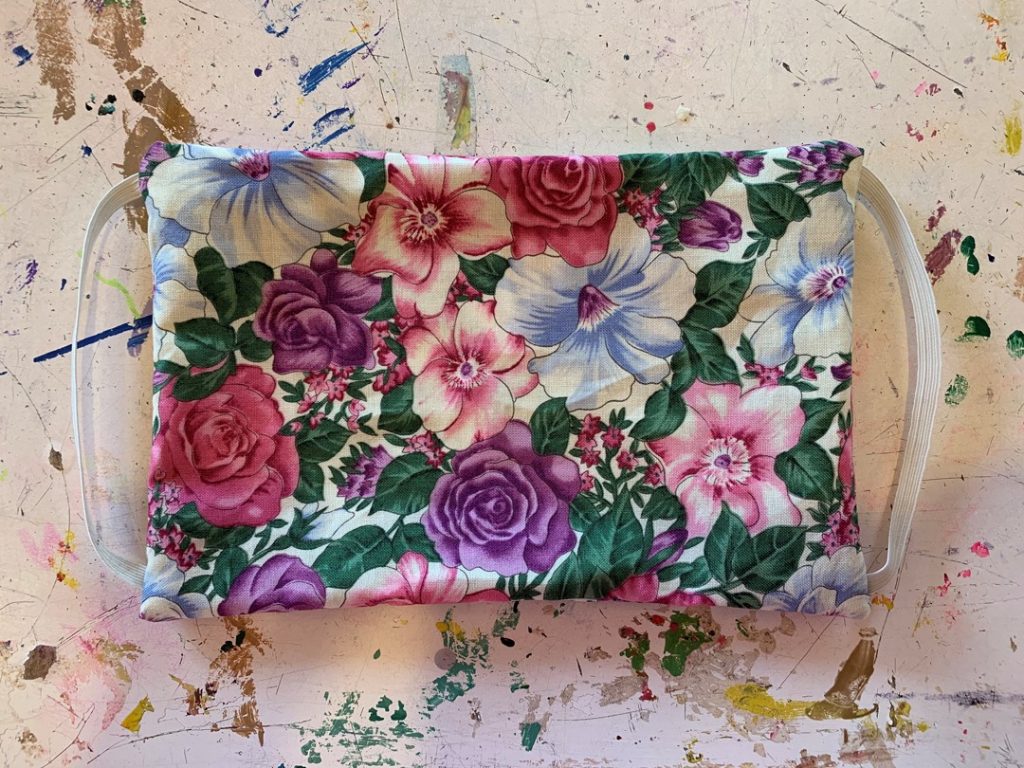
Step Six: Wear Your Mask!
Make sure we put these to good use and wear them every time we leave the house until we get through this. We are all in this together. Thank you for caring!