Category Archives: Uncategorized


RBG Tiny Art Show
We need your submissions to make our tiny art show great!
Ms. Jaimee’s submission is trucking along!
All artists young and old are welcome!
Parent’s : use this display of art and the creation of the art as a tool to have family discussions about RBG, The Supreme Court, Voting and Election Day!
Let’s all channel our Election Day anxieties into creating some awesome art inspired by an awesome example of wit, determination, strength and innovation.
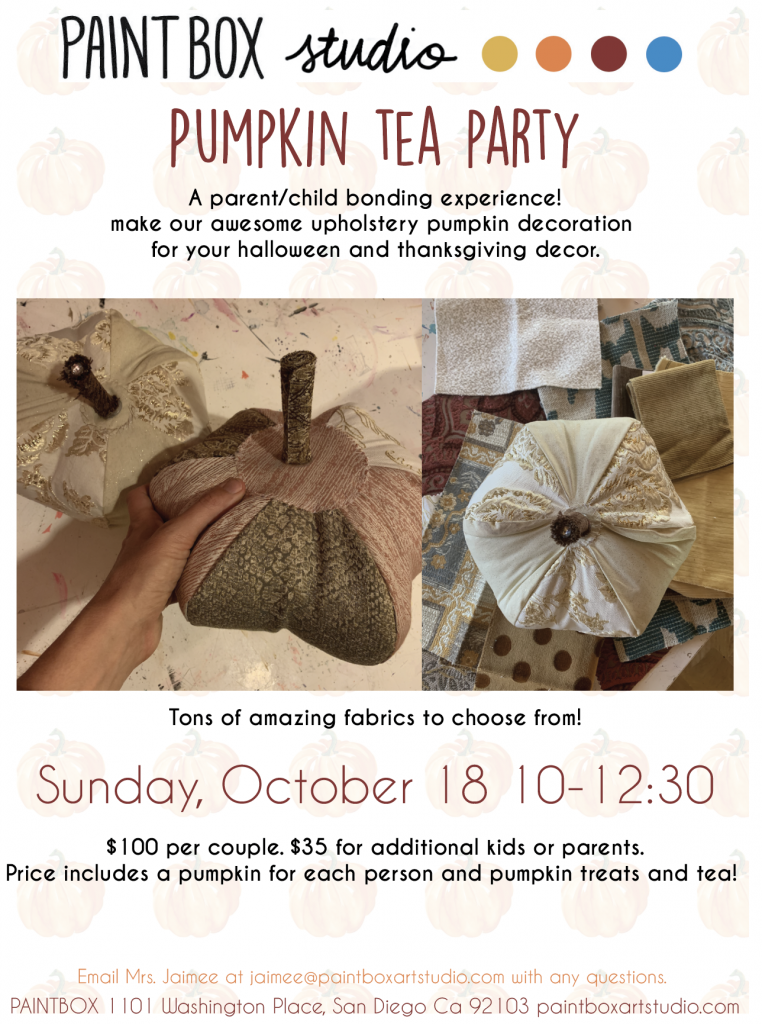
Pumpkin Making Class!
October 18th, 10-12:30 AM
Get your Pumpkin making groove on with your child, parent or grandparent! Every family member will make their own pumpkin.
We will serve some pumpkin goodies outside with distance during a well deserved sew break.
Sign up here.
Zipper Pouch Tutorial
Here’s a video tutorial for our zipper pouch!
Steps:
1: Use a standard piece of paper to cut two pieces of fabric. One will be your outer fabric, and the other will be your inside liner.
2: Place your fabrics WRONG sides together (I know, I know, we never do that!) and carefully fold in one of the shorter edges 1/2 an inch and iron it in place. Make sure the clean side of your fold is on the fabric you are using for the outside of the pouch.
3: Carefully pin the ironed edge to one side of the top of the zipper. Right next to the part you zip open. Then sew it down.
4: Repeat the process on the other side of the zipper making sure the bag is lined up nicely.
5: Turn your pouch inside out and lay it flat so that the zipper is in the center of the pouch. VERY IMPORTANT: your zipper must be half way open!
6: Pin both sides of your pouch shut. Make sure the open end of your zipper is pinned perfectly side by side so it will zip shut nicely.
7: Sew the sides shut and backstitch each corner and over the zipper on both sides. Make sure you backstitch up and off each edge to make sure all of the corners are completely sewn shut.
8: Trim your threads and carefully cut off the extra zipper that is hanging off the edges. Don’t cut too close to your stitch!
9: Flip your pouch right sides out and you’ve got yourself a zipper pouch!
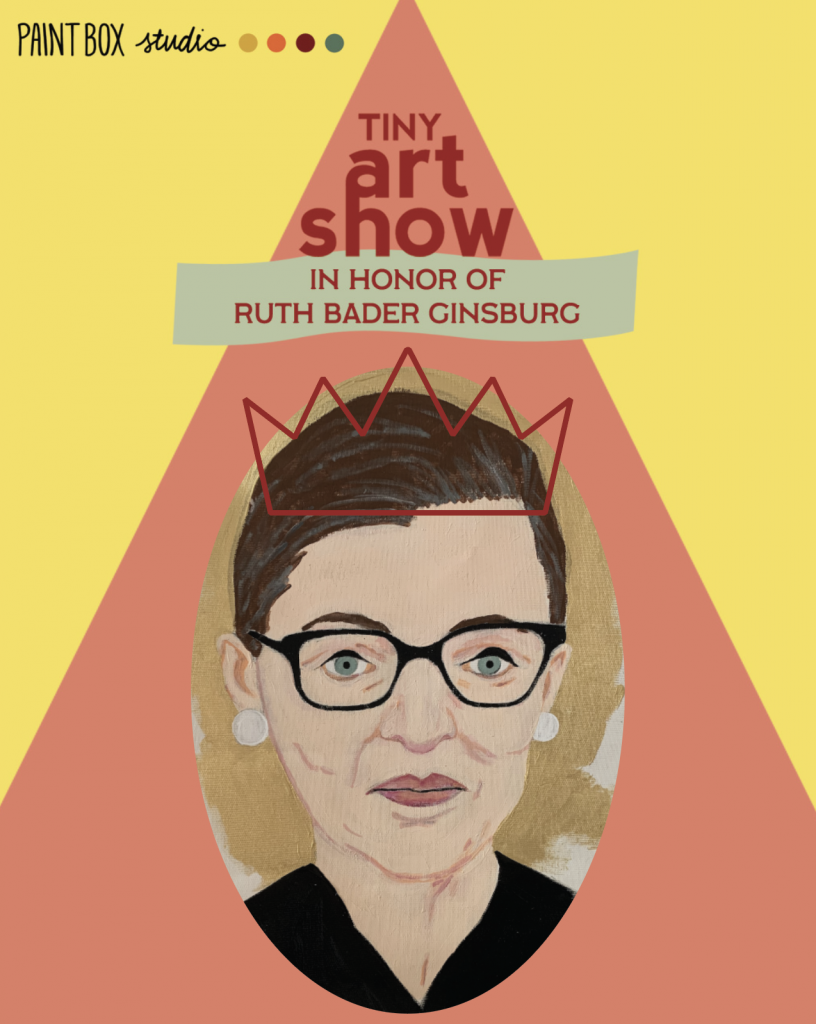
Ruth Bader Ginsburg – A Tiny Art Show
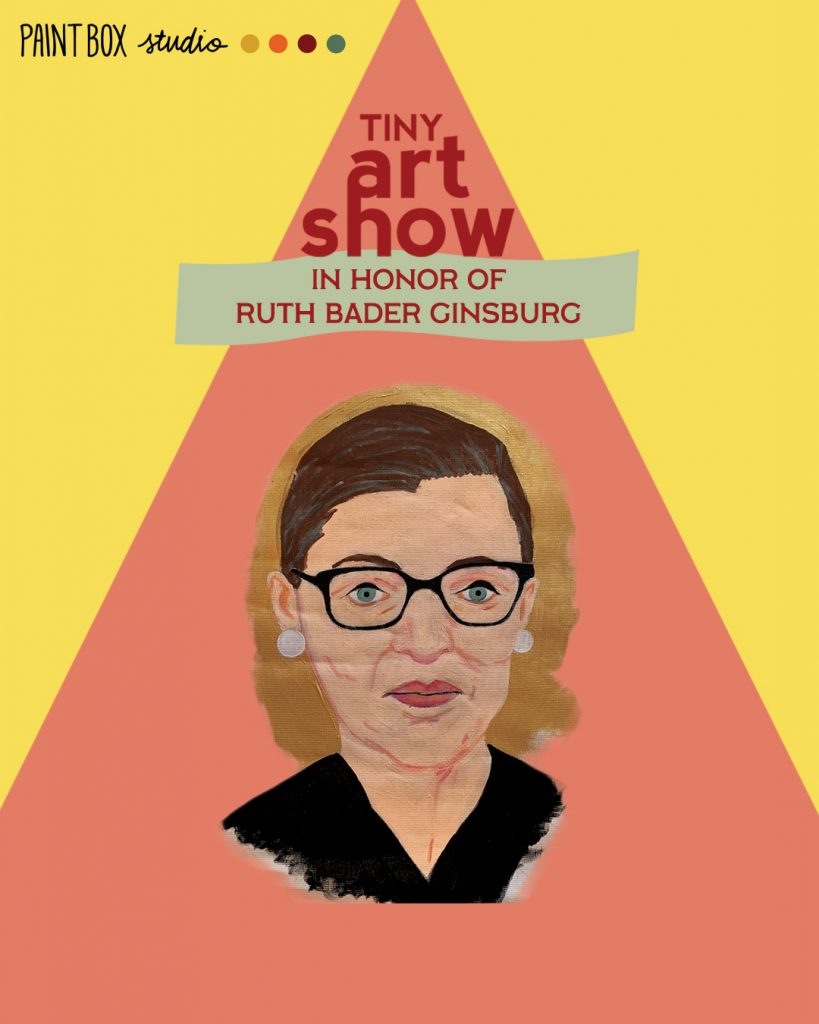
We are deeply saddened by the passing of Ruth Bader Ginsburg and are putting together a tiny art show in honor of her memory and to raise money for the causes she fought for.
We are holding our second tiny art show inspired by @tinyartshow https://www.instagram.com/tinyartshow/ on instagram. You can check out photos from our first tiny art show all about our studio mascot @siggy_sue here: http://paintboxartstudio.com/siggys-tiny-art-show-2/
So, here’s the deal:
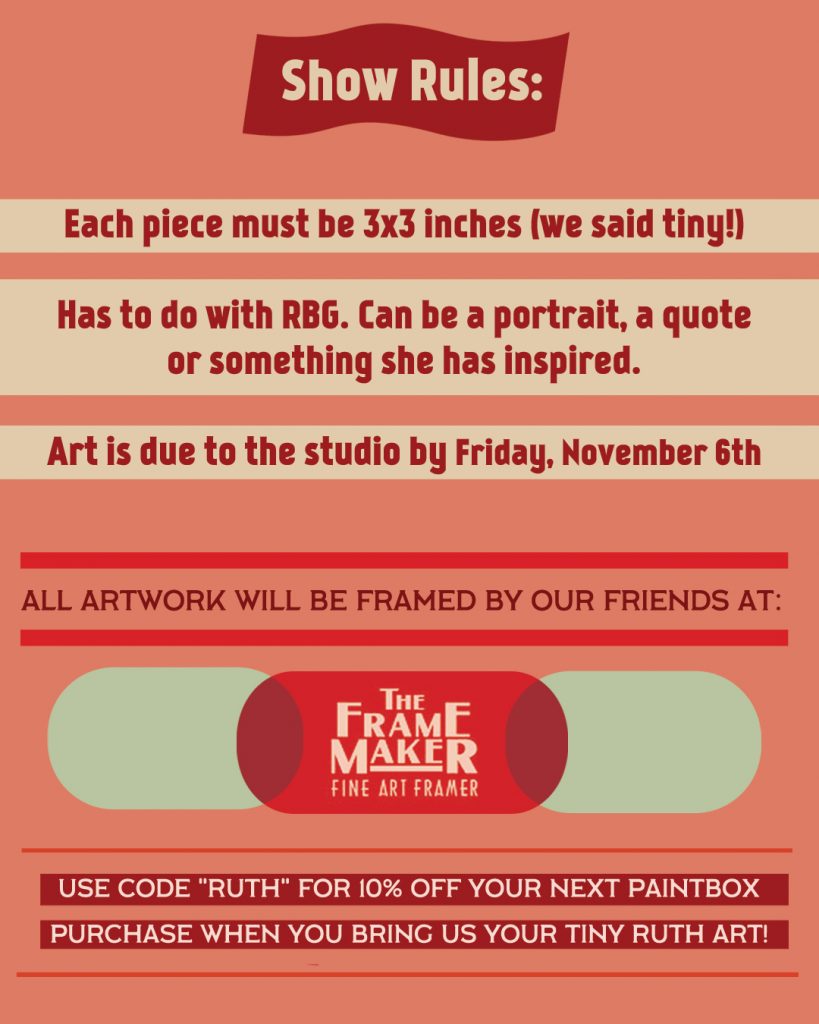
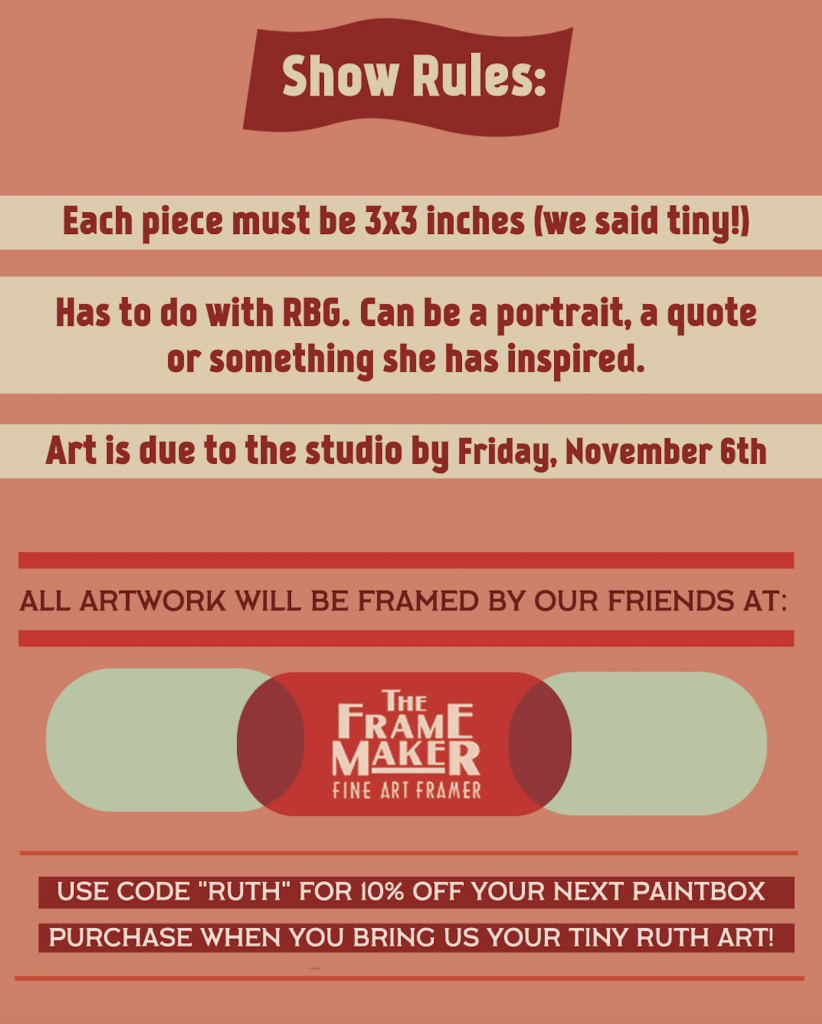
Our friends at The Frame Maker http://www.theframemaker.com/ have been kind enough to offer to make frames for each piece we receive. So, we want to keep the size uniform at 3″ x 3″ each. You can explore with any medium you’d like – acrylic, watercolor, pencil, pastel, collage, graphics, etc. We just ask that the pieces be two dimensional for framing purposes.
And of course, the piece should be inspired by the notorious RBG. It can be a portrait, a quote (we love fancy lettering!), a piece about women empowerment or anything else that she worked hard for in her lifetime.
All artwork is due to the studio by Friday, November 6th!
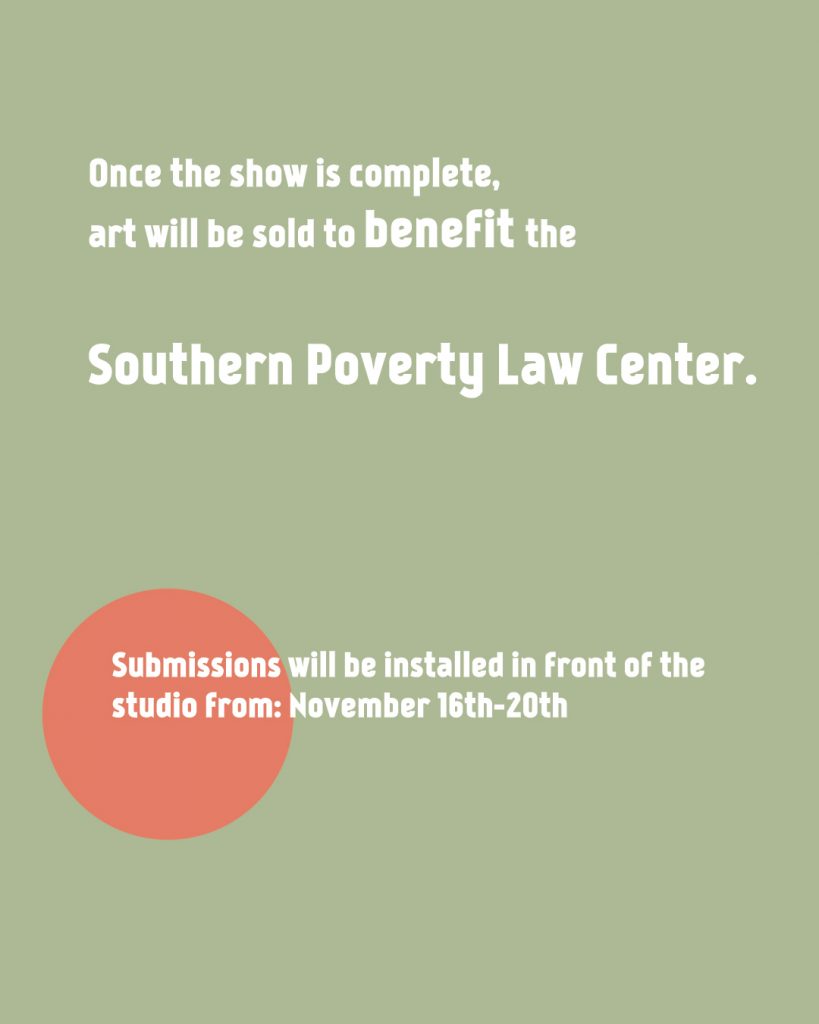
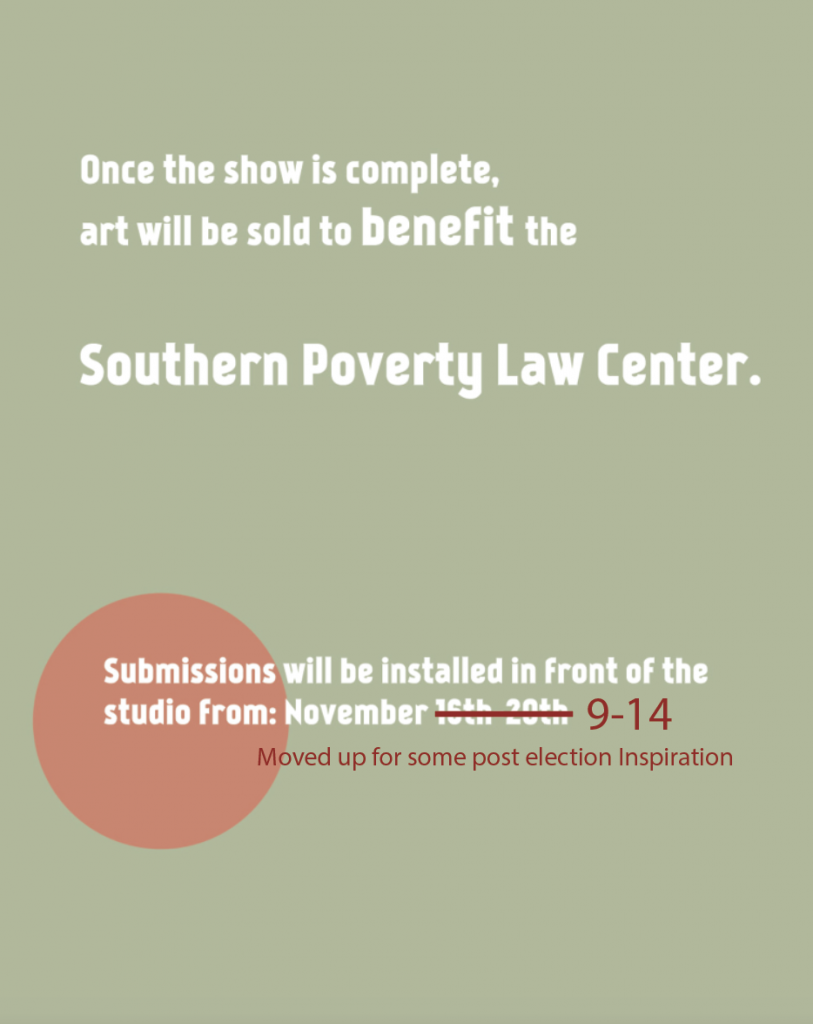
We will be selling all of the artwork to raise money for the Southern Poverty Law Center – an organization working hard to dismantle hate and to advance the human rights of all people. https://www.splcenter.org/
The show will be installed in front of the studio from Monday, November 16th to Friday, November 20th from 9AM to 5:30 PM for all to see! We really hope you’ll join us in creating art to honor a true American Hero.
Also…VOTE!
Scrunchie Tutorial
Here is a video tutorial on how to make a scrunchie!
Steps:
1: Cut a strip at least 3 inches wide (4/4.5 for a bigger scrunchie) and 15 inches long.
2: Fold right sides together and pin.
3: Sew along the open edge of the strip.
4: Using a safety pin, flip the fabric so it’s right sides out. Attach the pin to one end of the strip and feed it through the inside of the fabric until it has come out the other end.
5: Using the same safety pin technique, feed your elastic through the entire strip. Measure around your wrist and cut.
6: Backstitch your elastic shut.
7: Fold in one edge of your fabric and tuck the other edge inside the folded edge. Backstitch shut.
8: Trim threads and voila! You’ve got yourself a scrunchie!
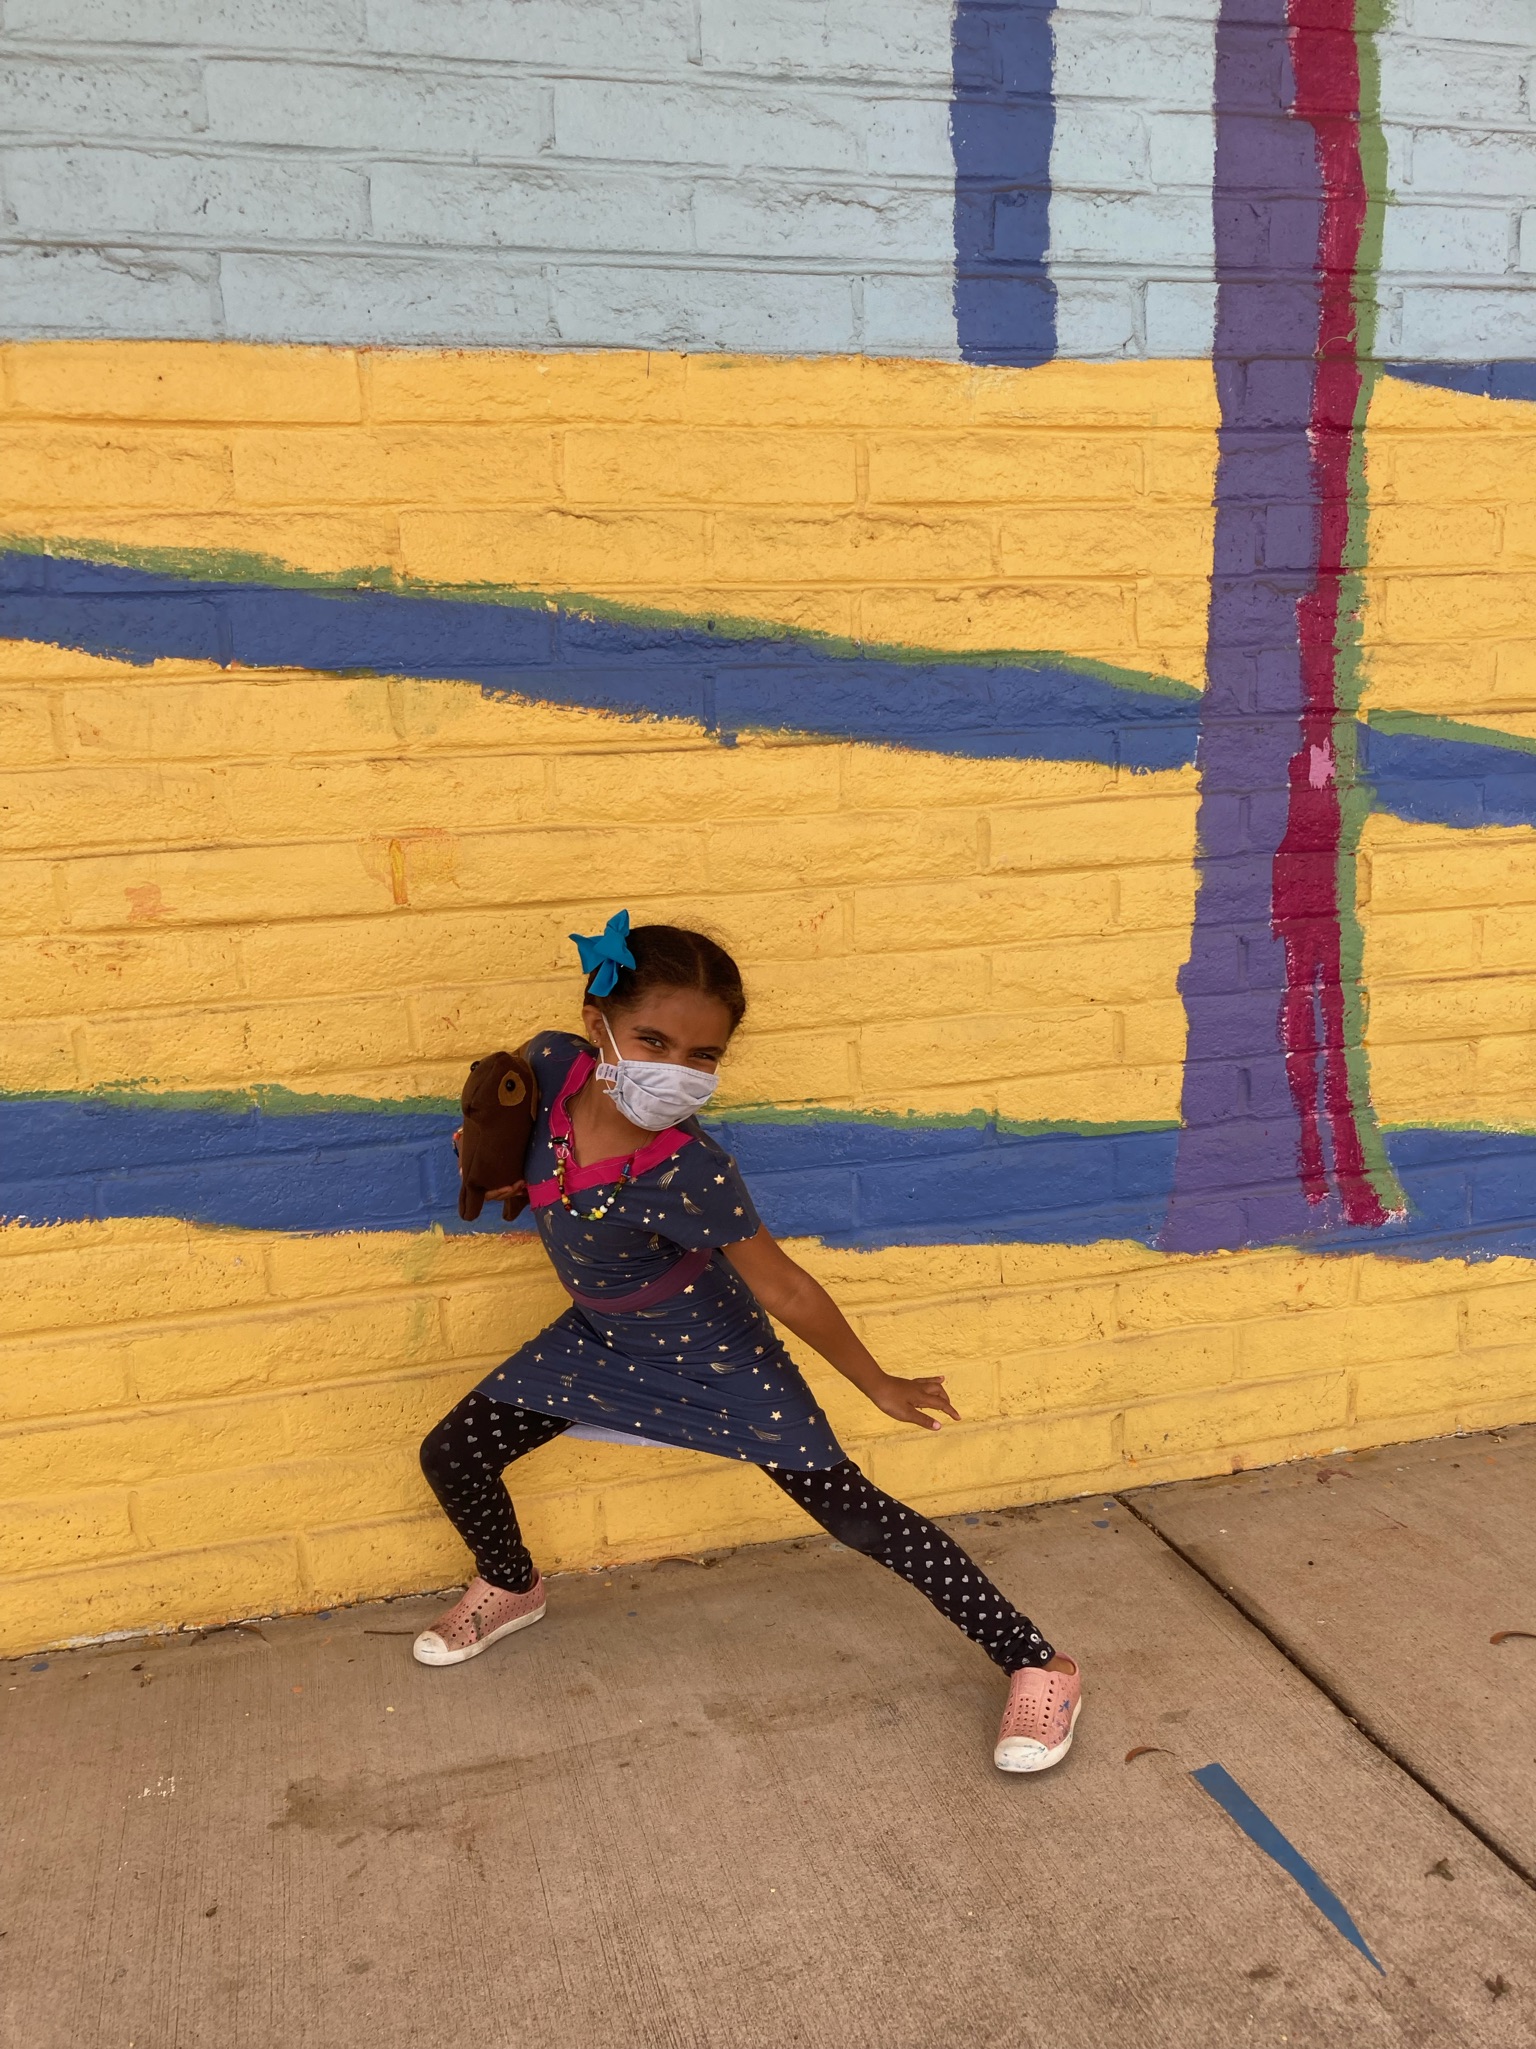
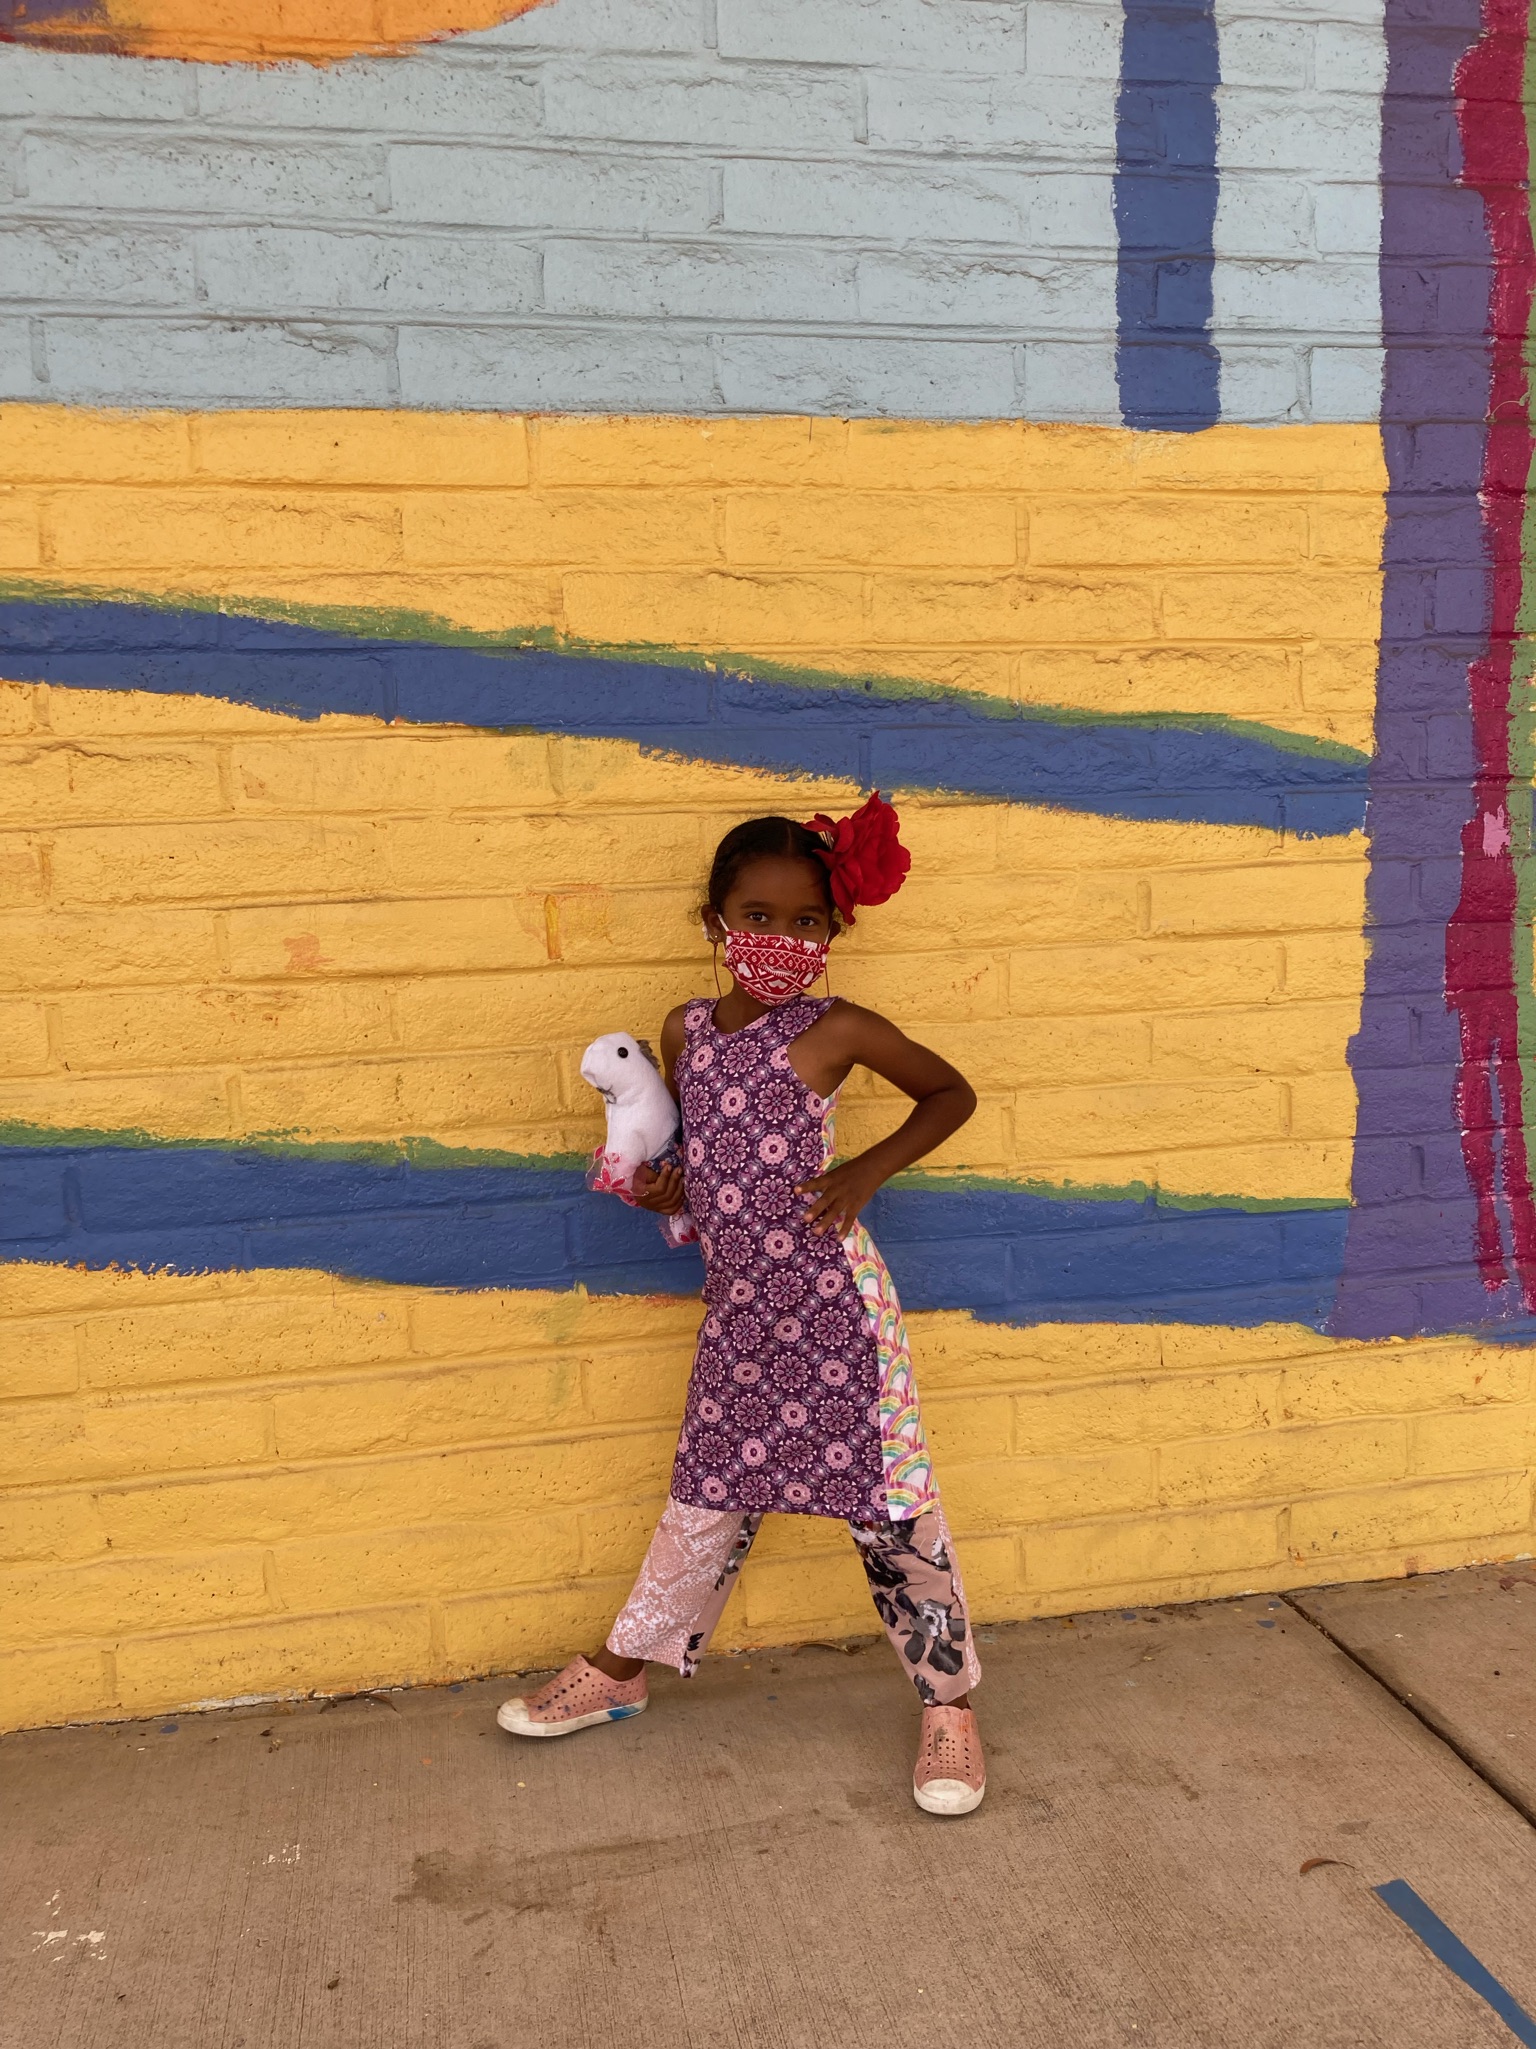
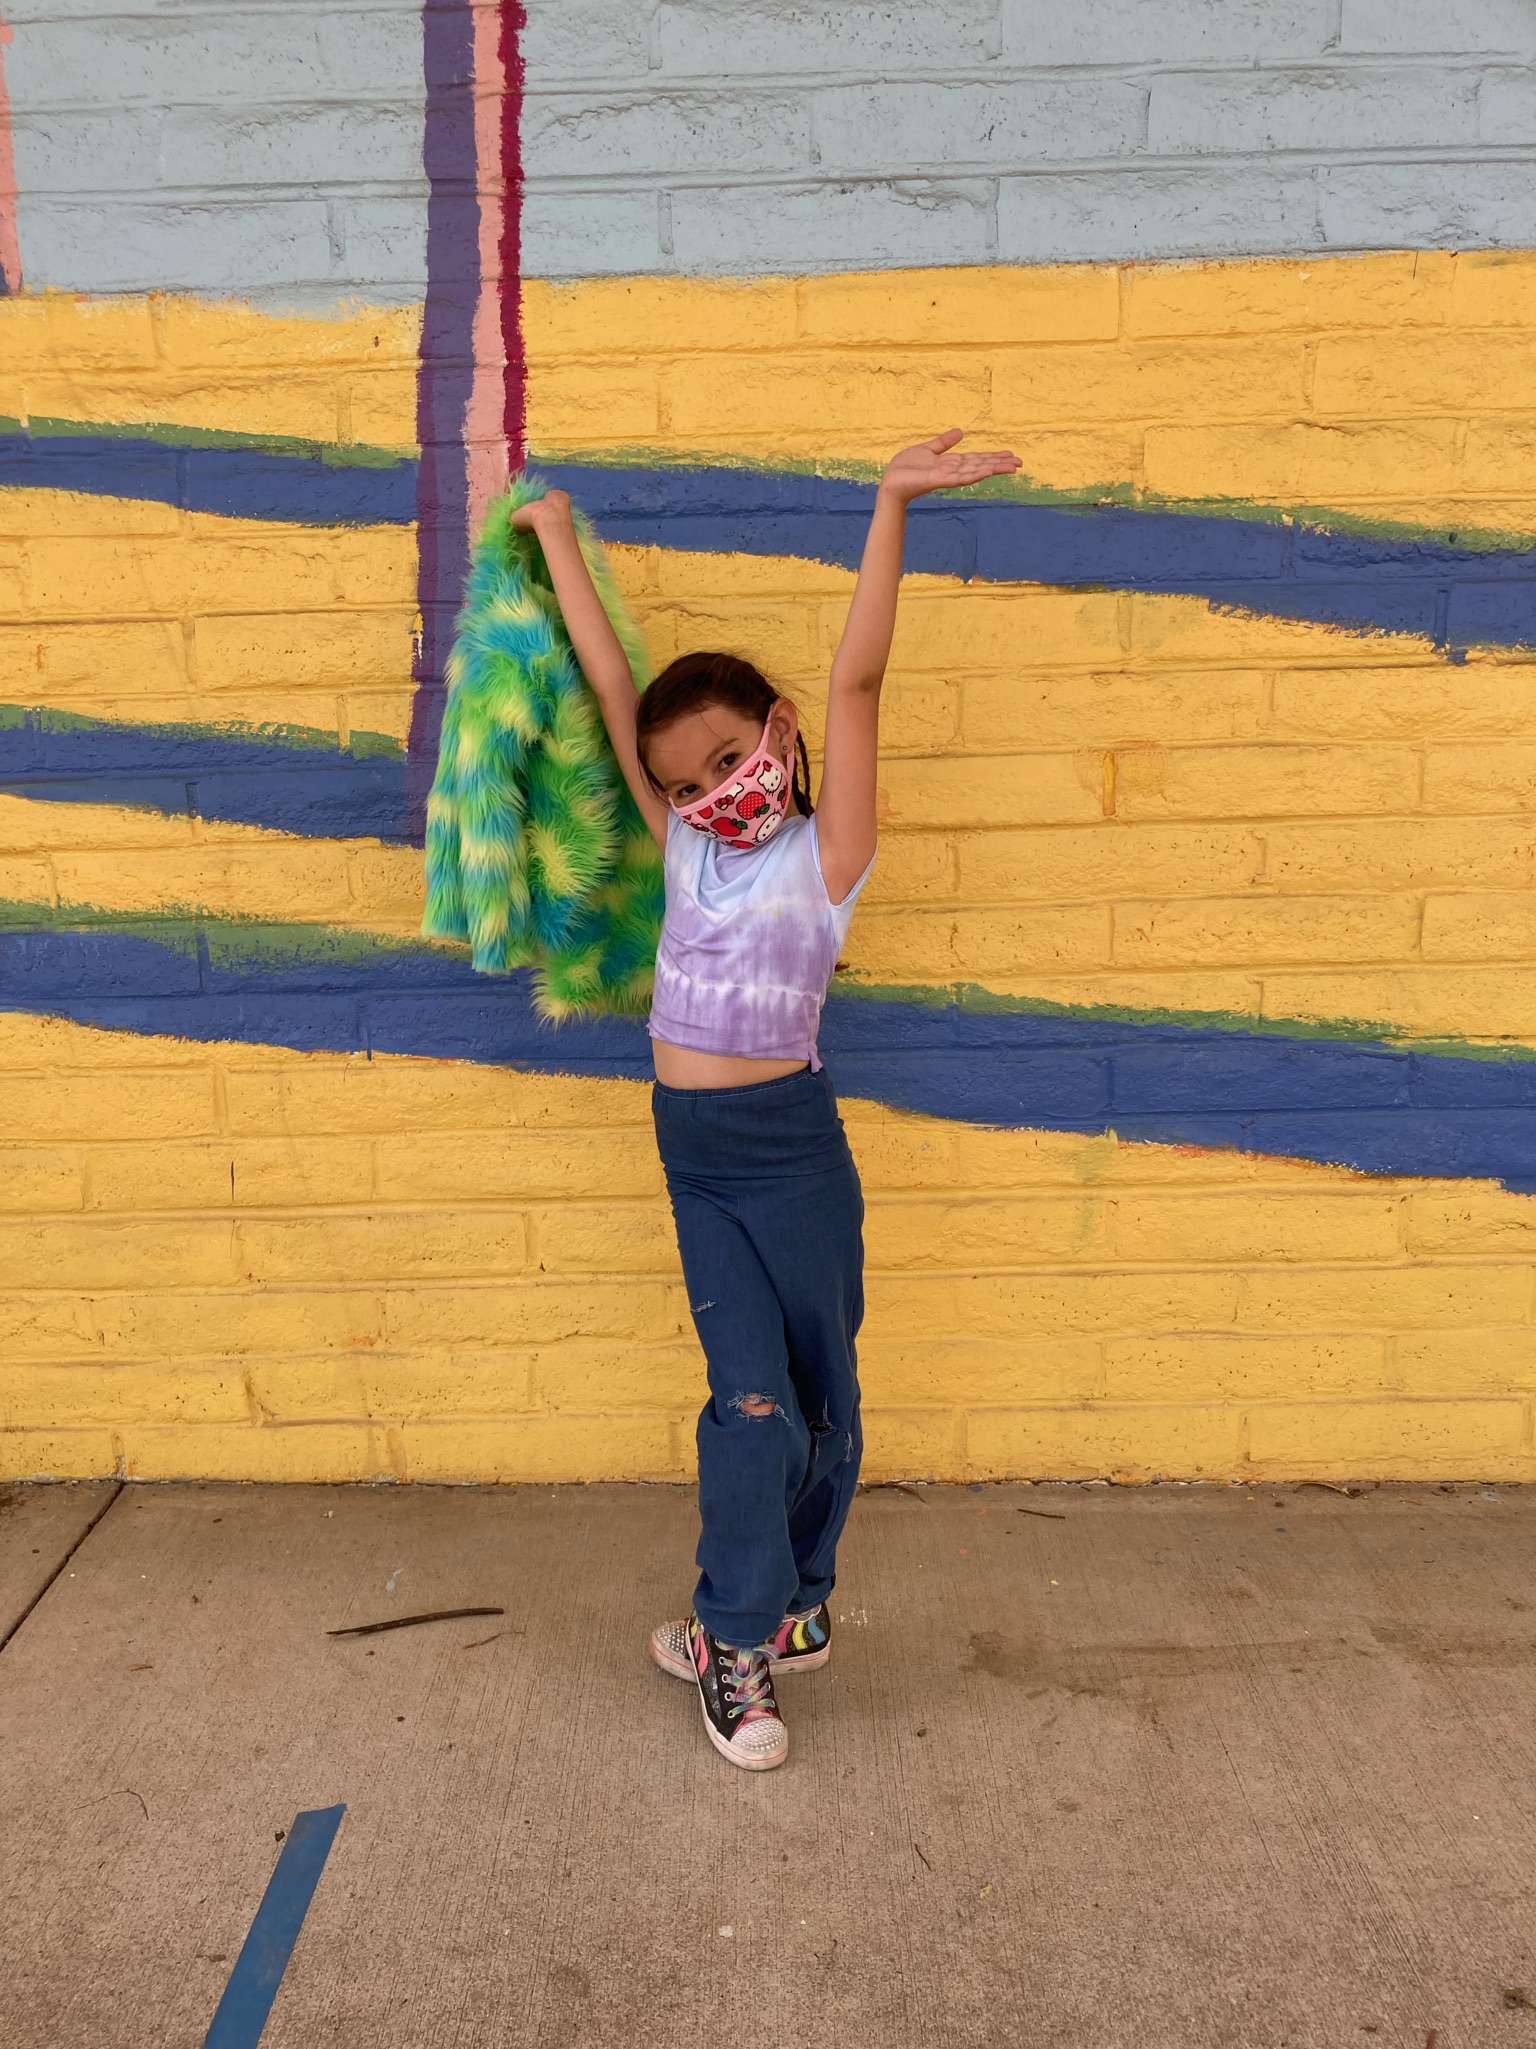
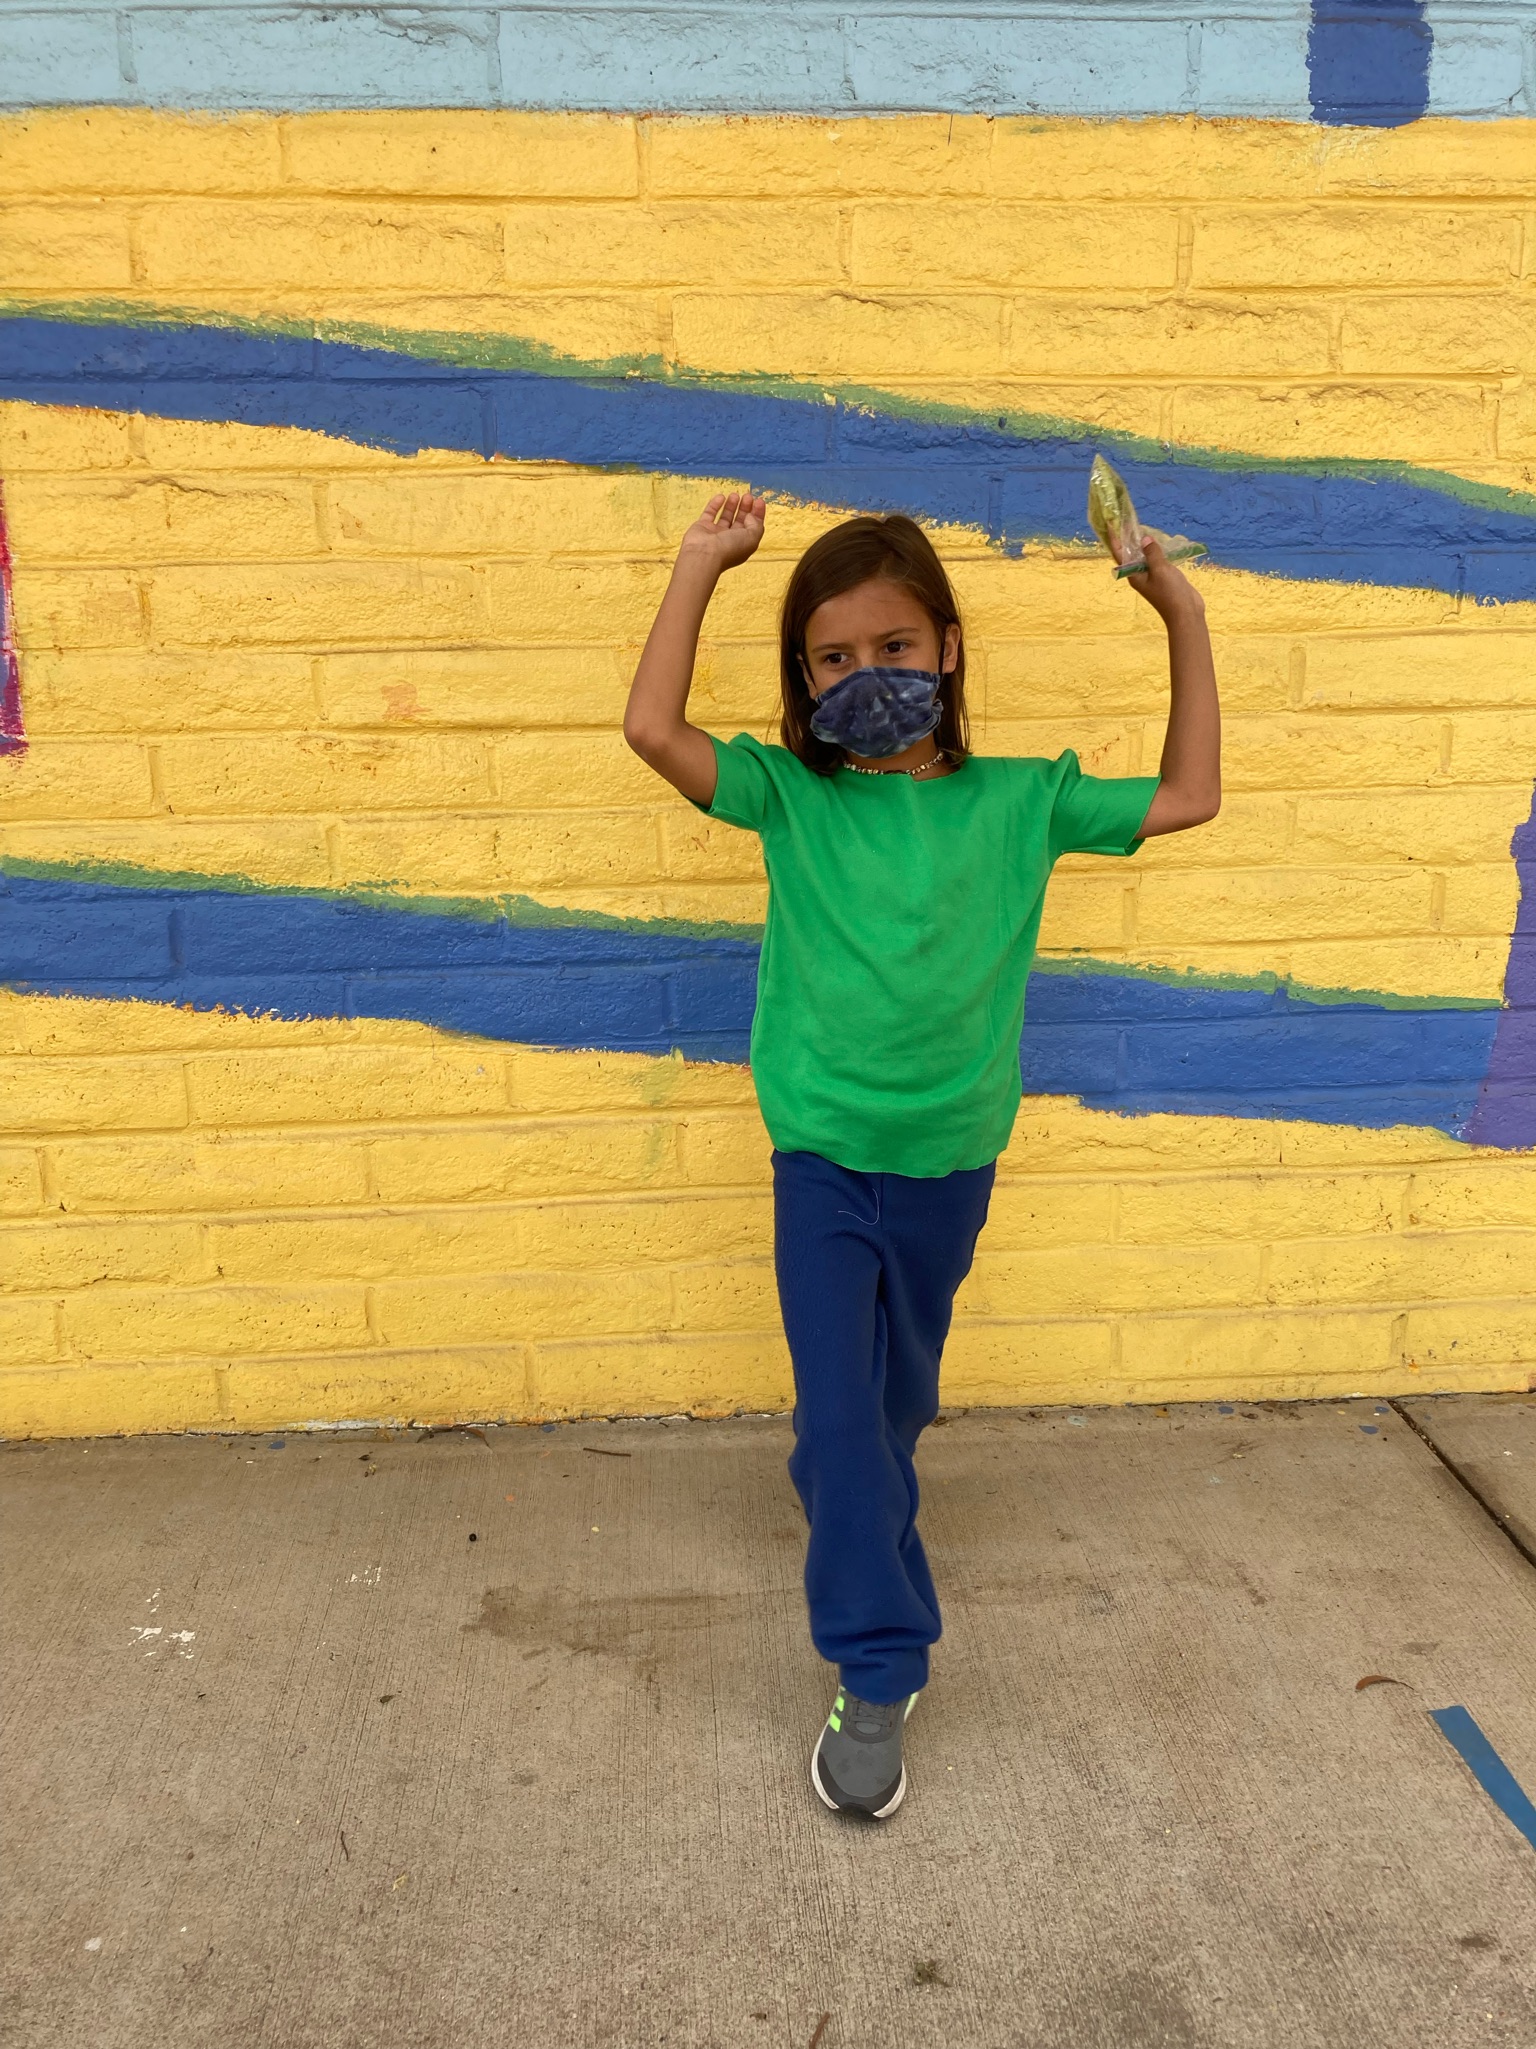
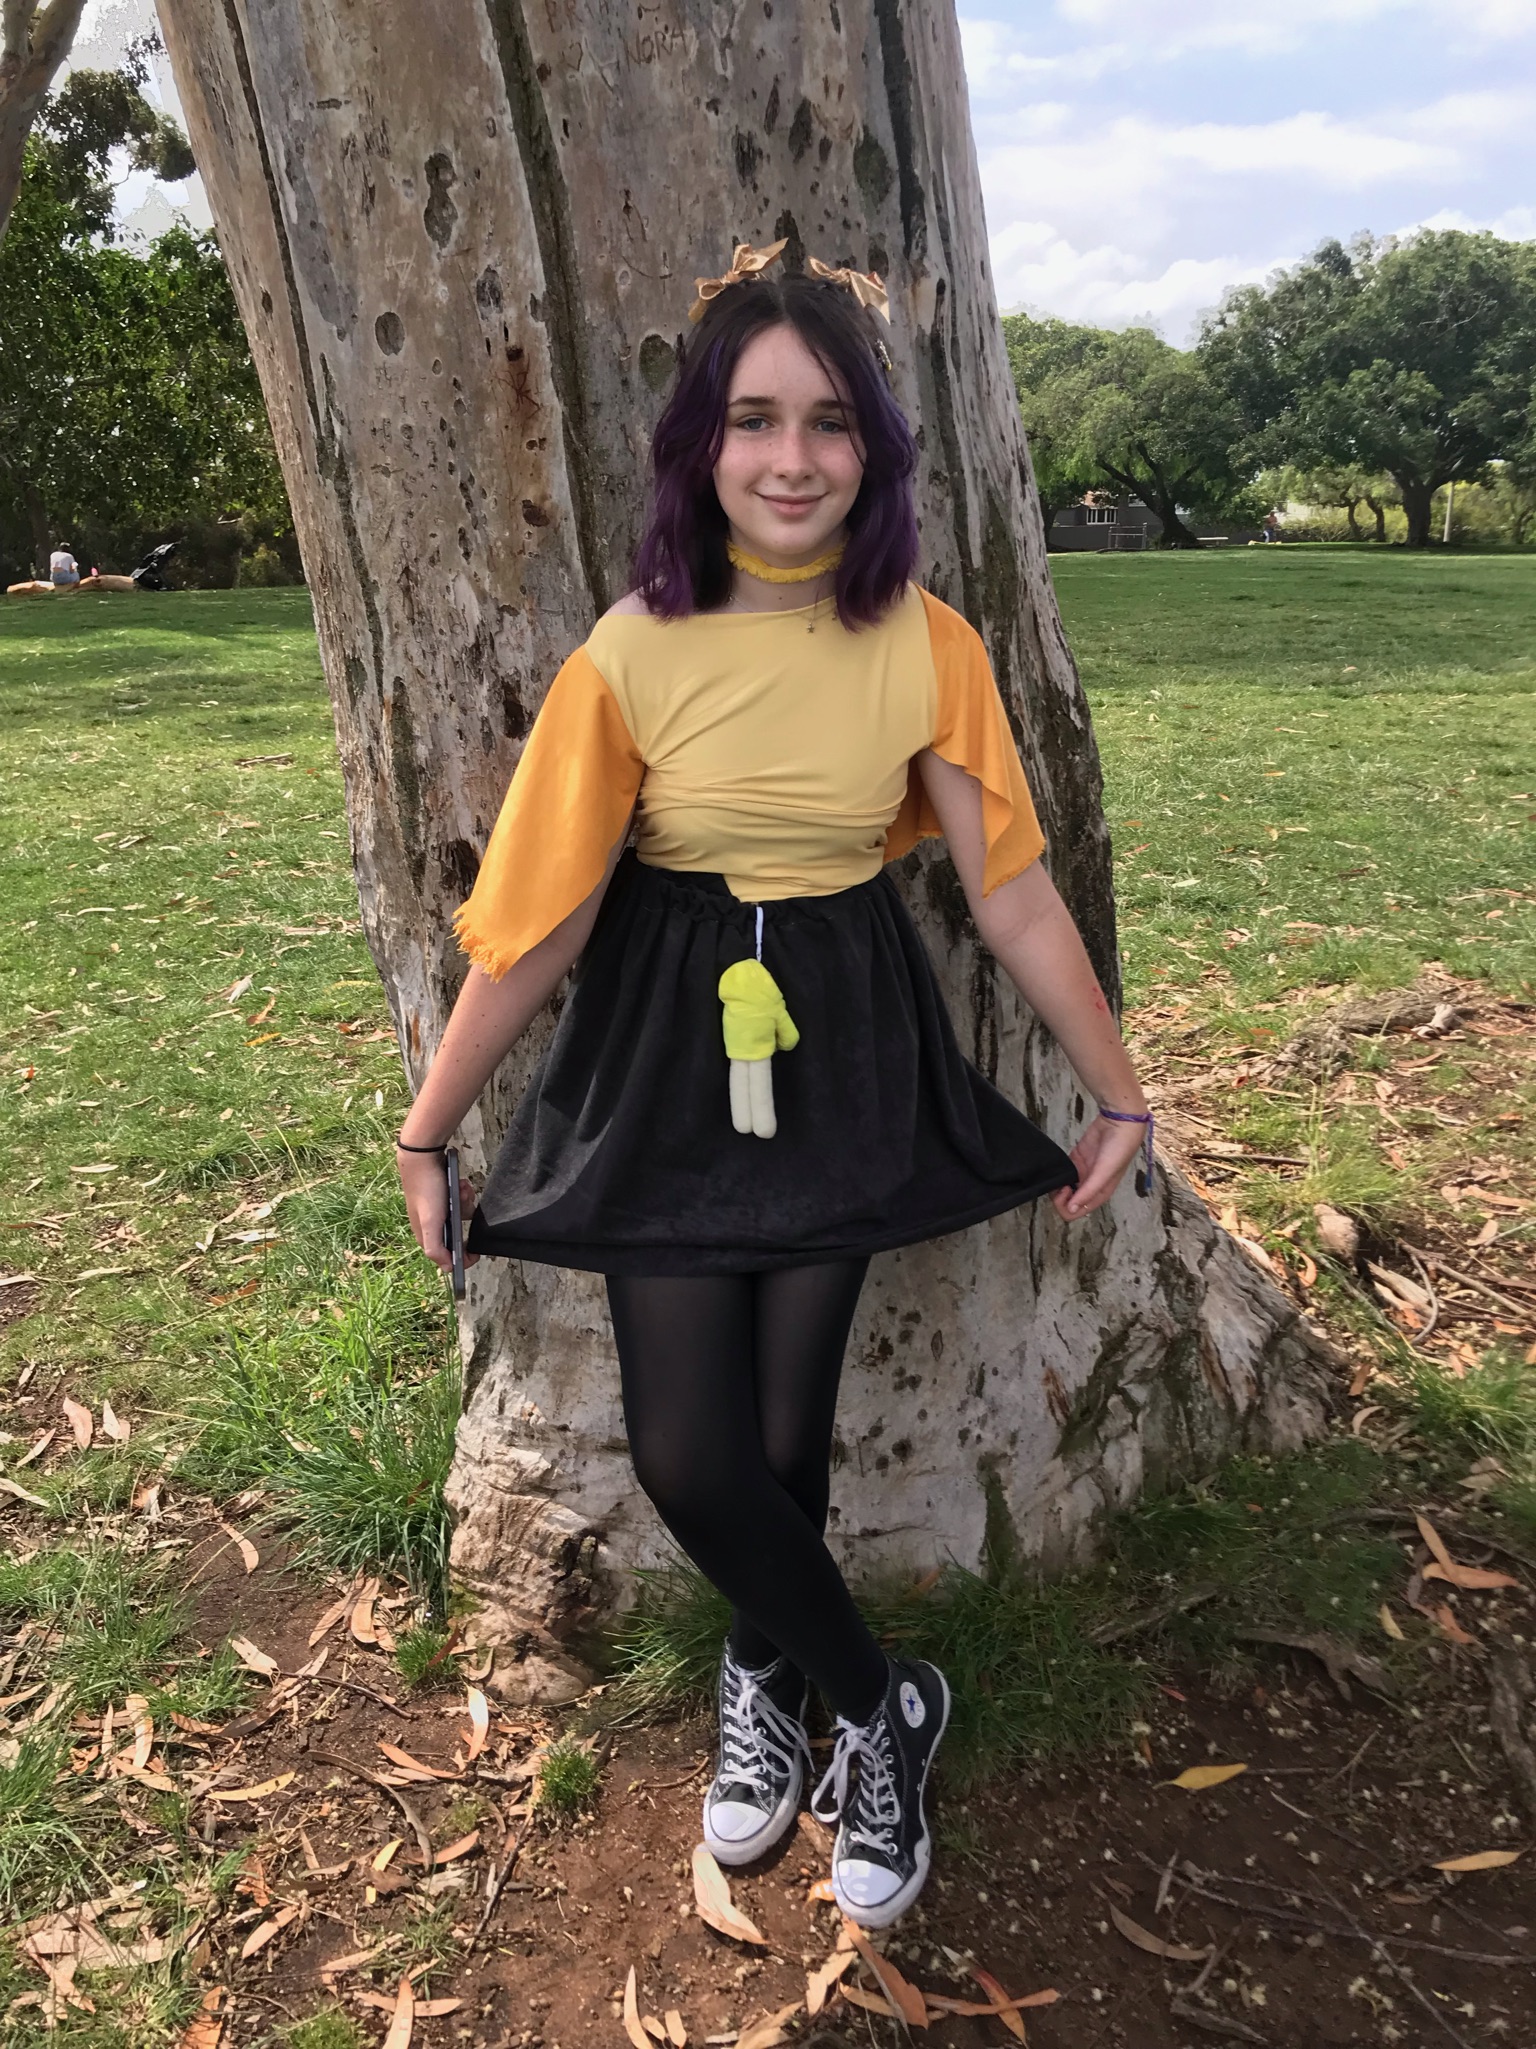
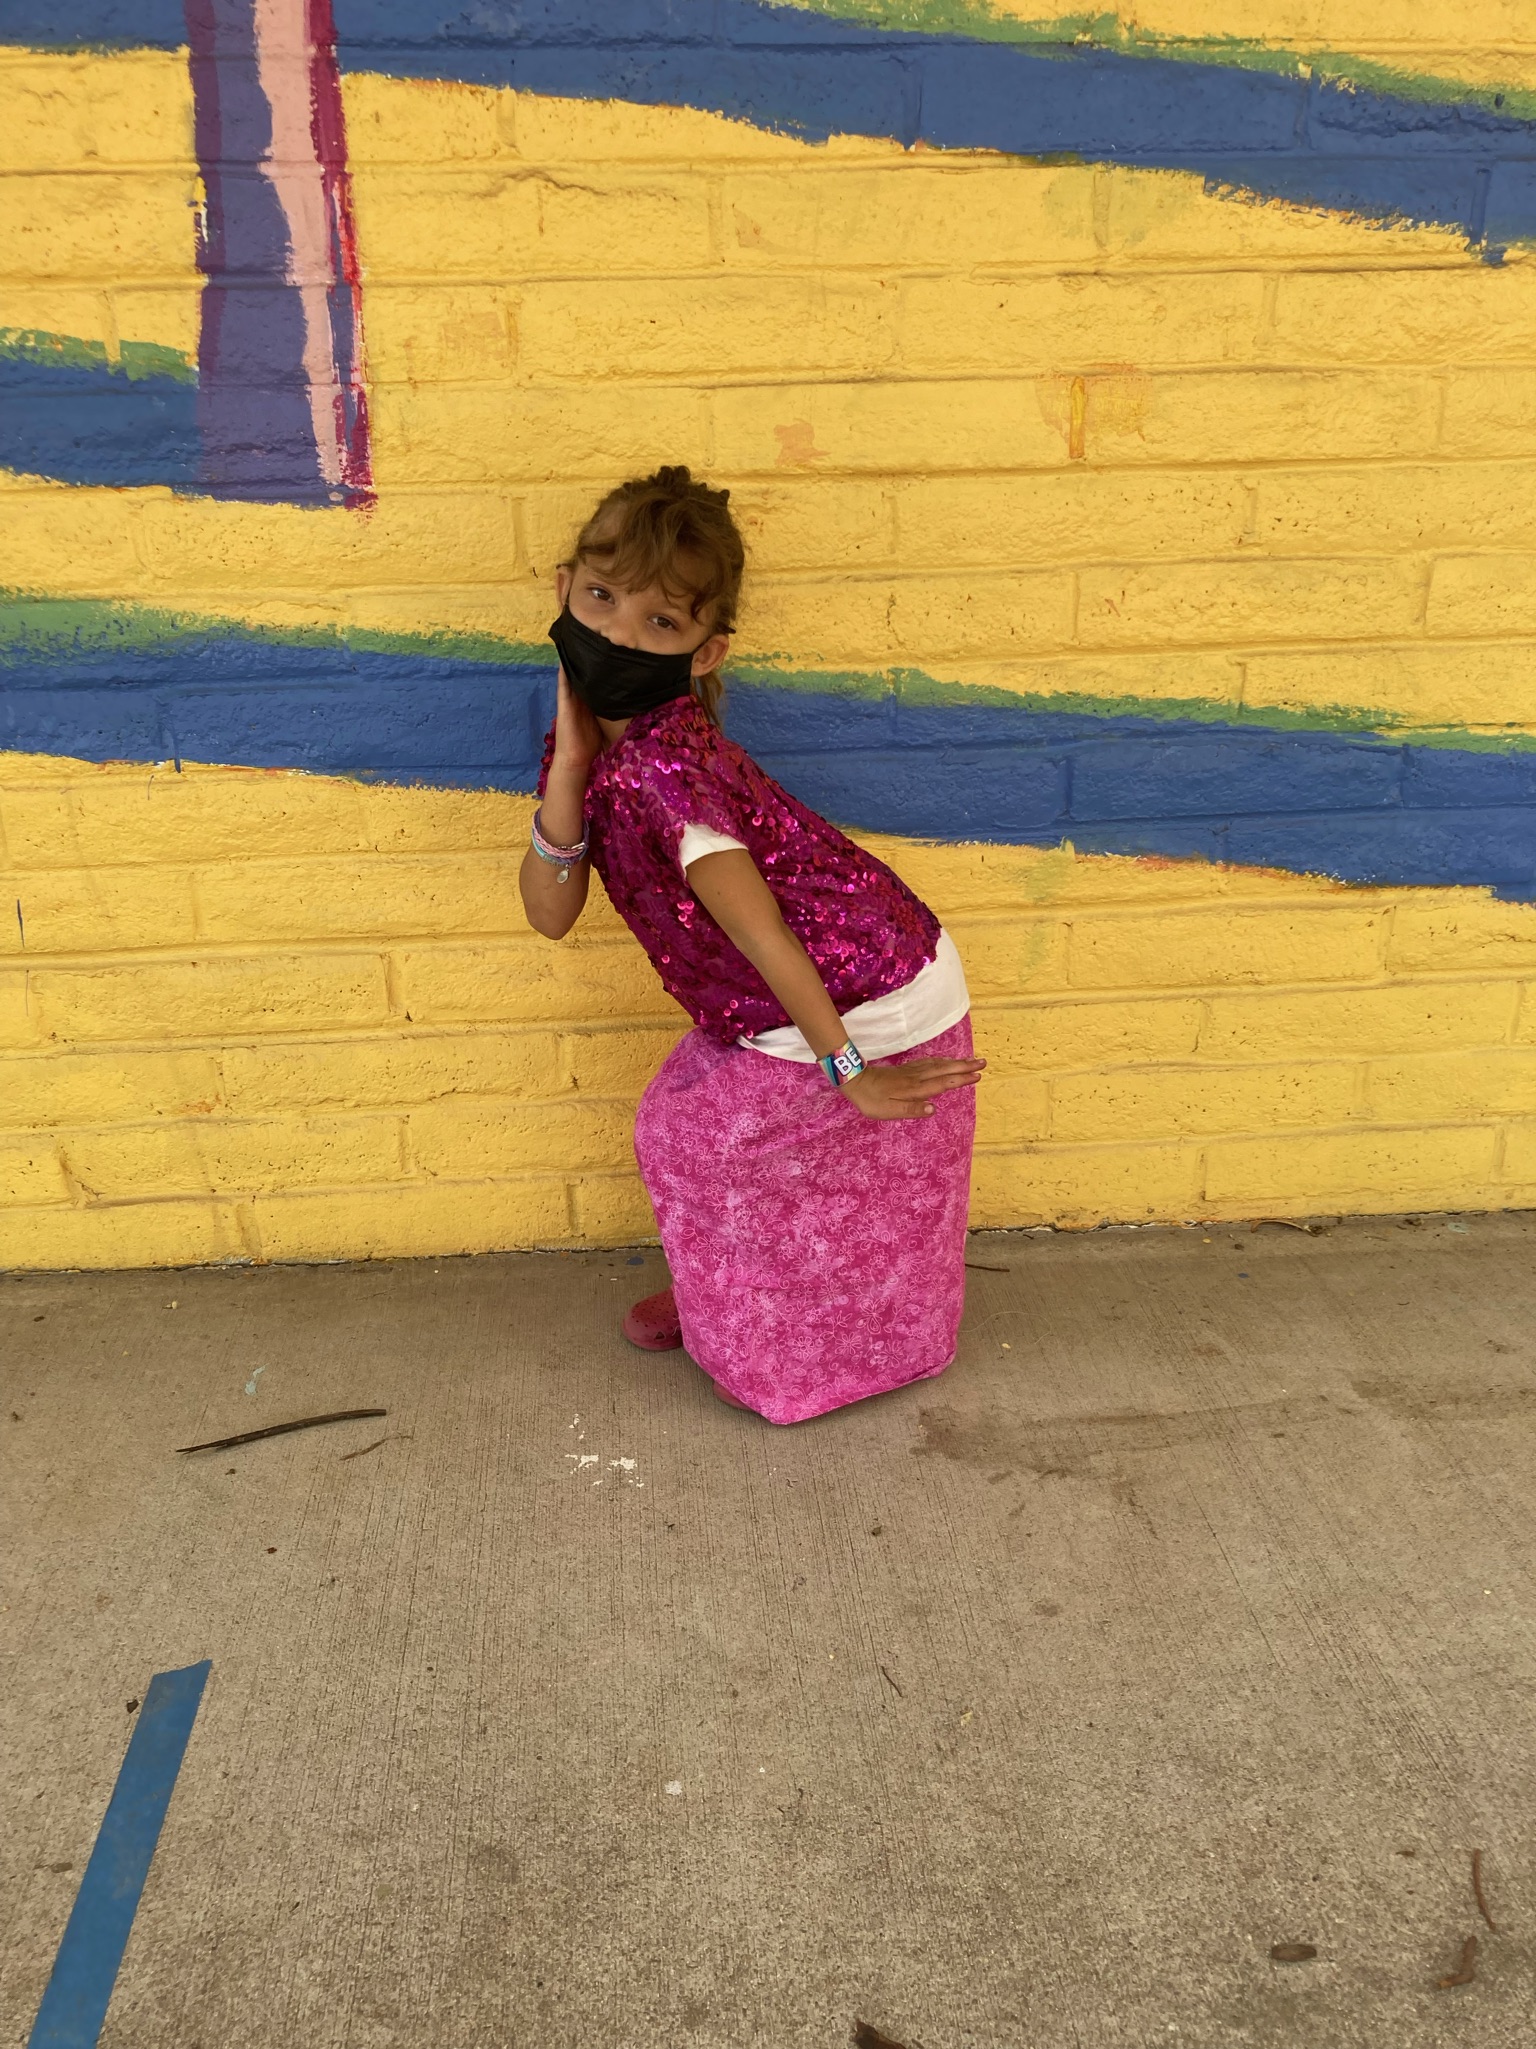
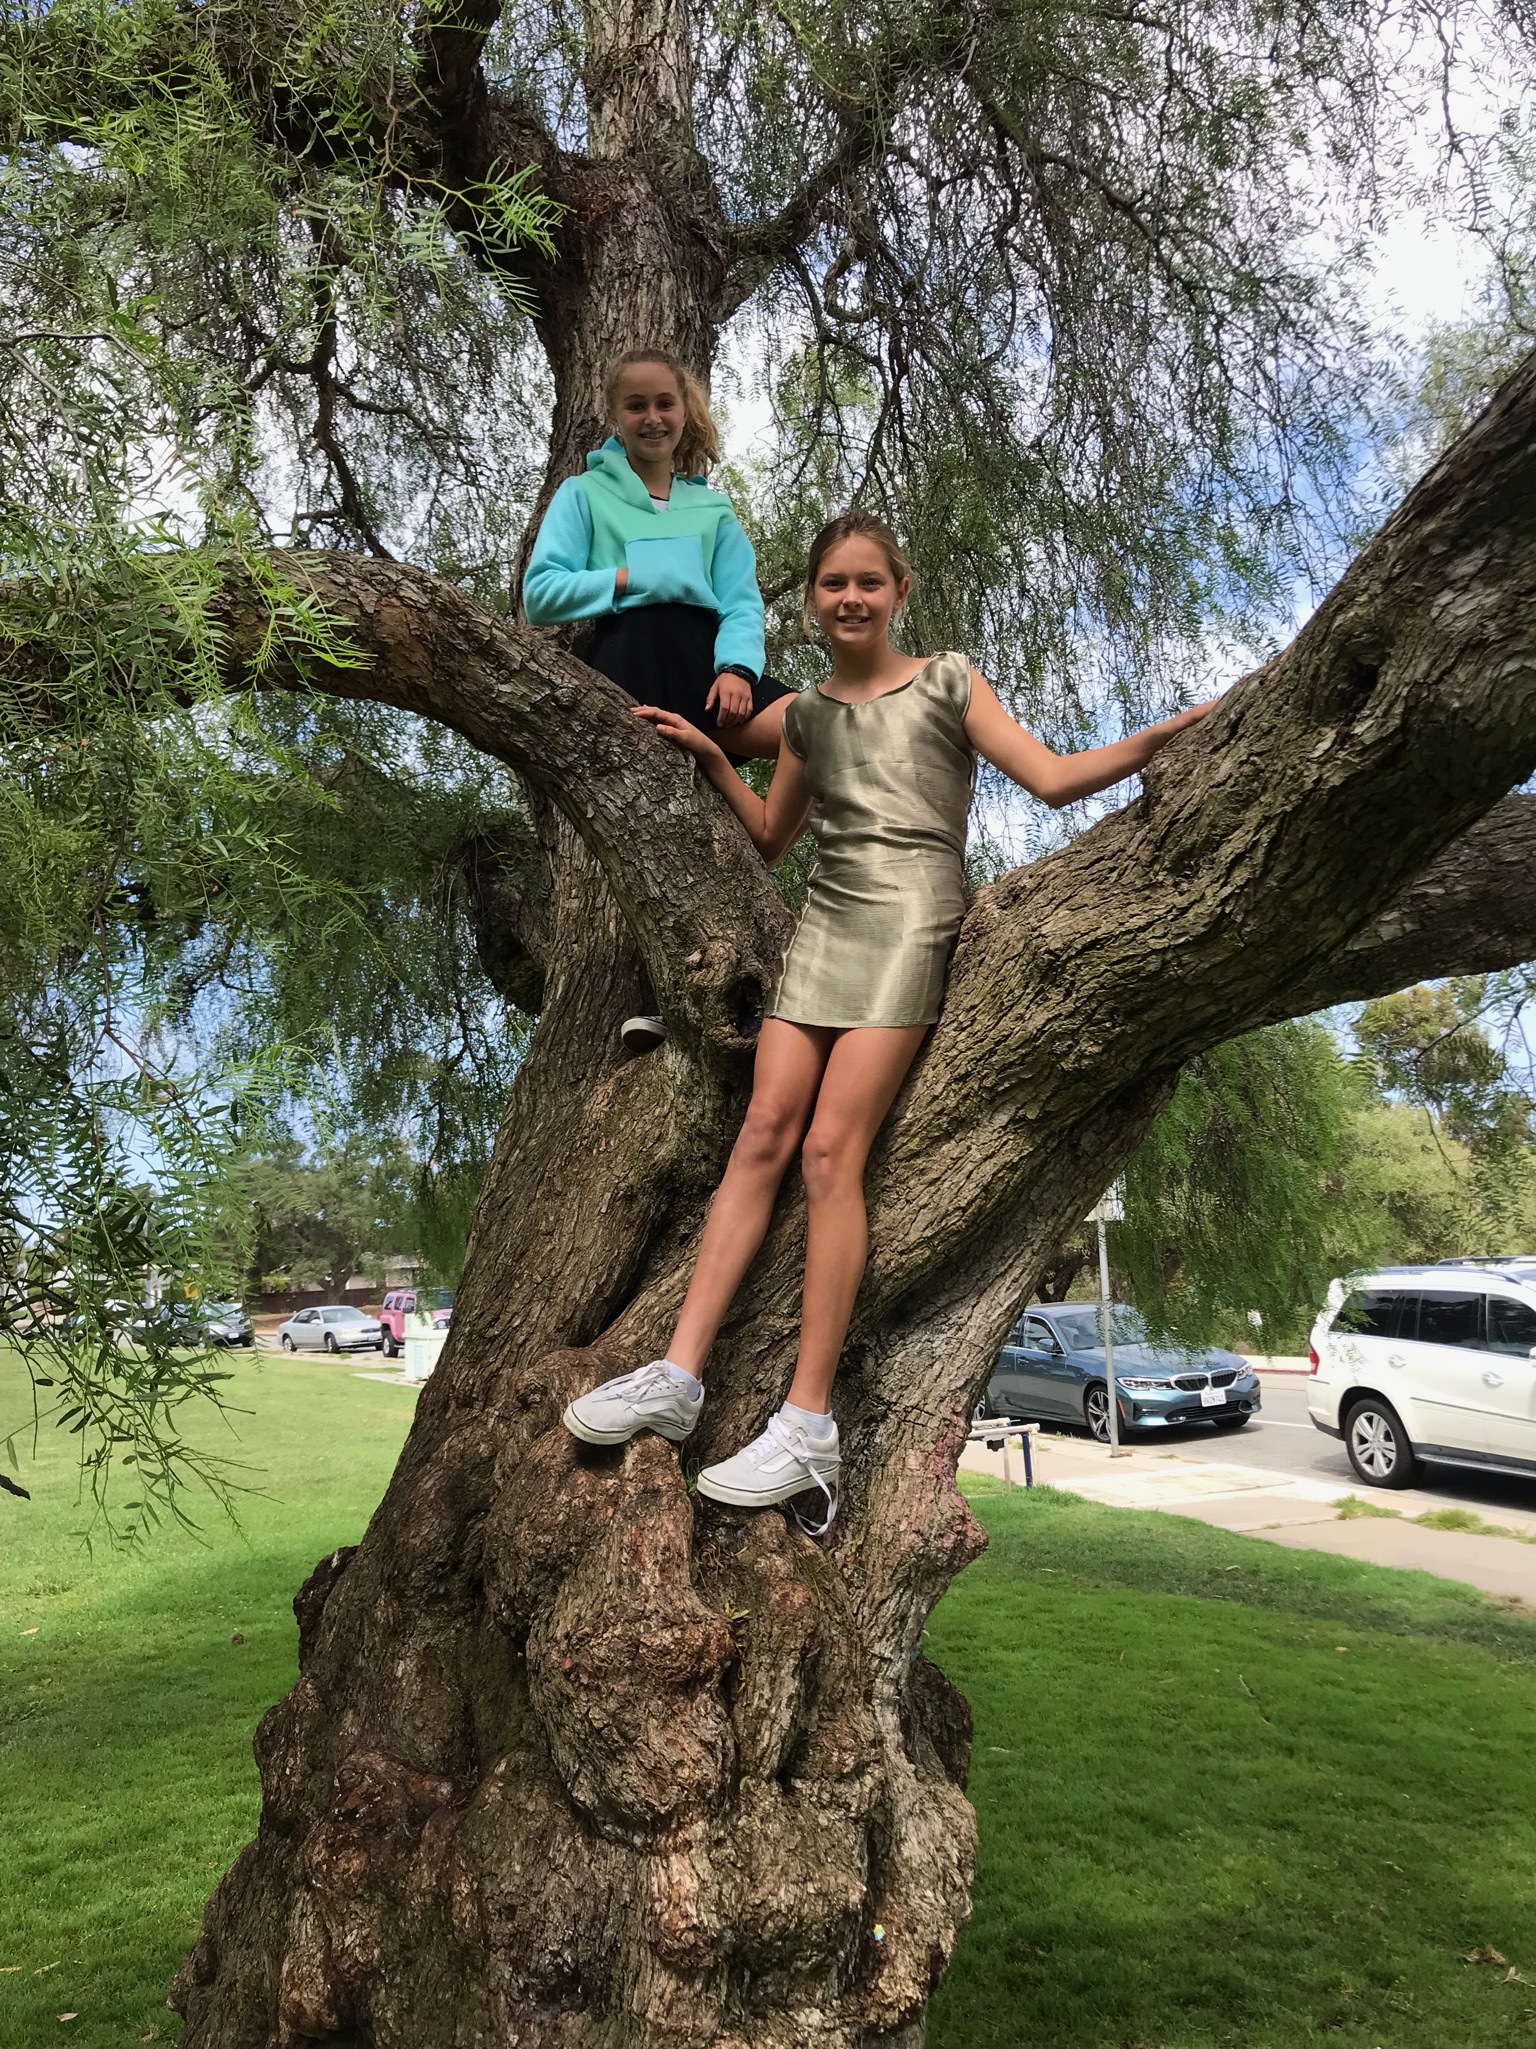
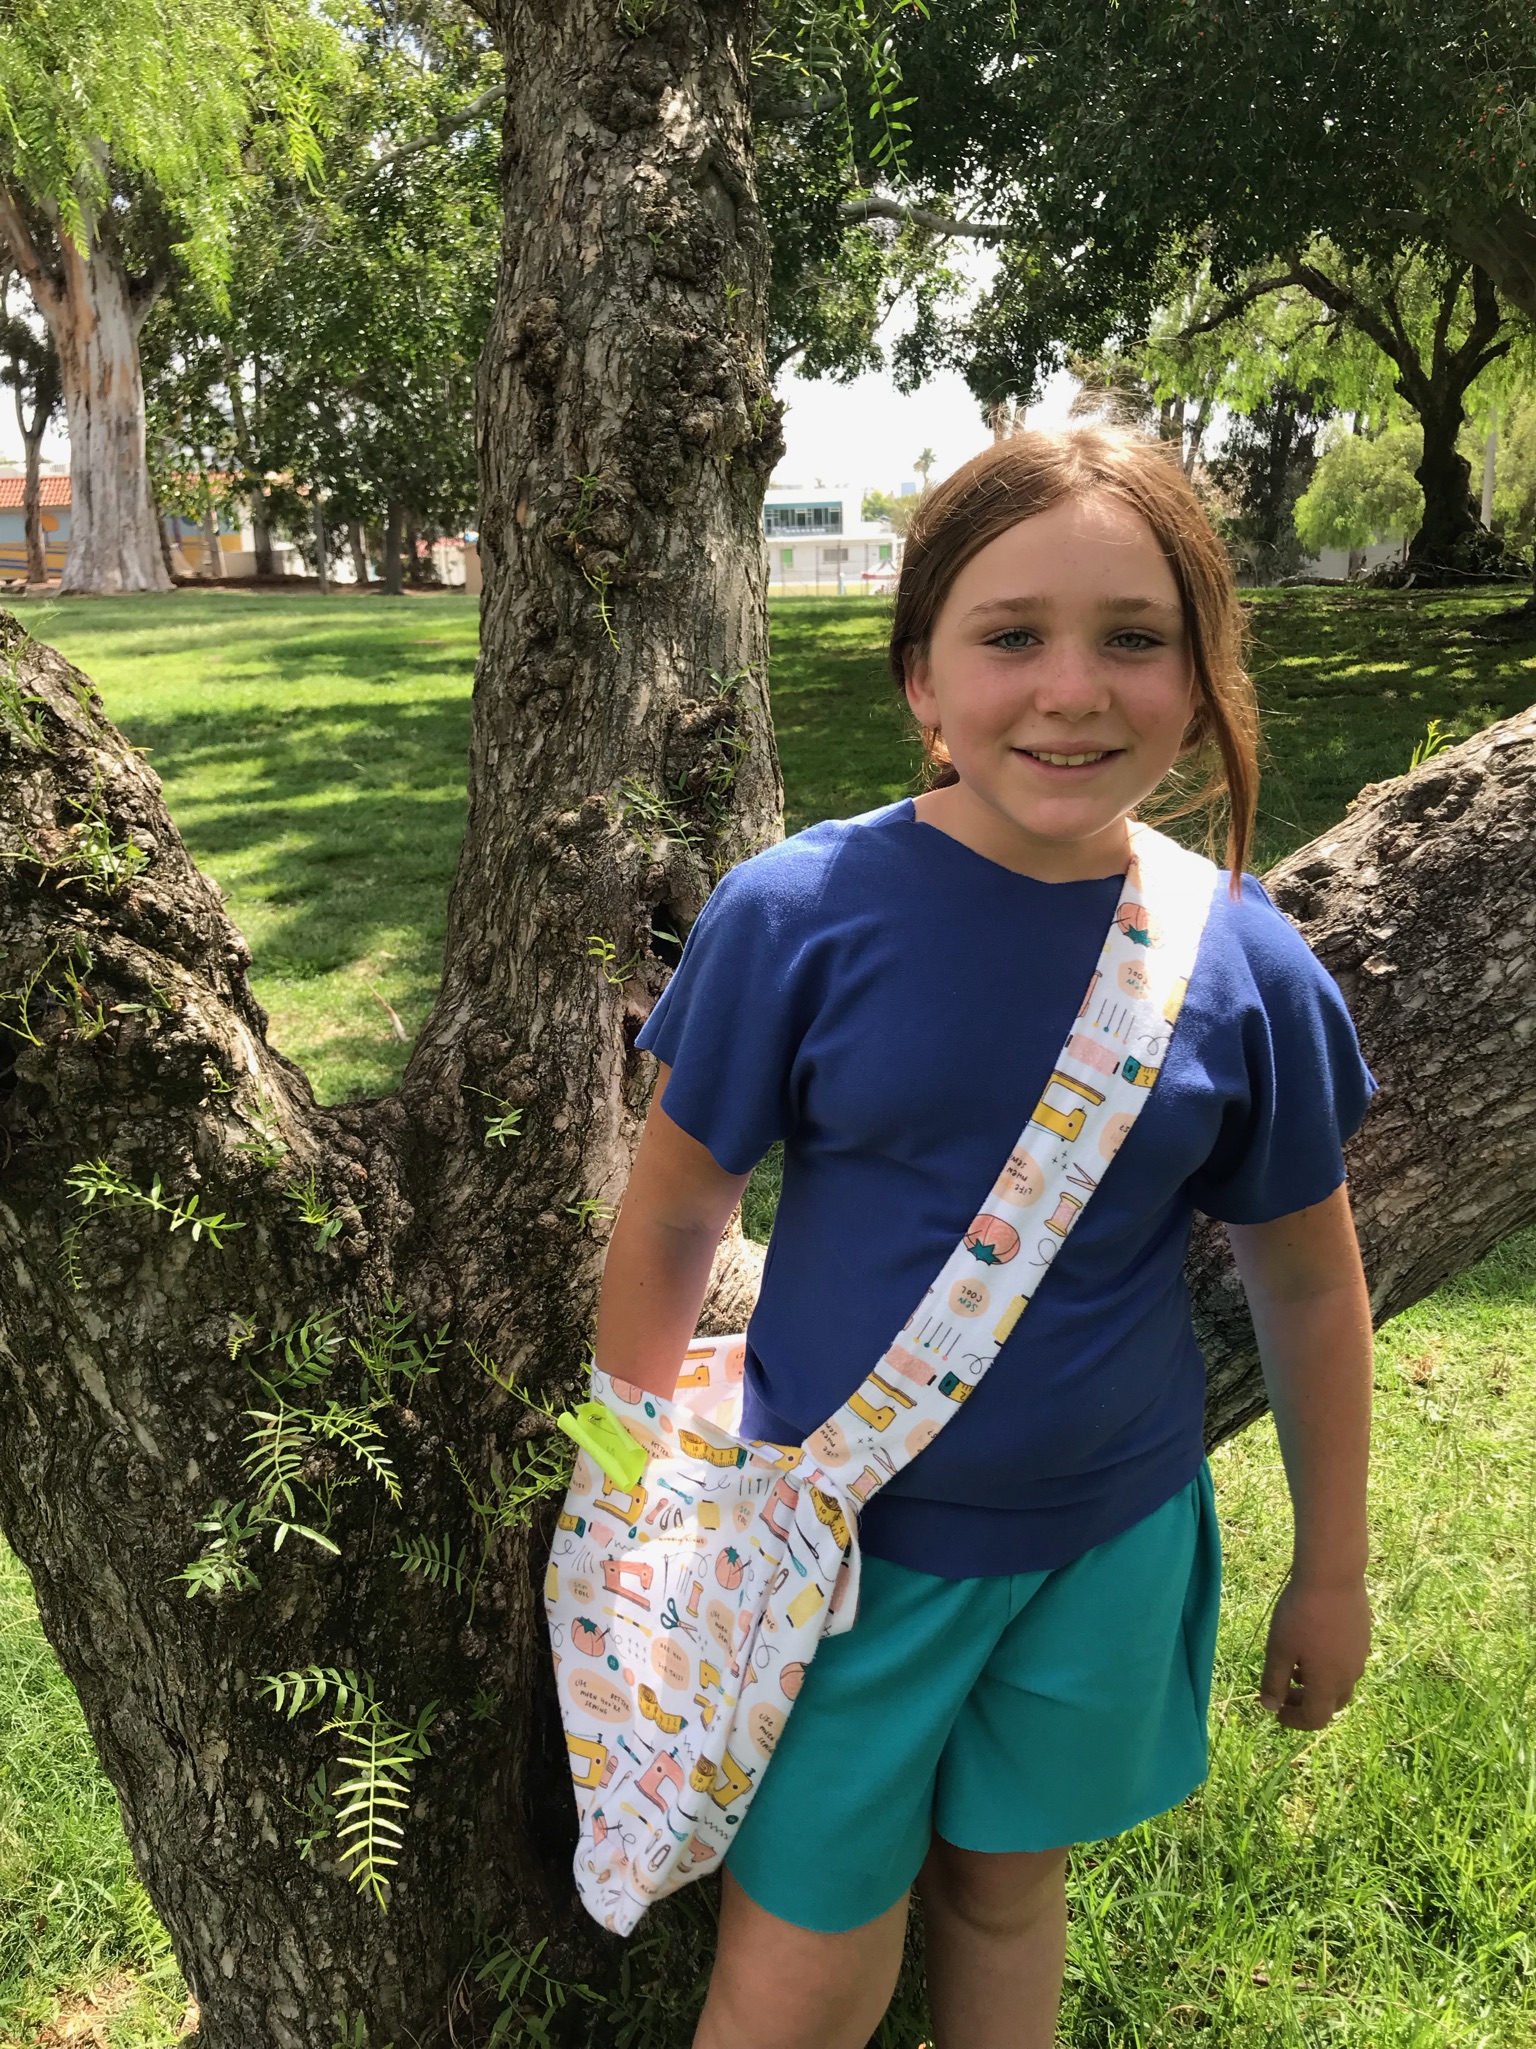
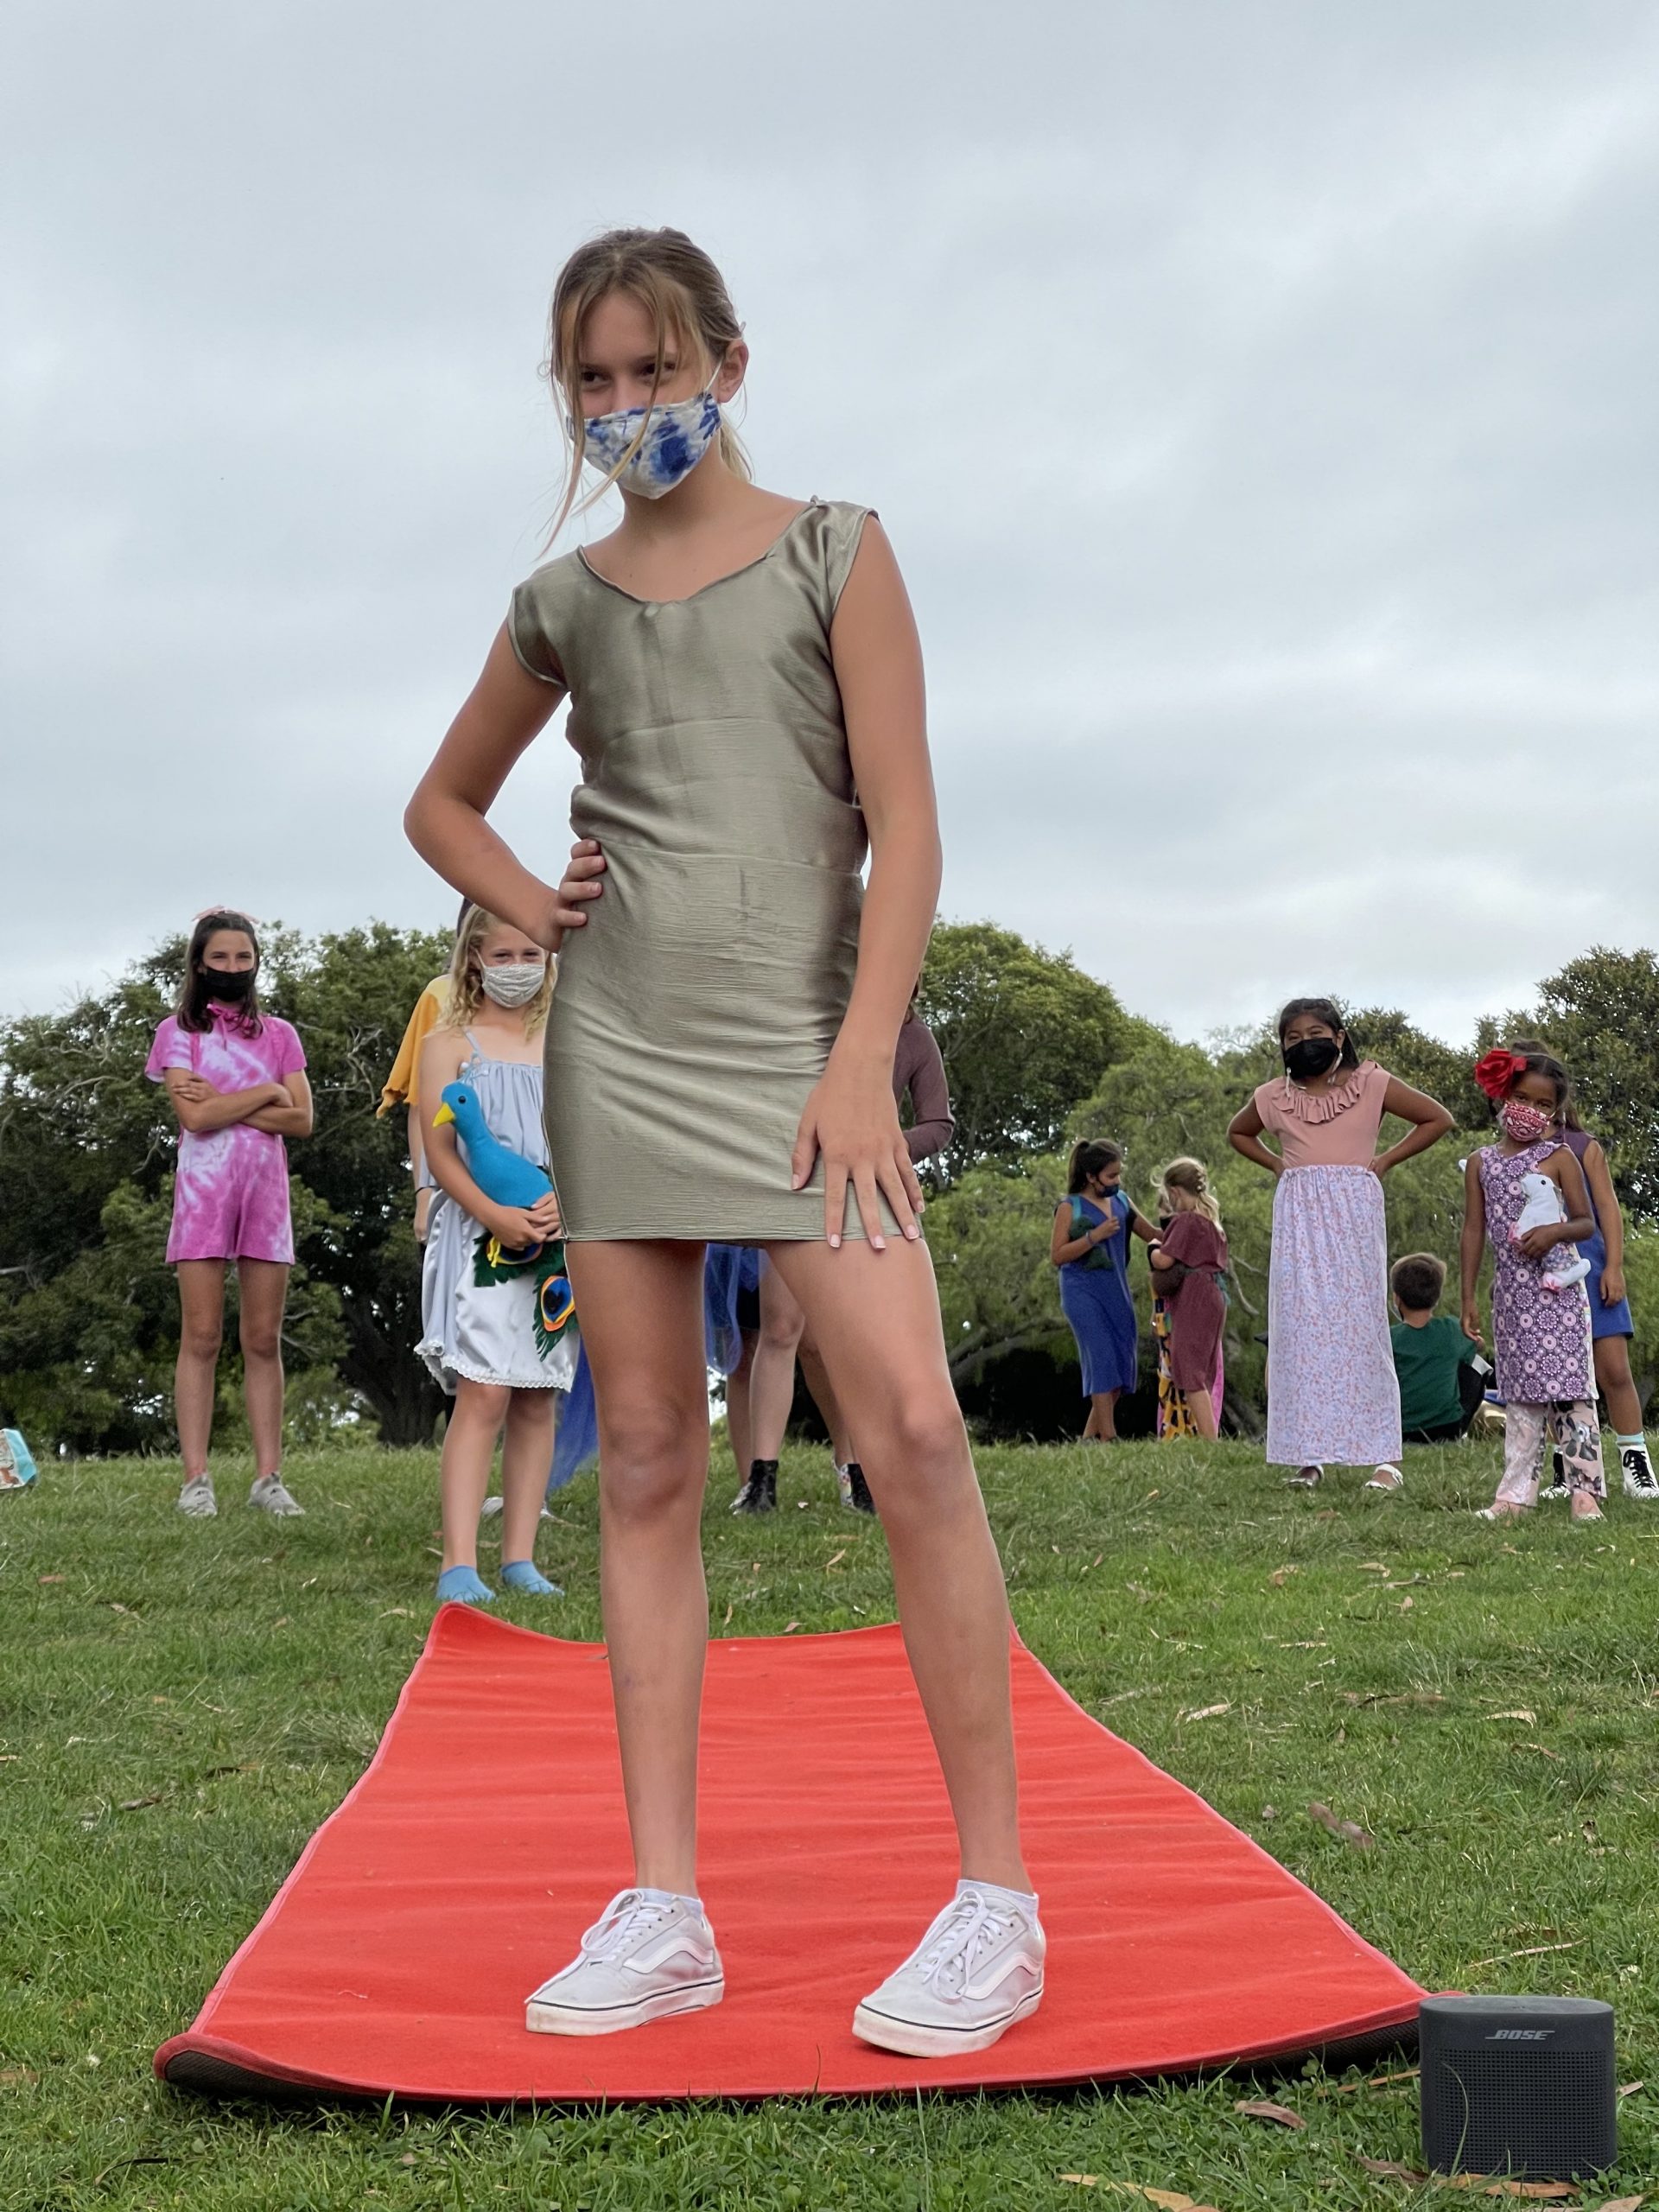
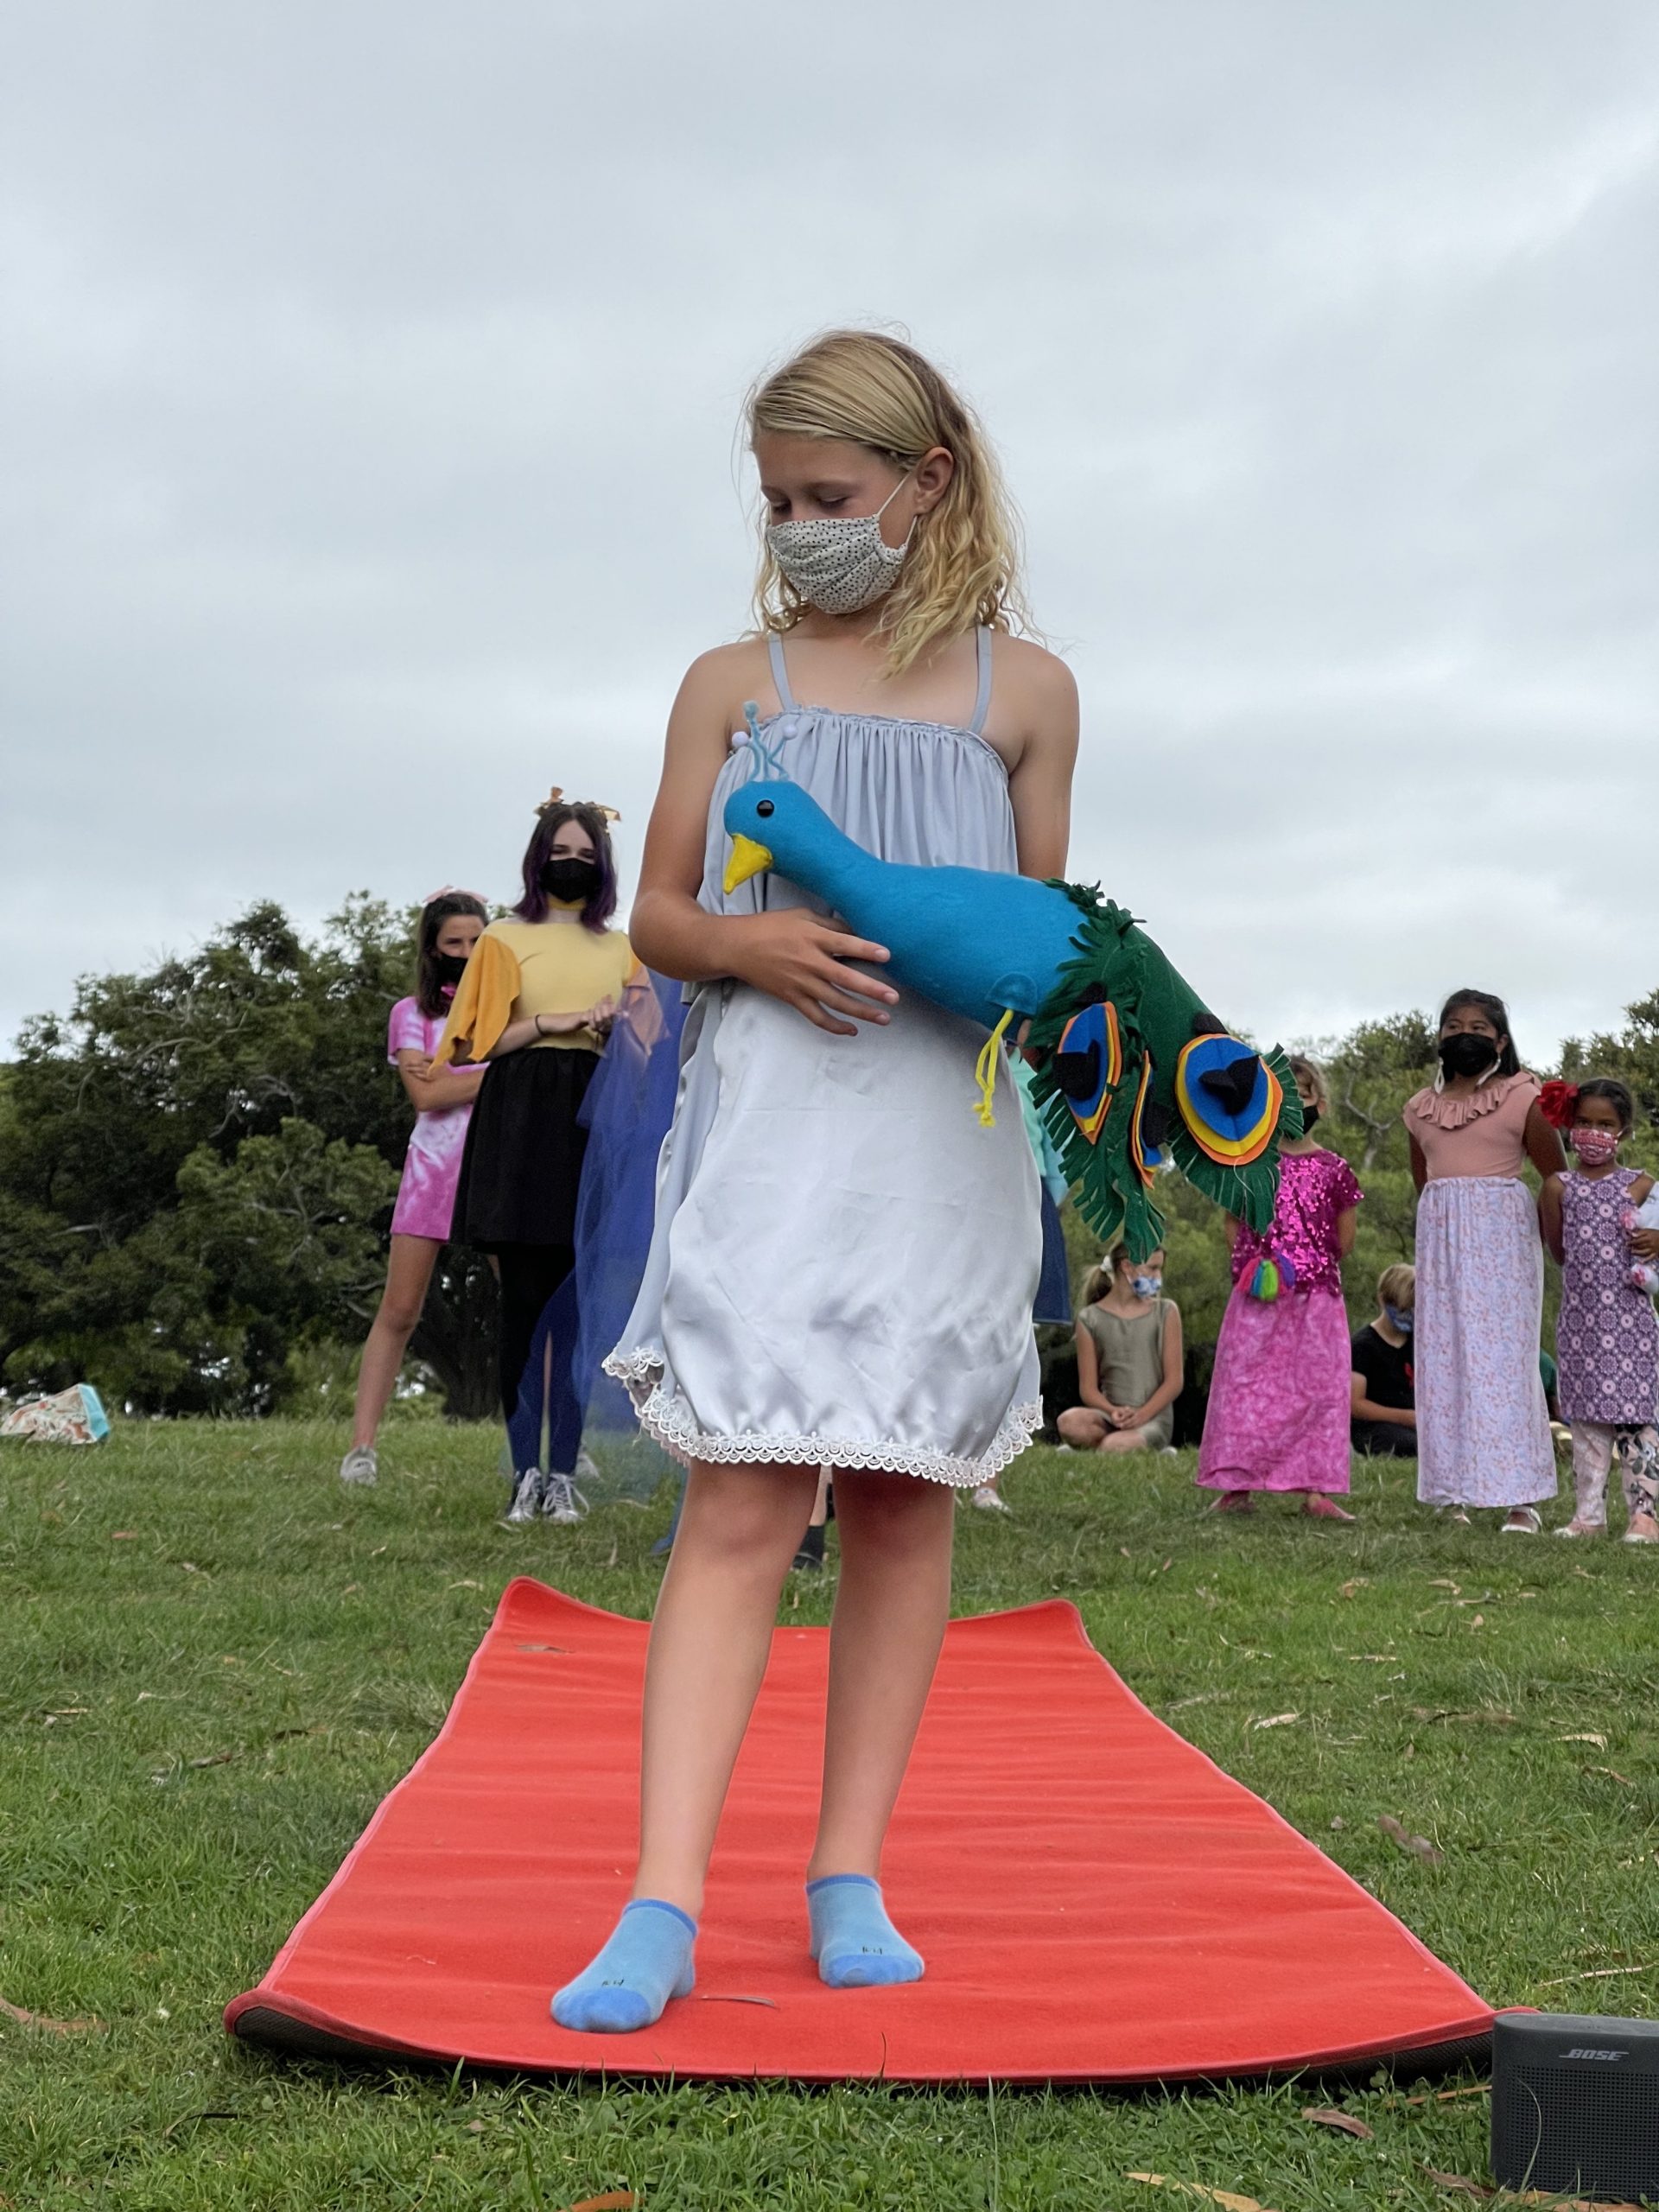
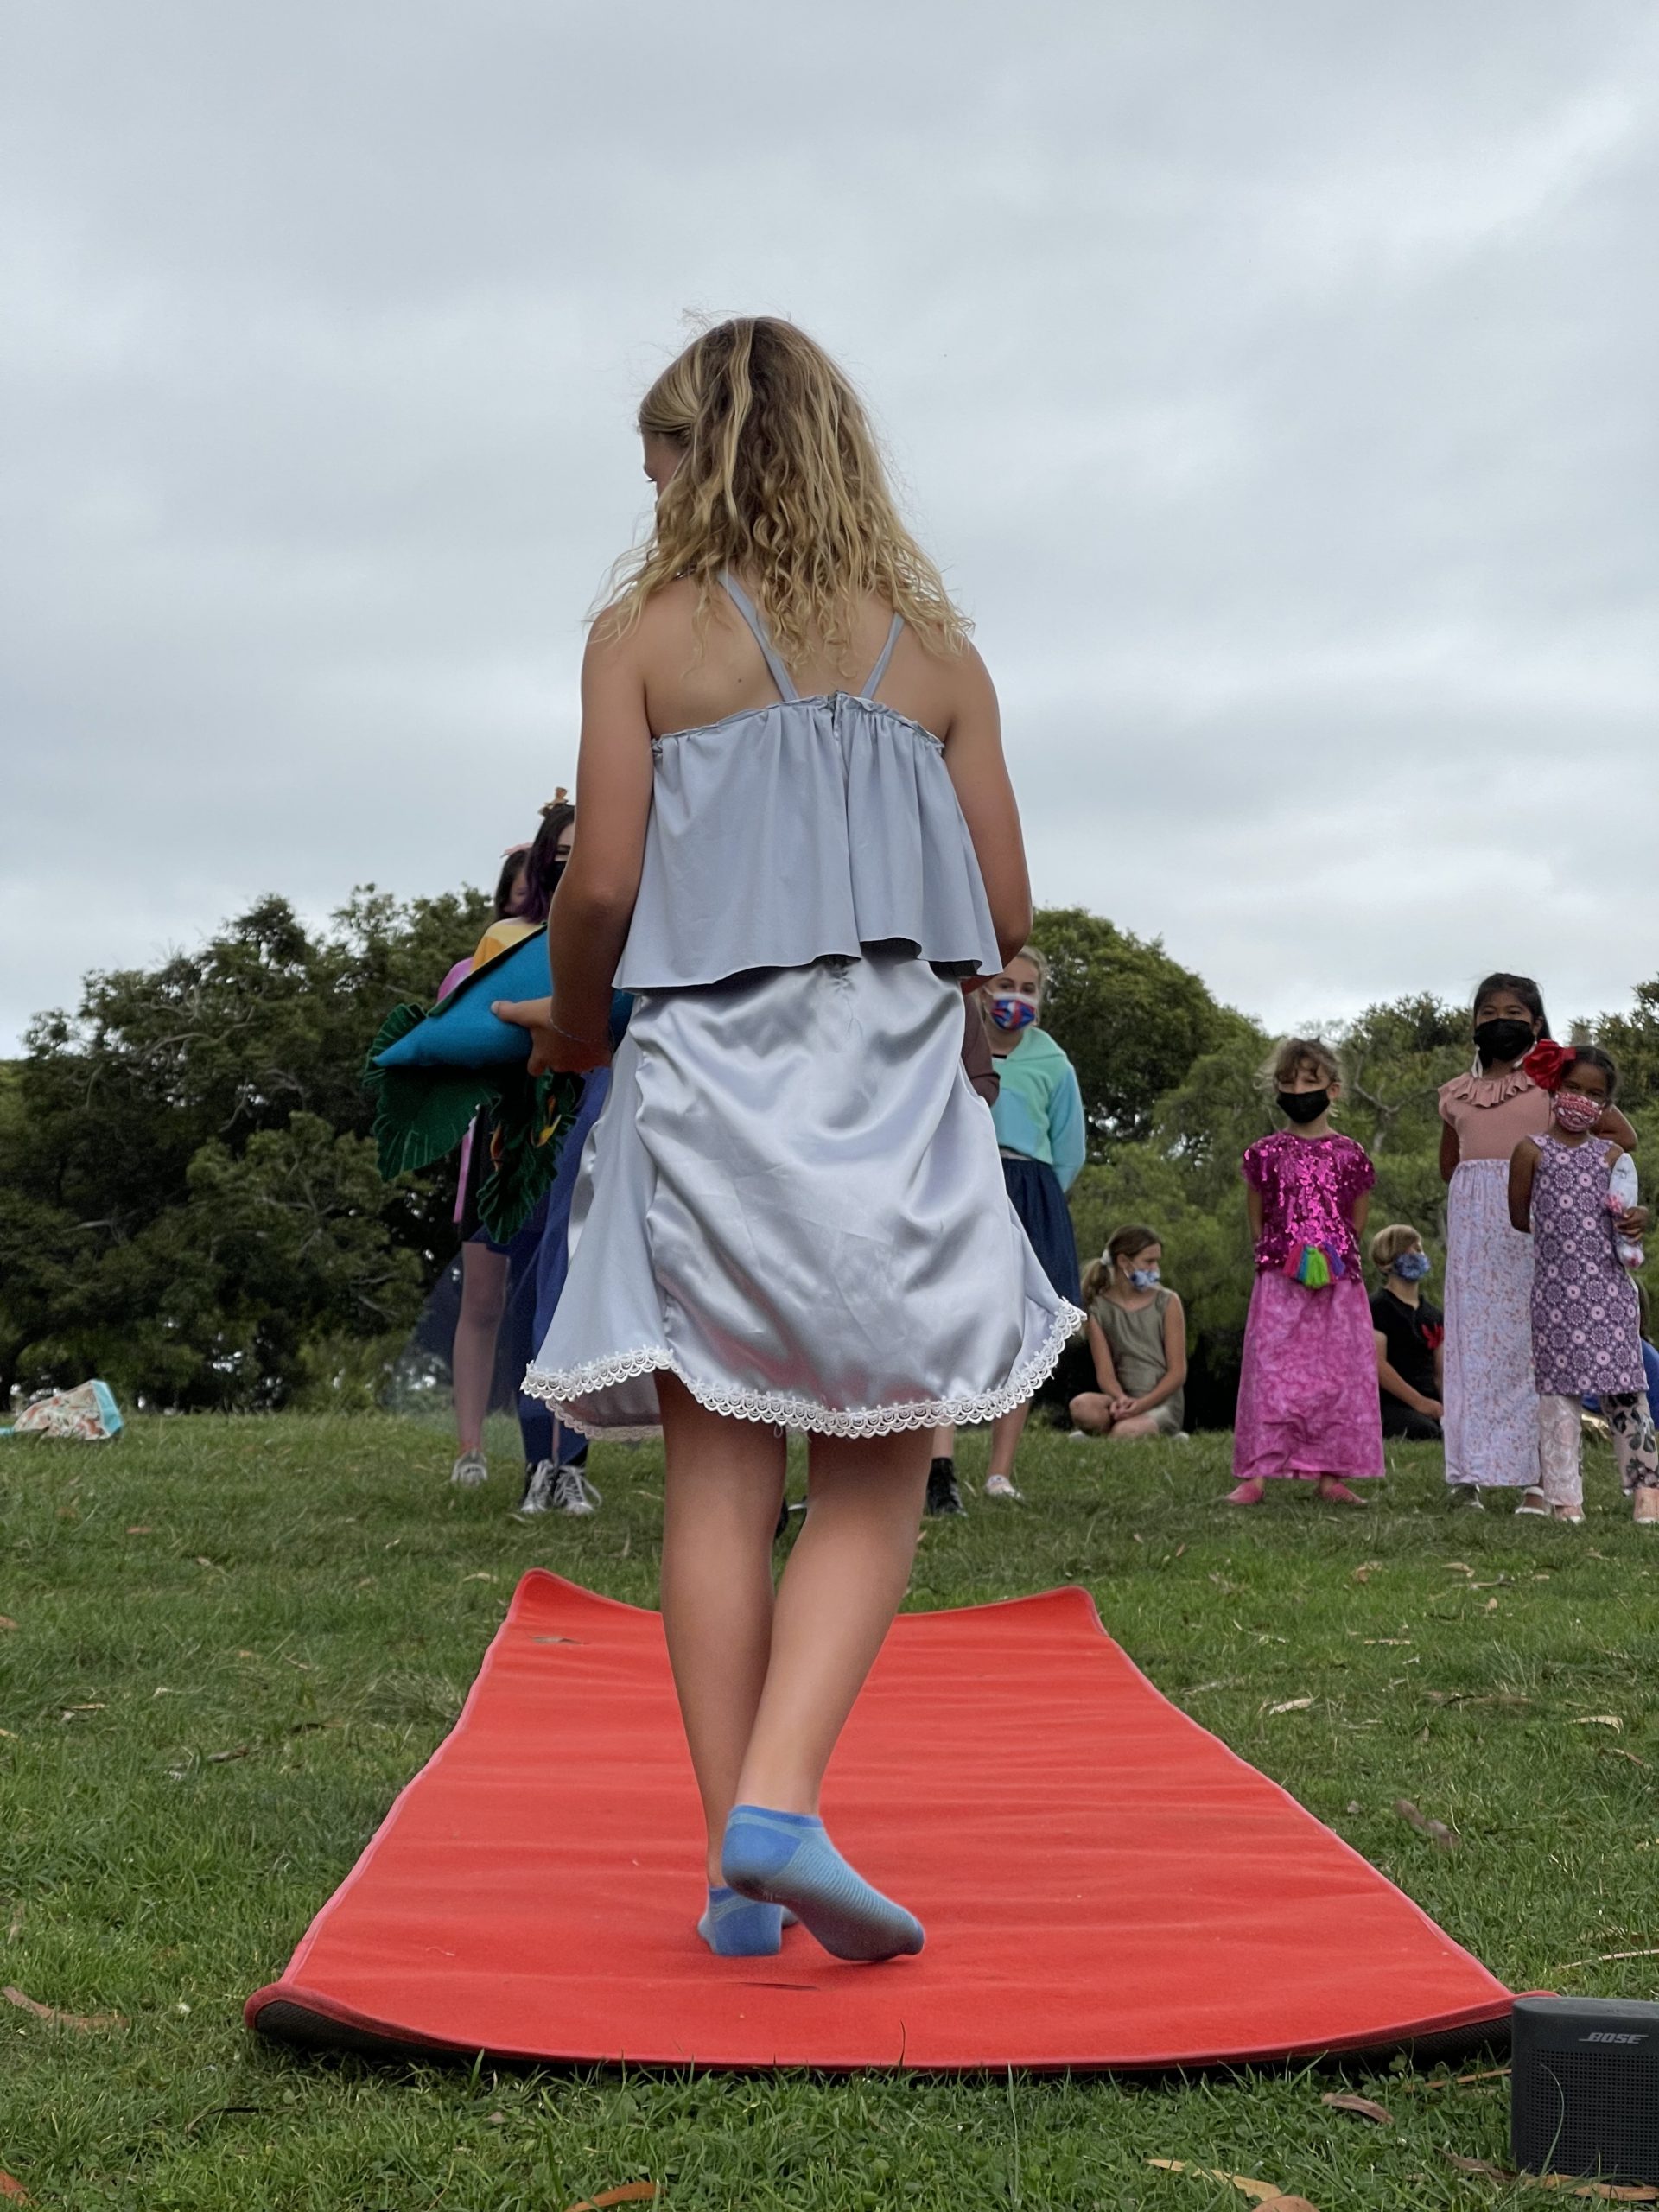
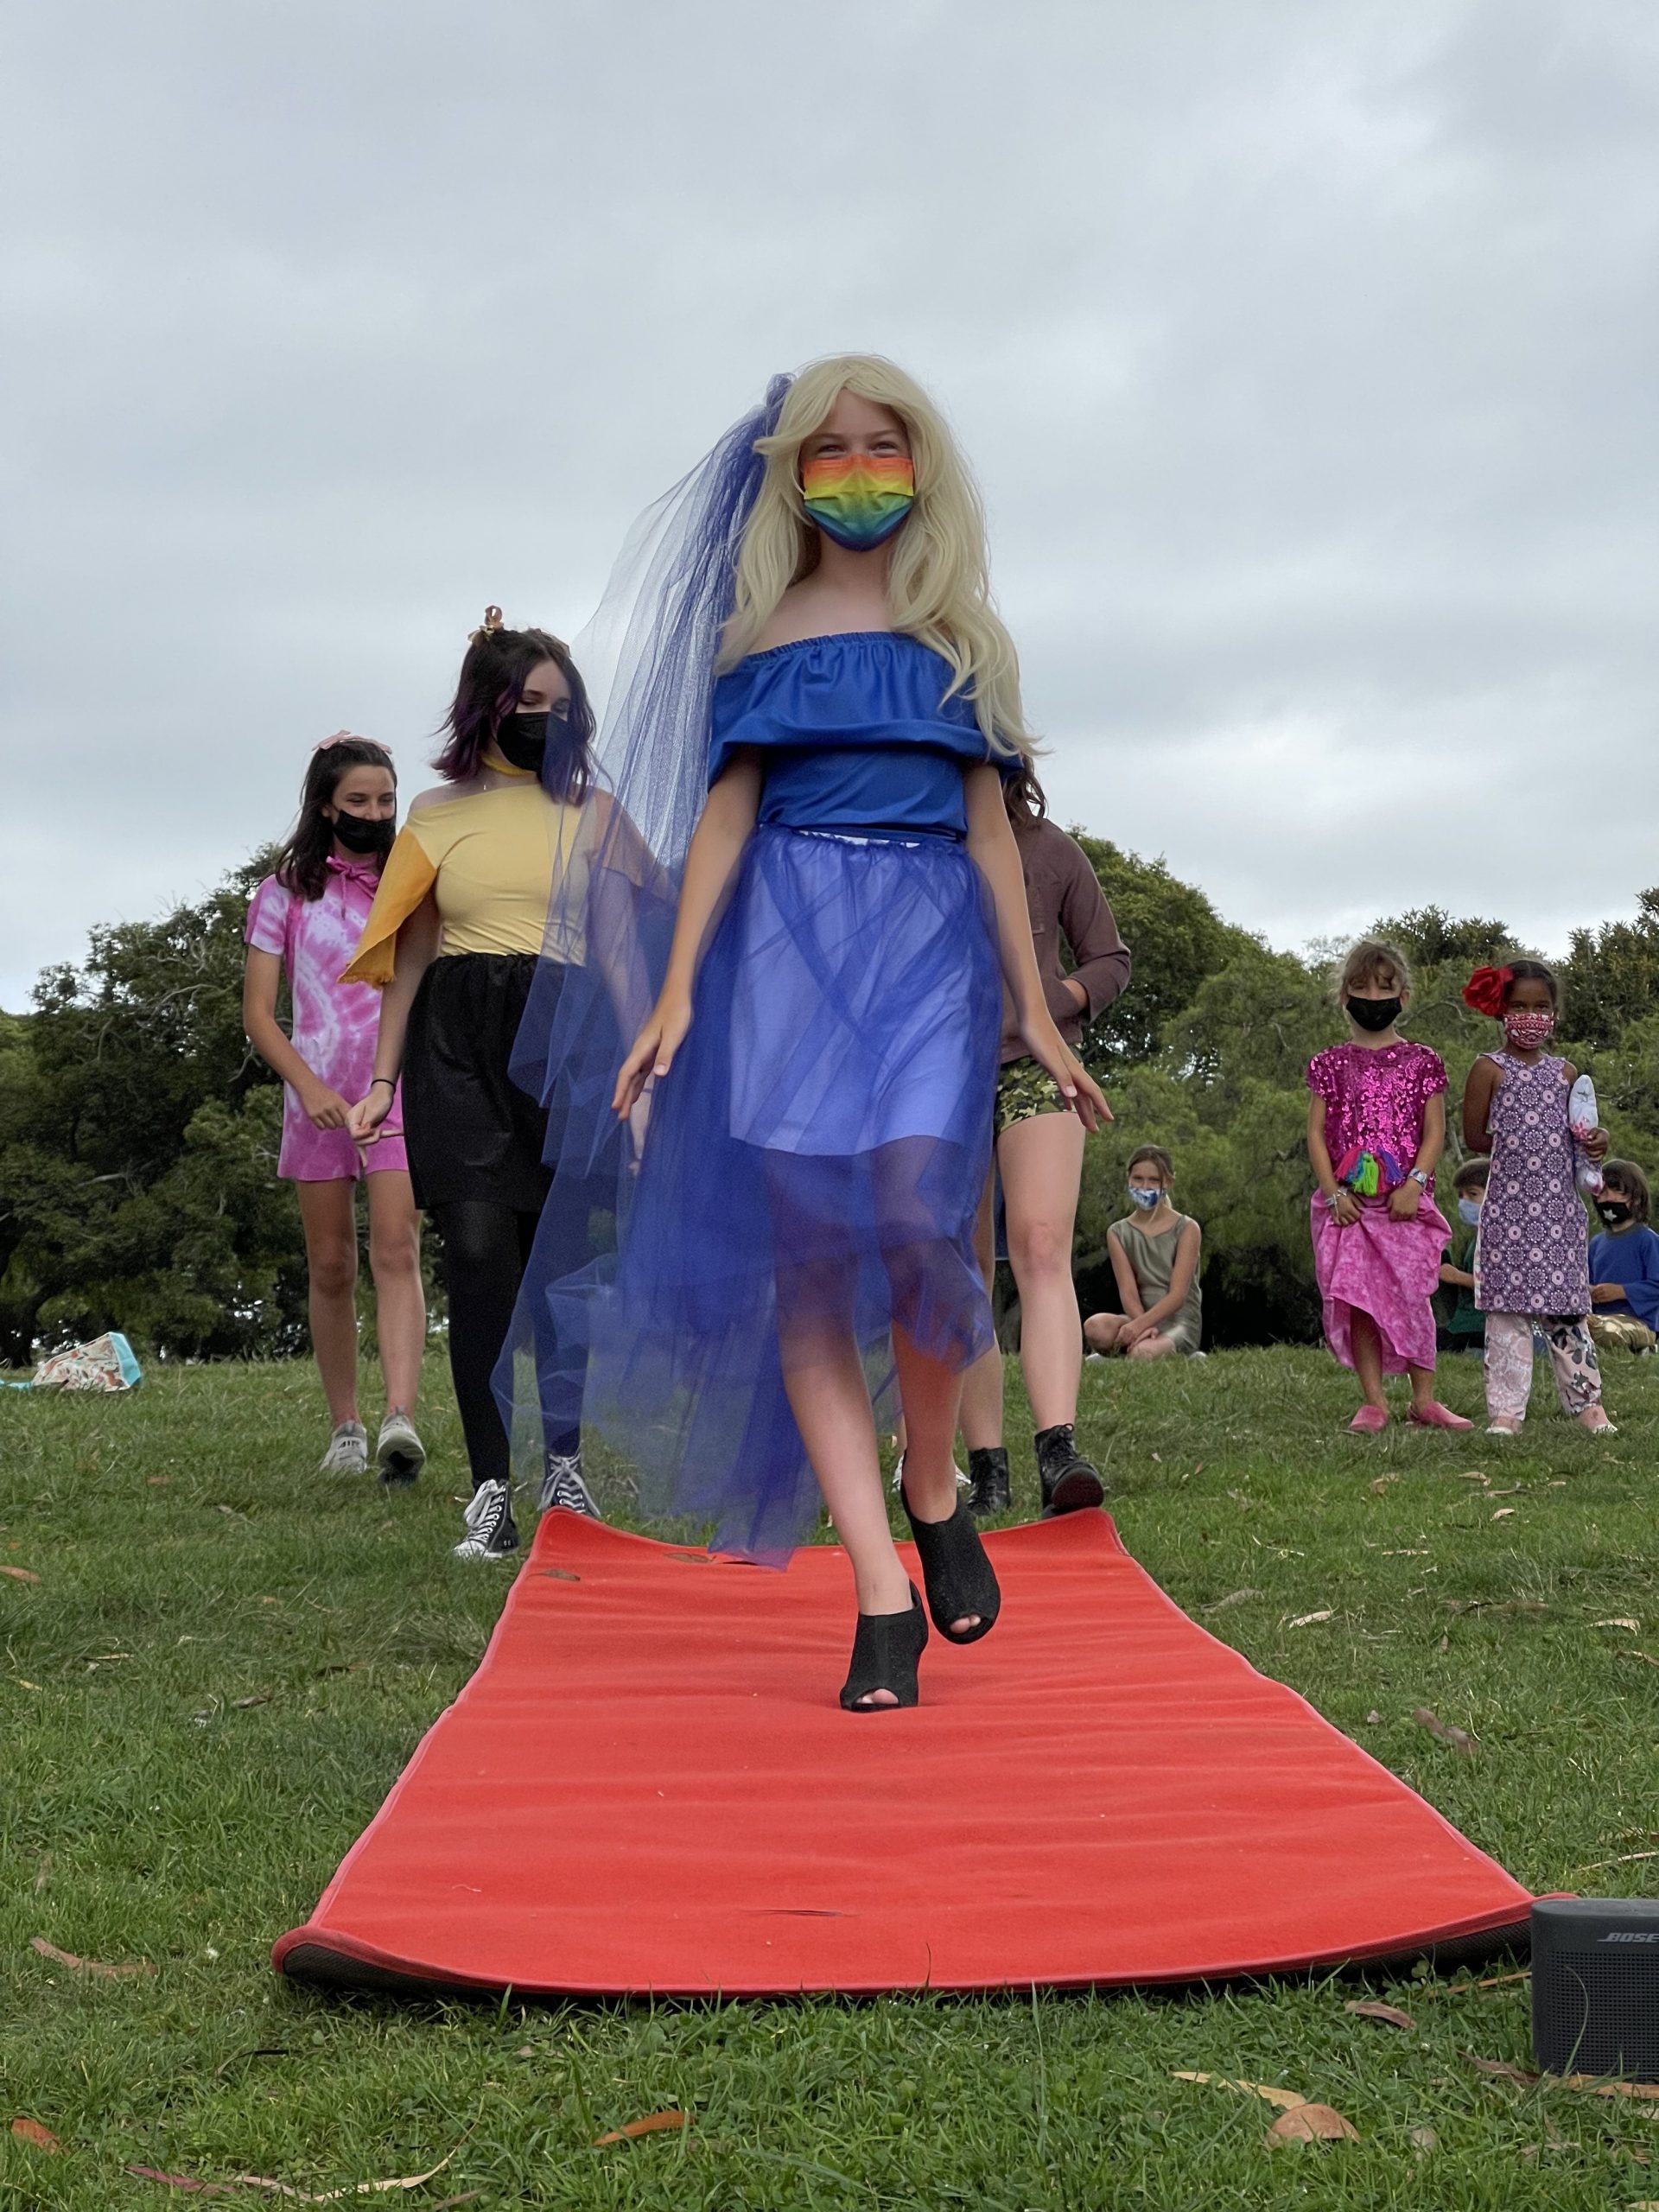
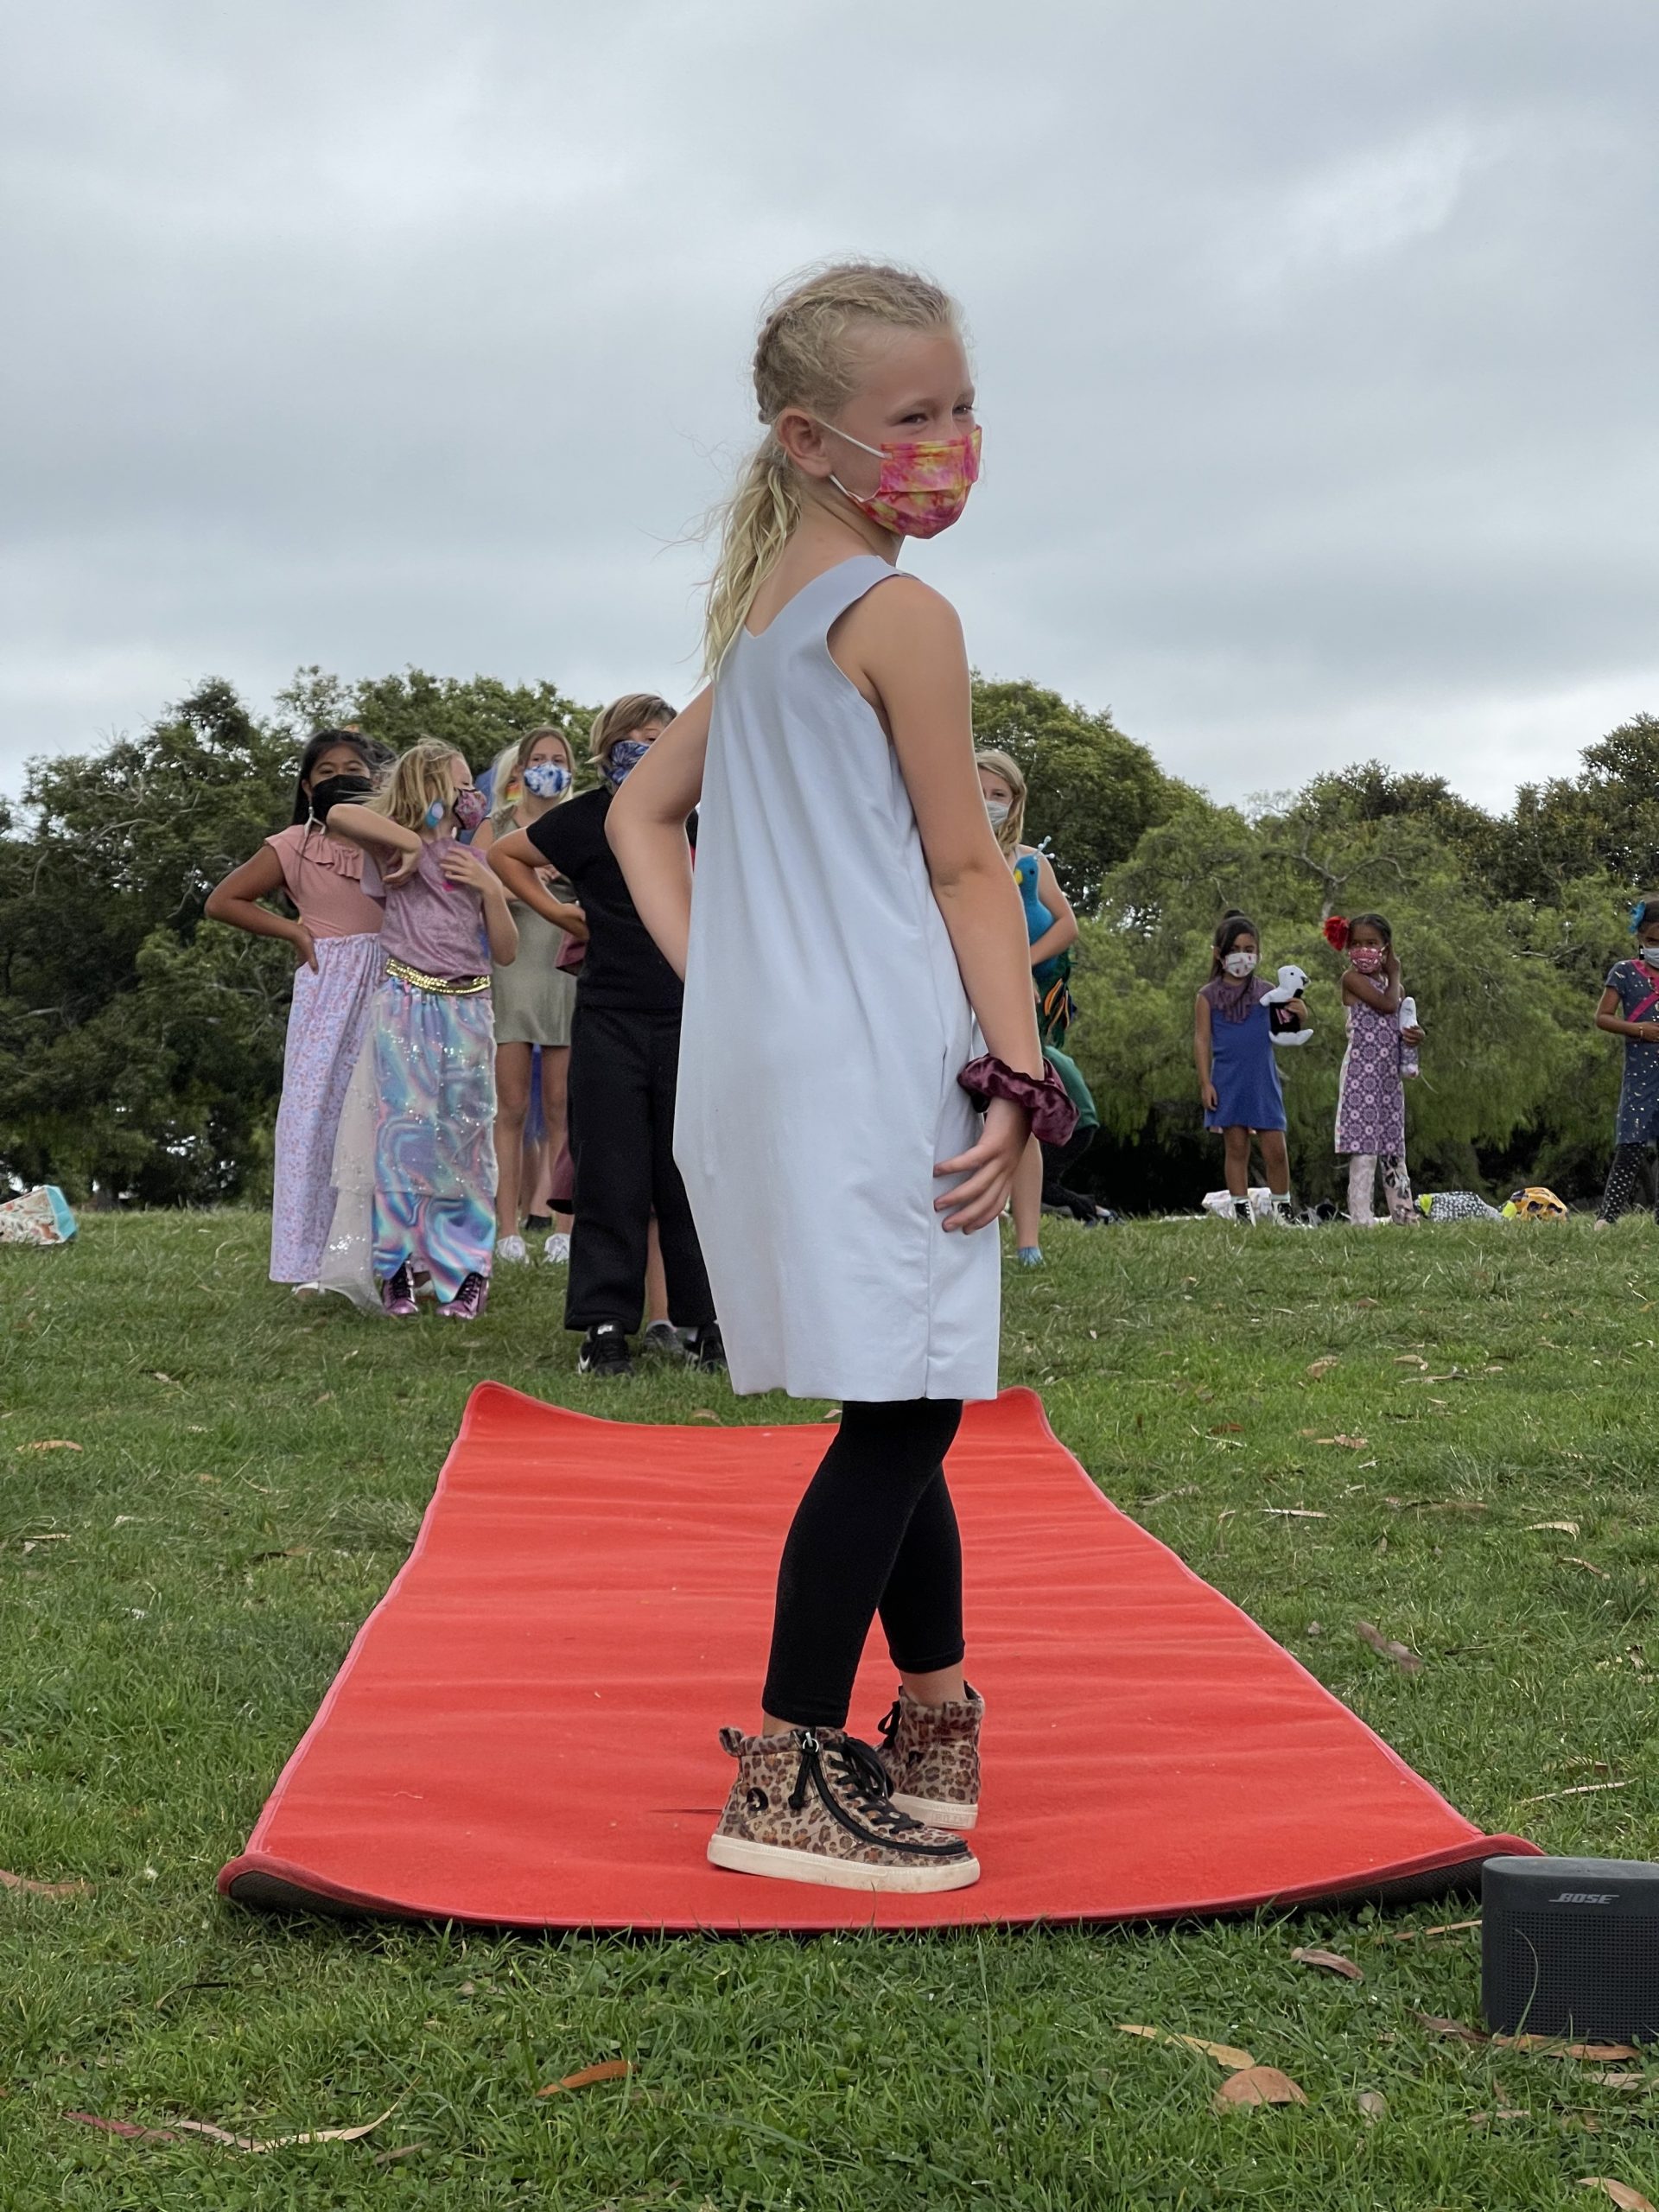
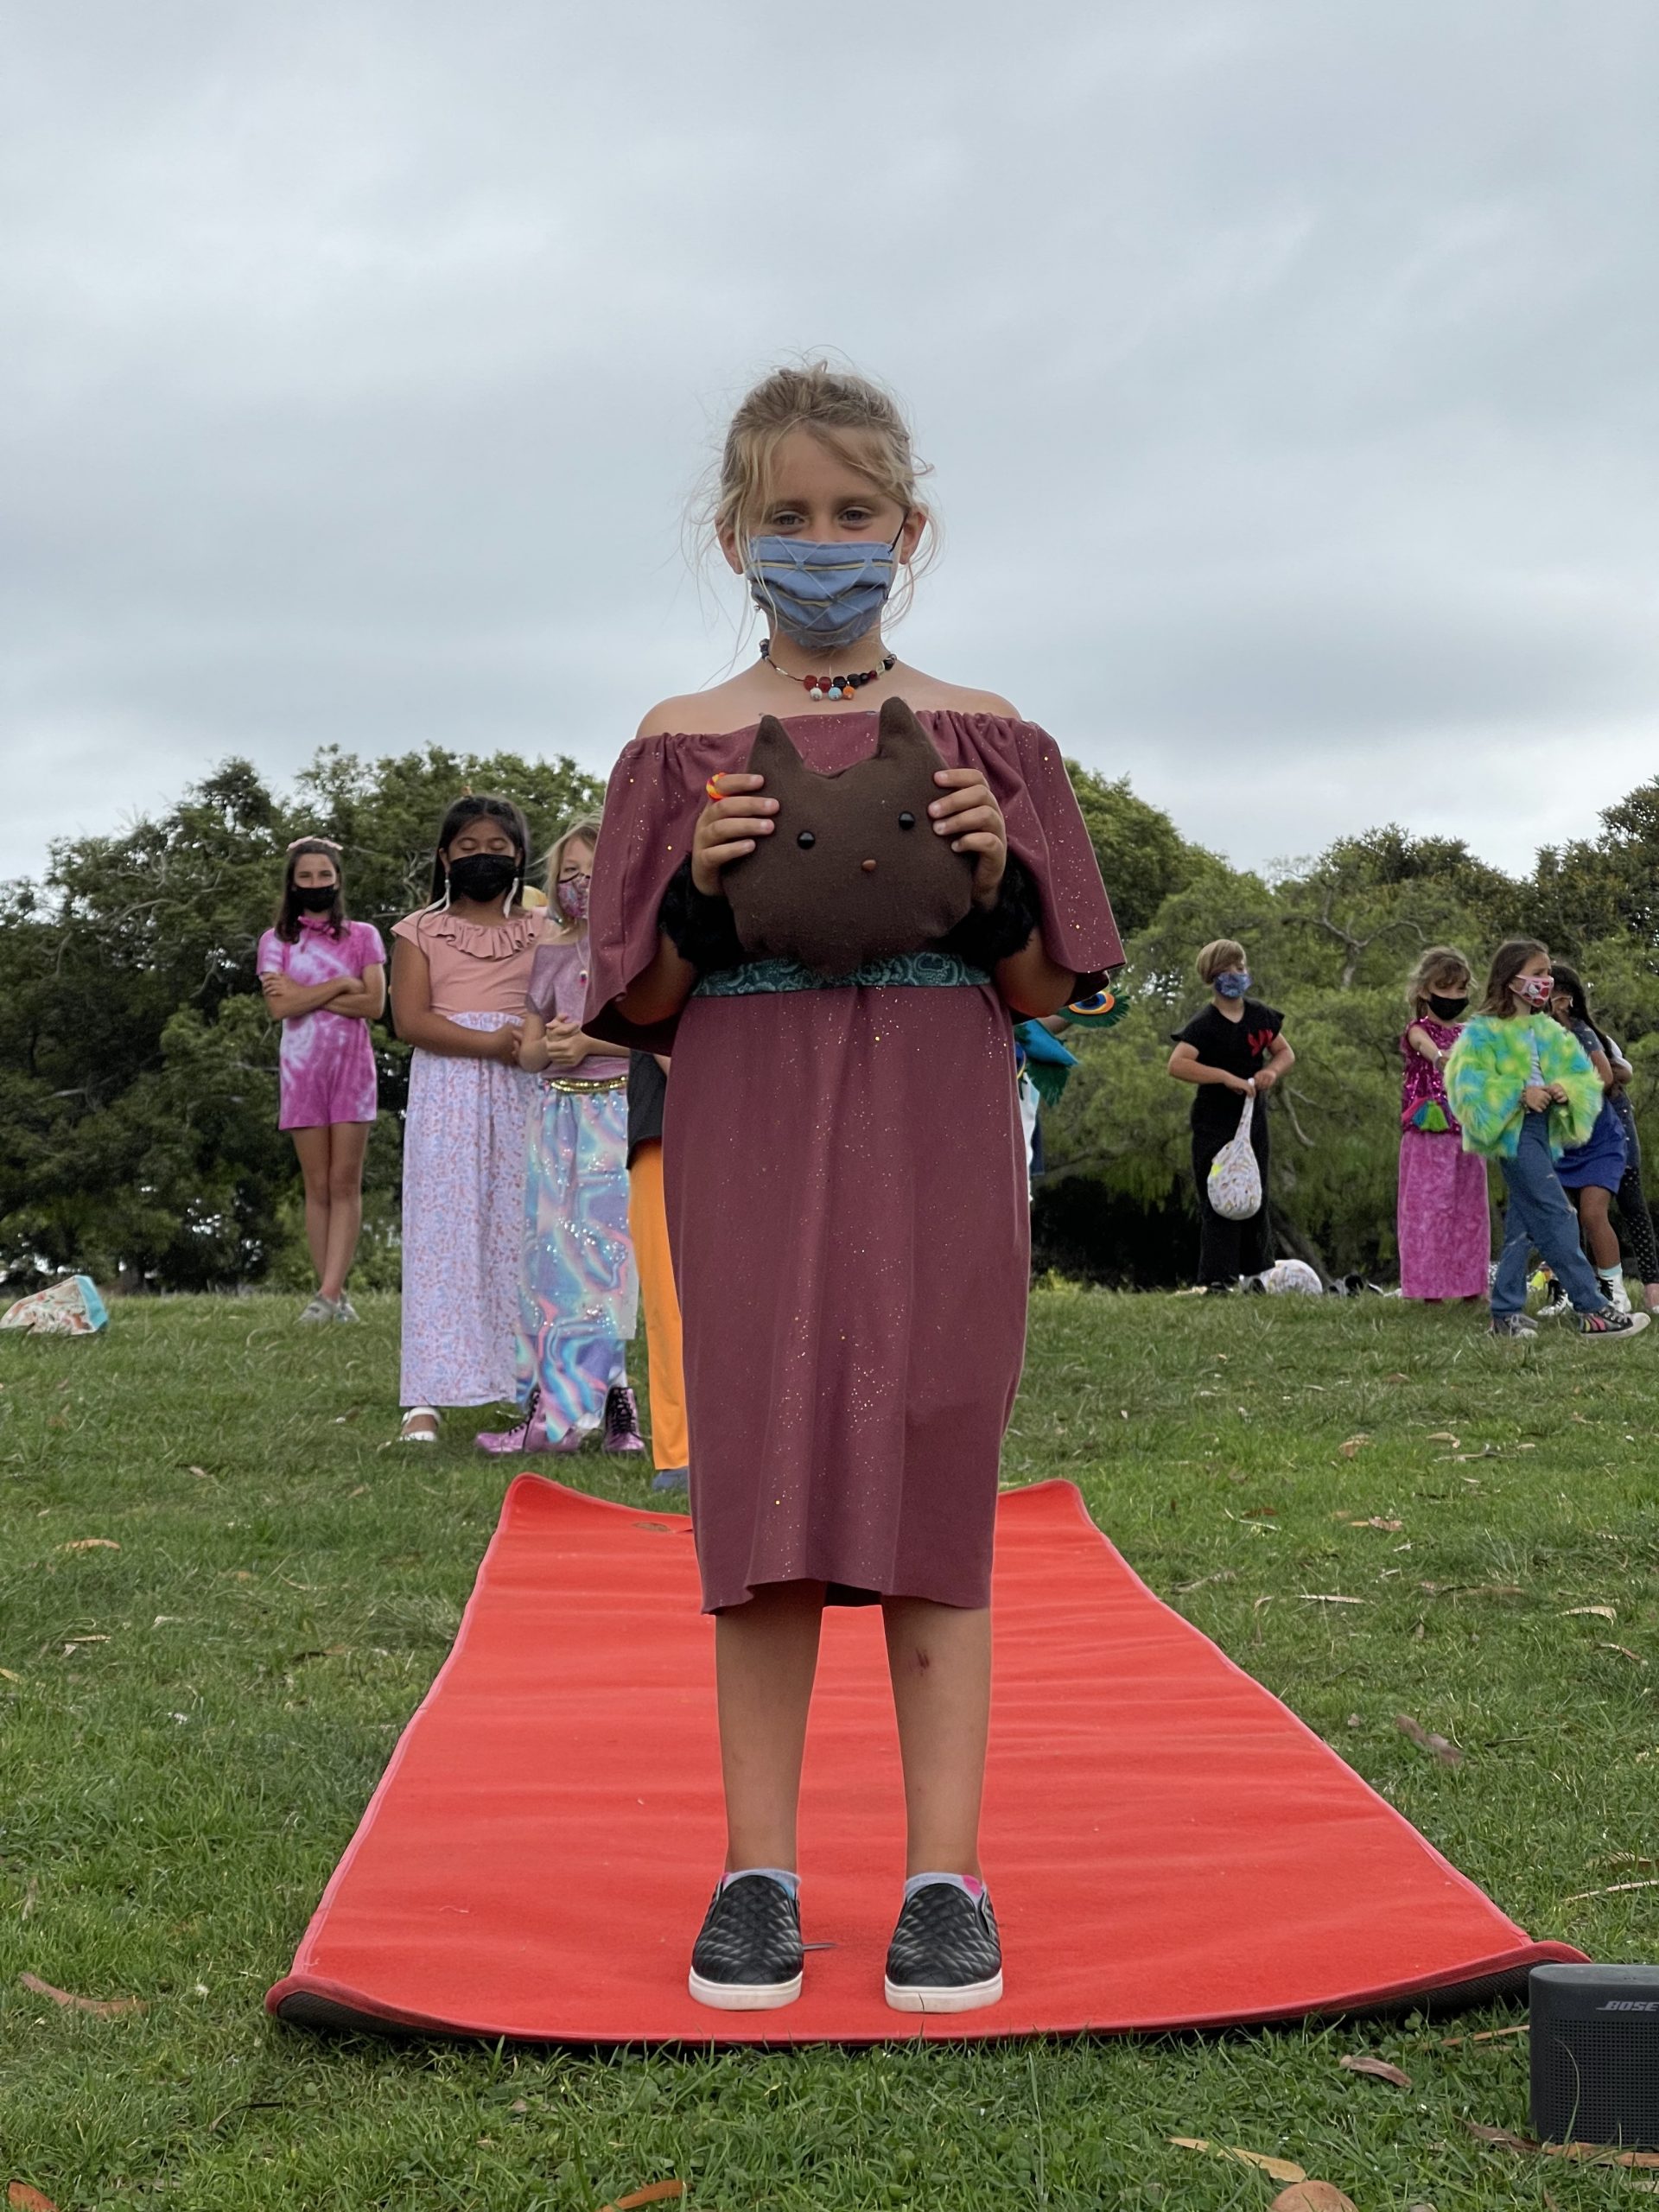
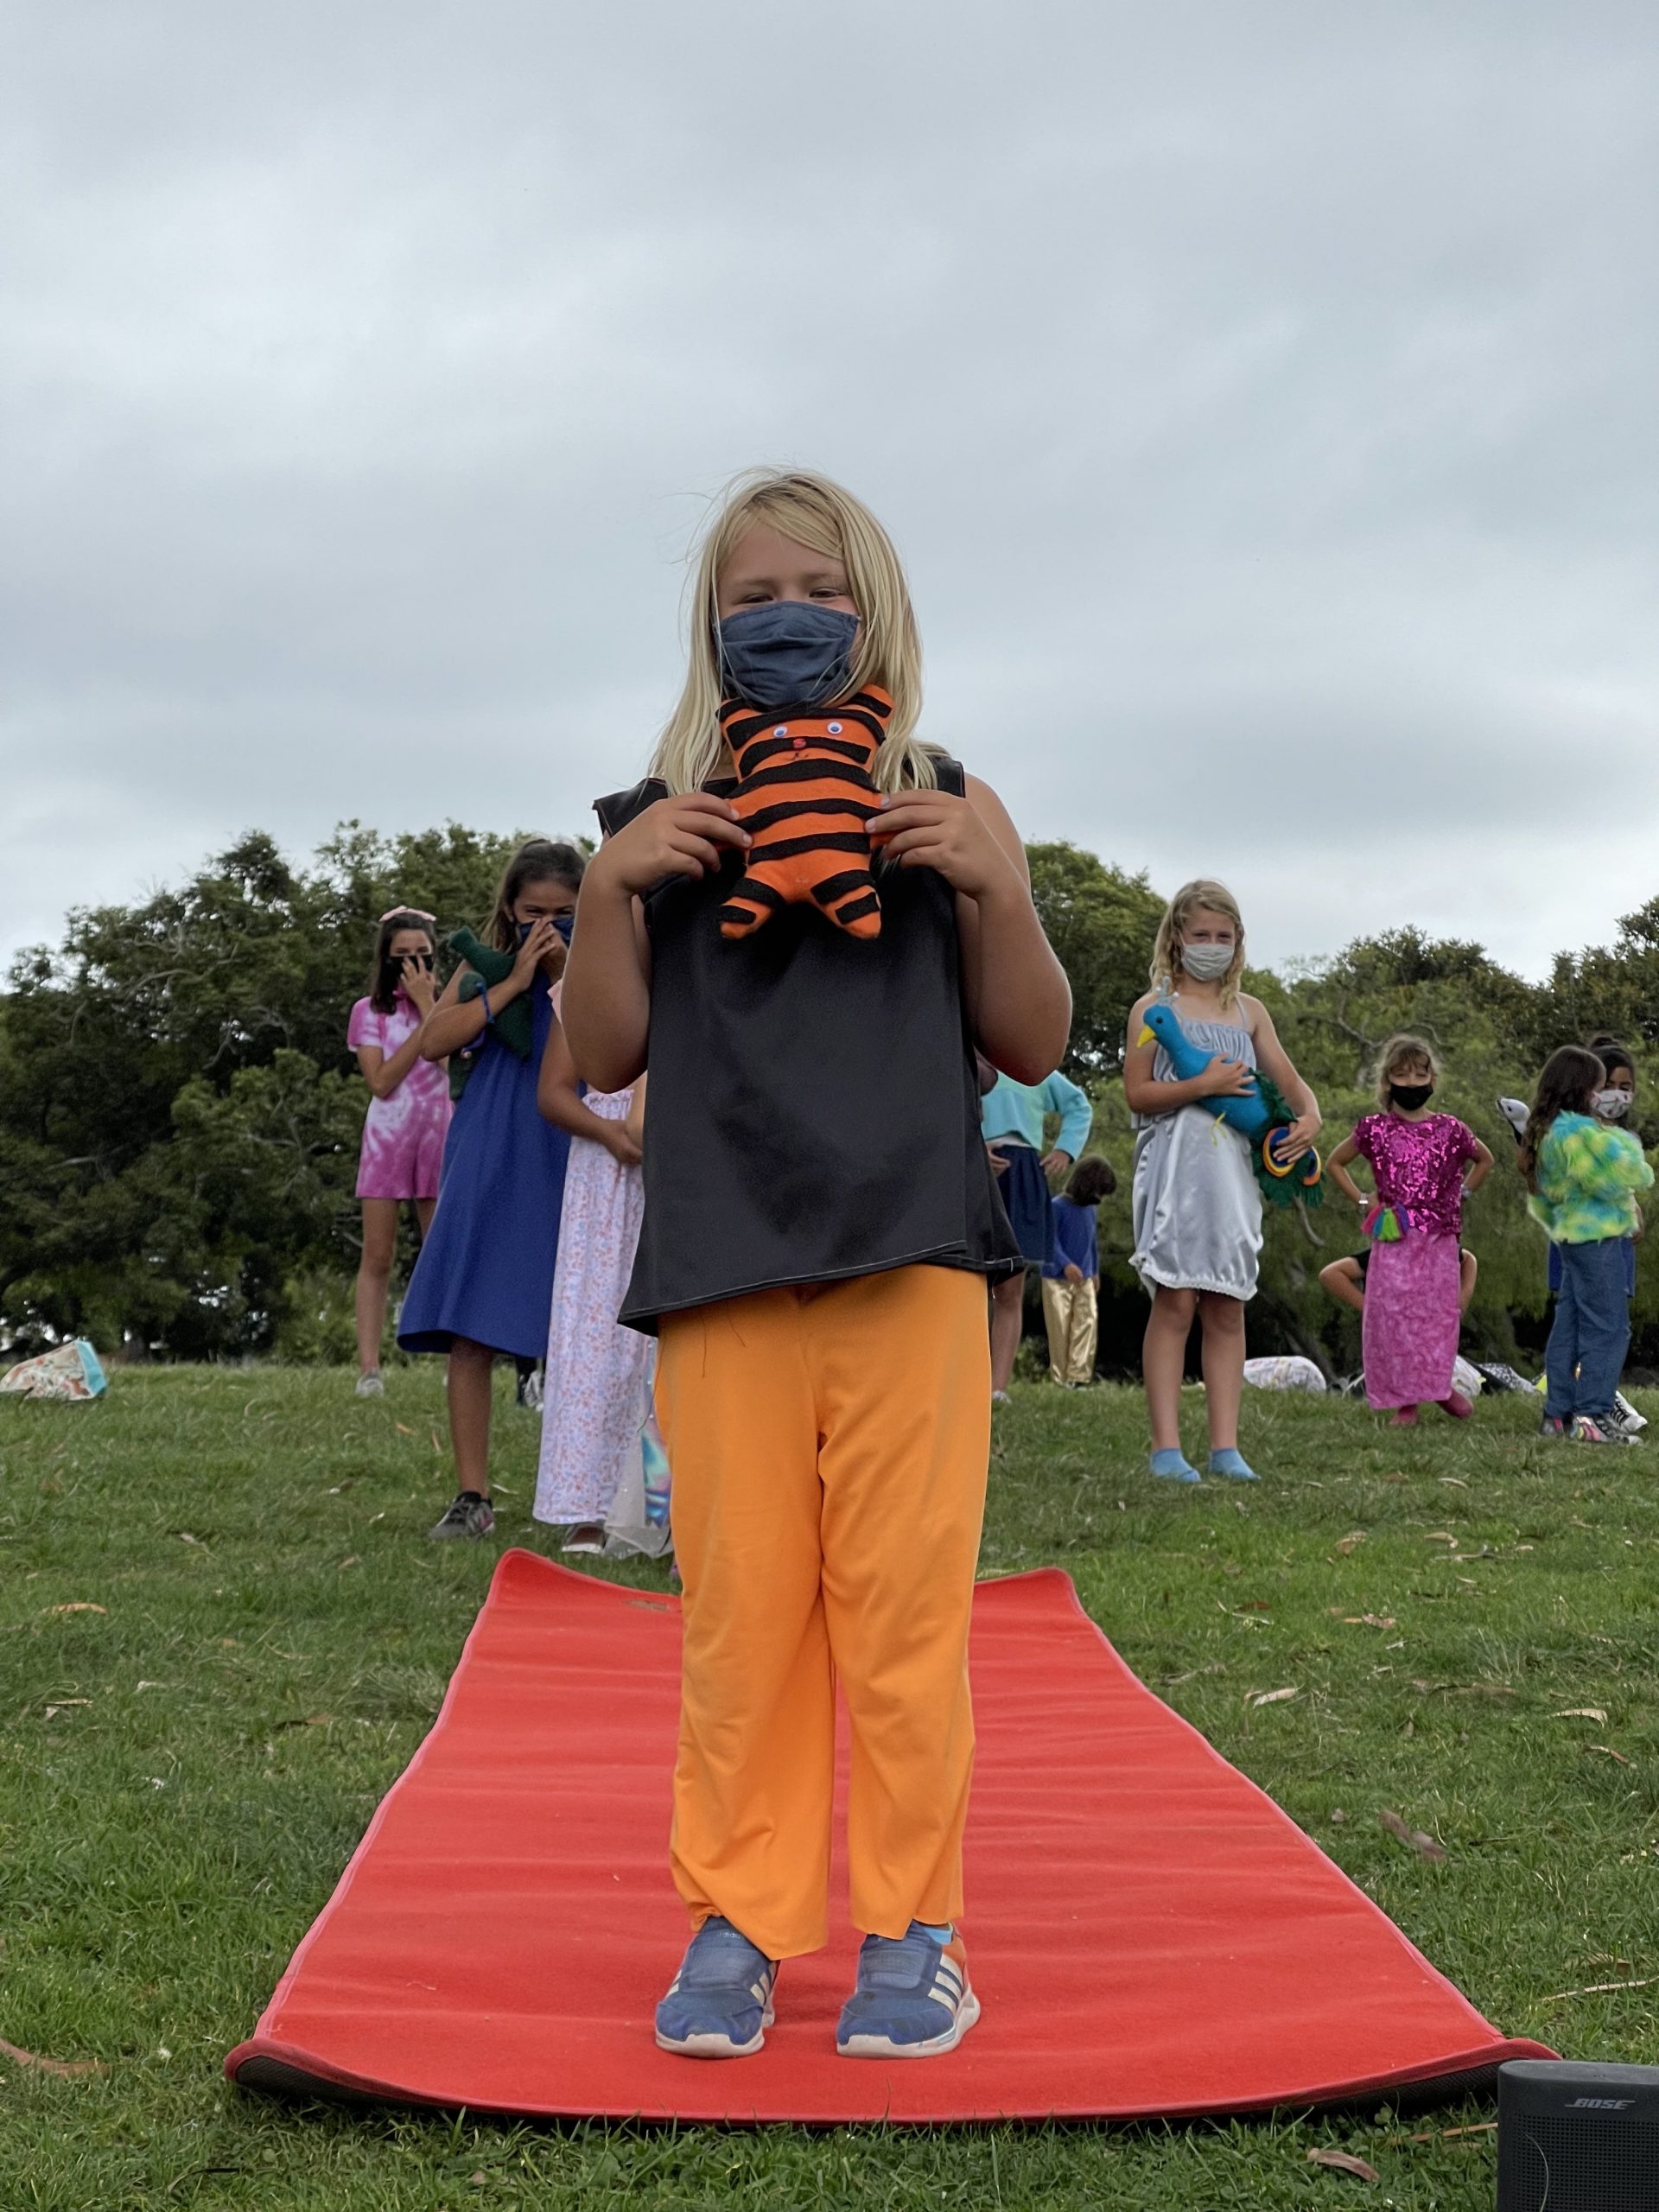
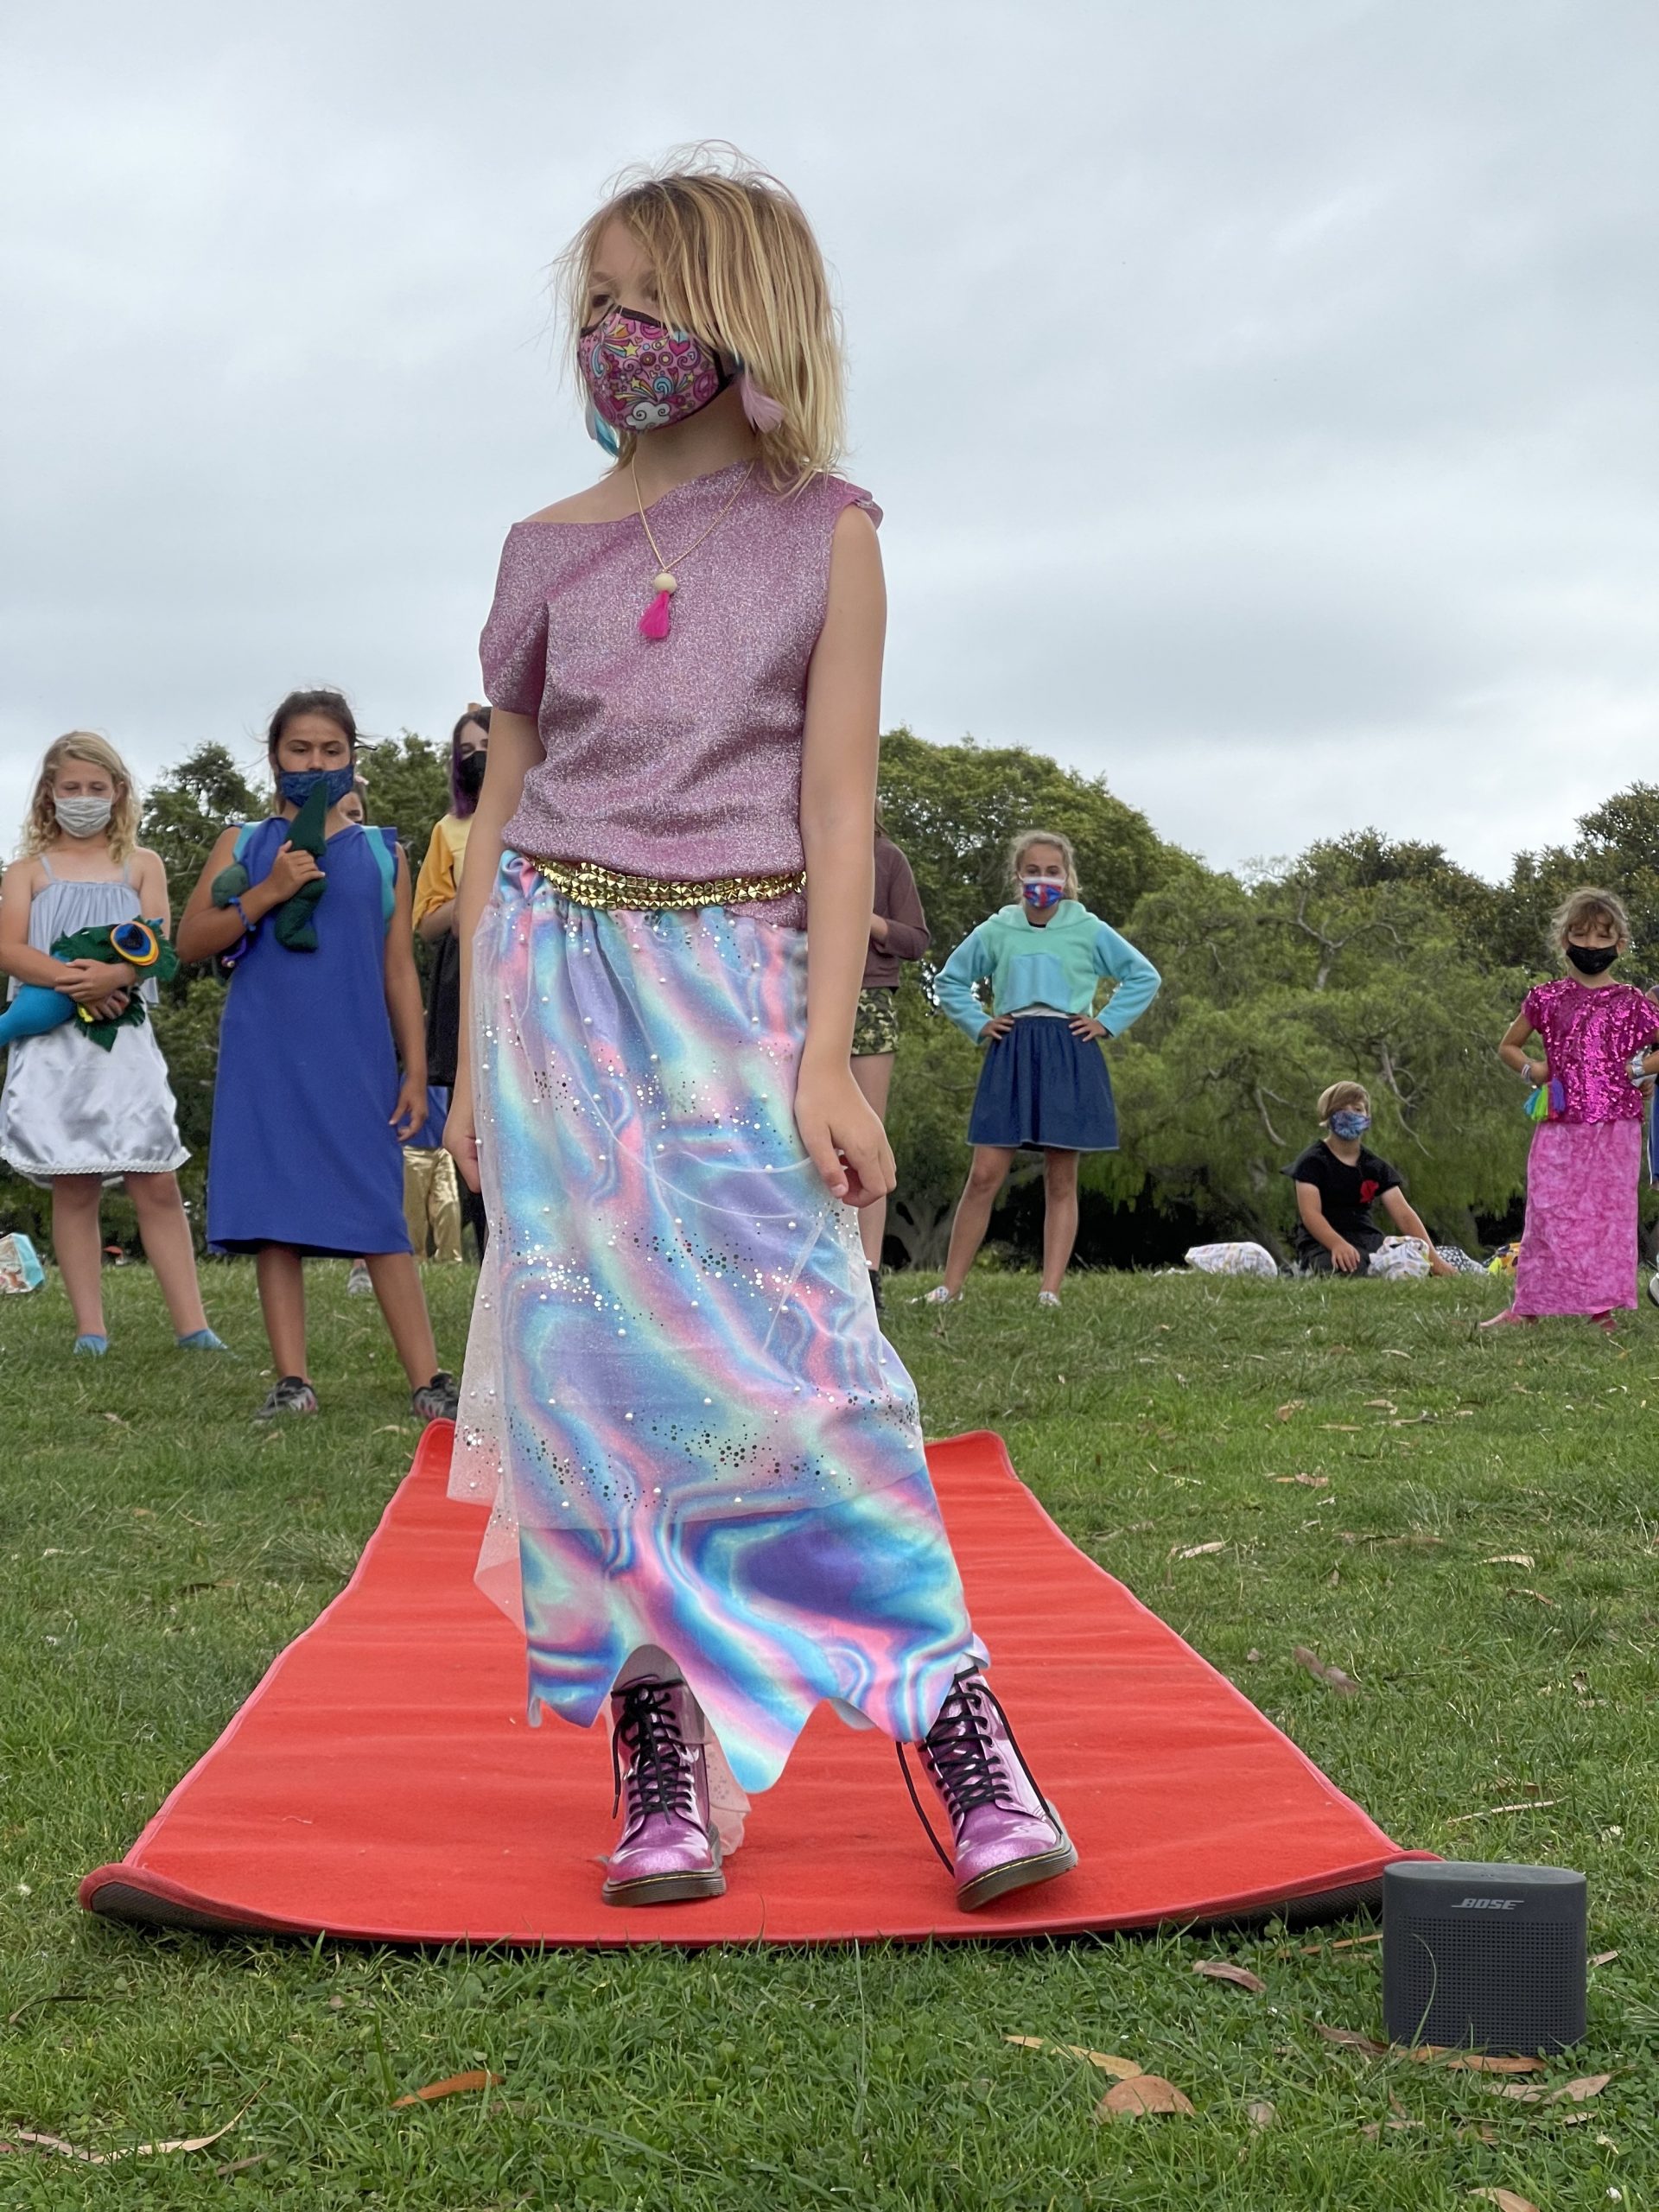
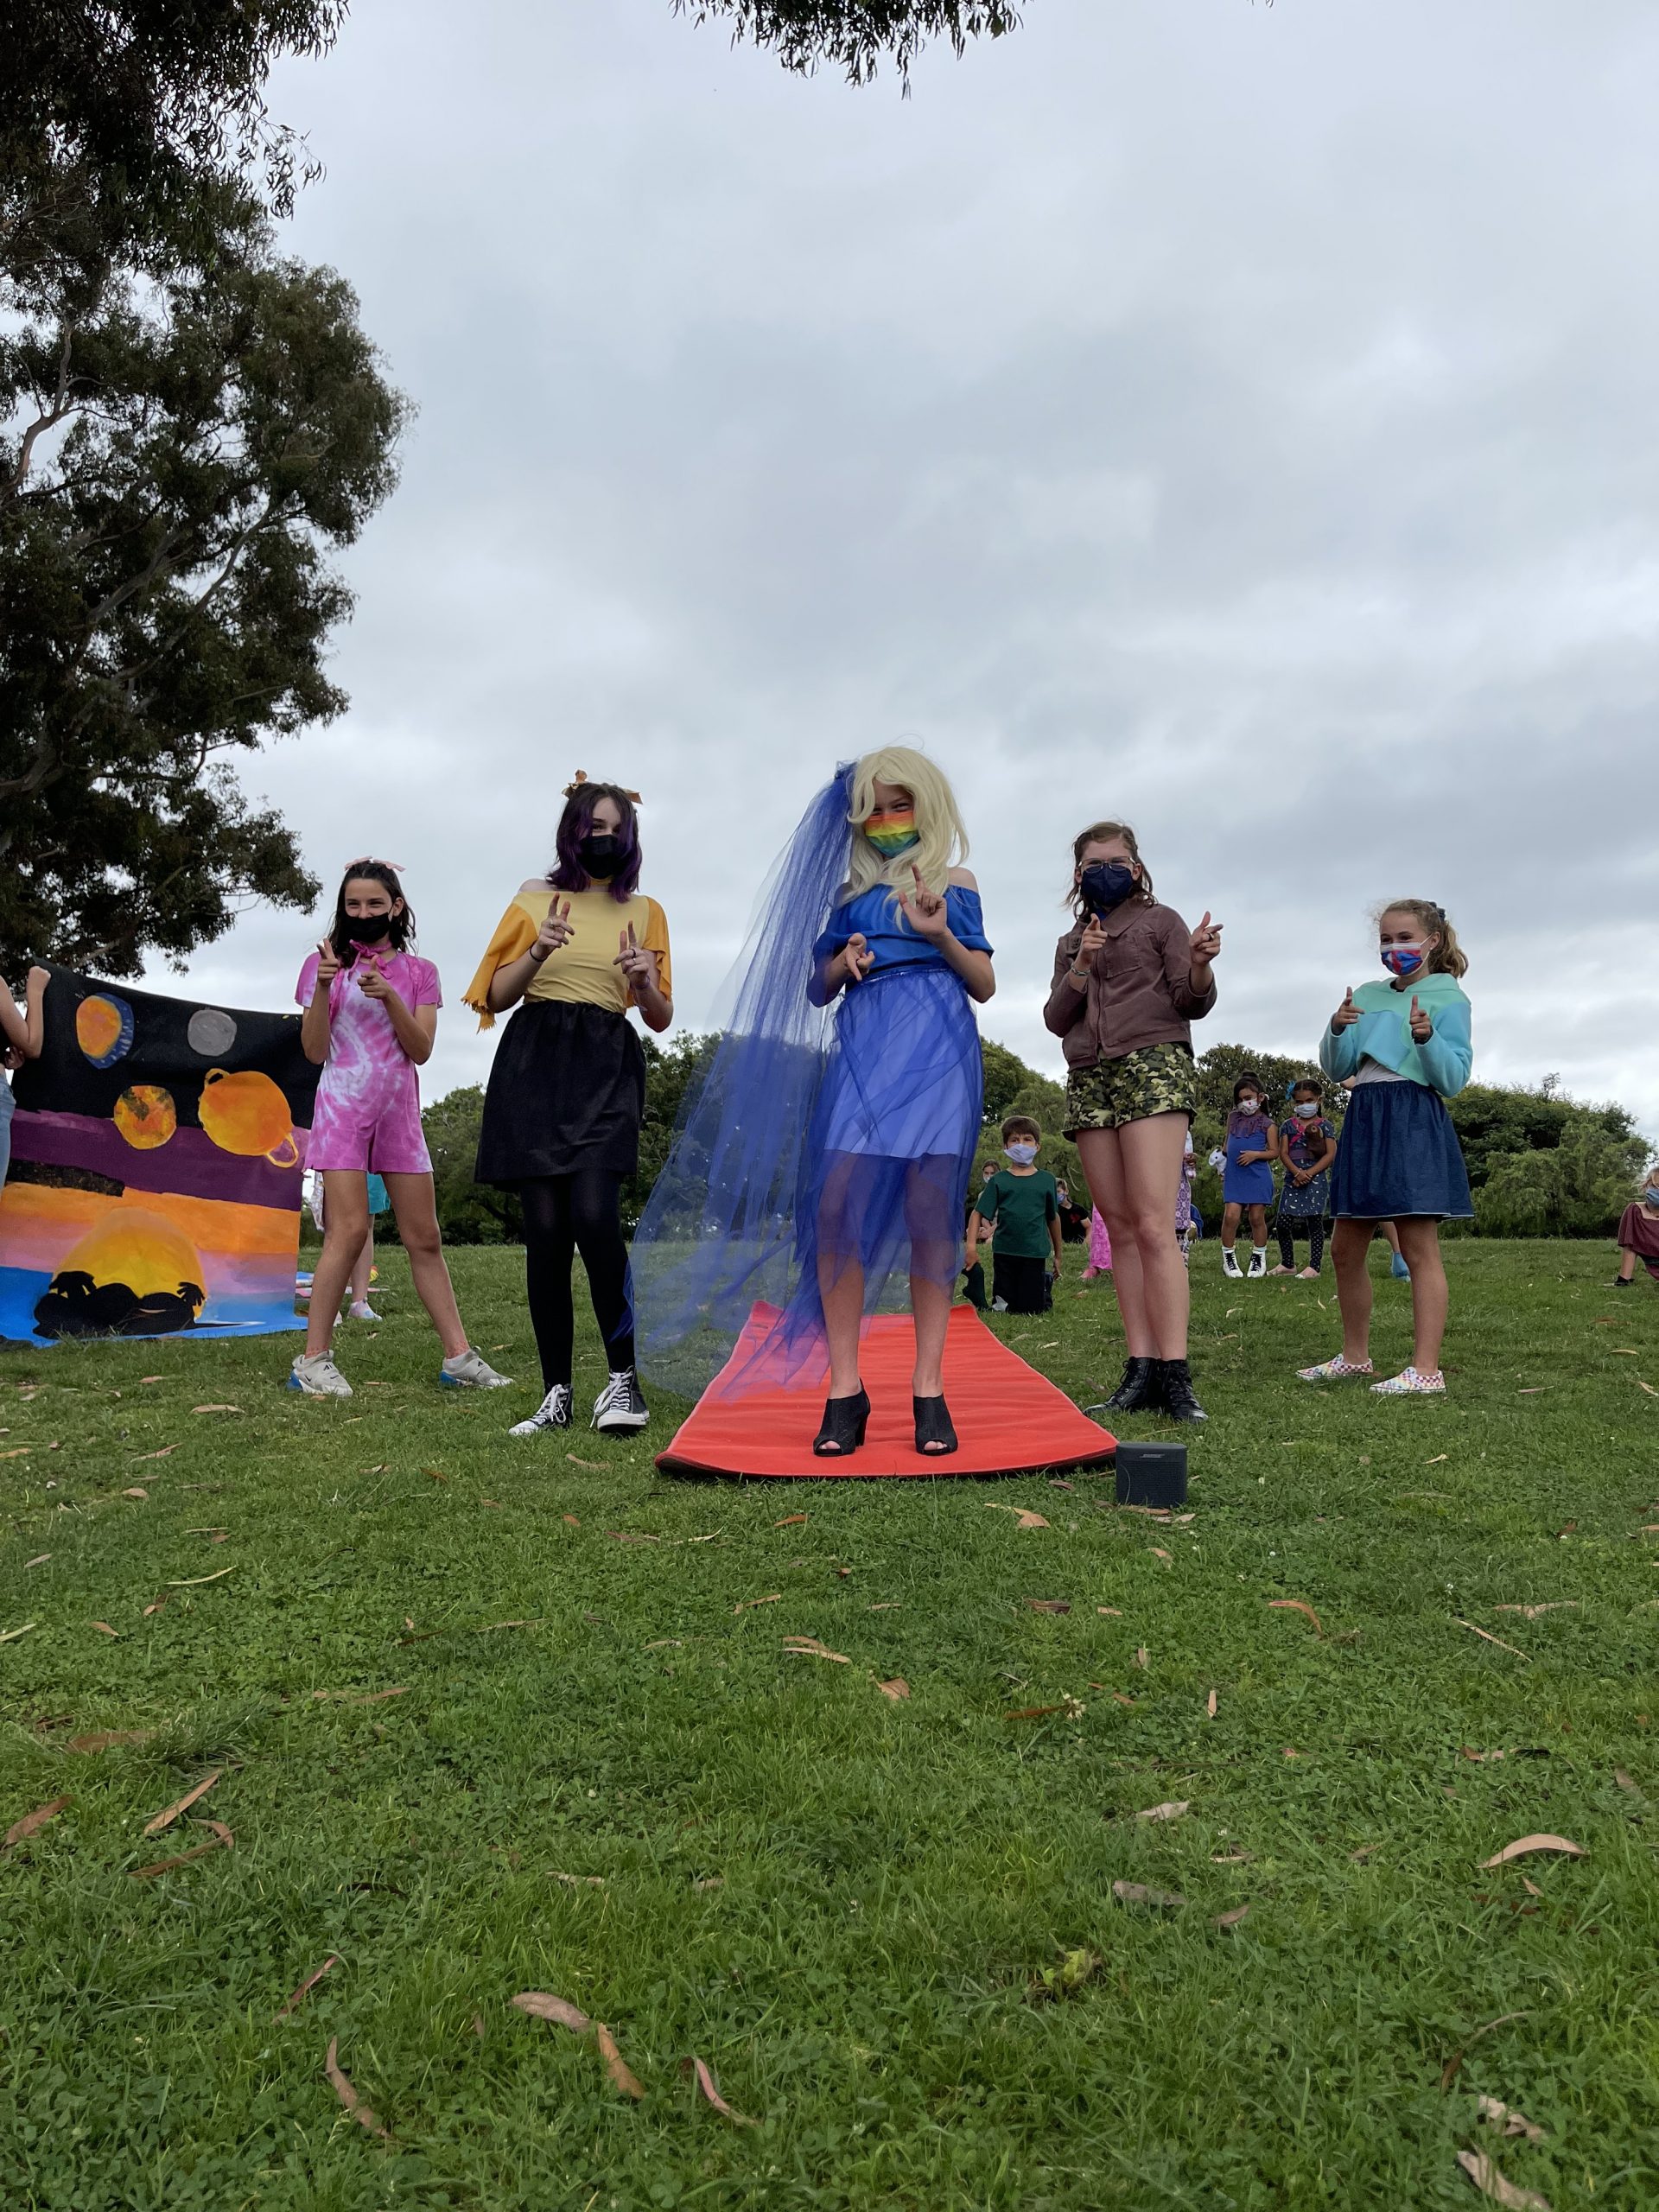
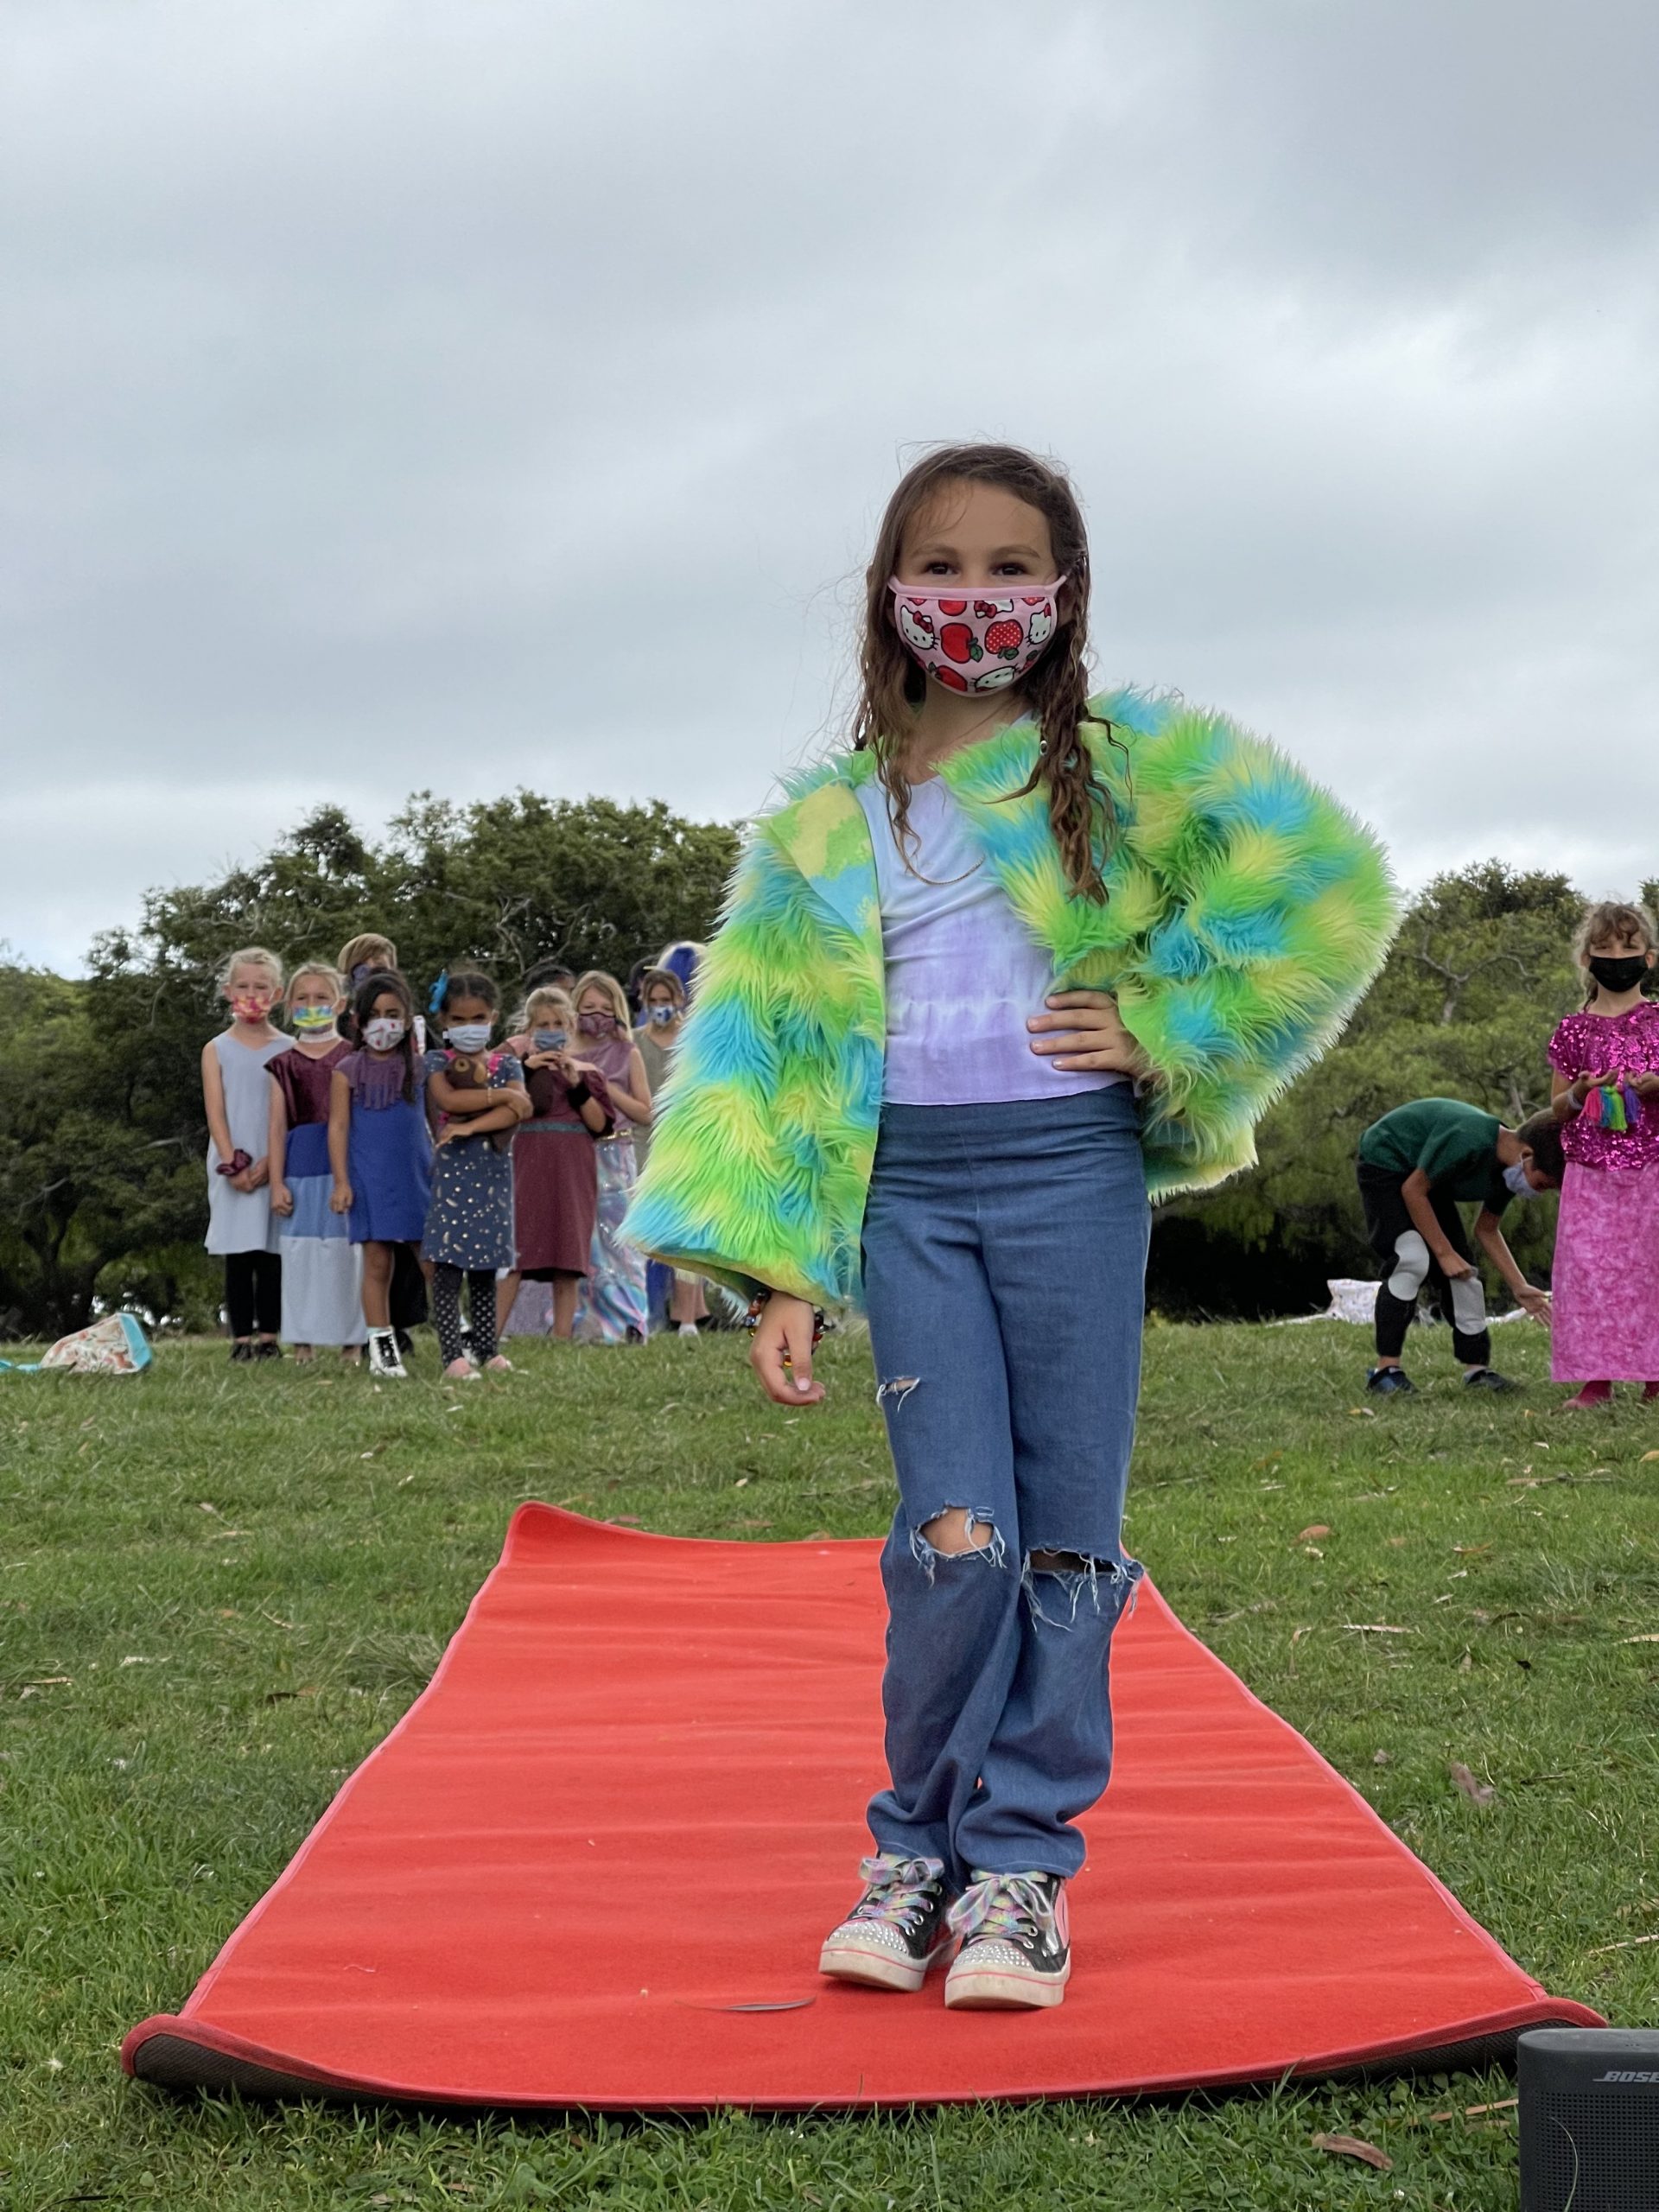
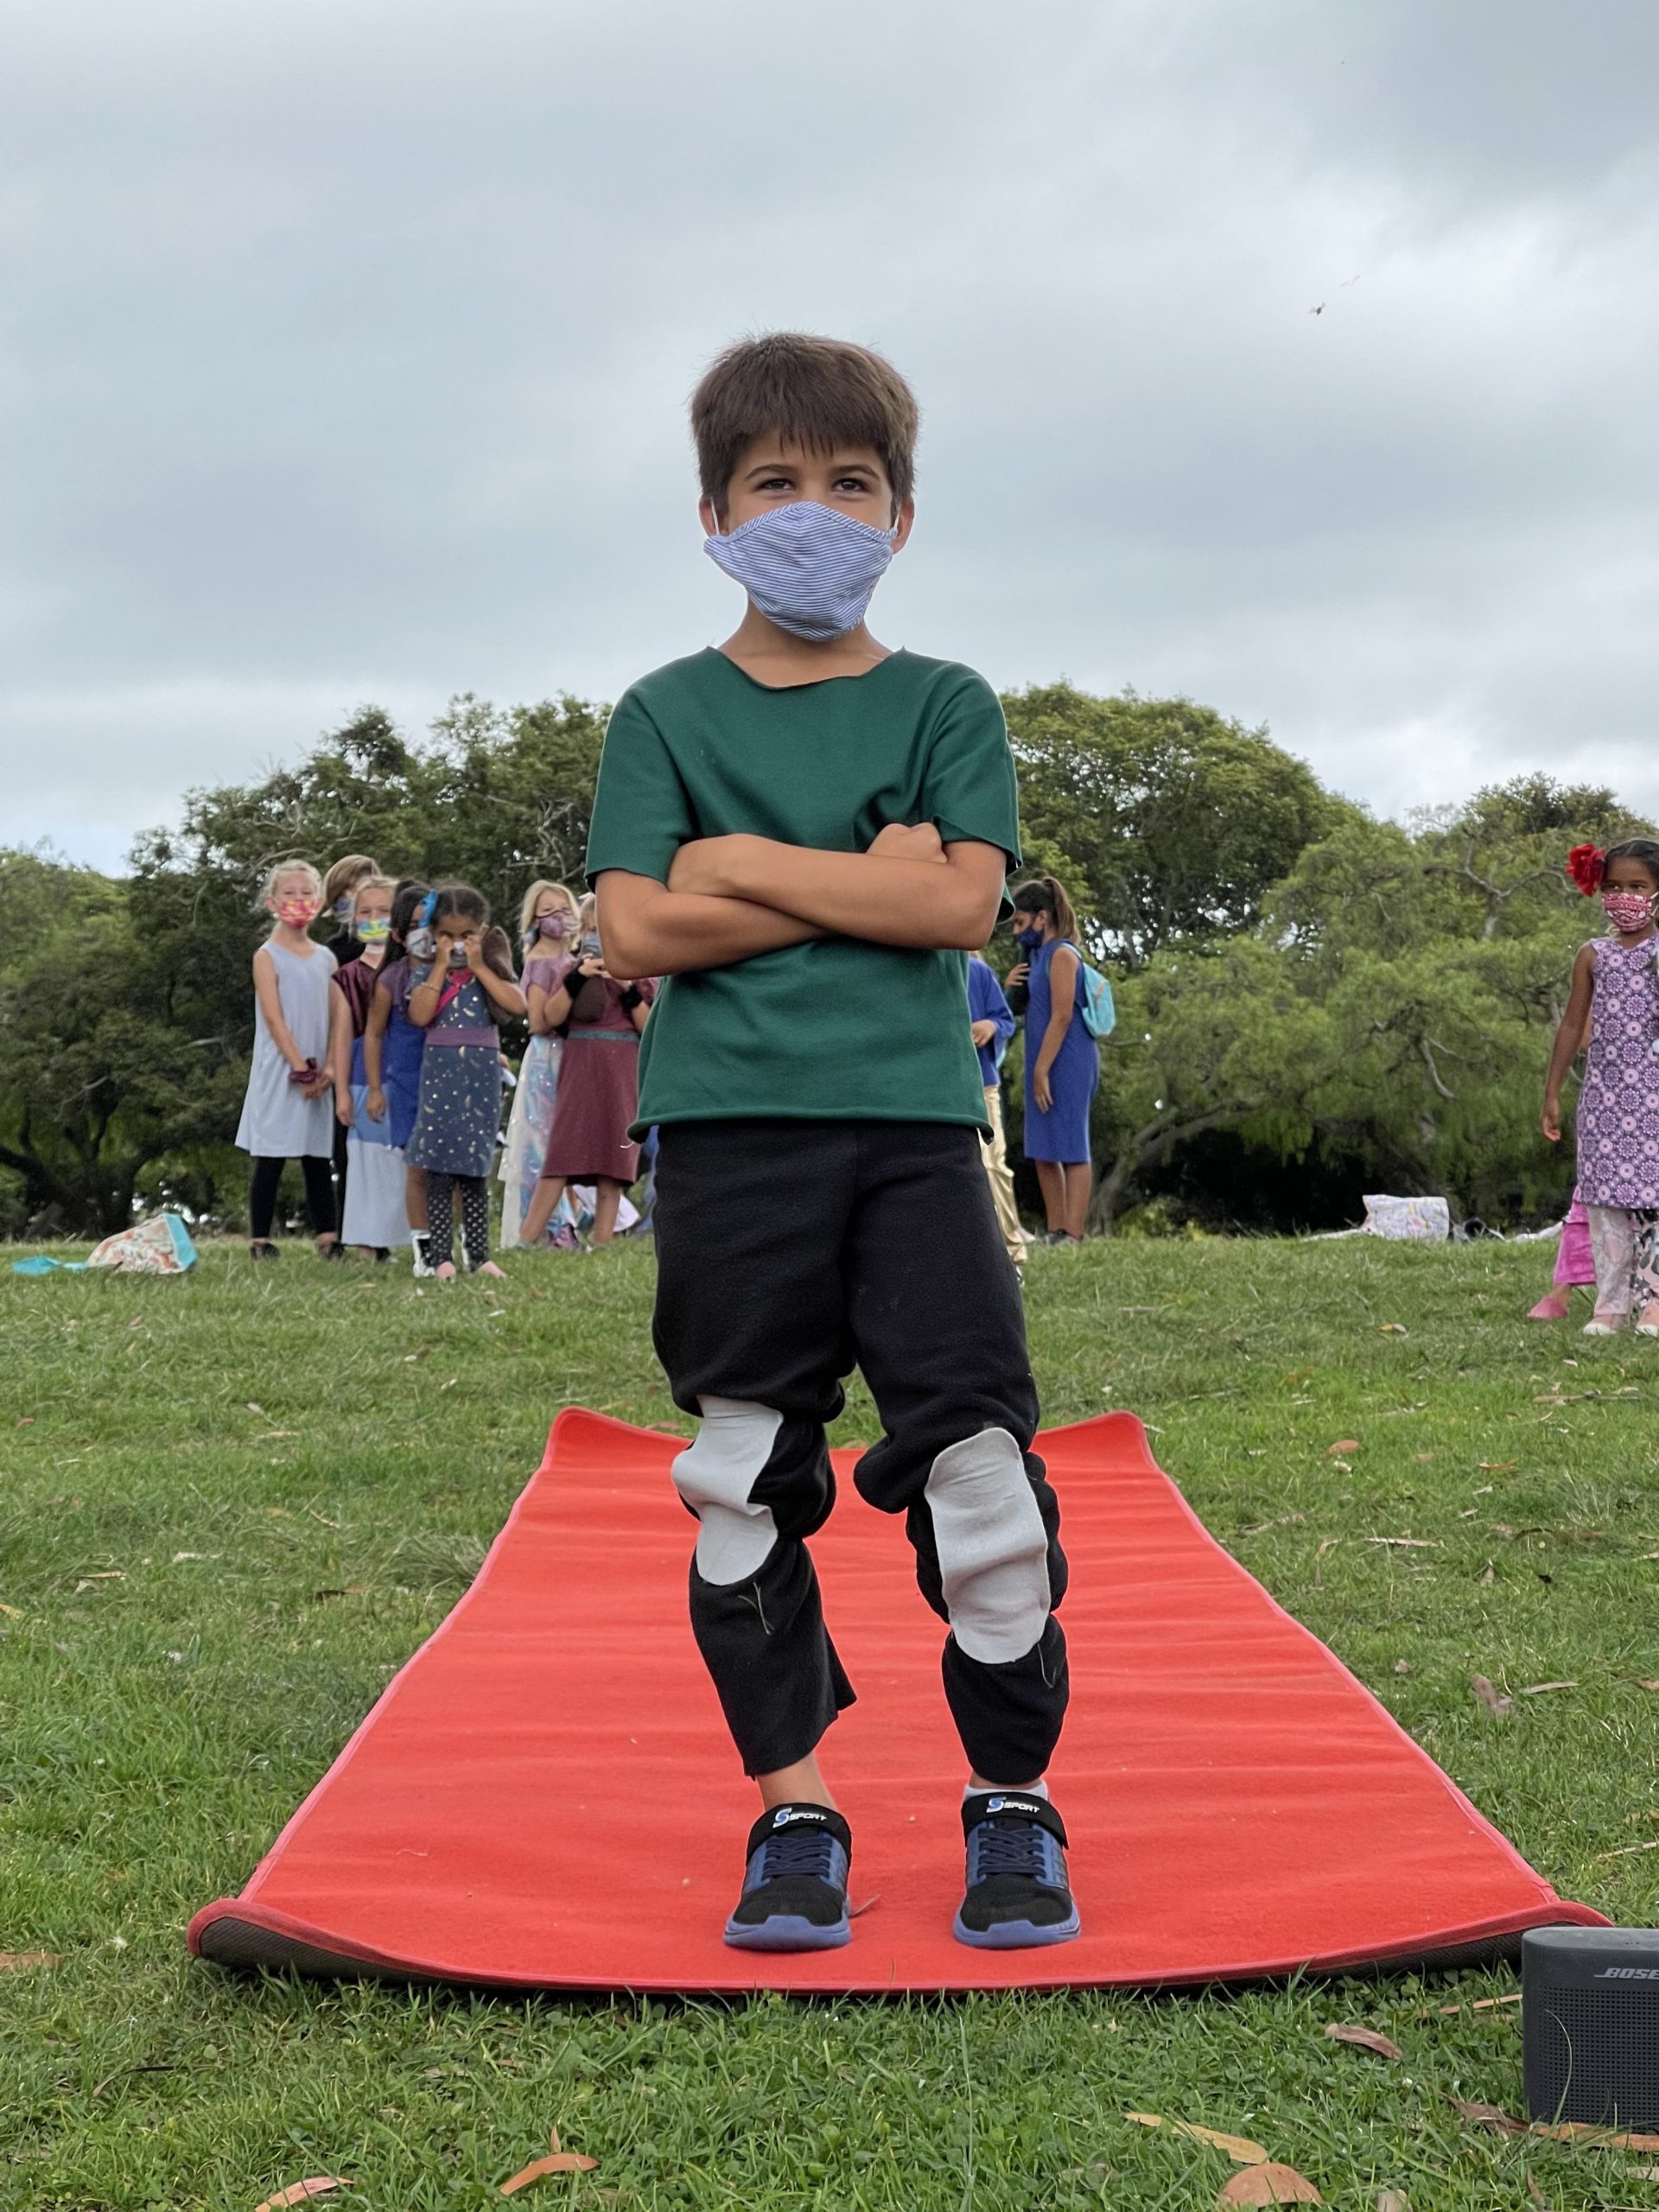
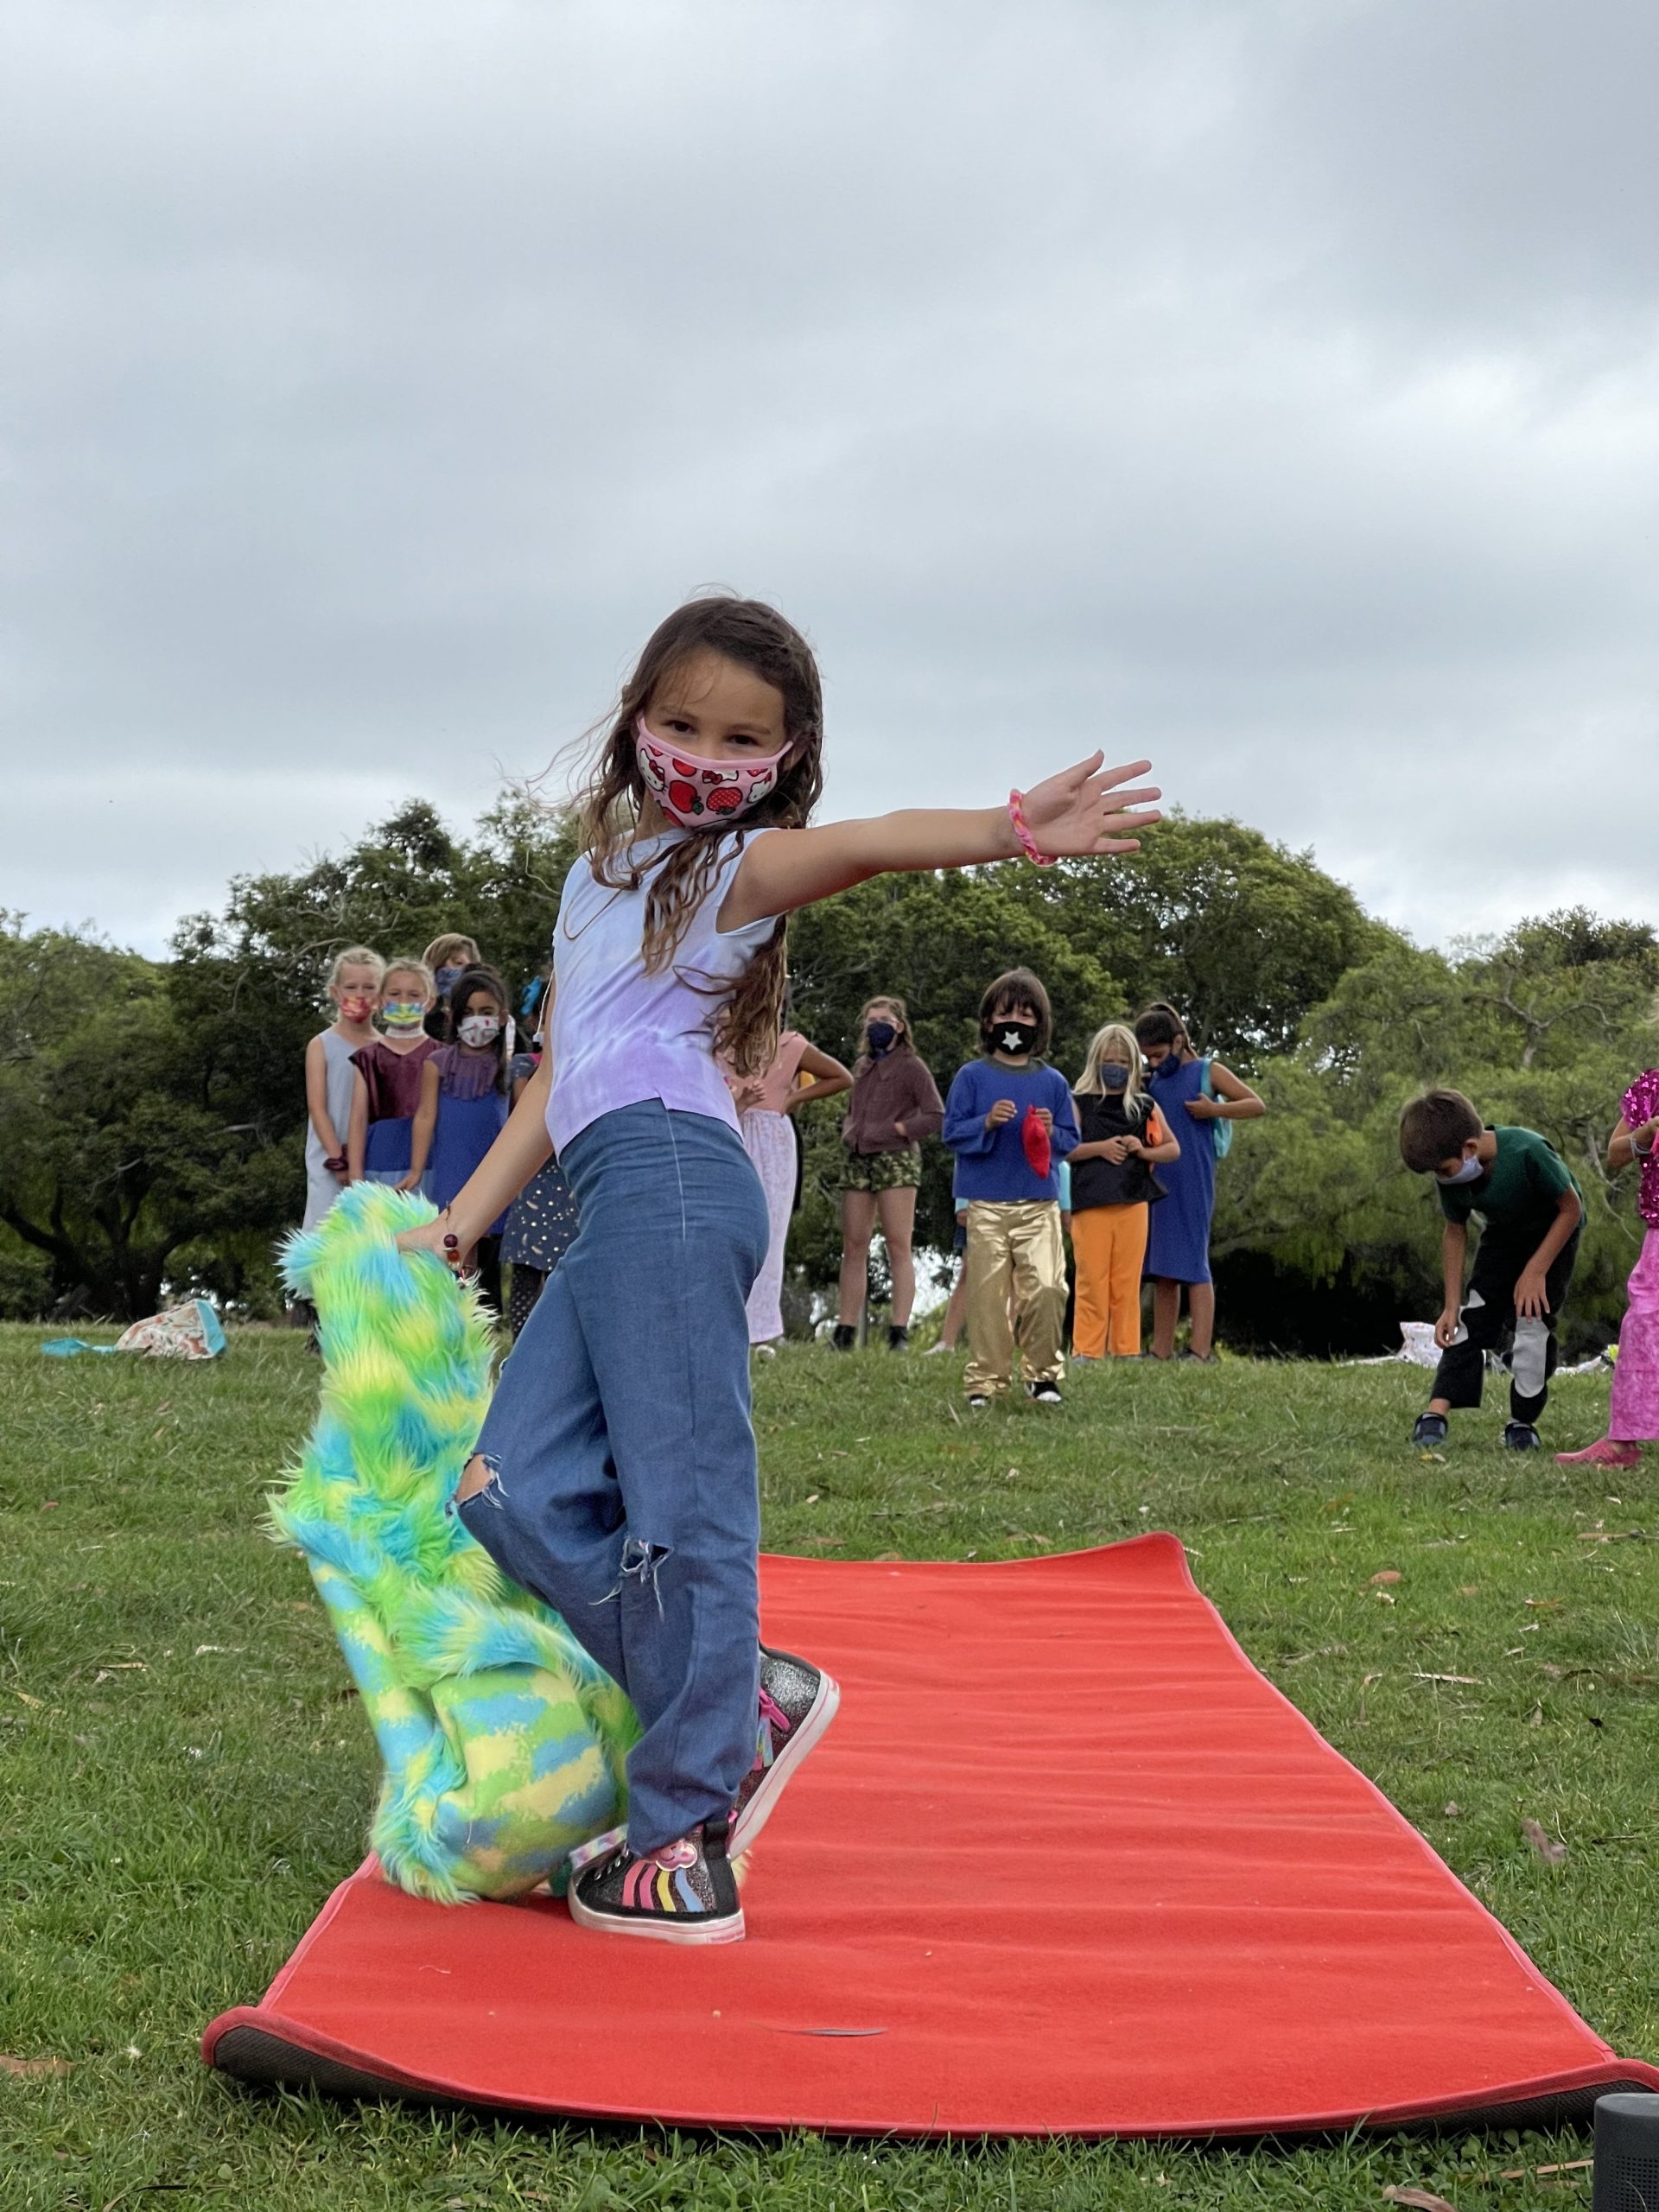
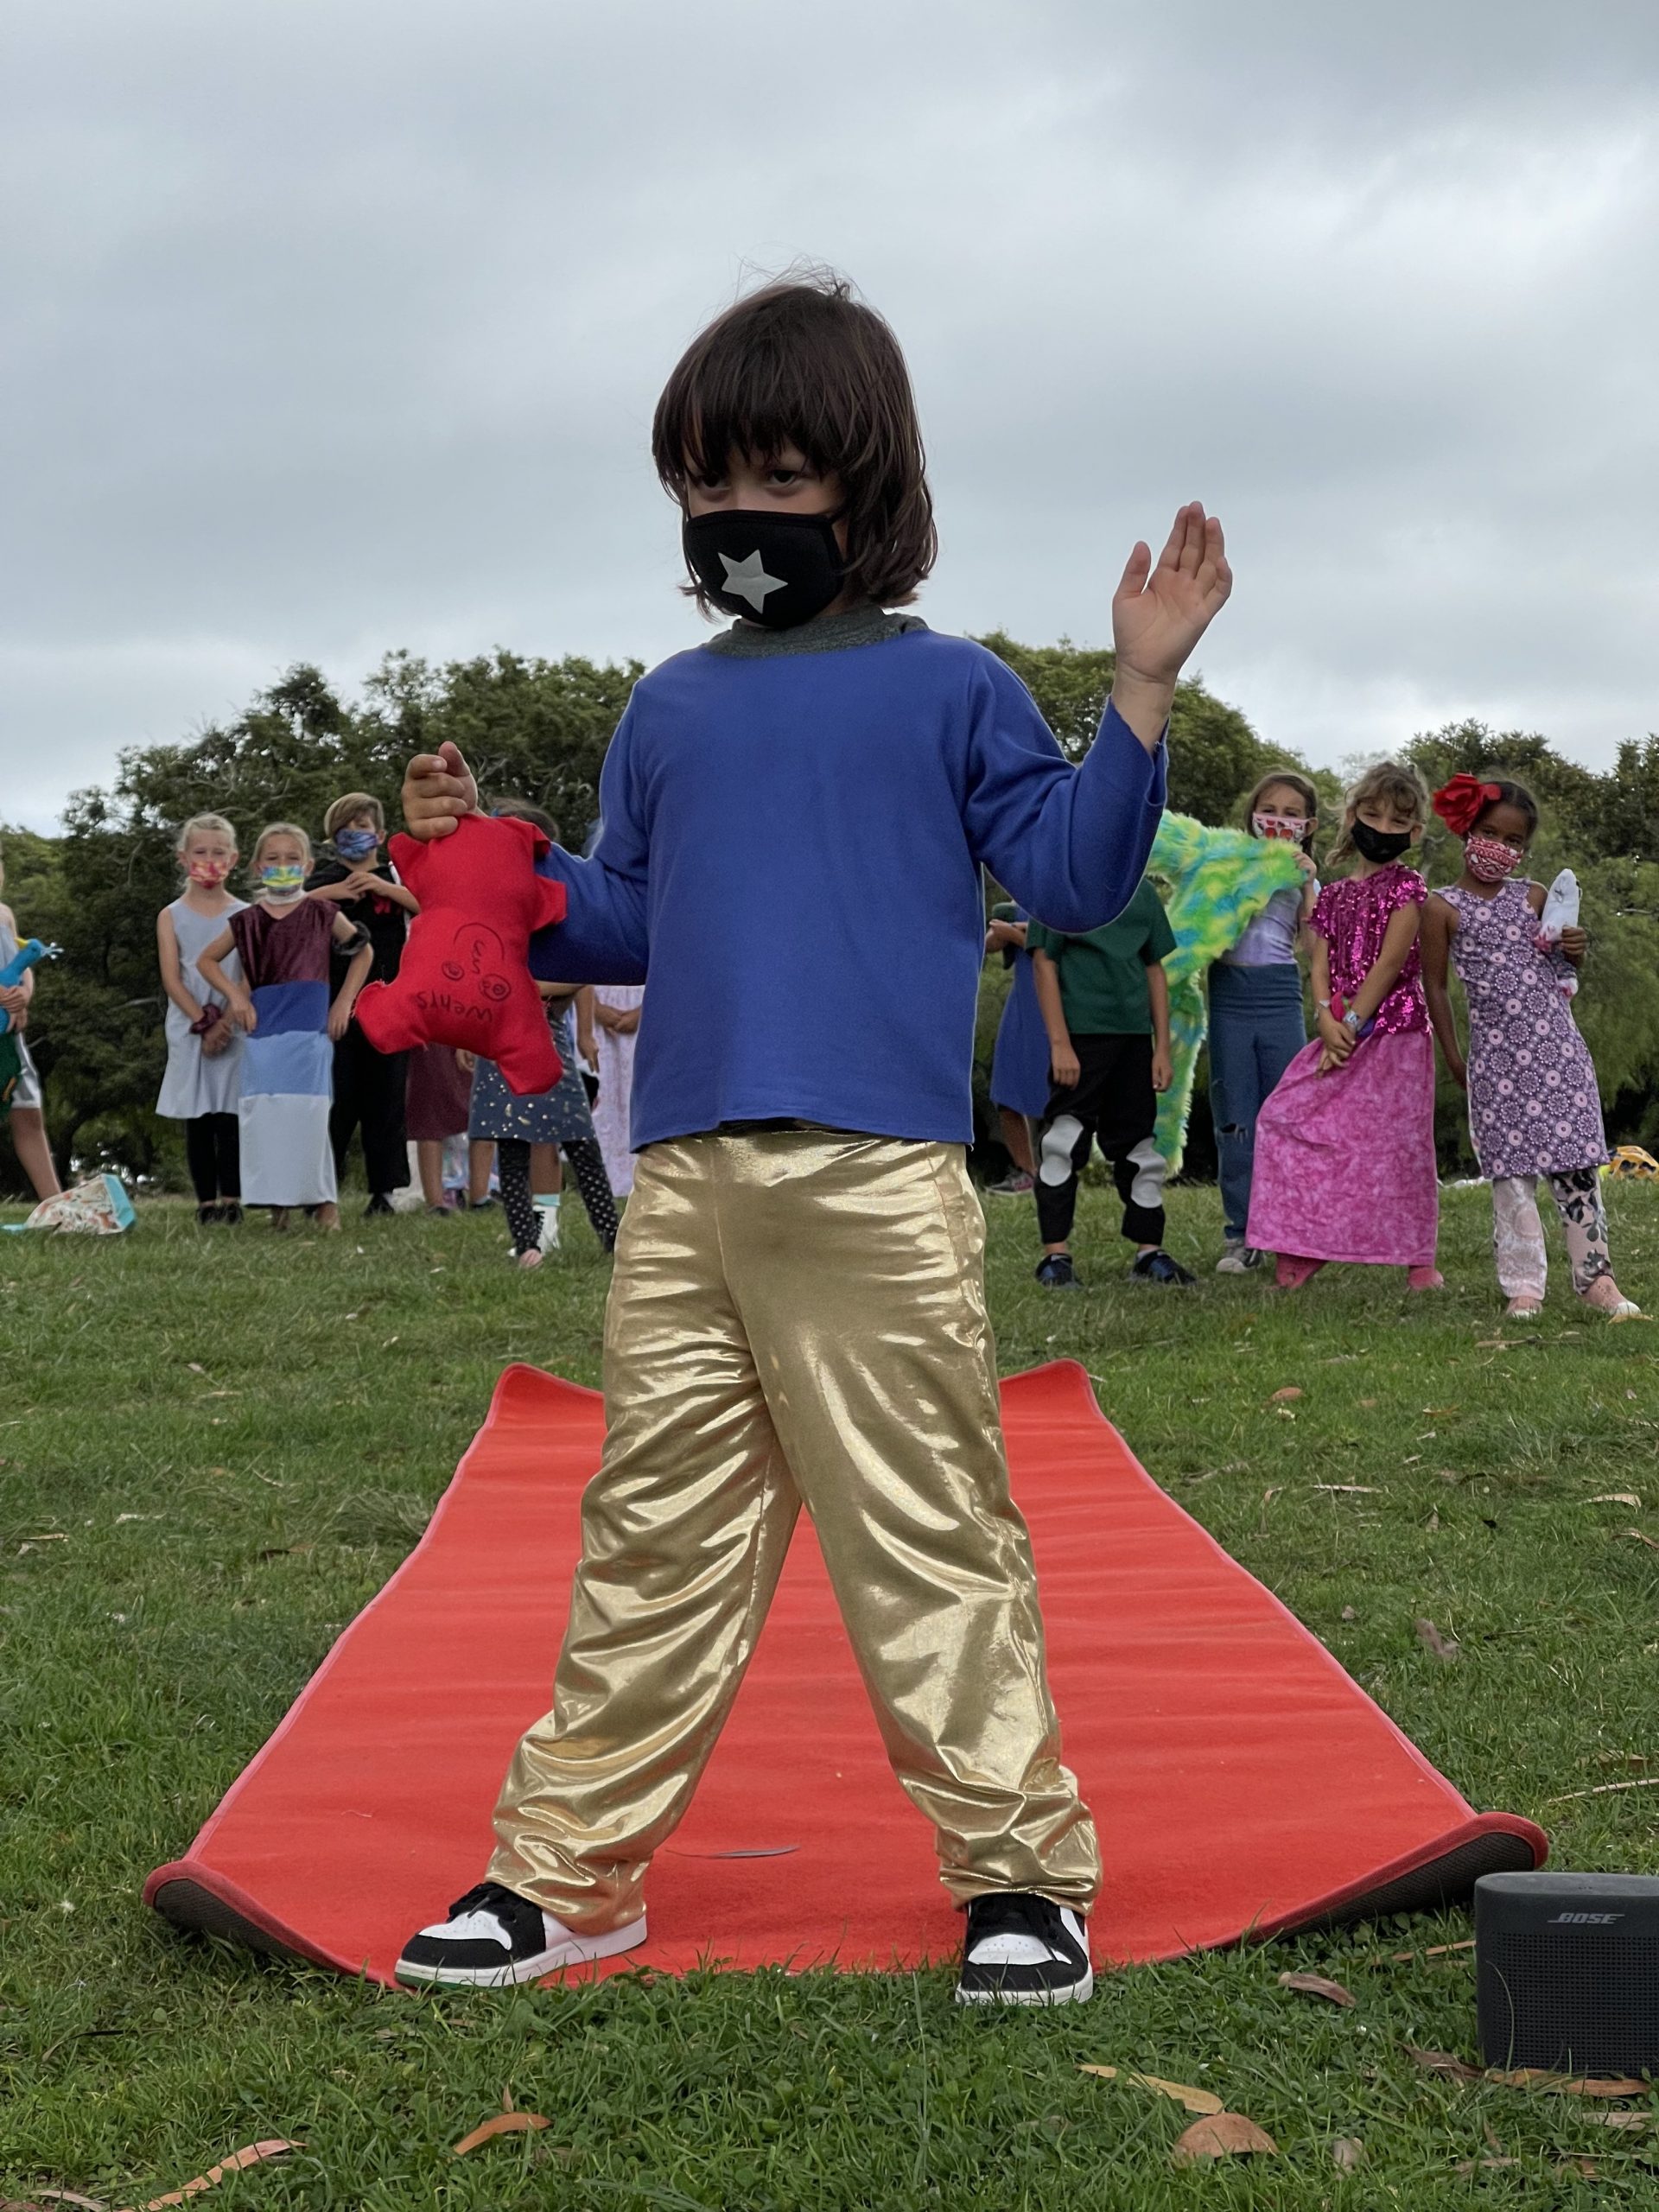
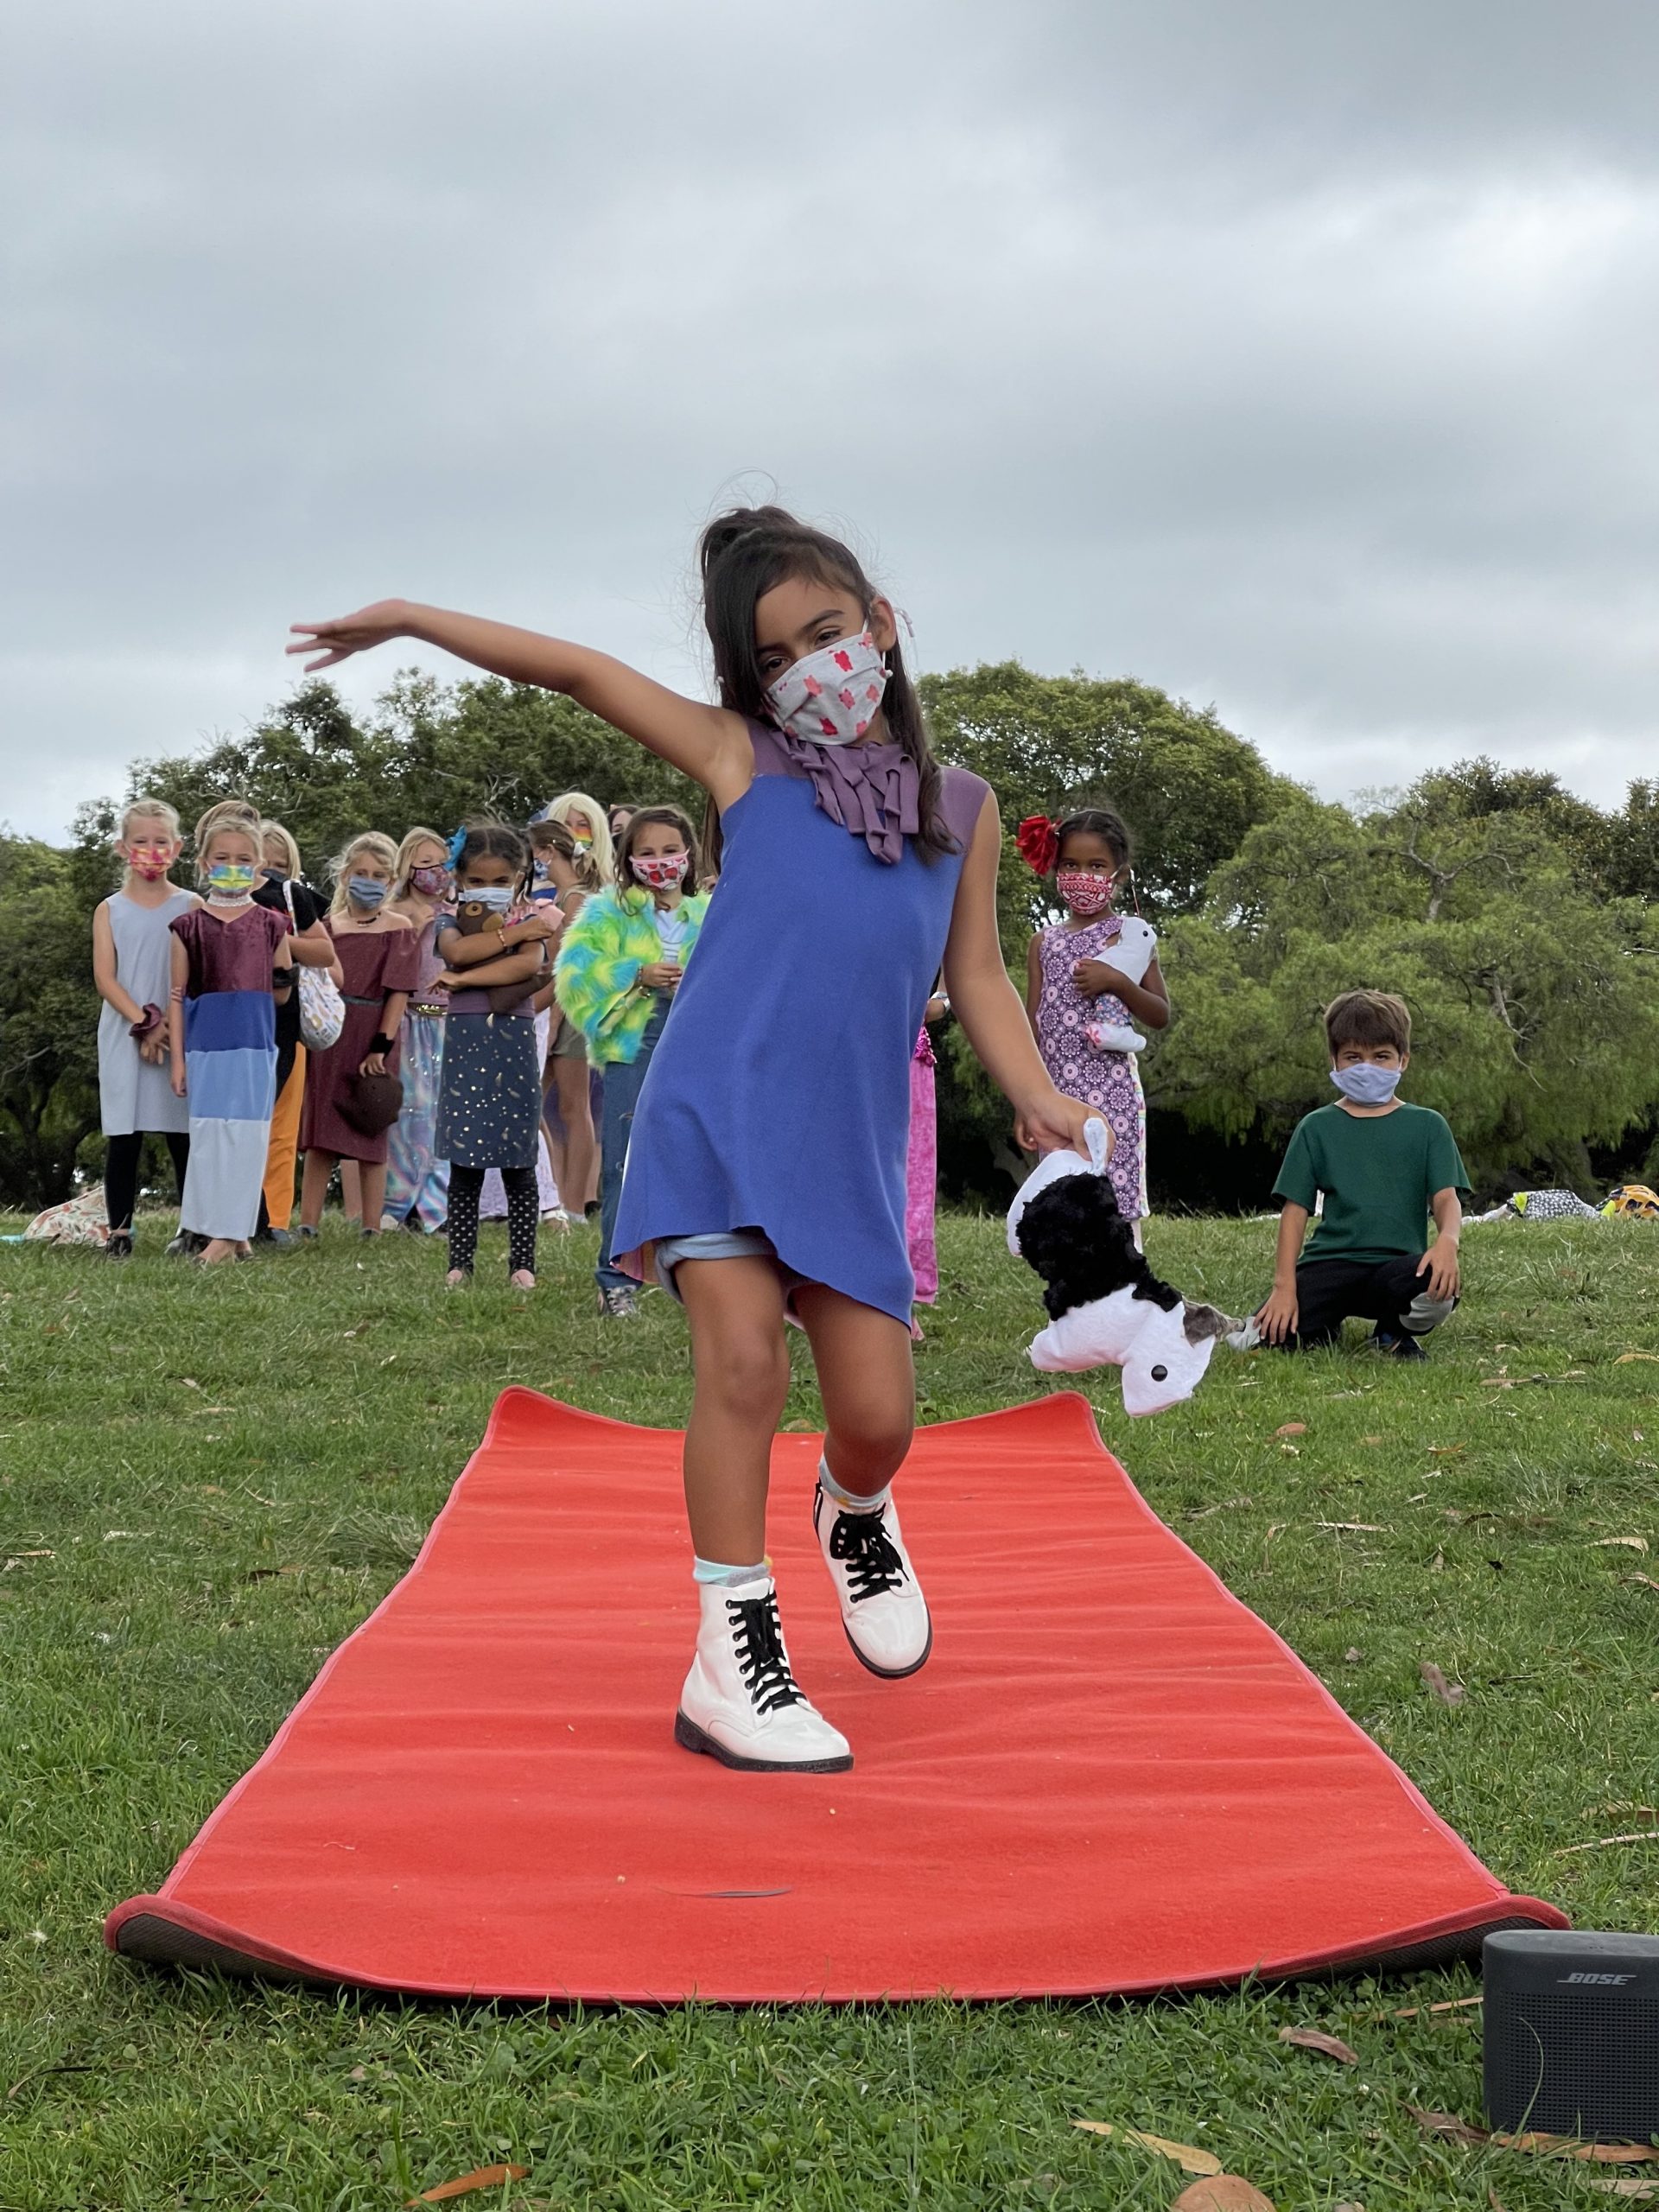
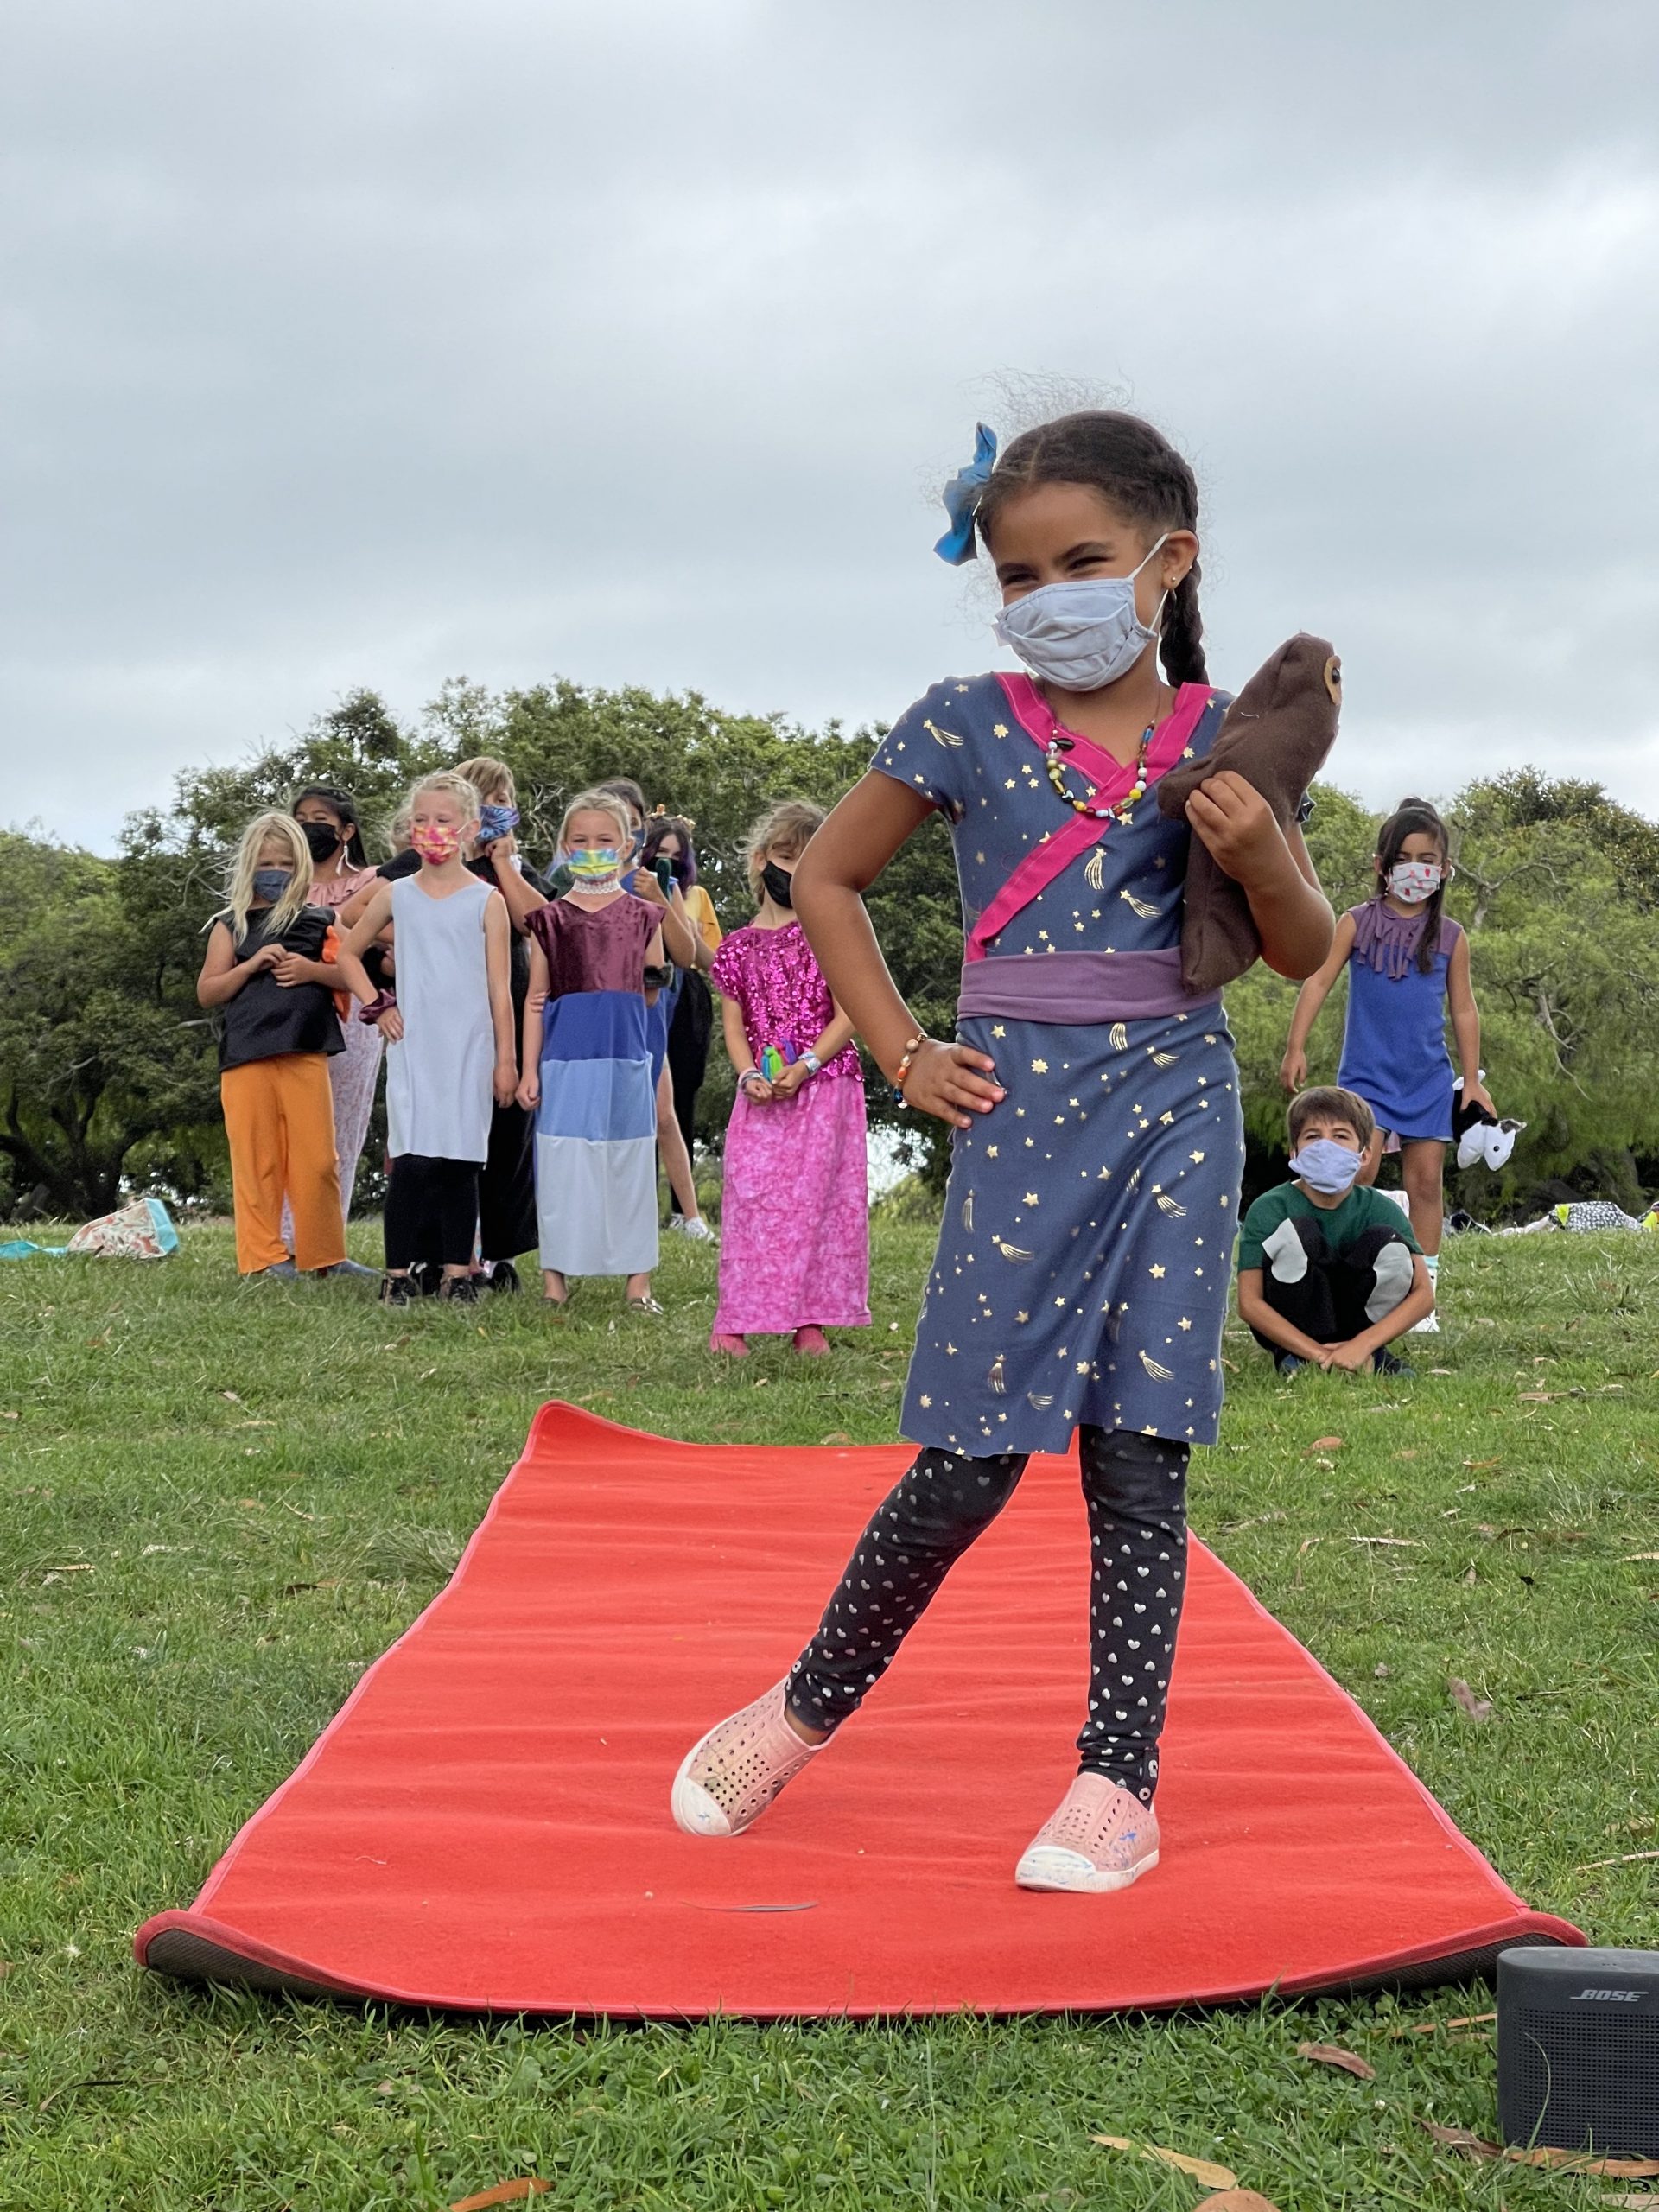
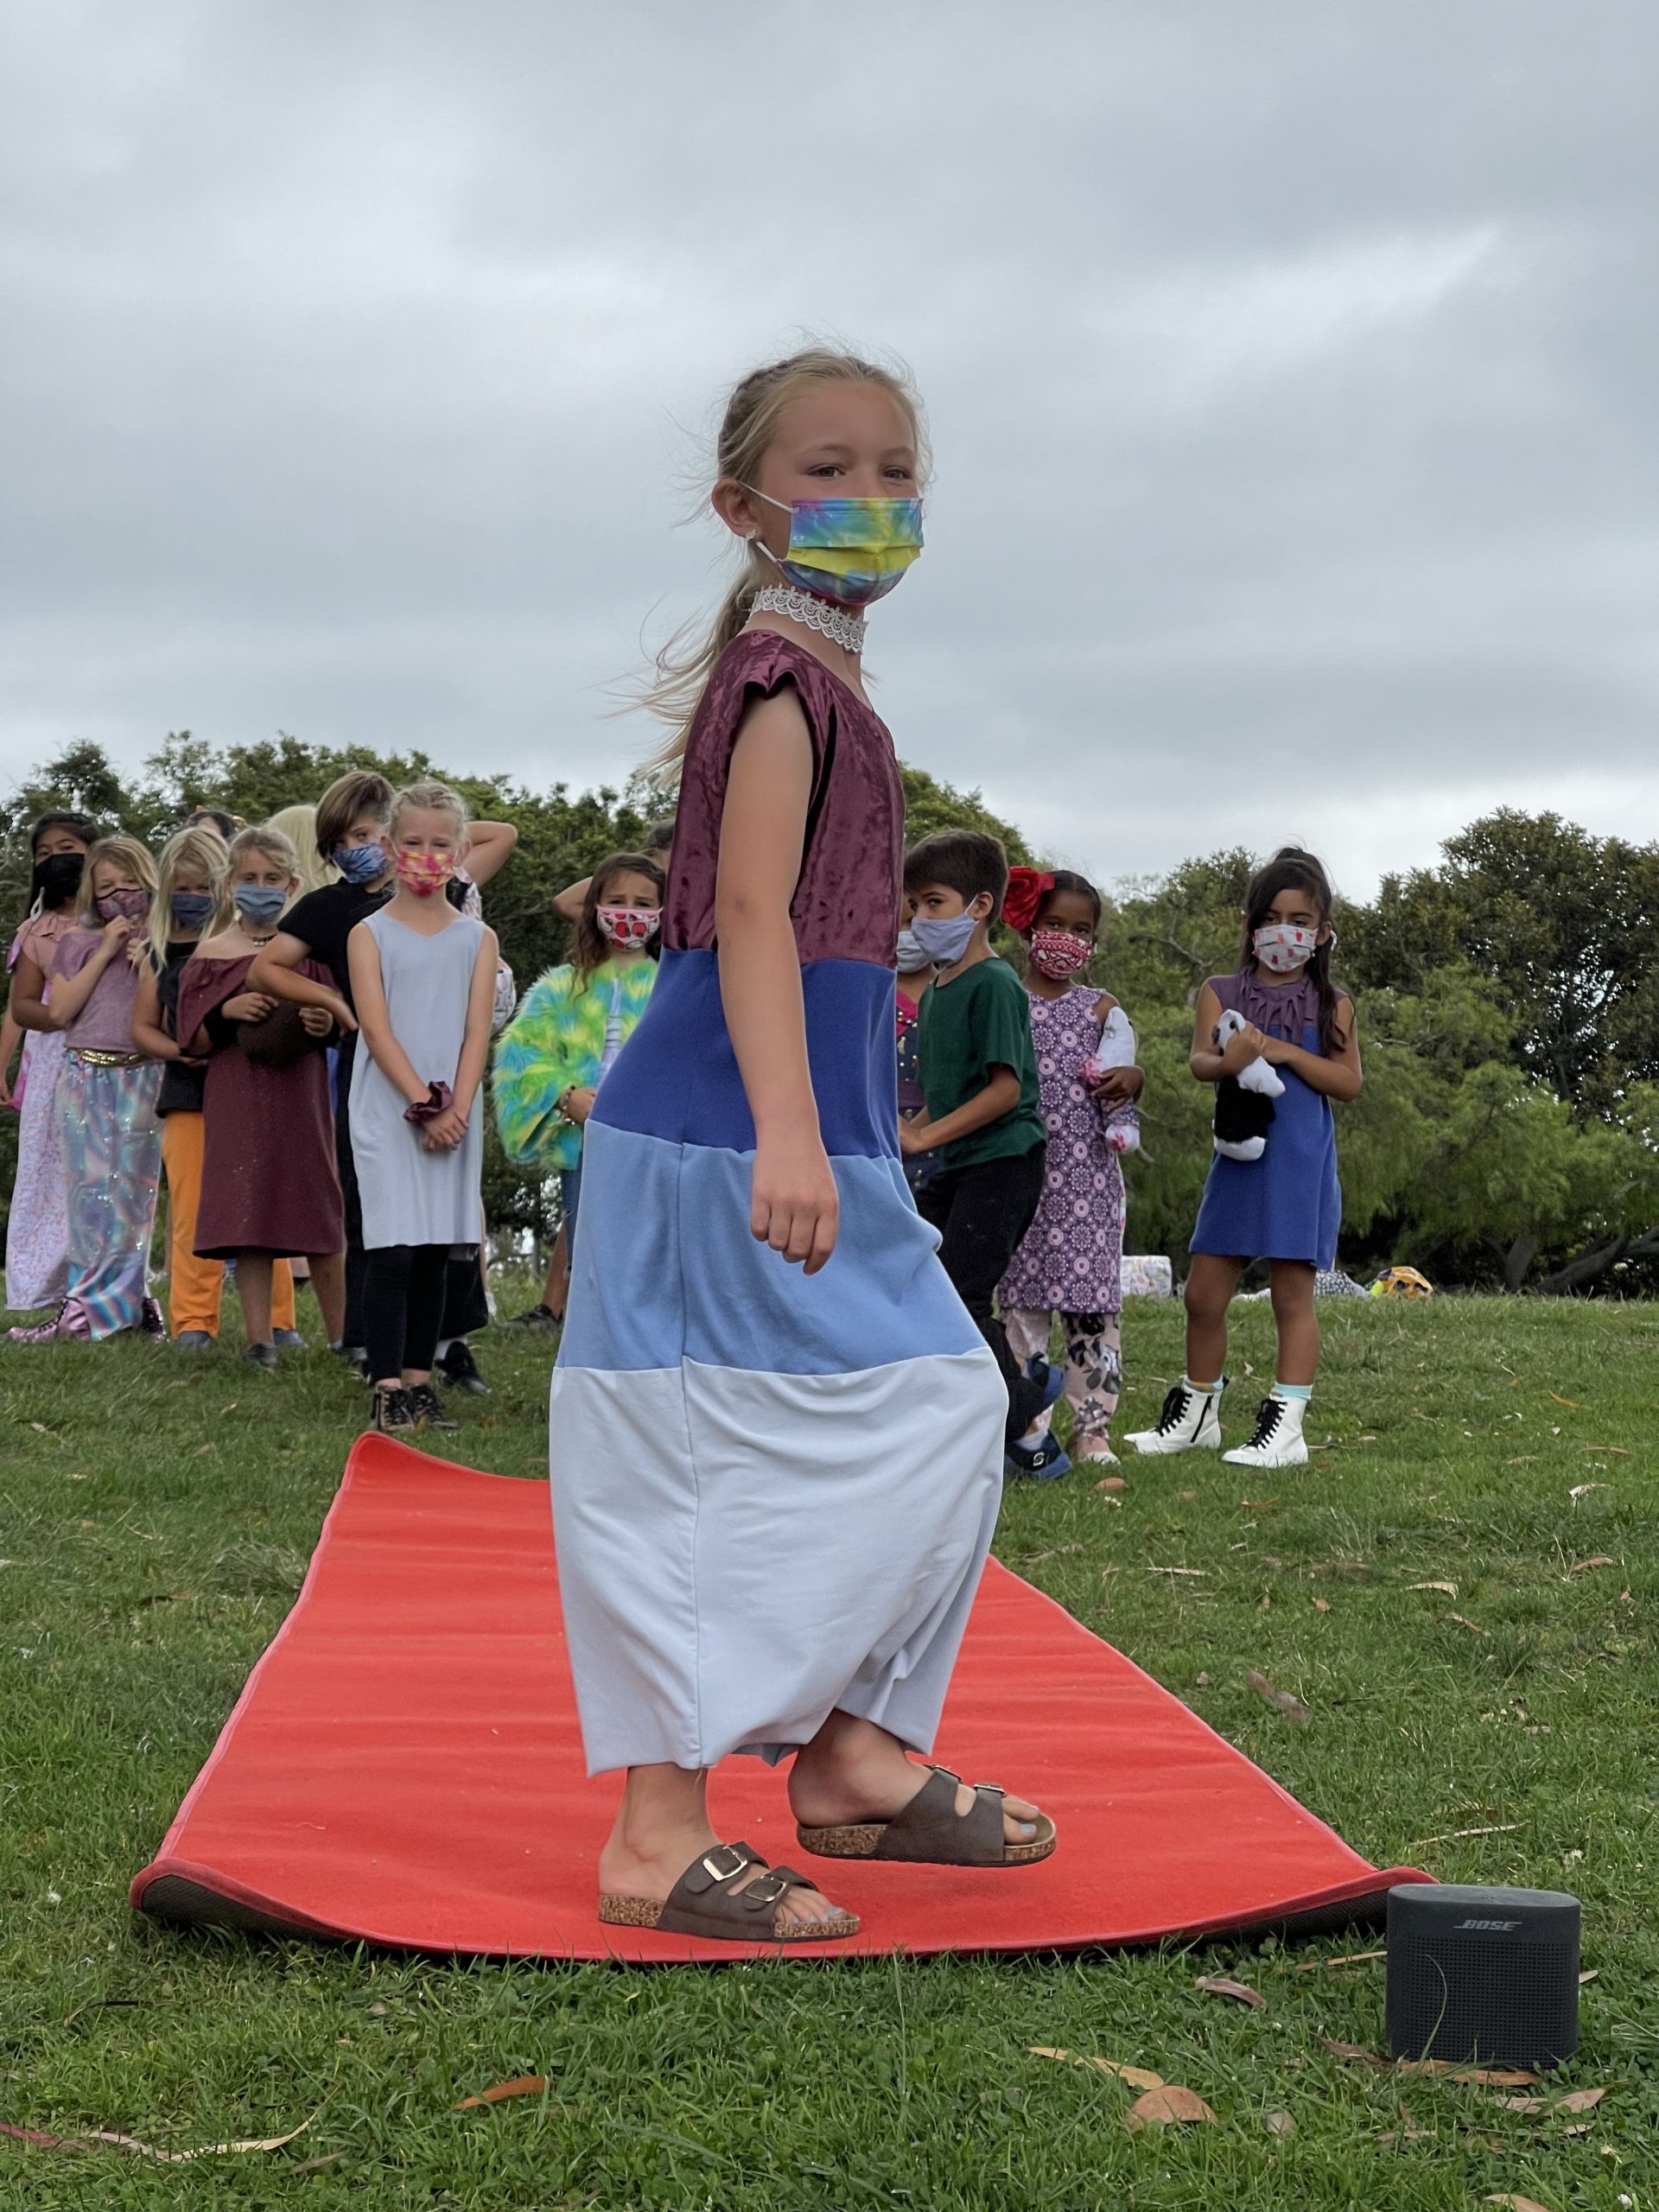
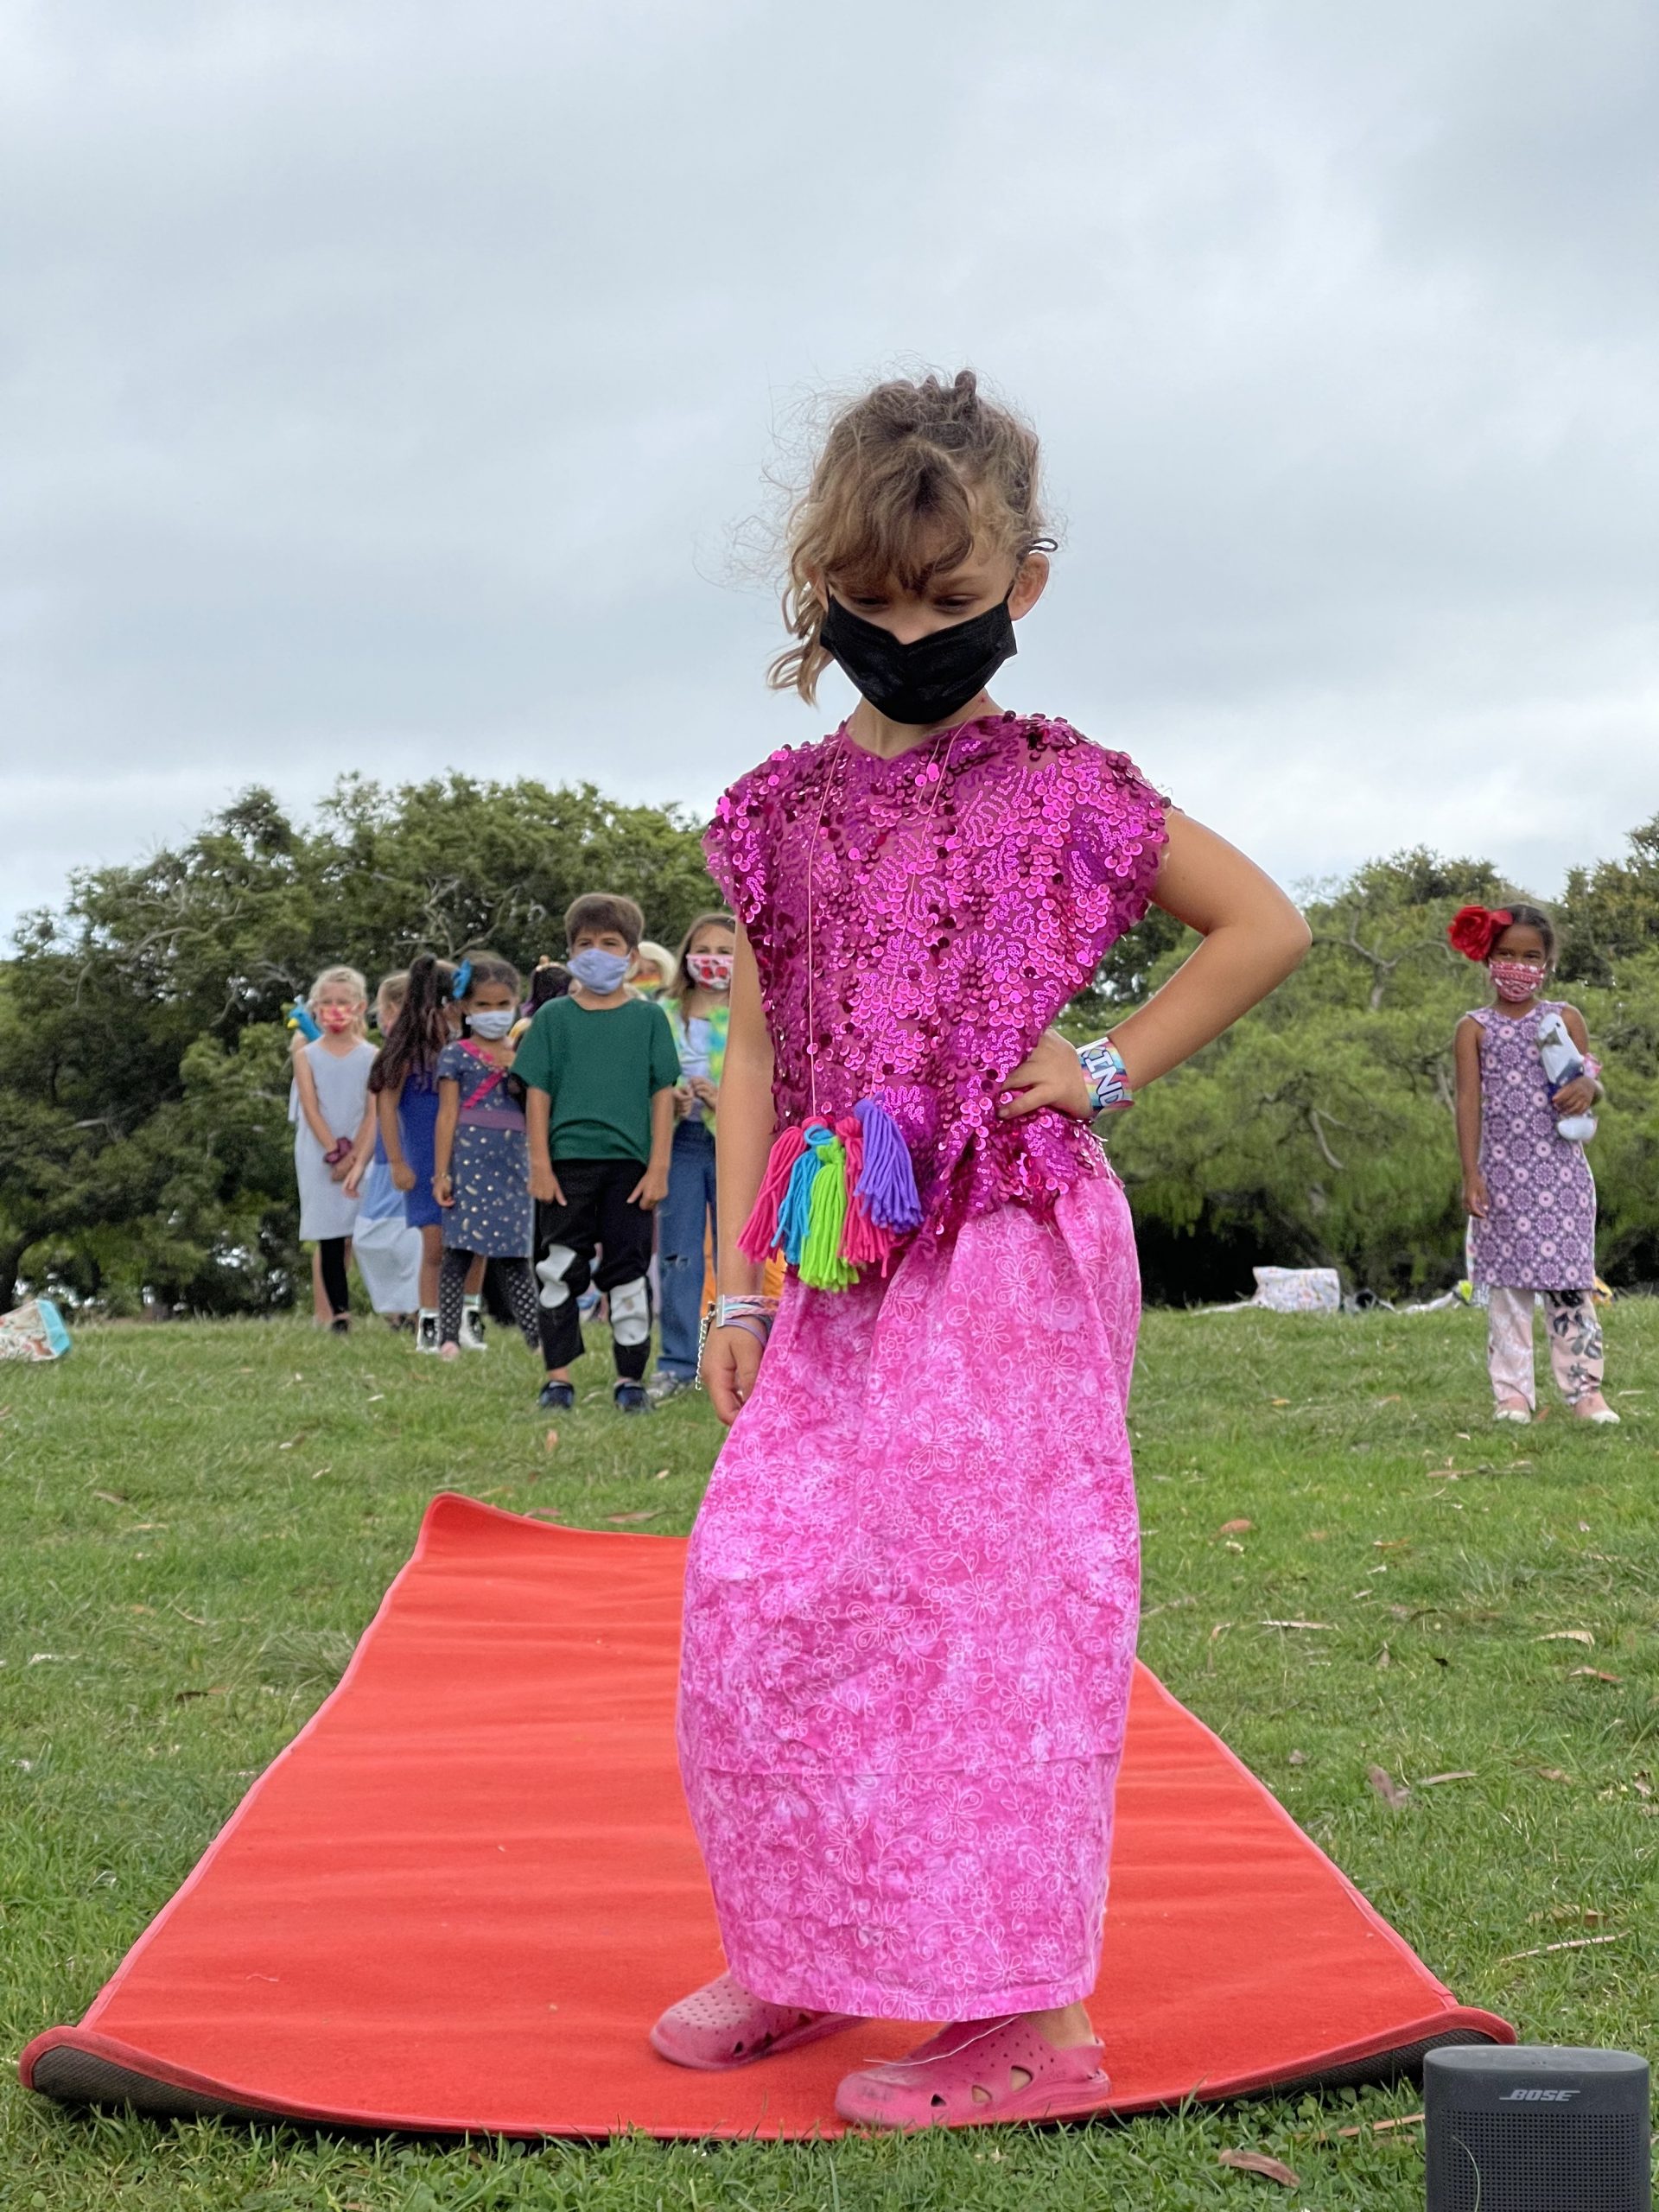
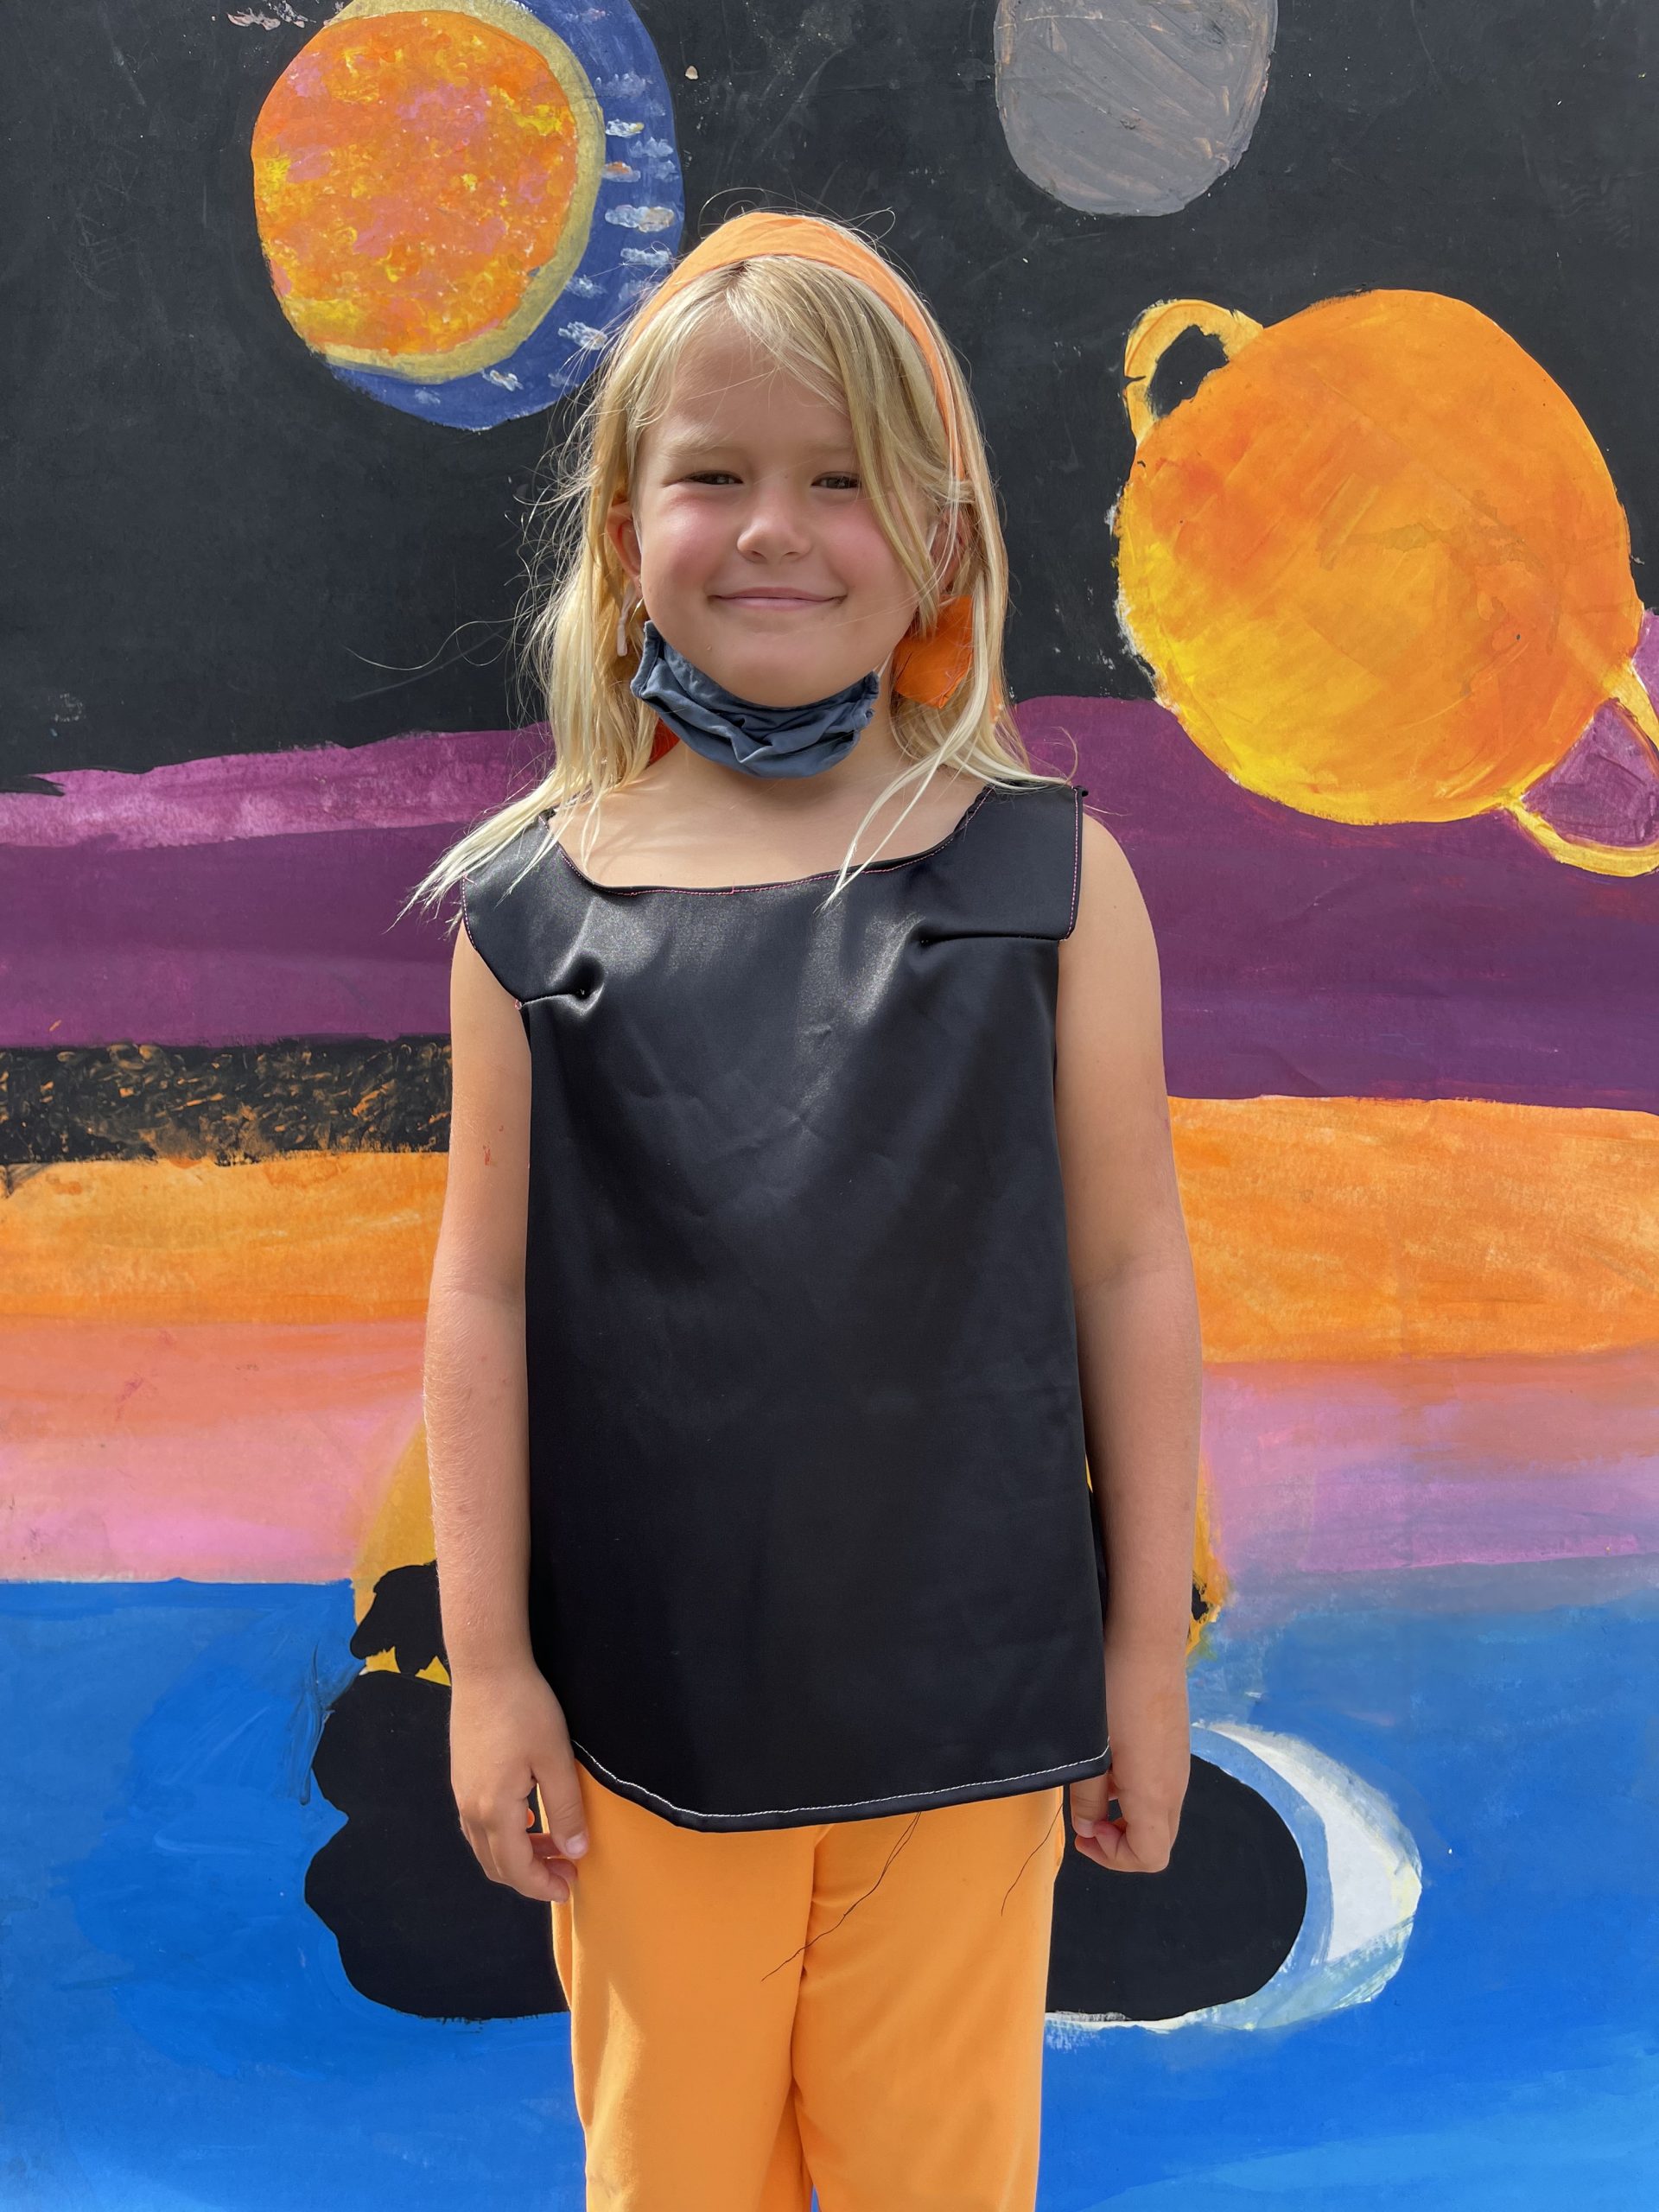
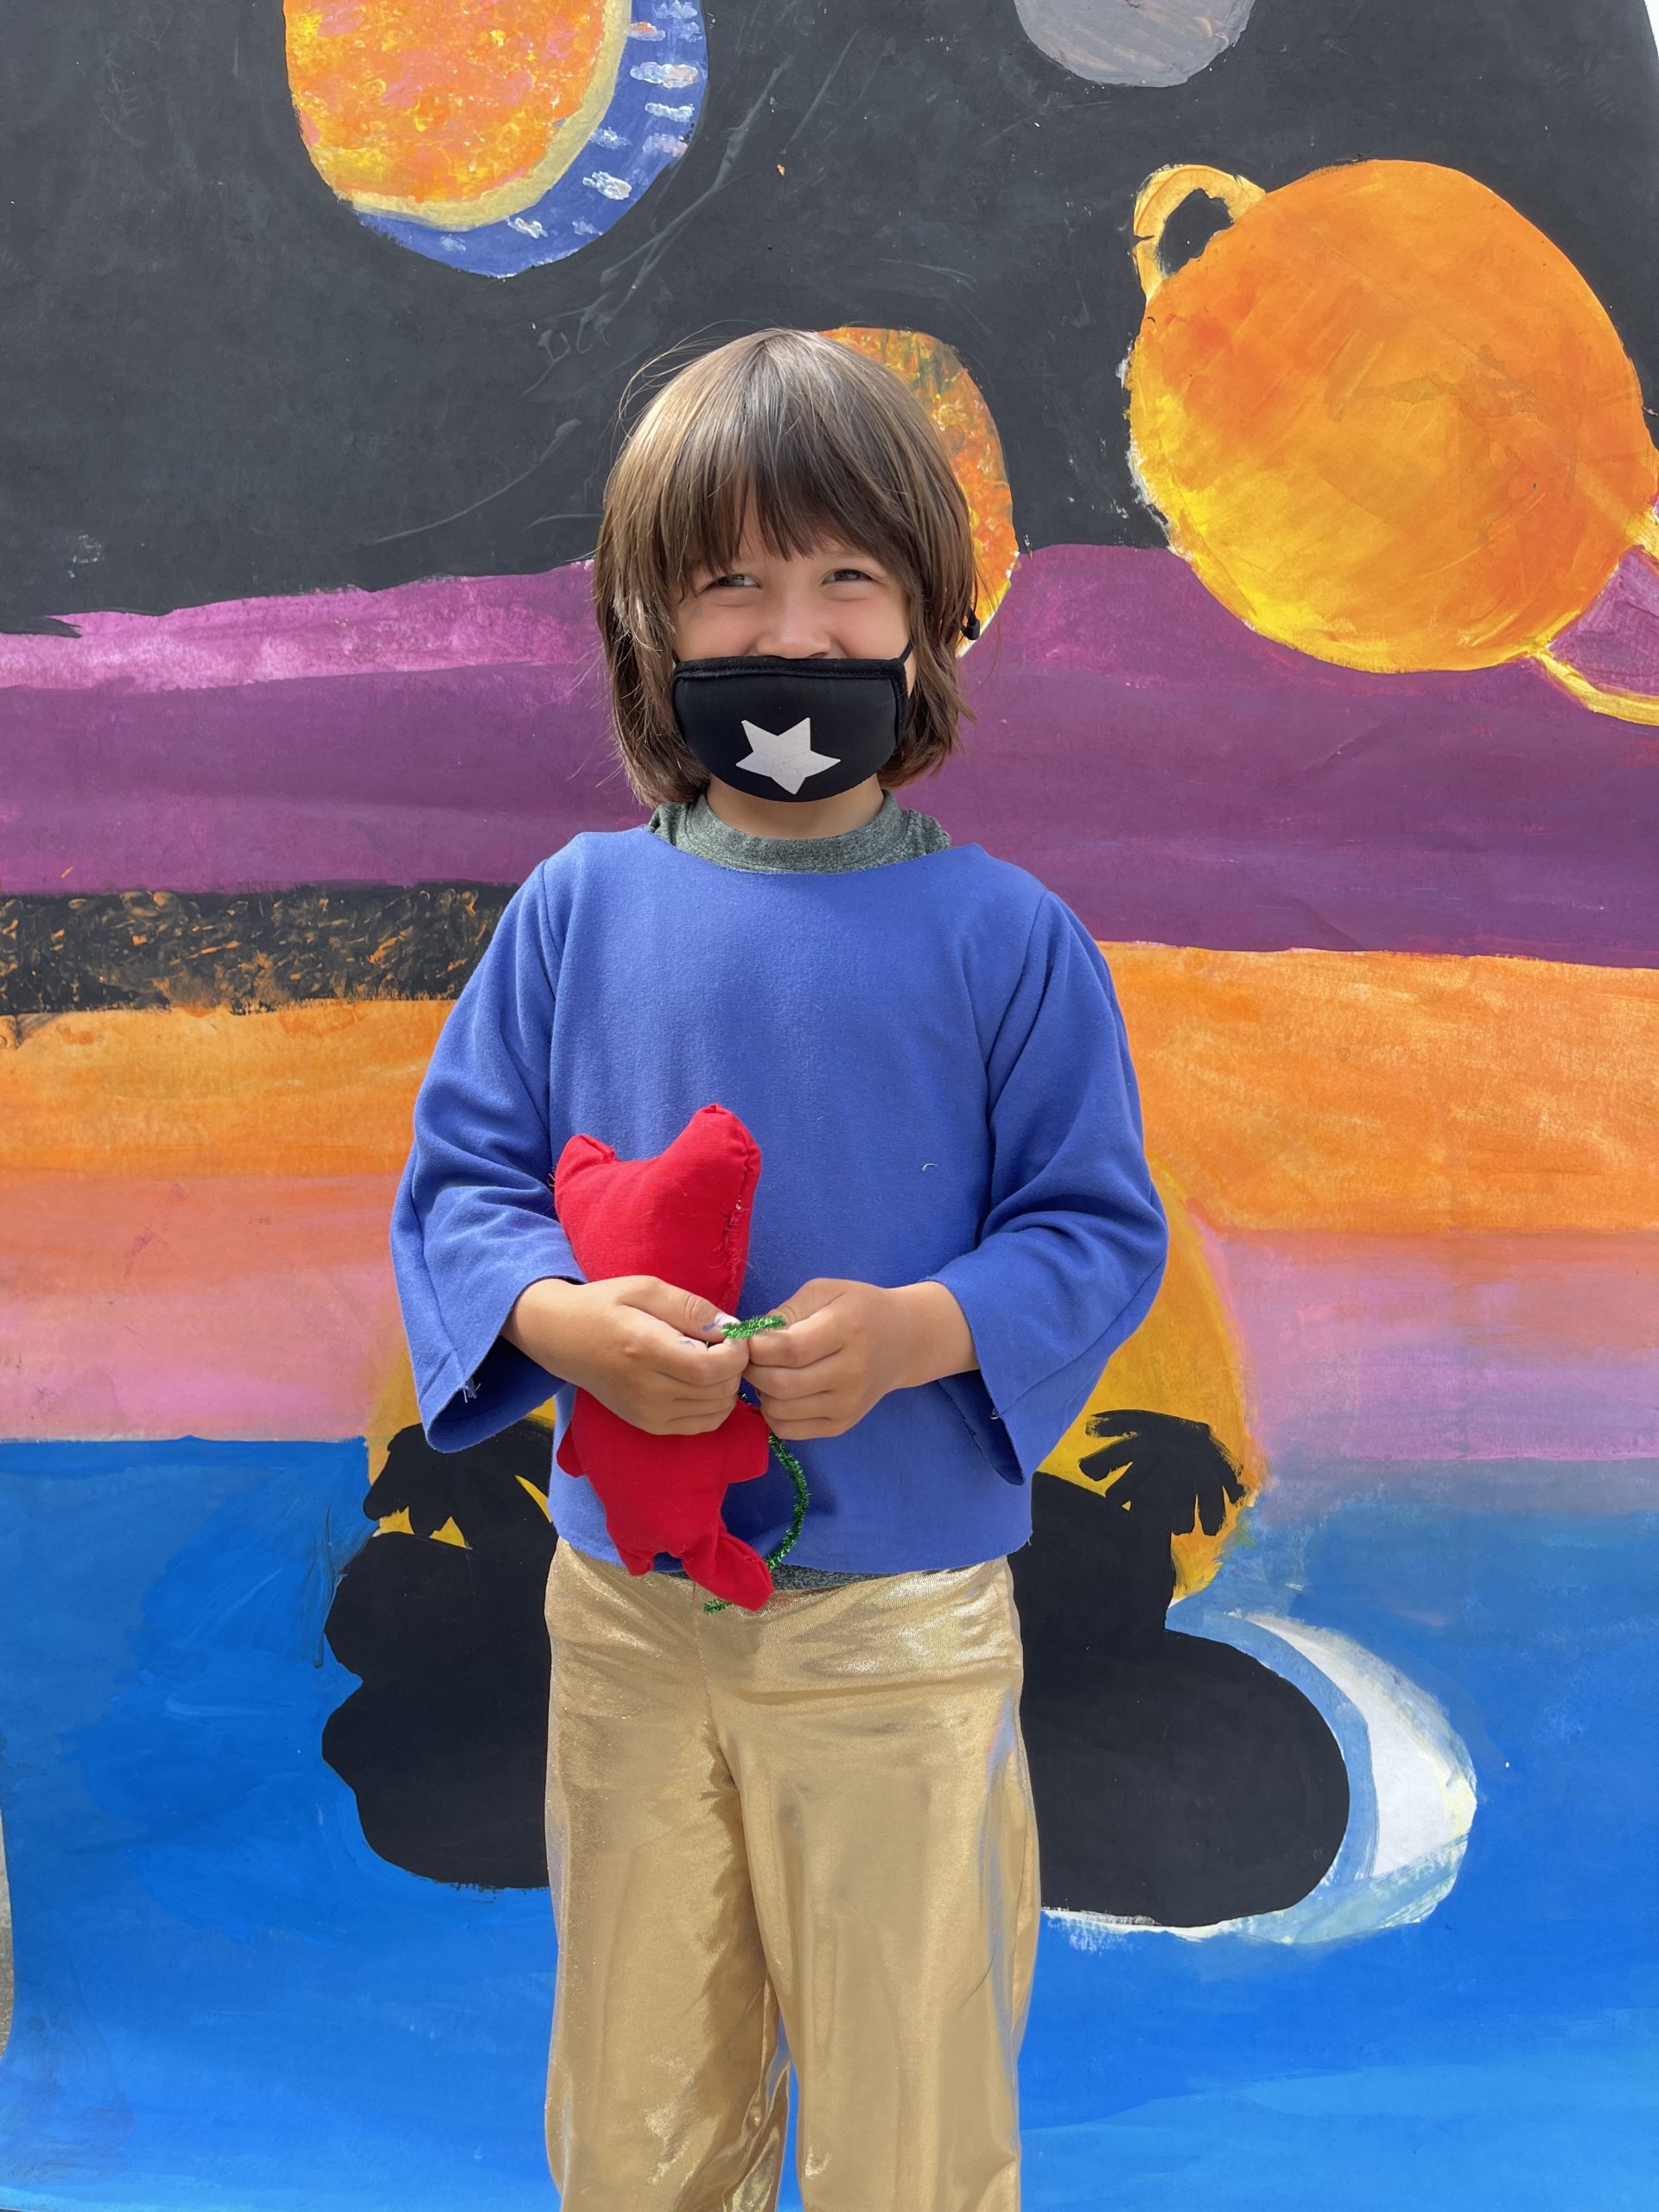
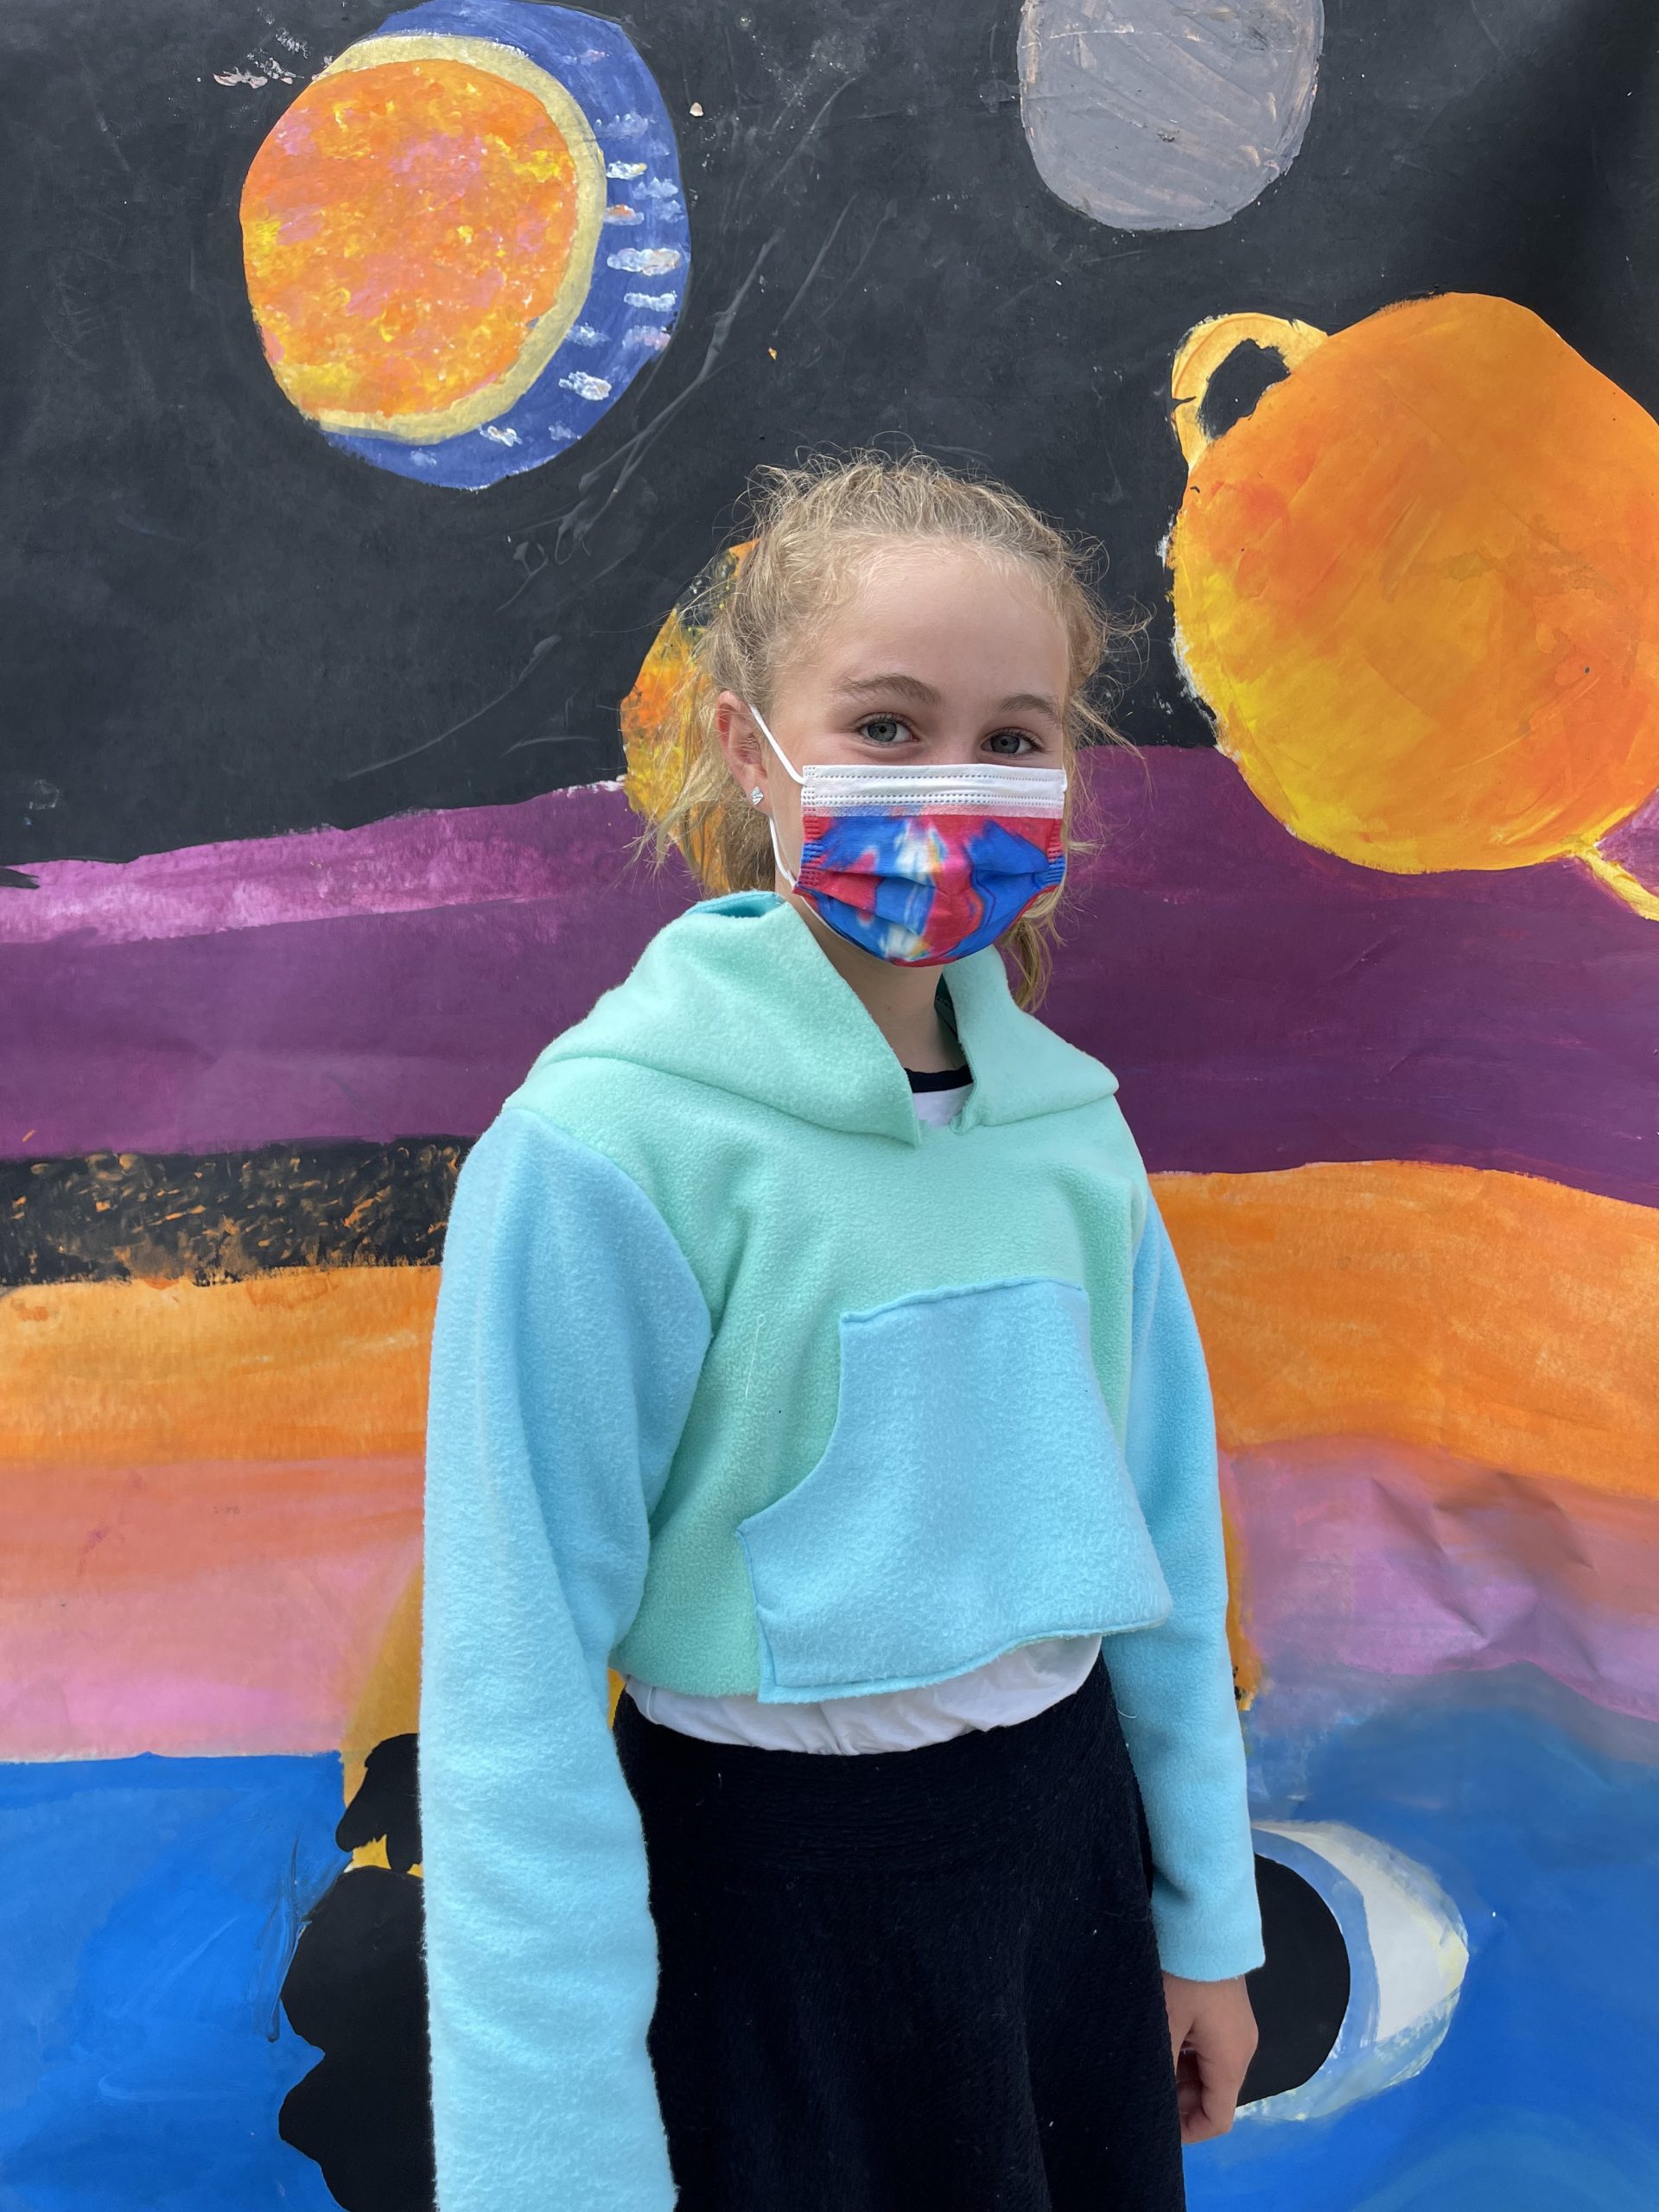
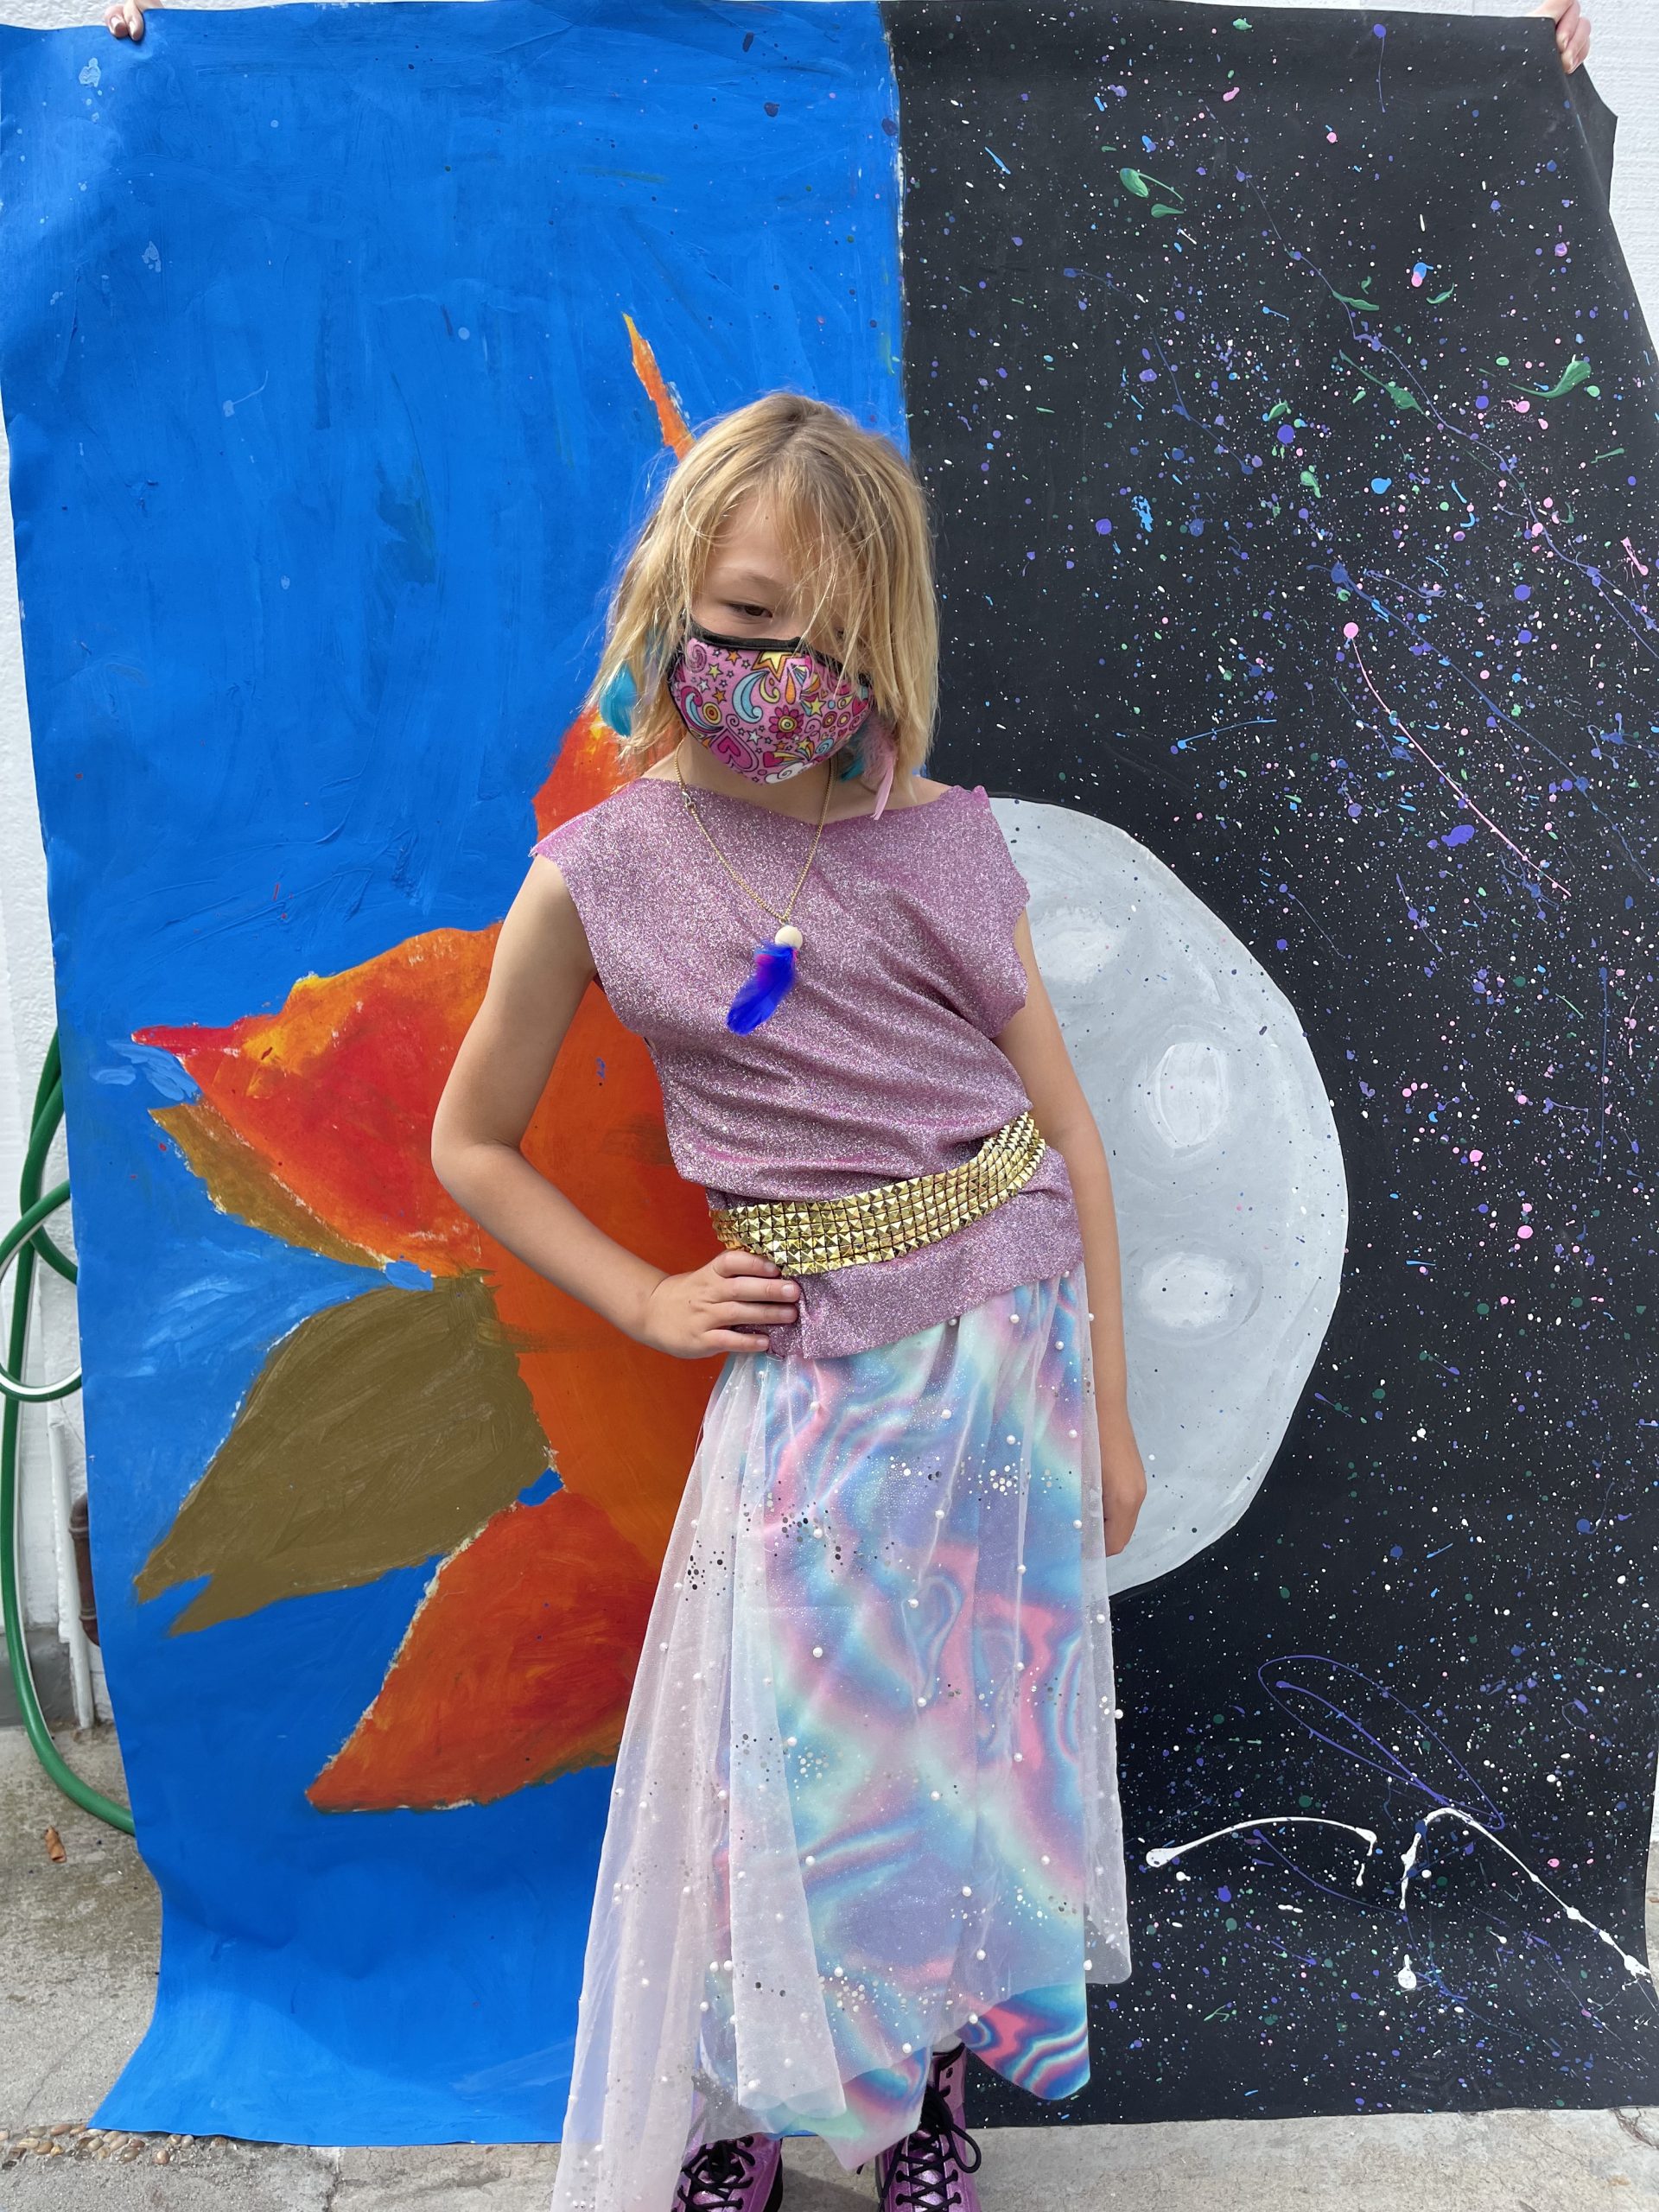
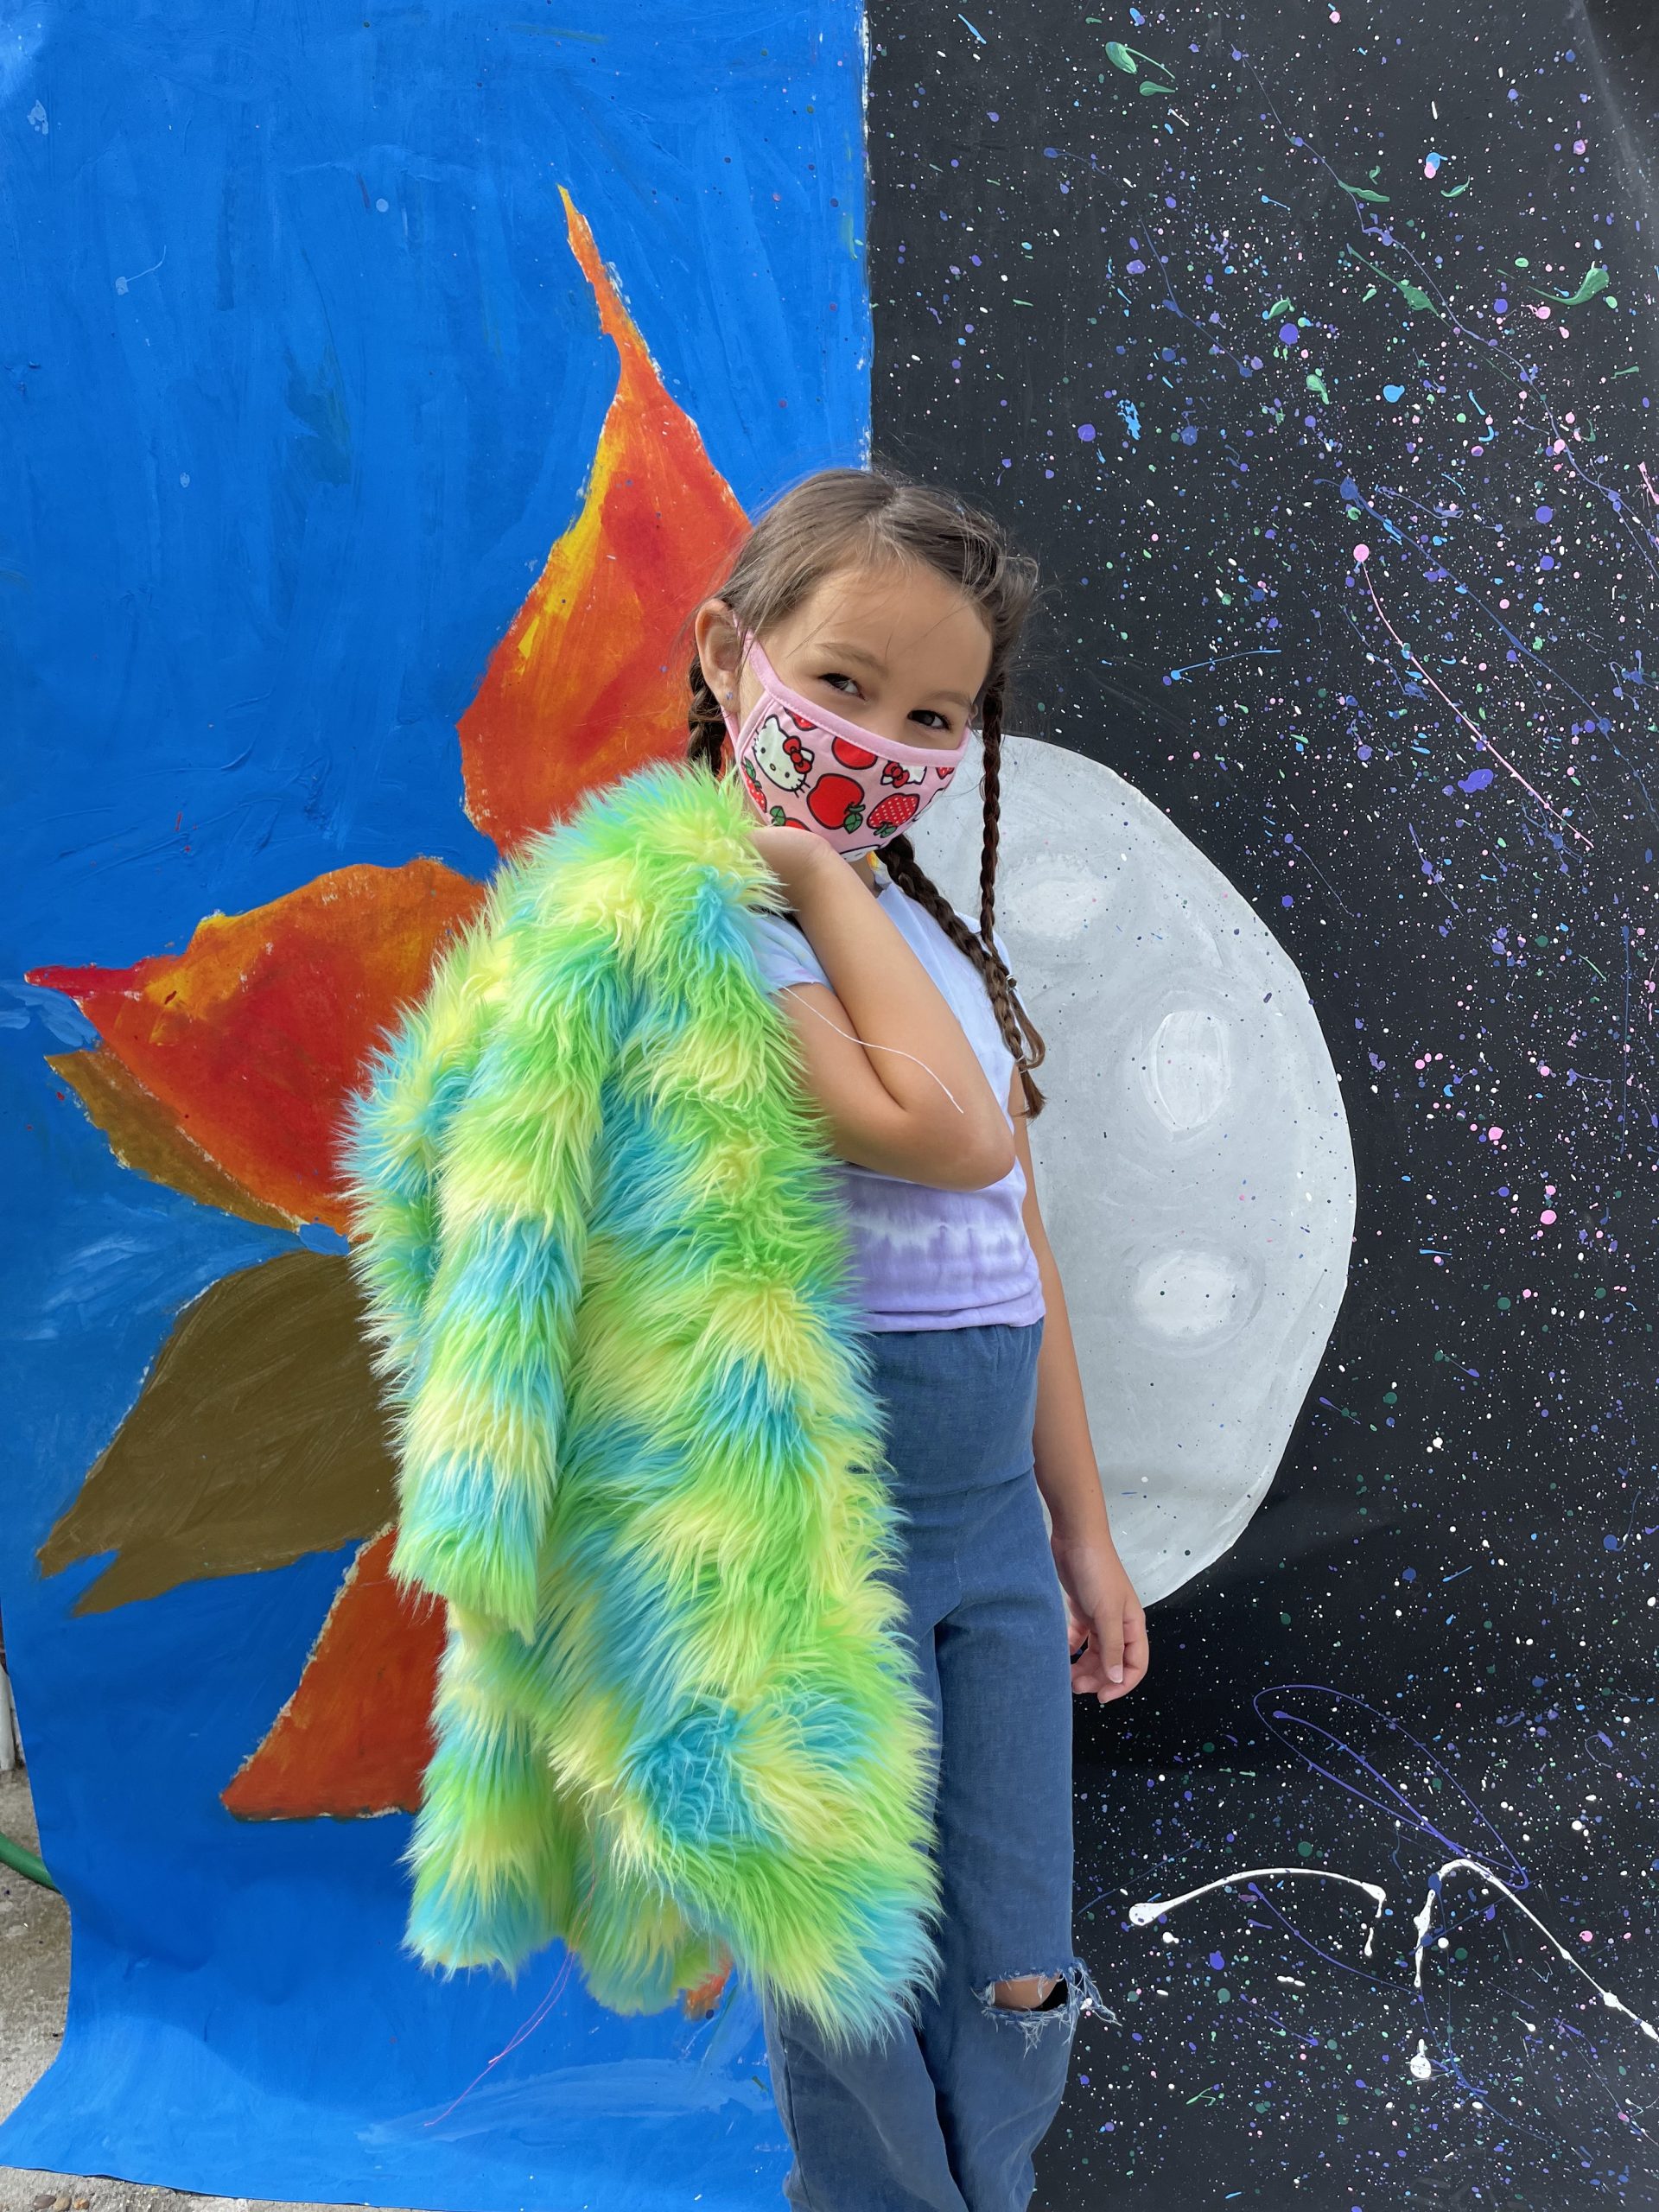
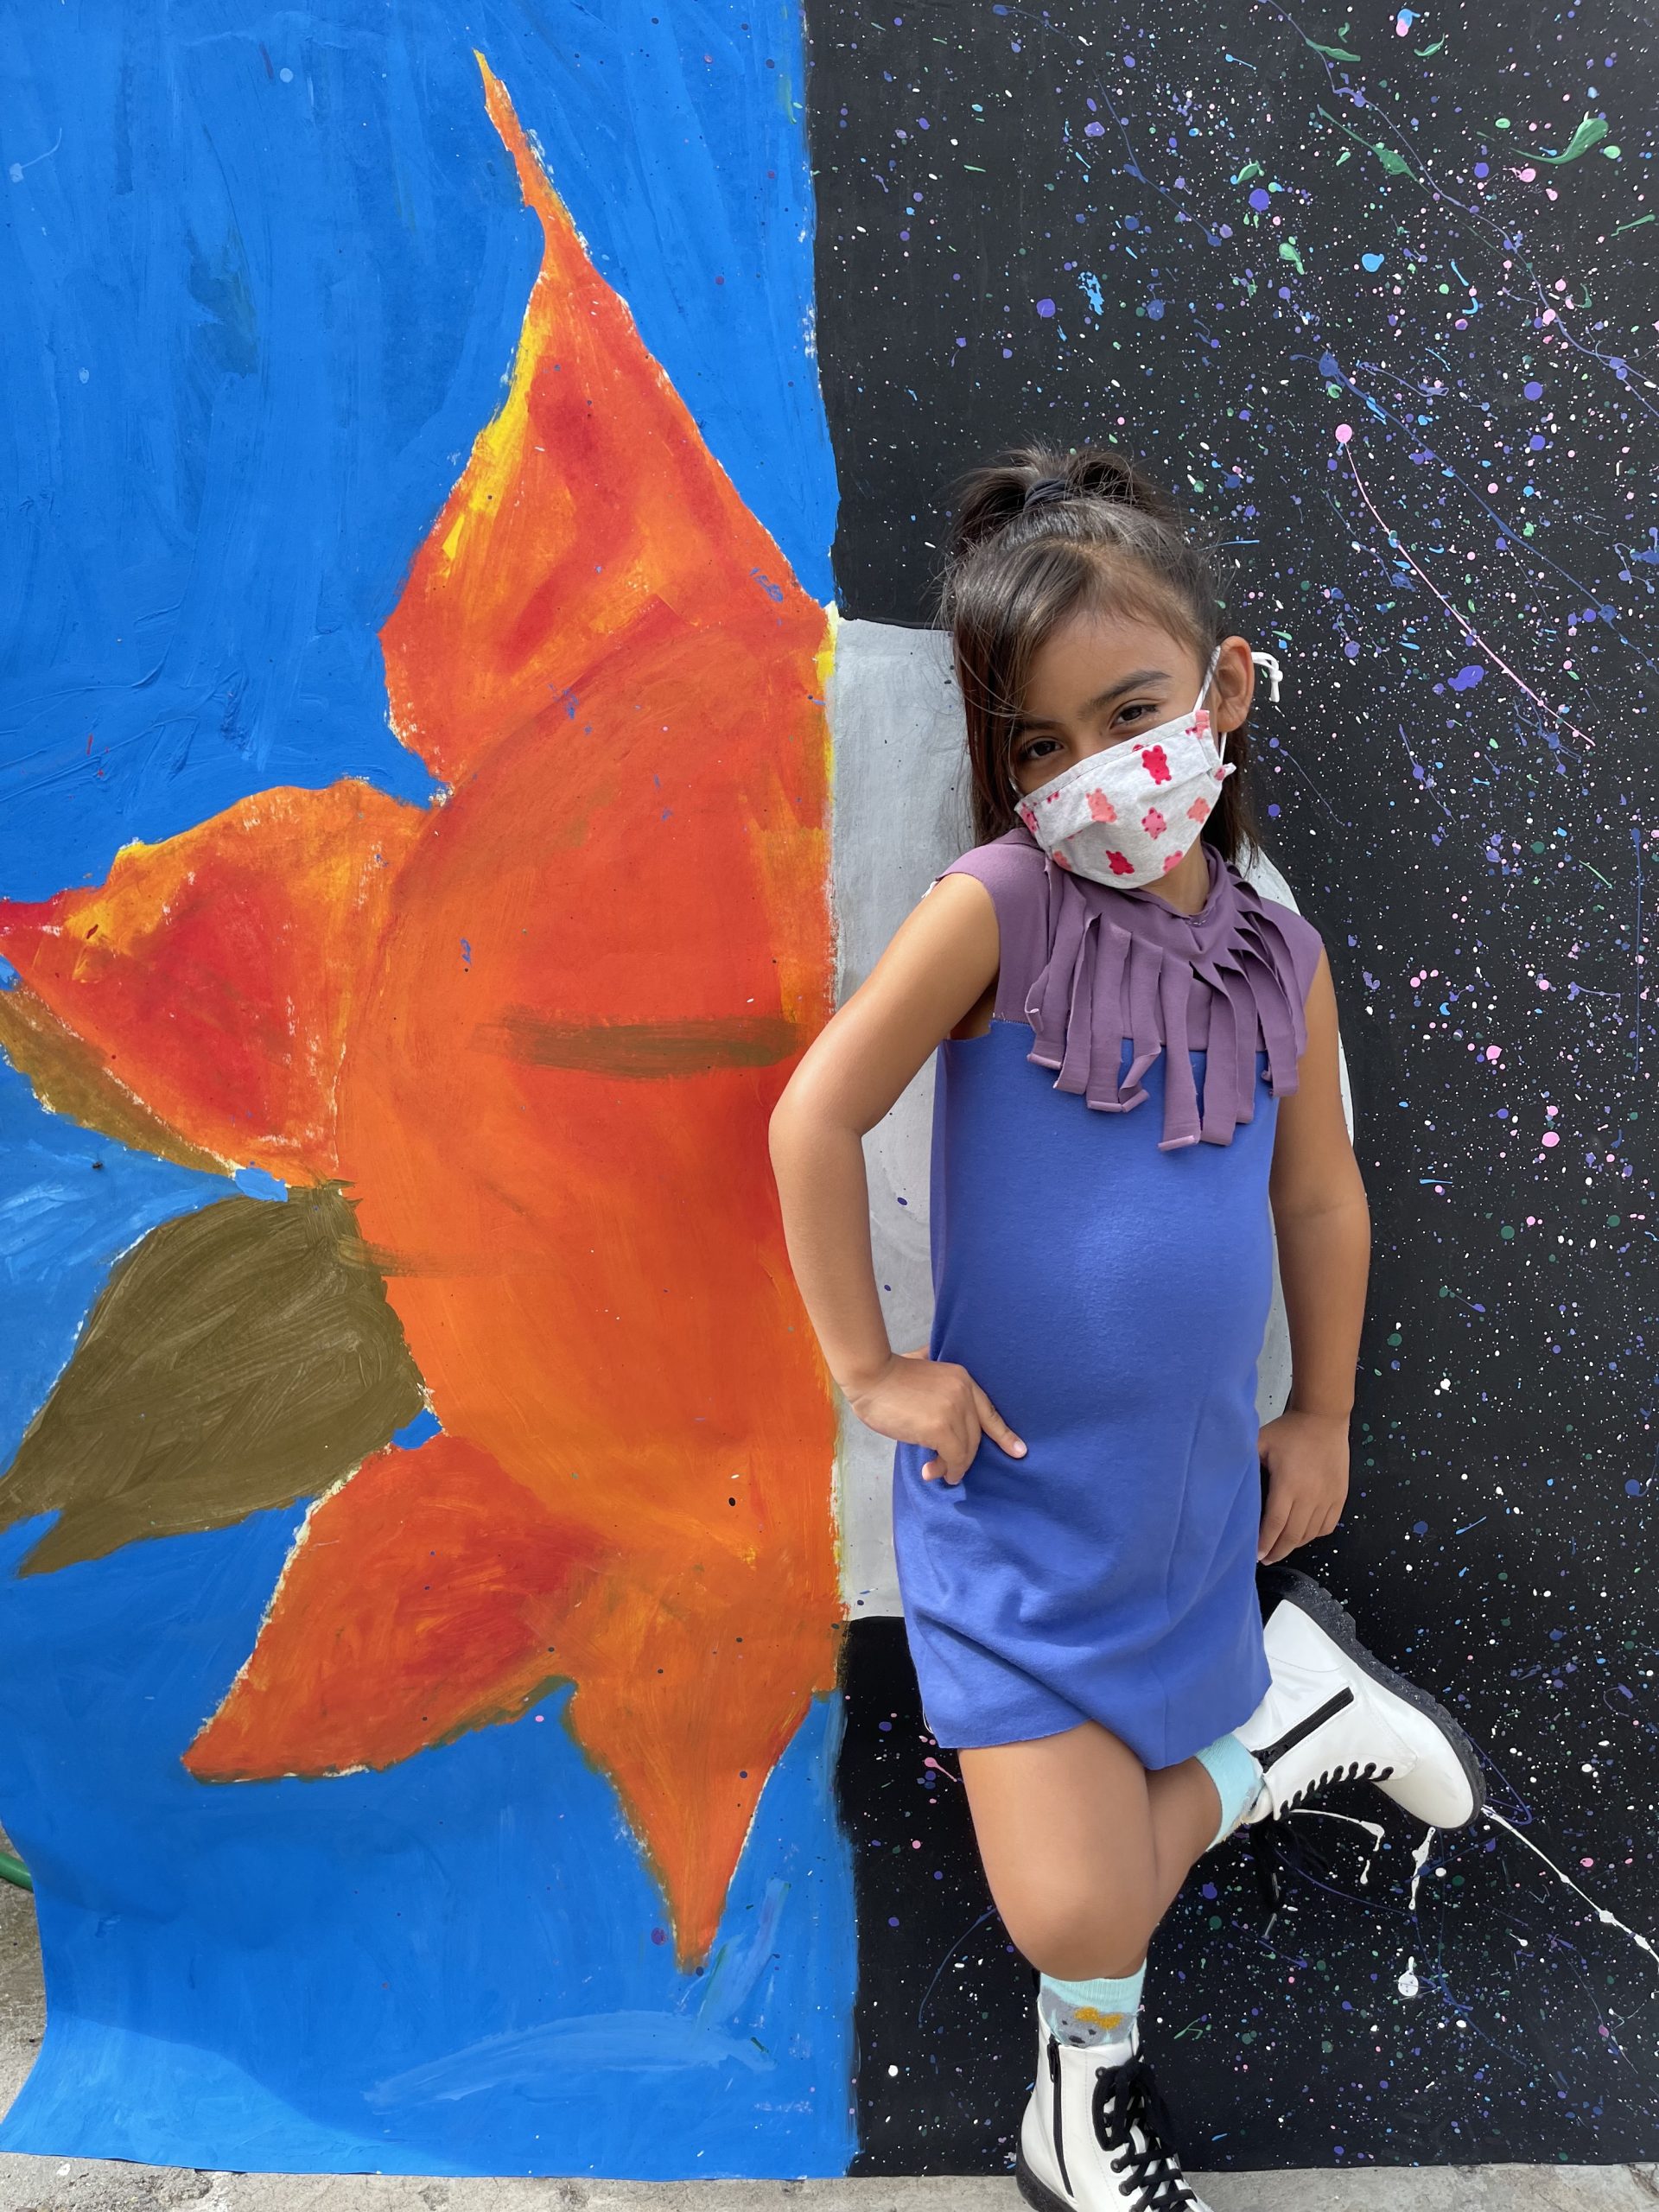
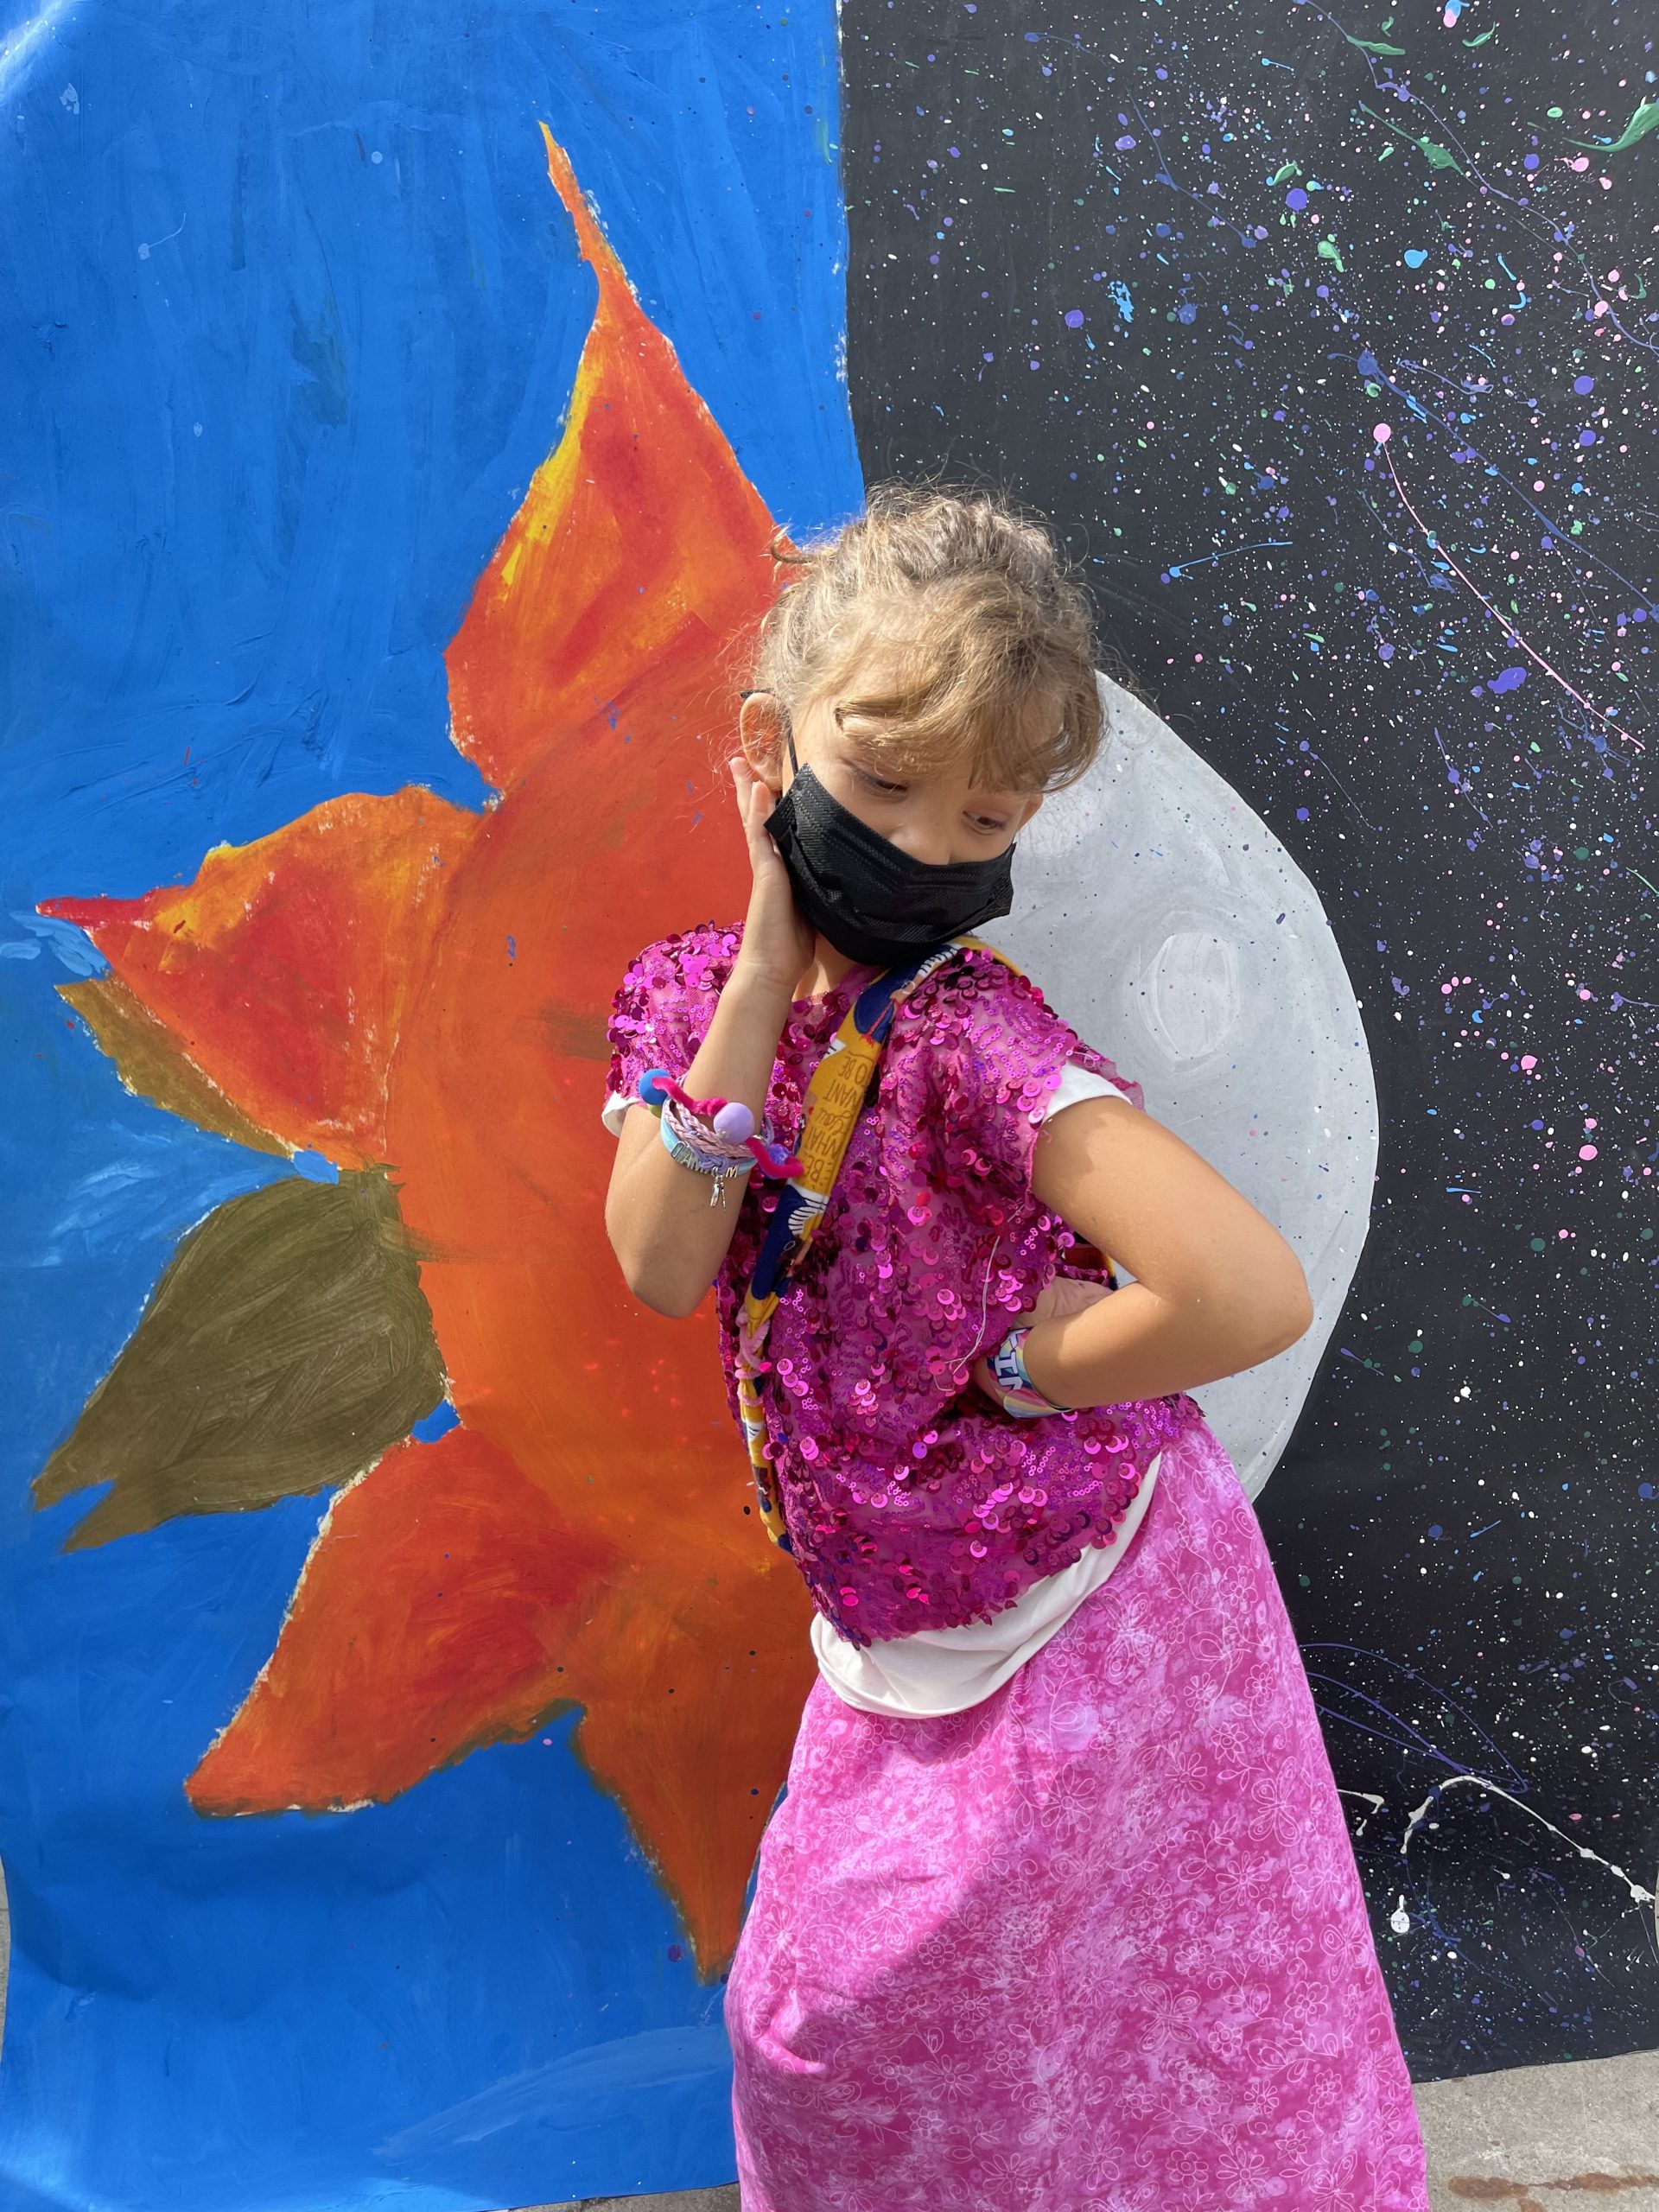
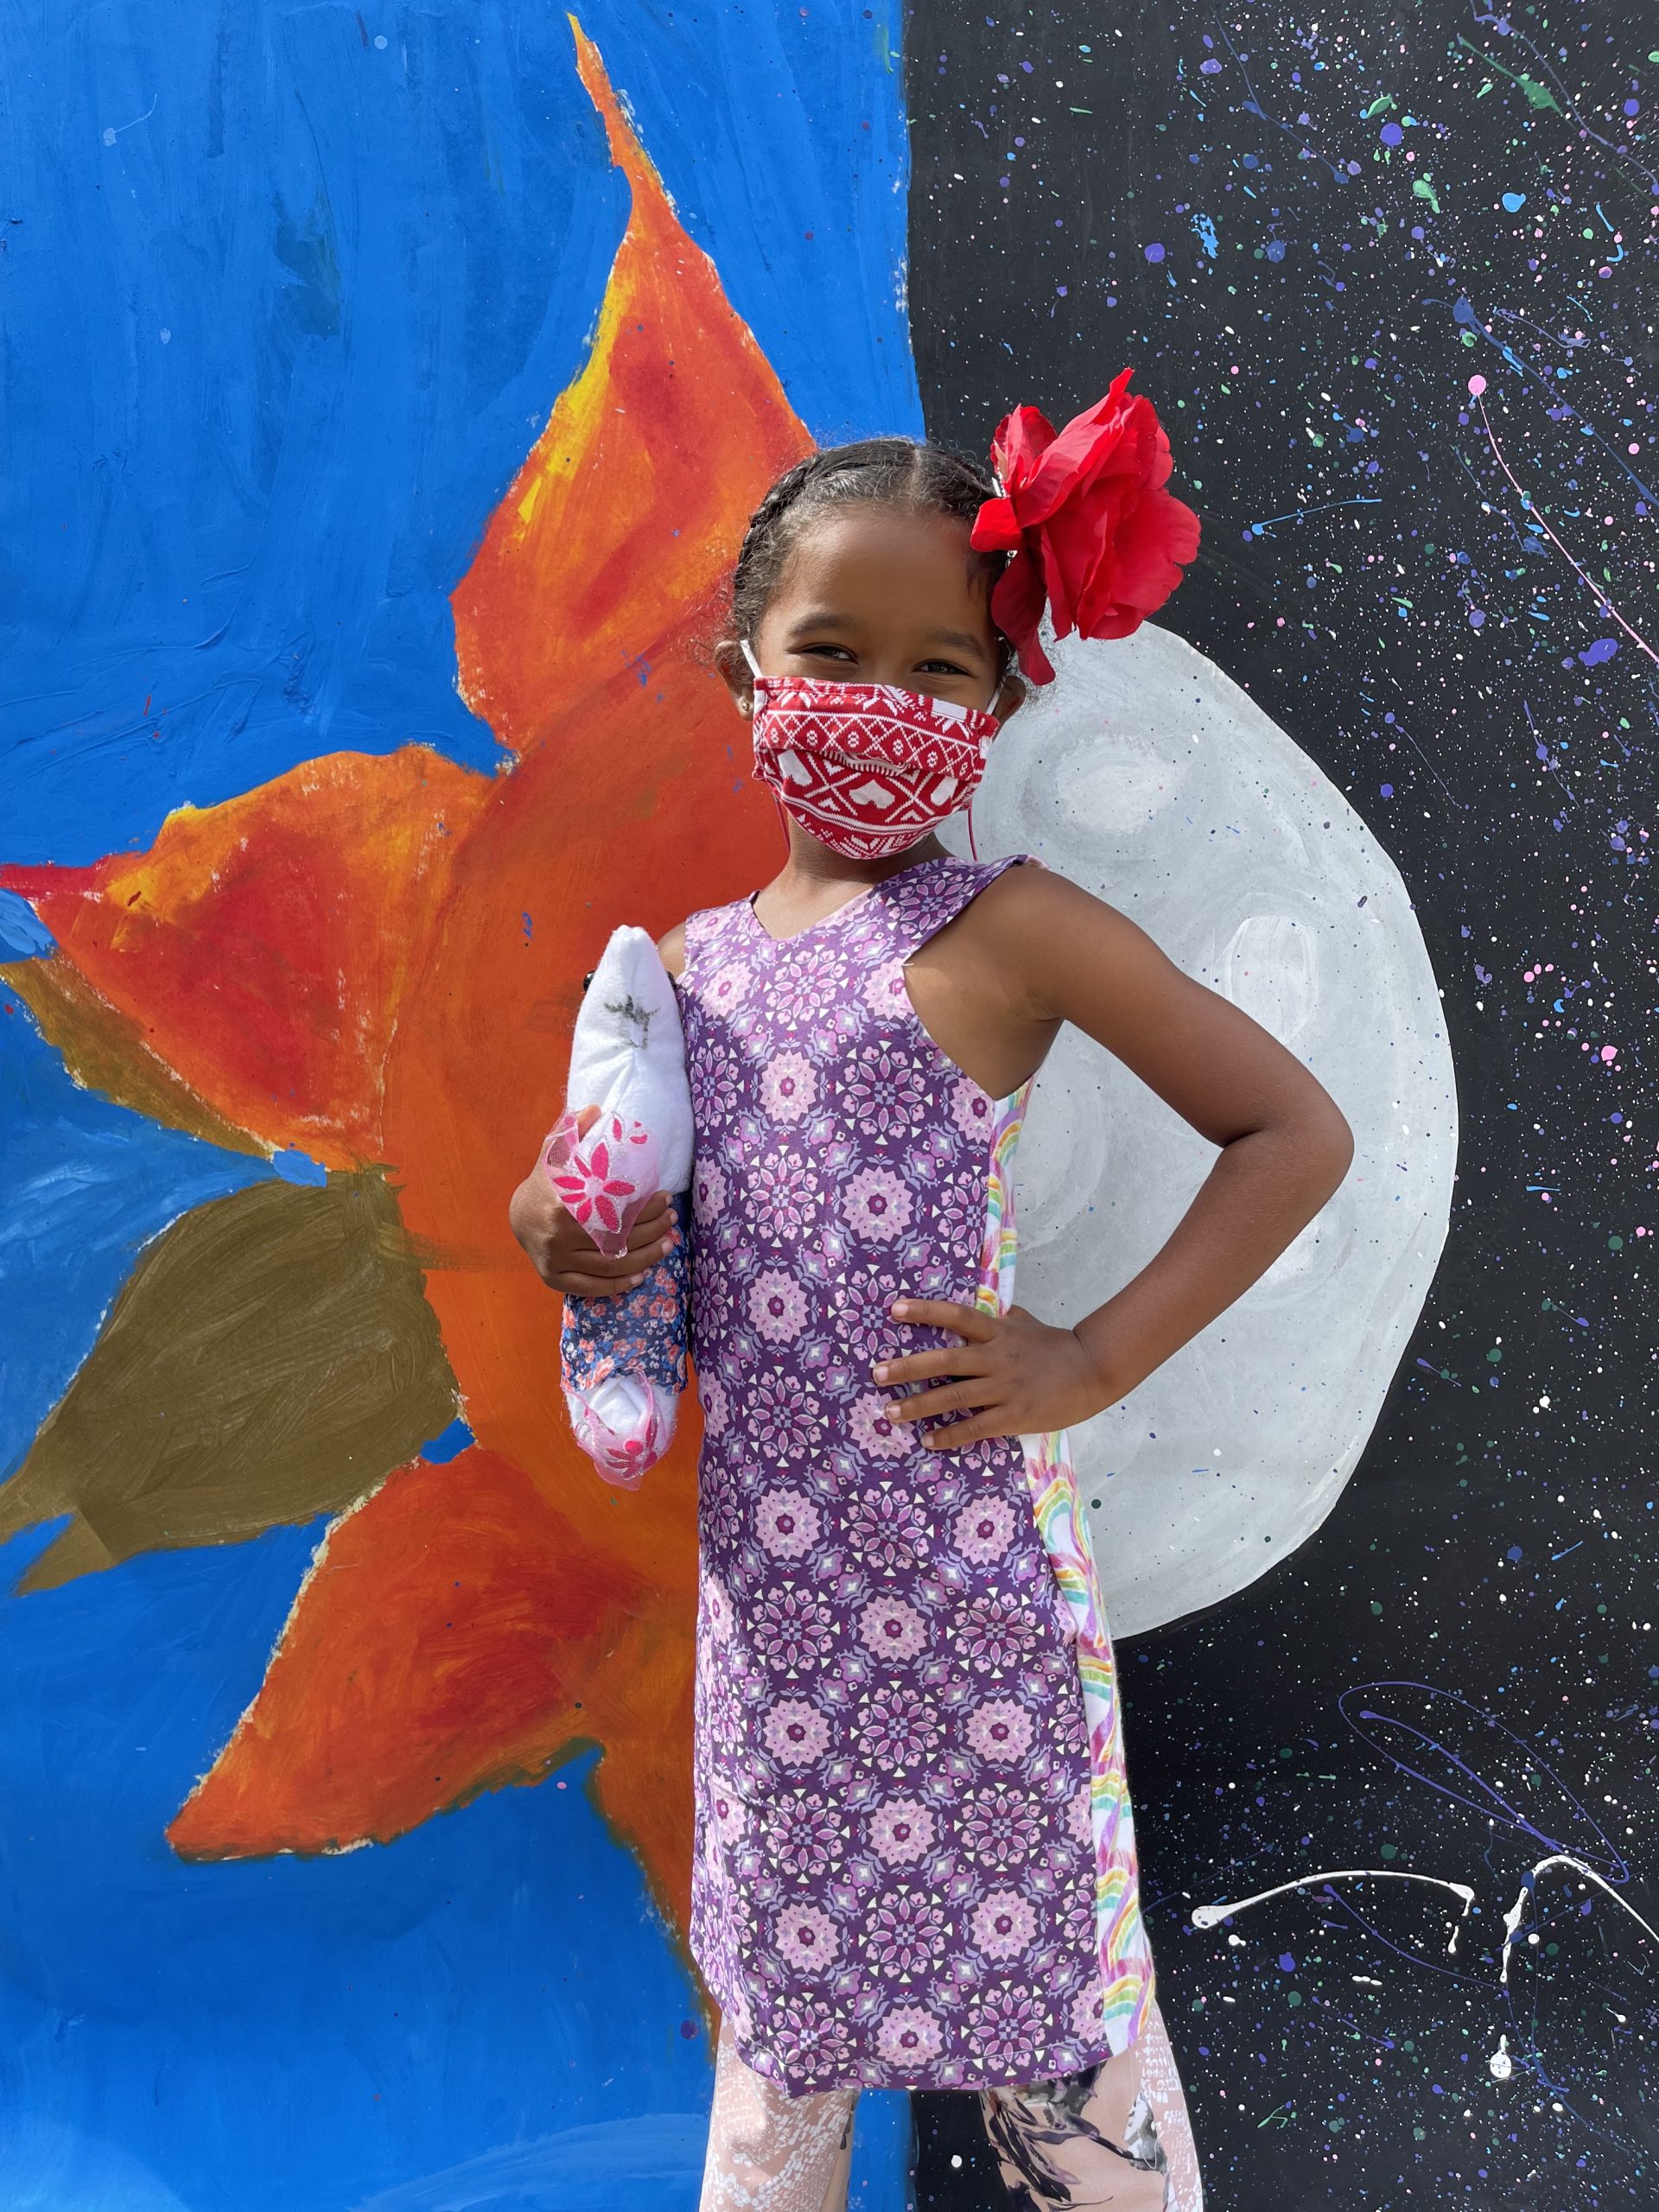
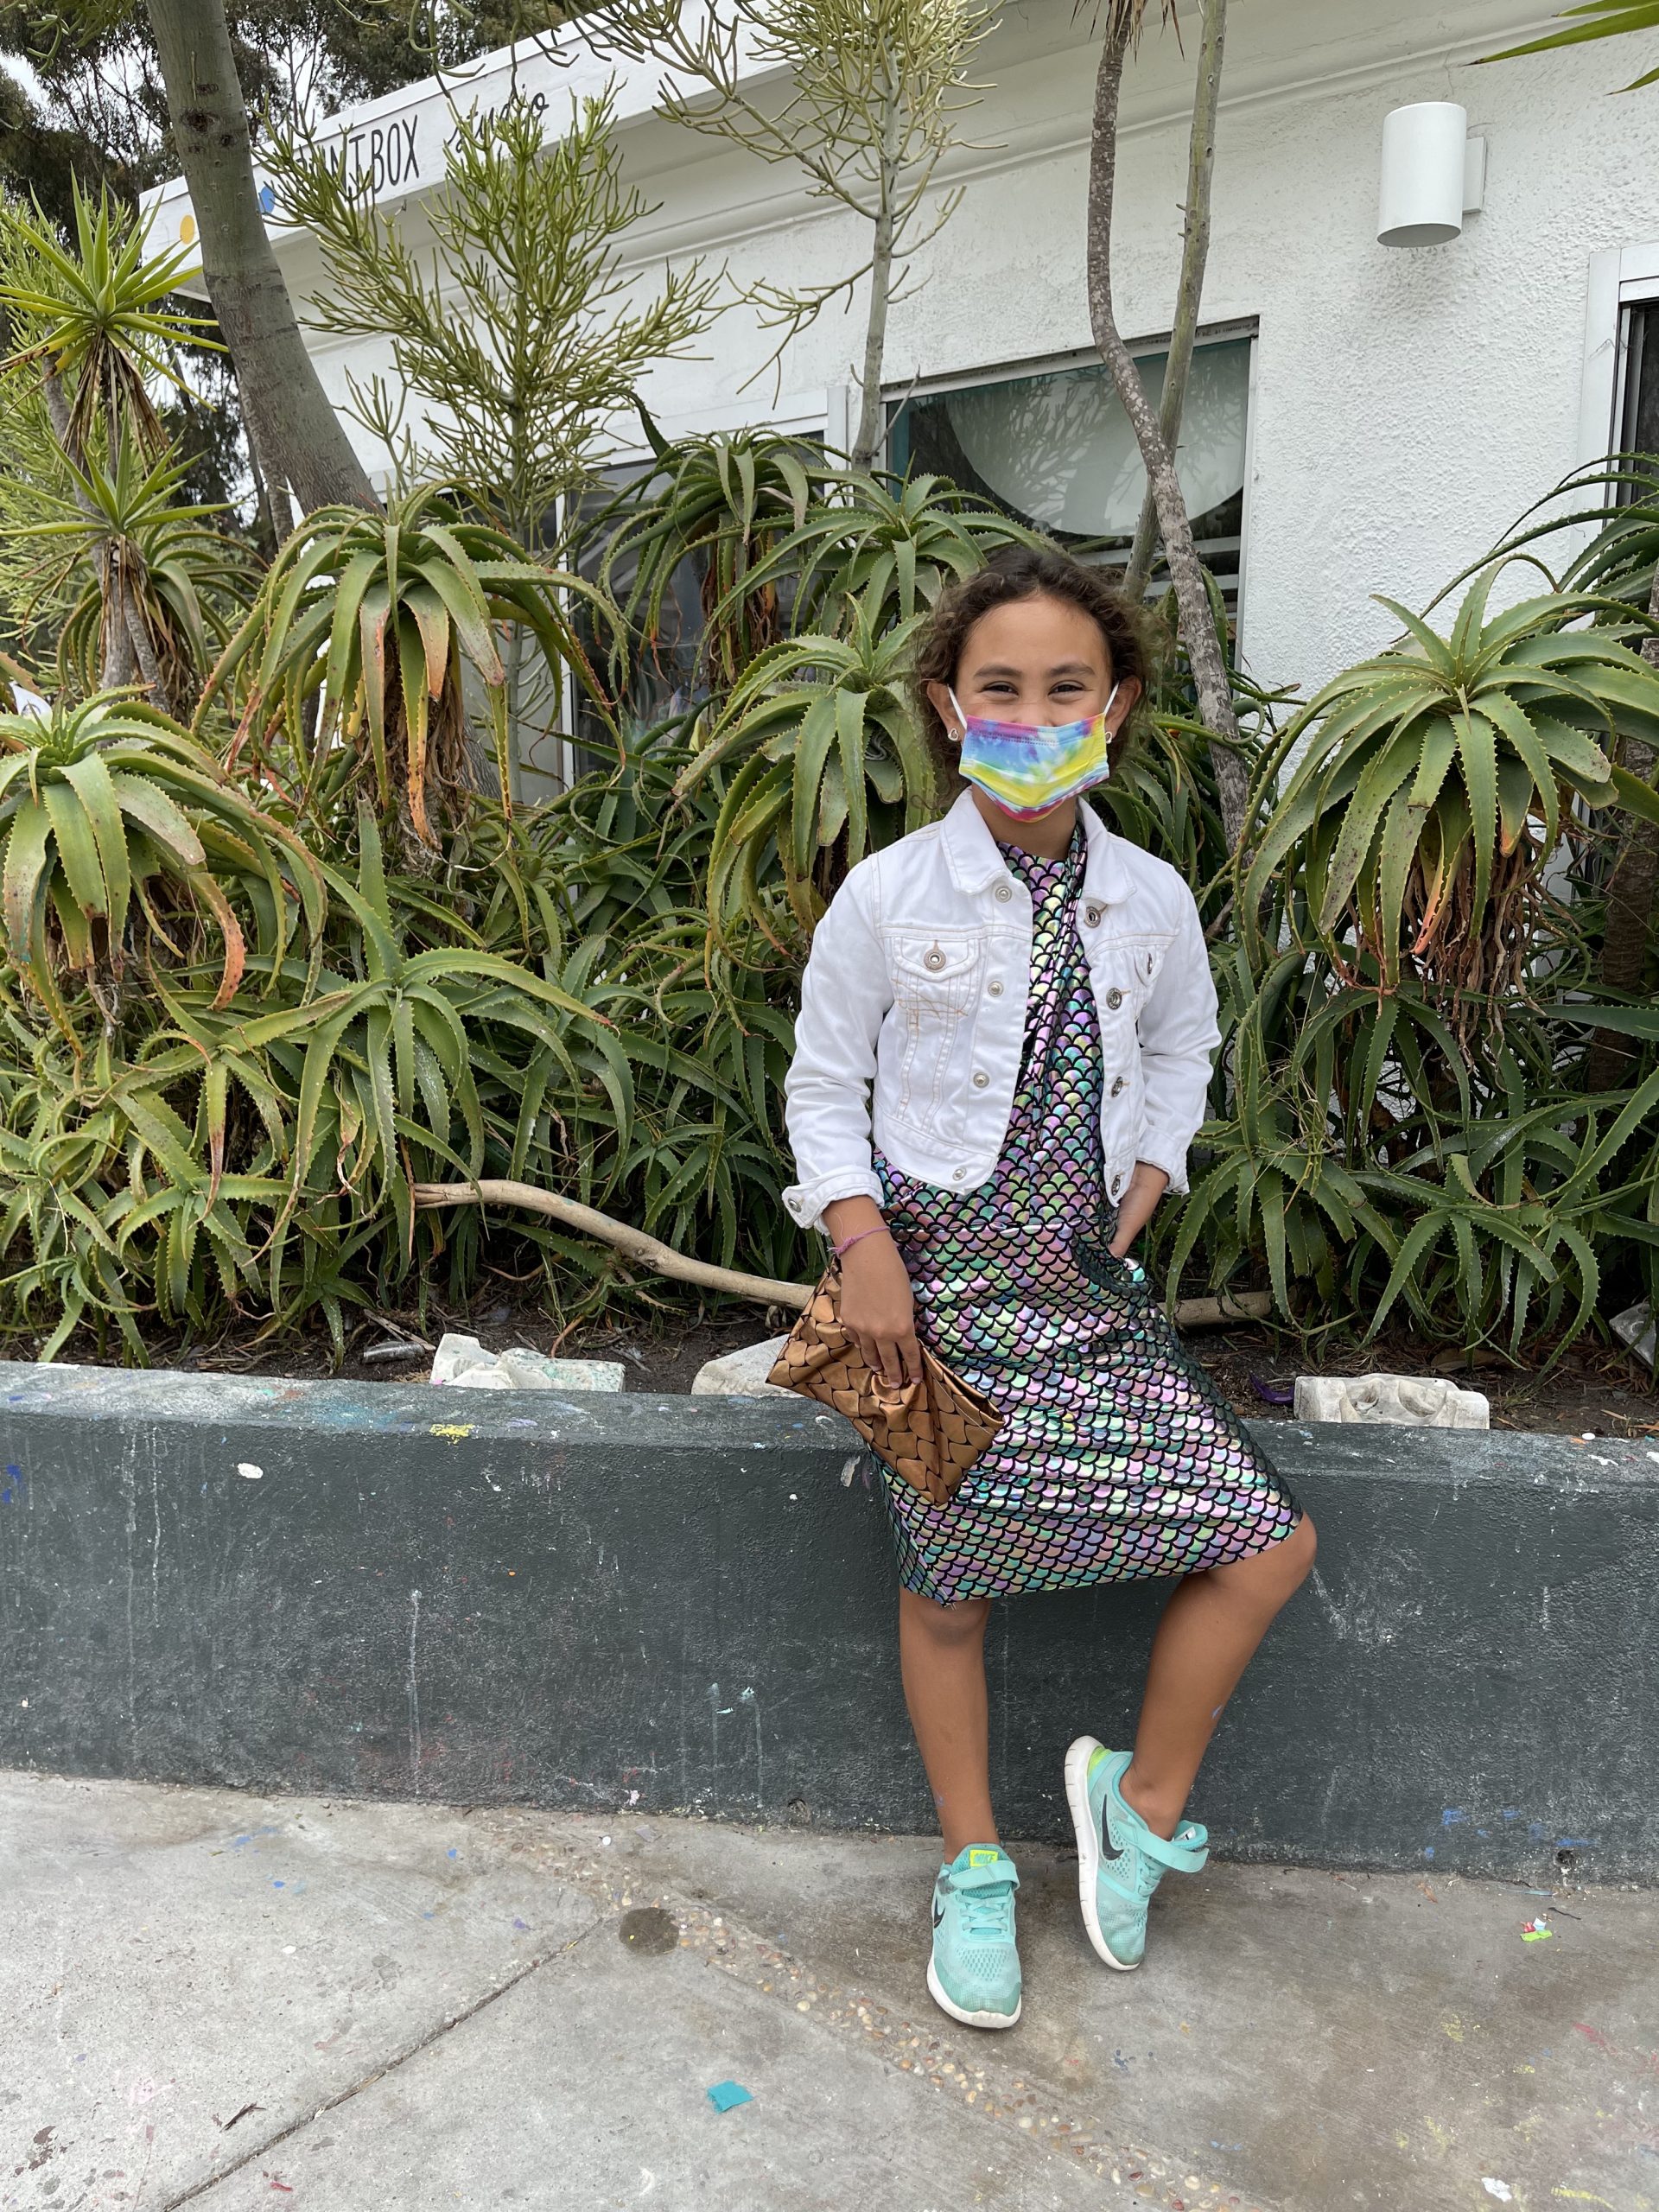
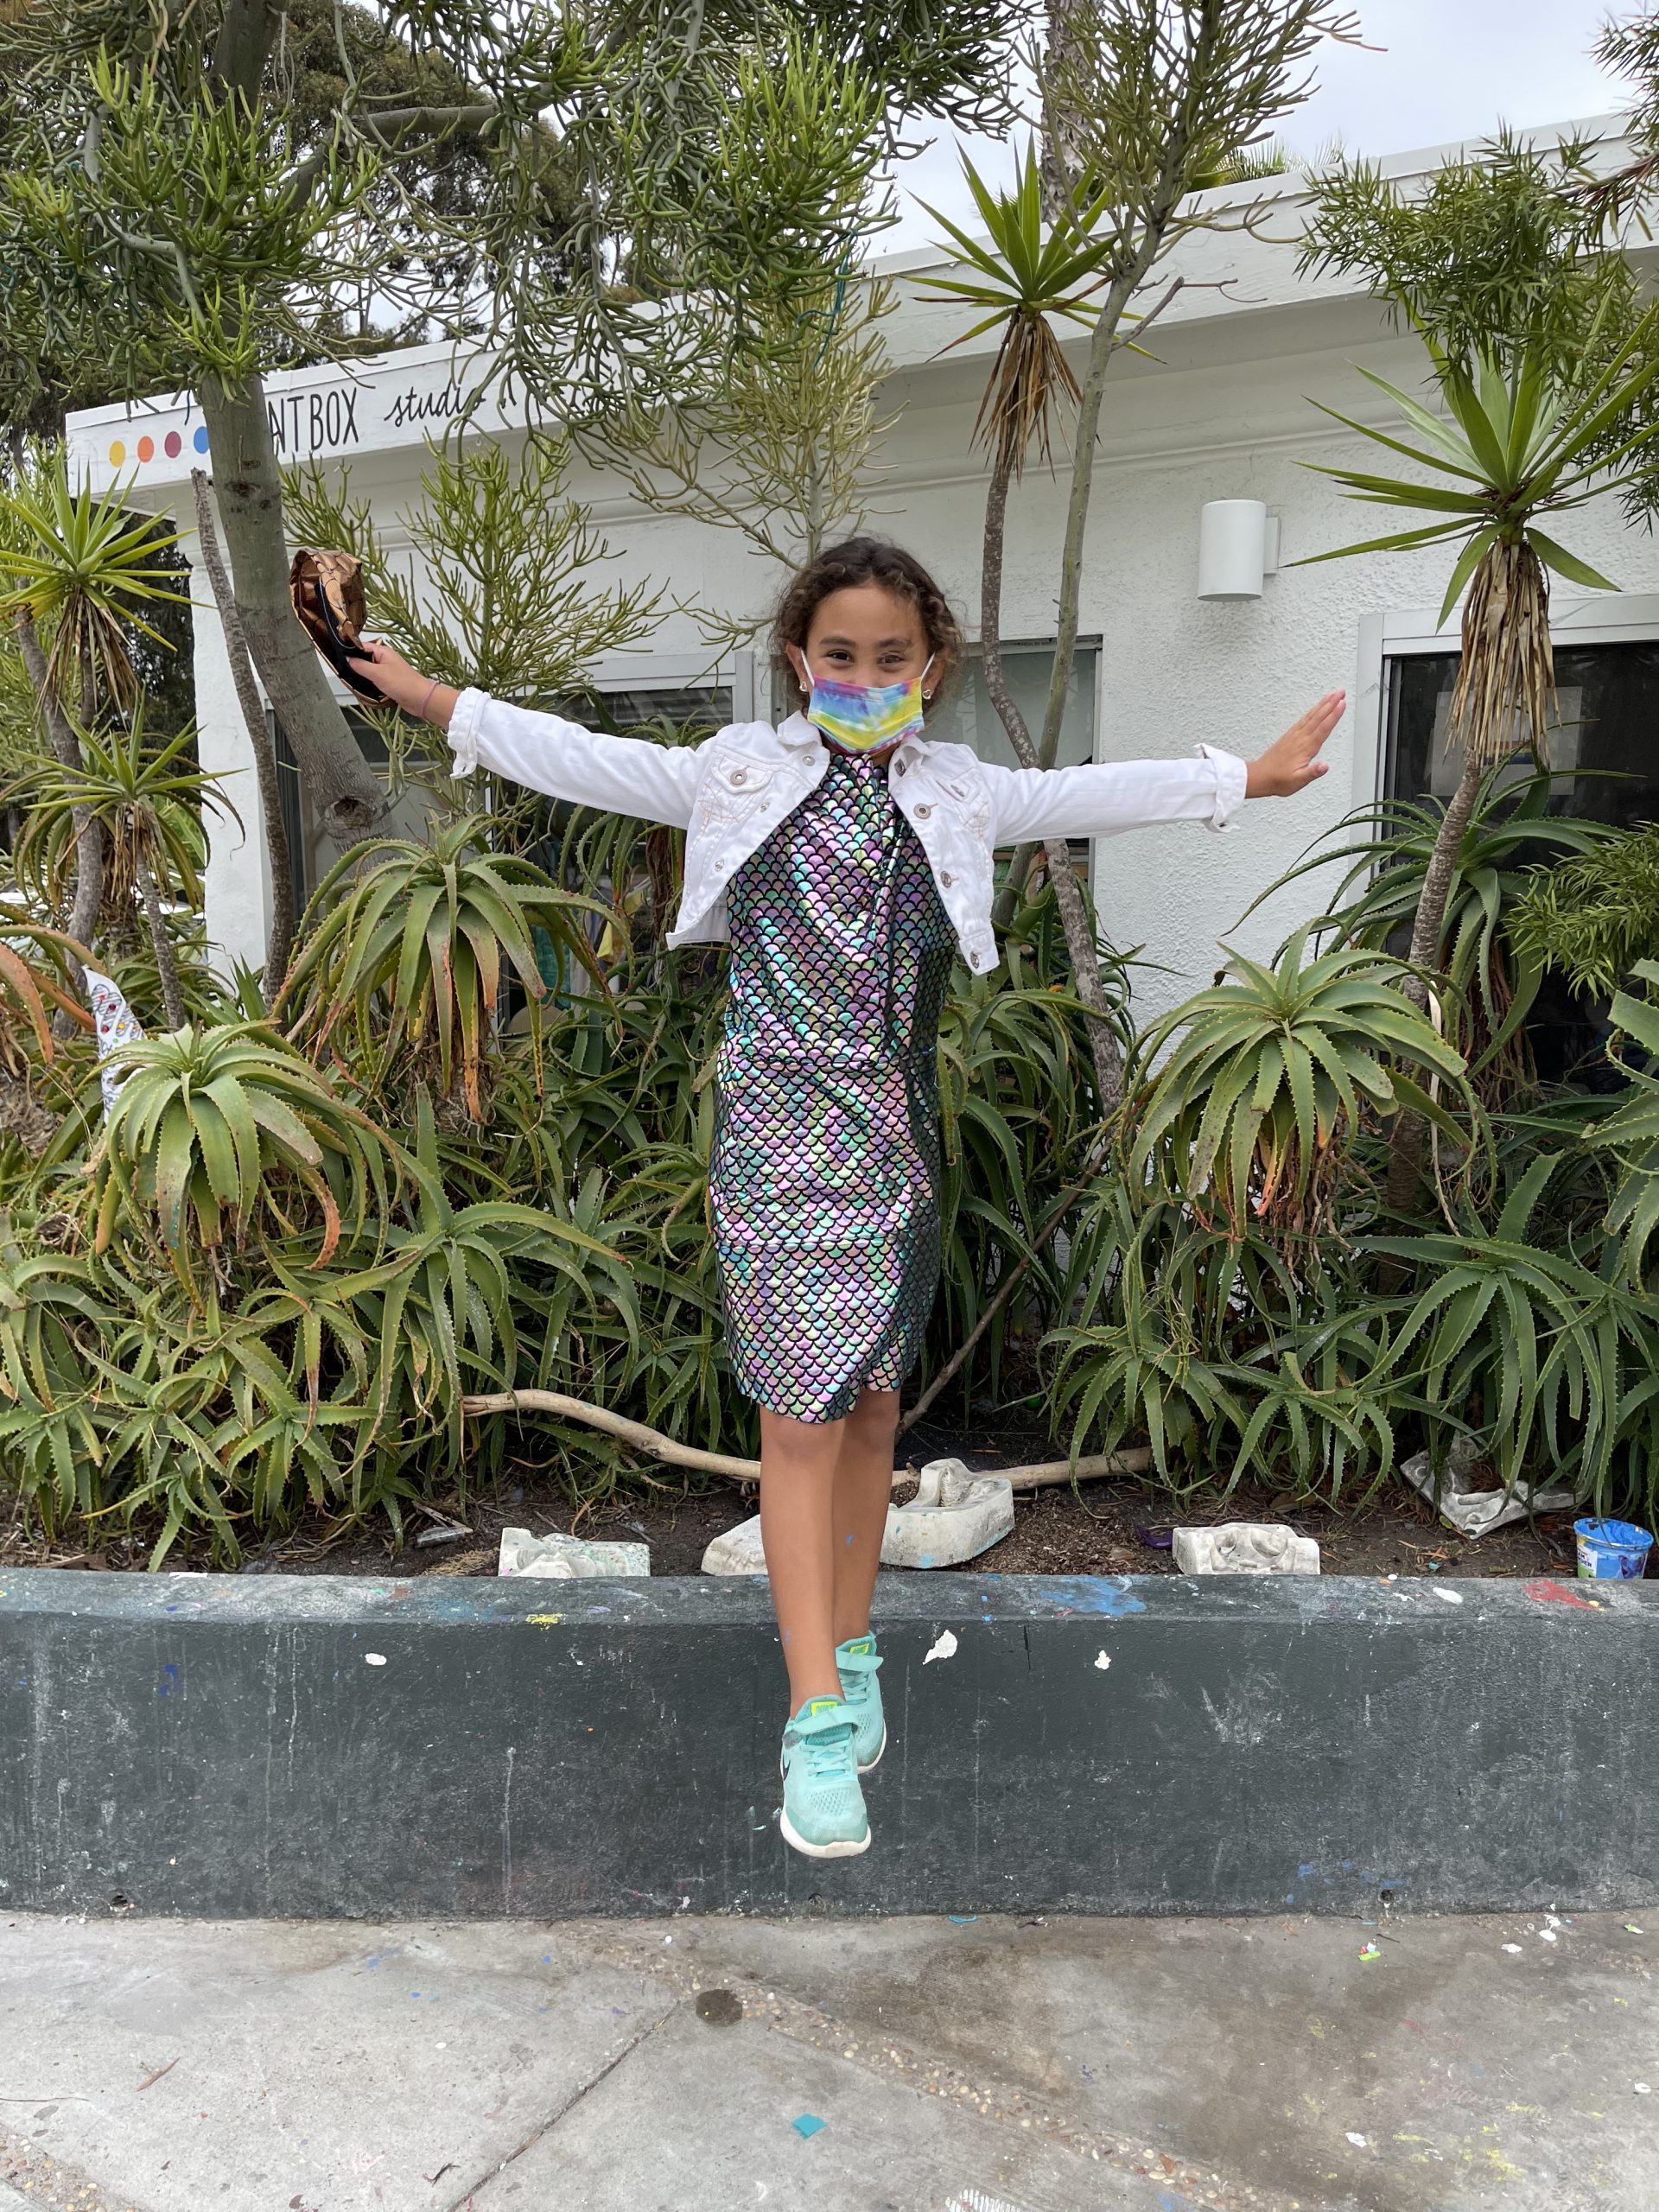
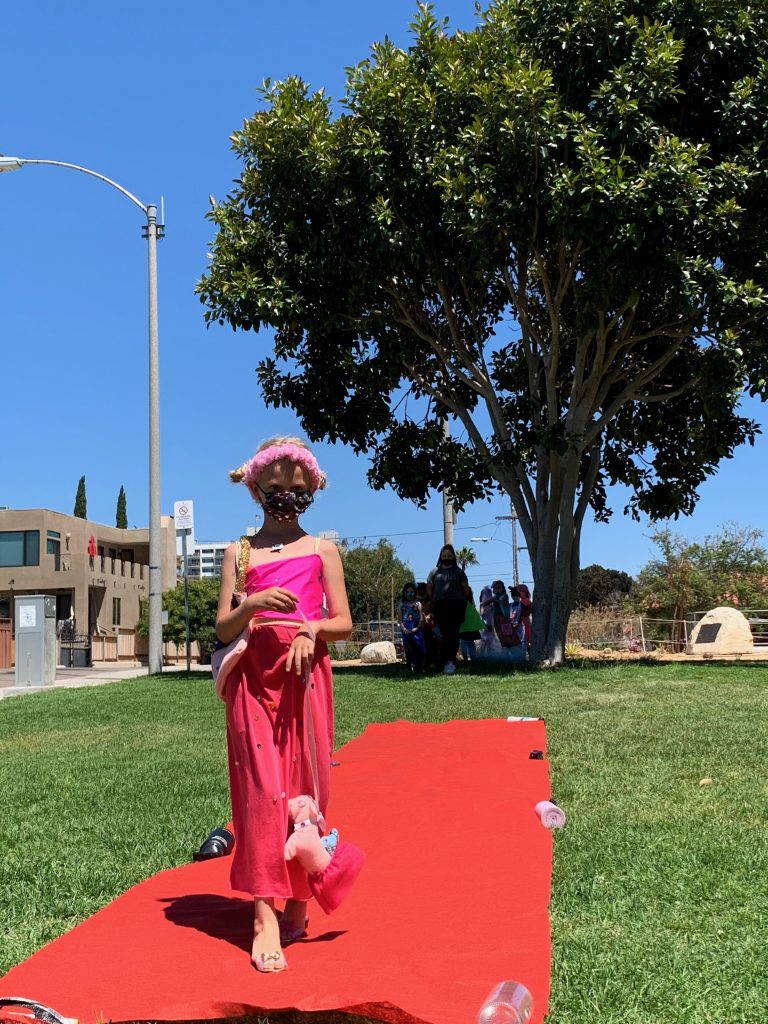
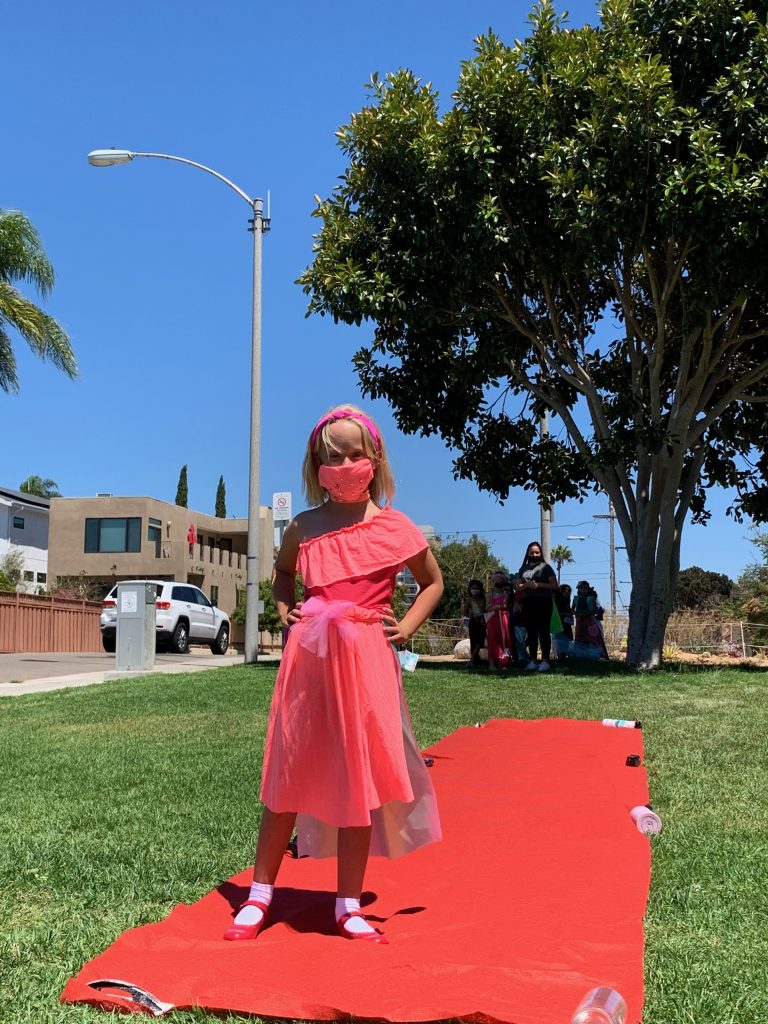
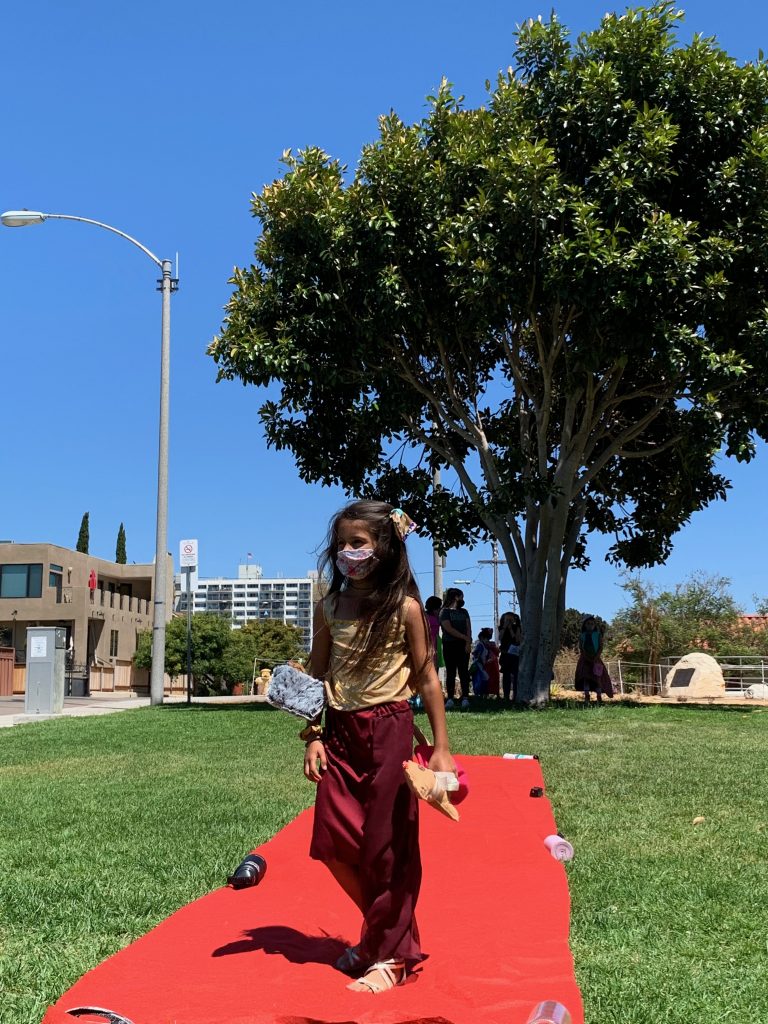
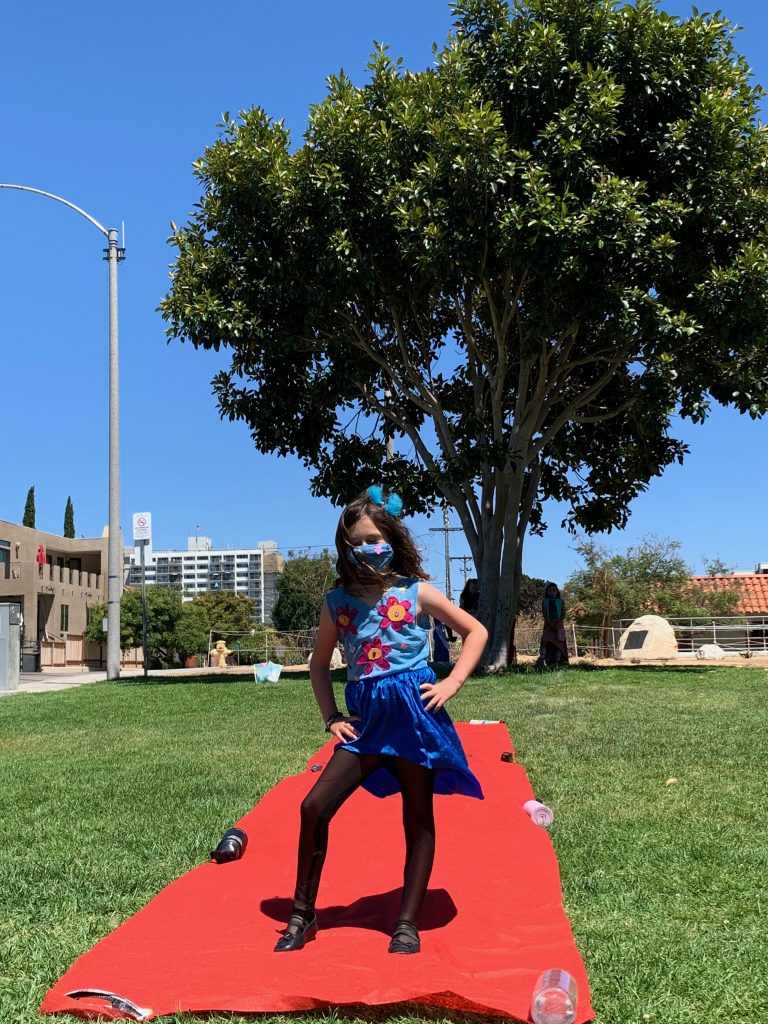
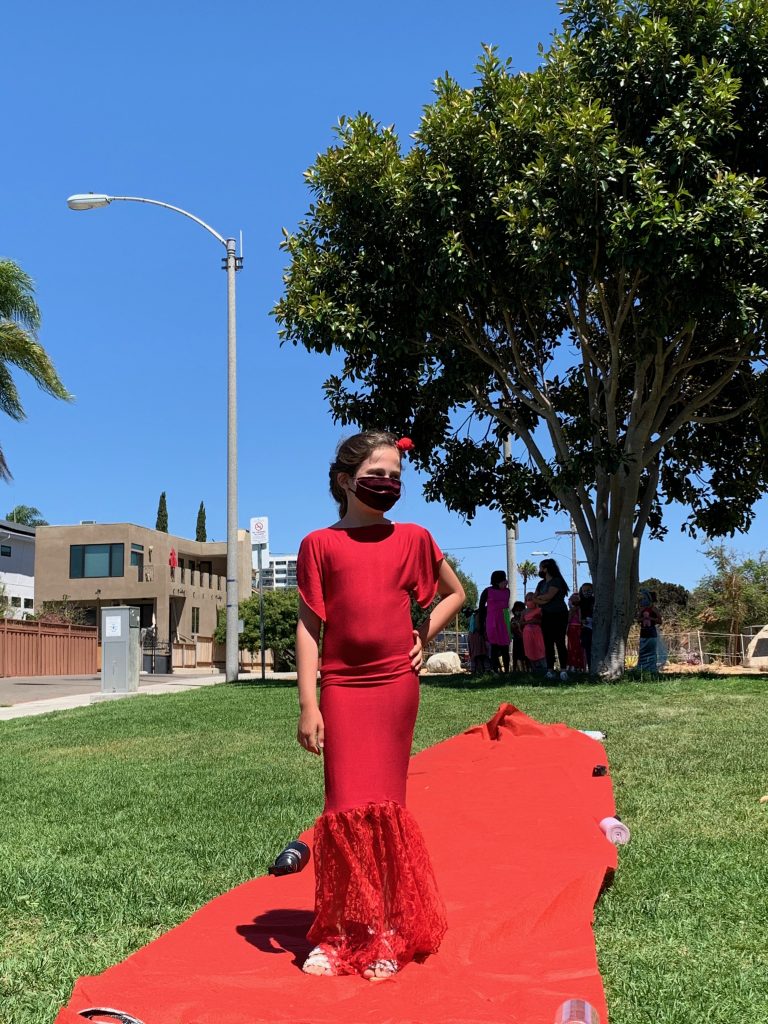
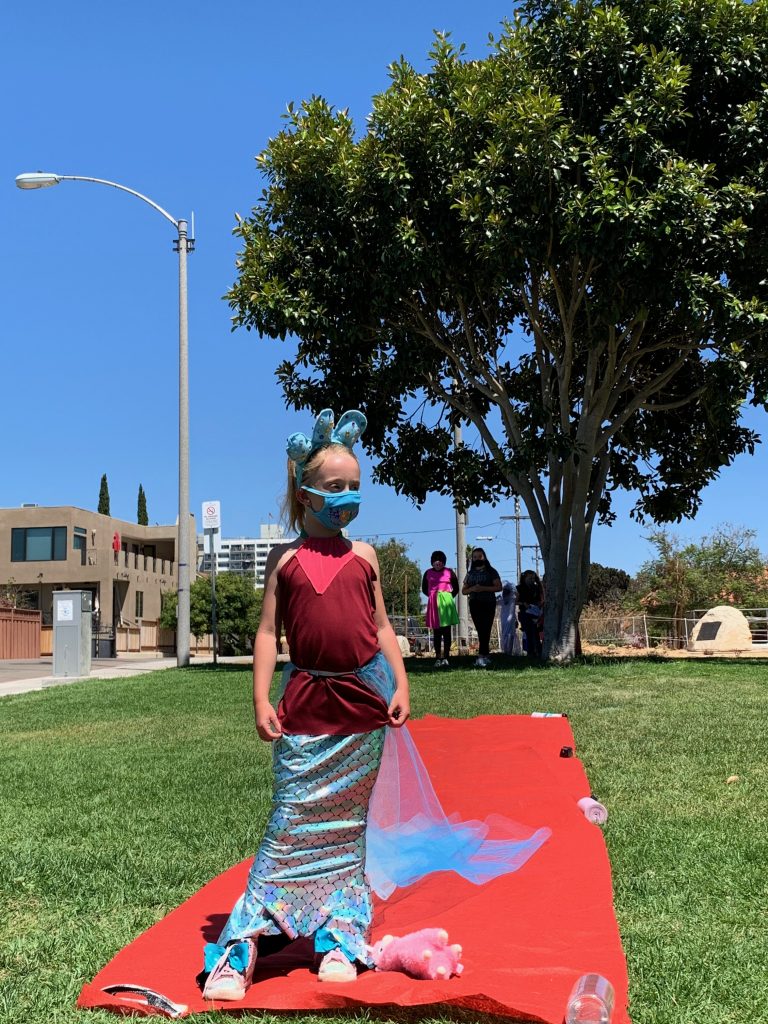
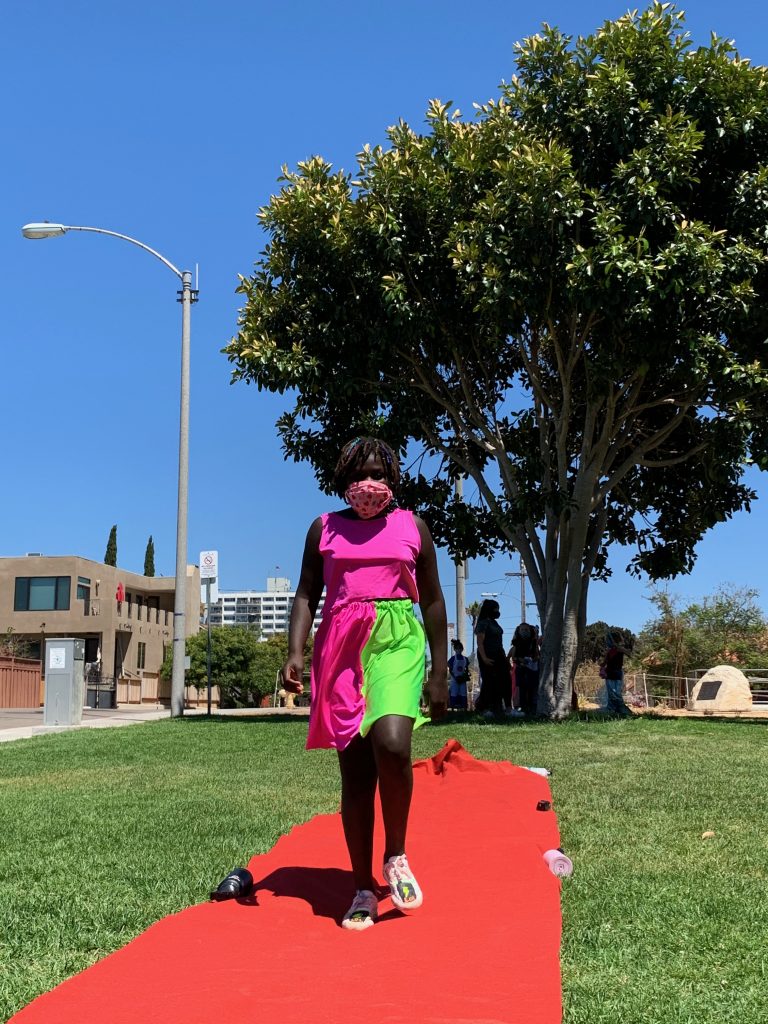
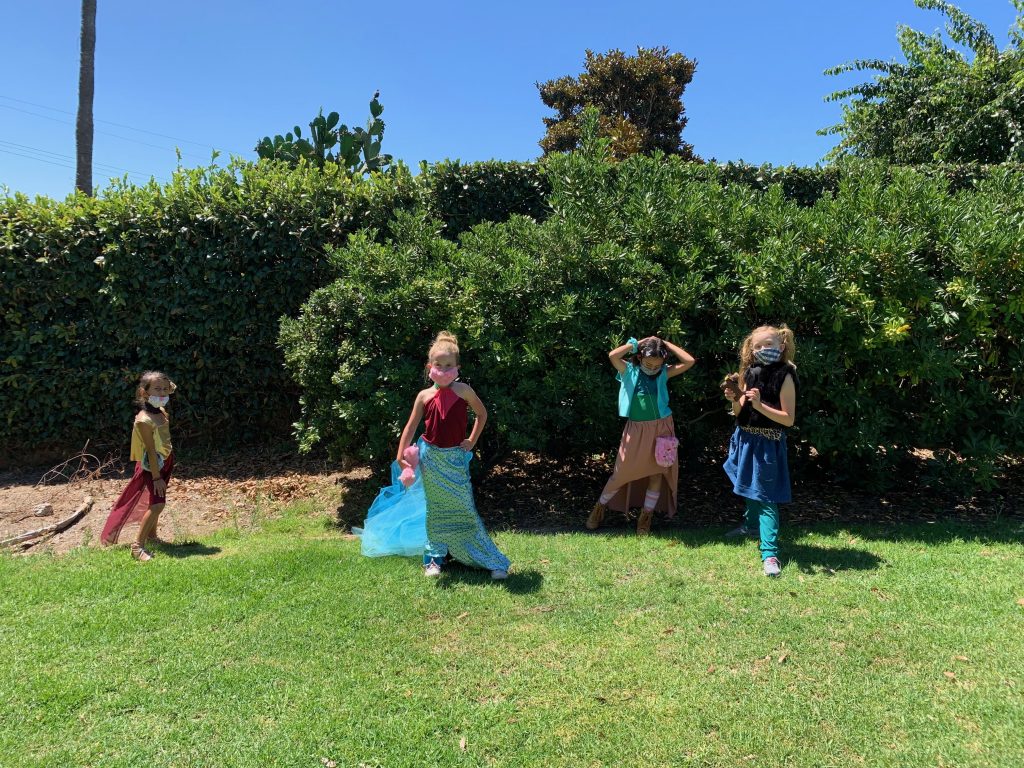
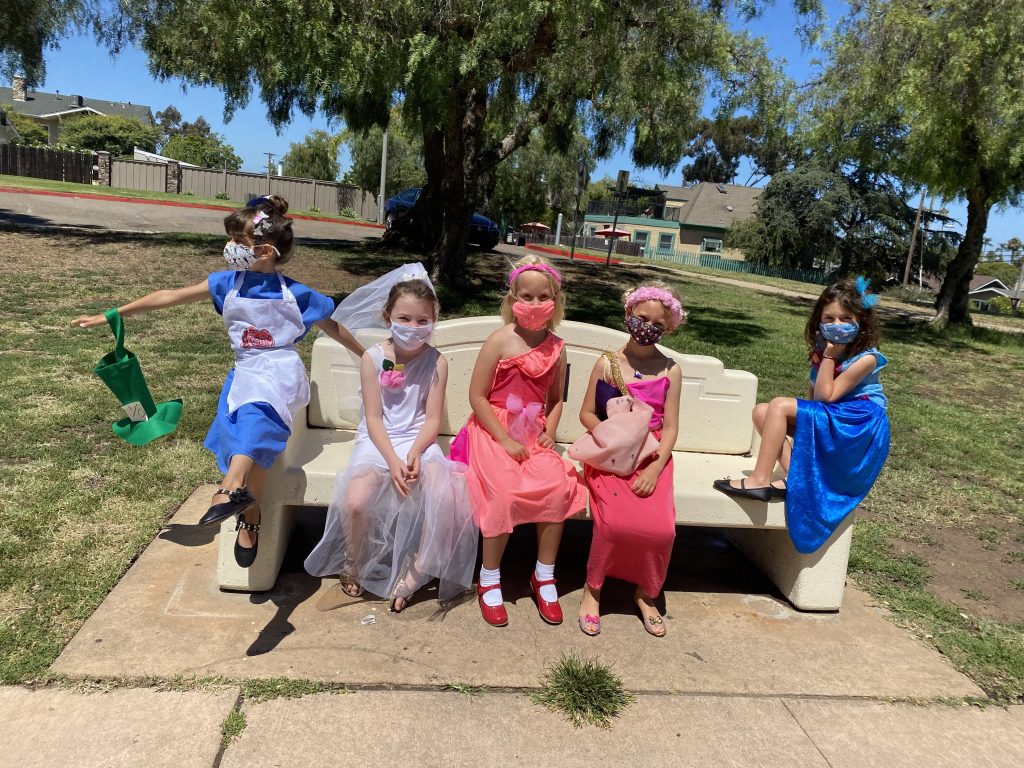
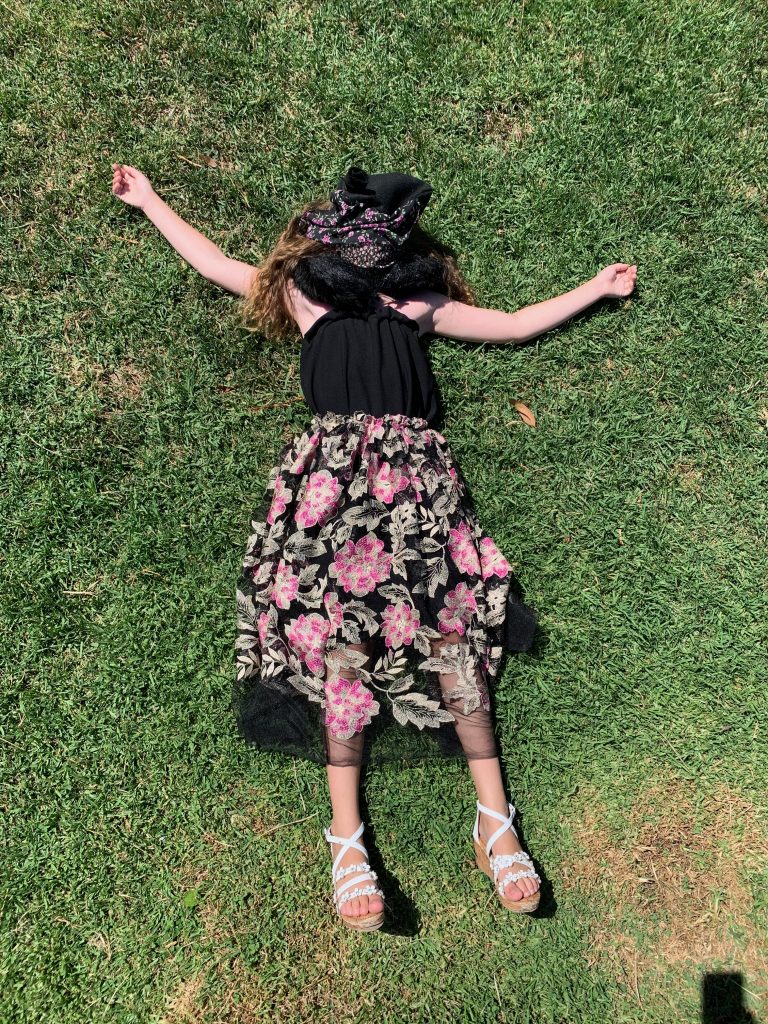
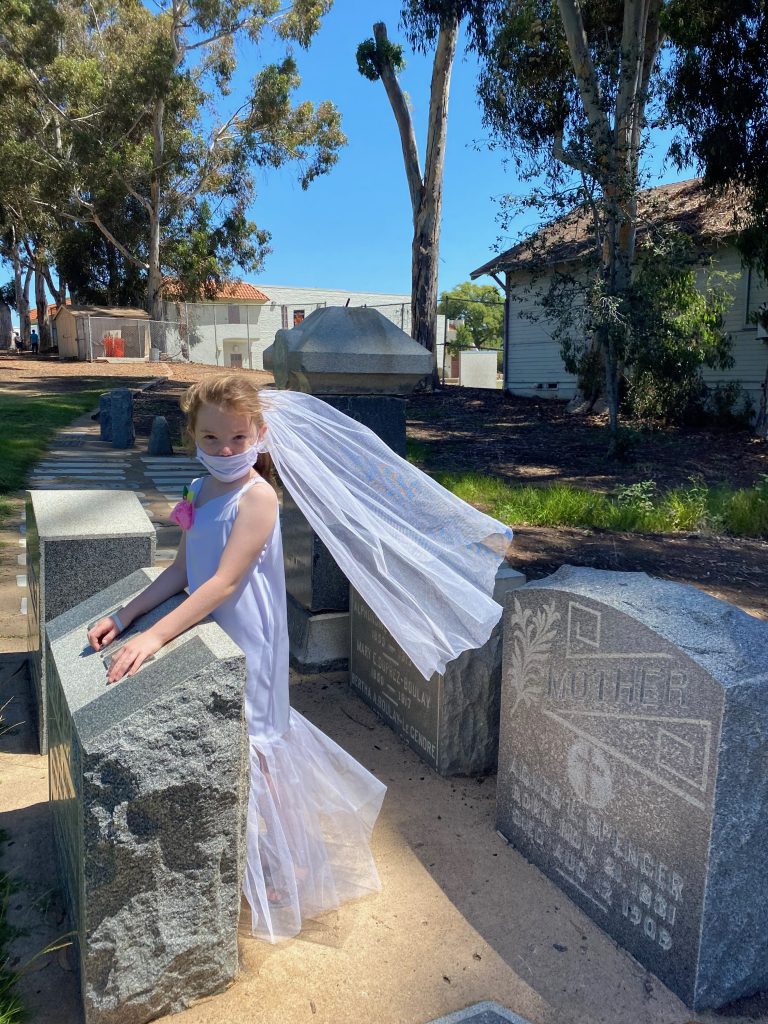
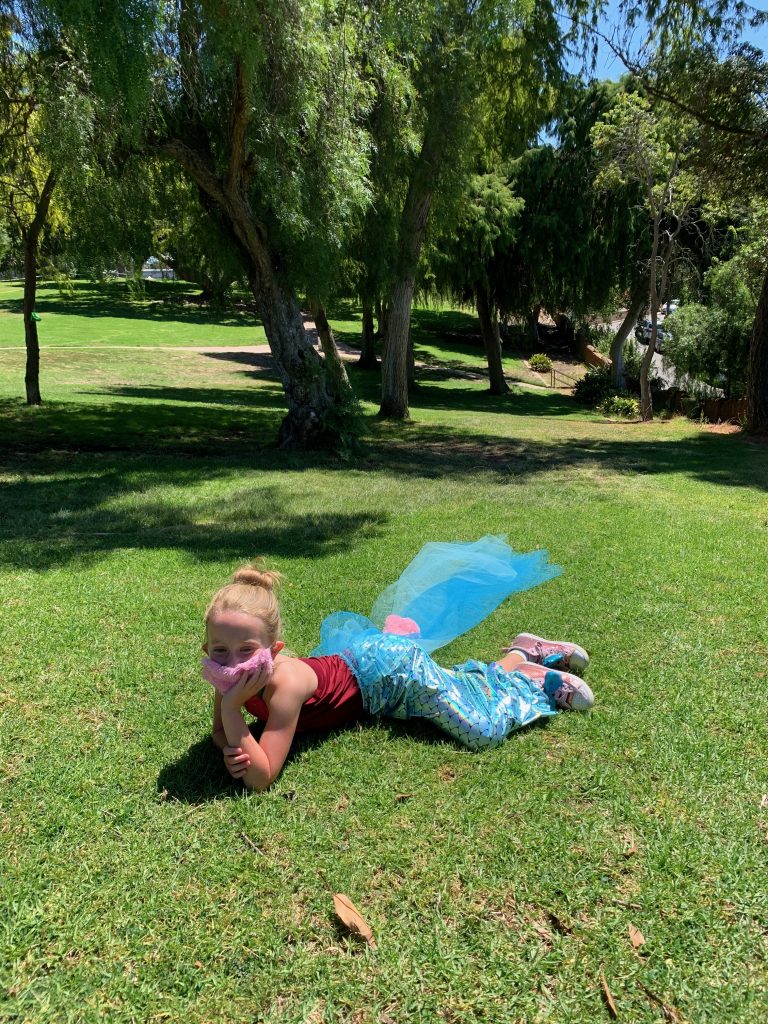
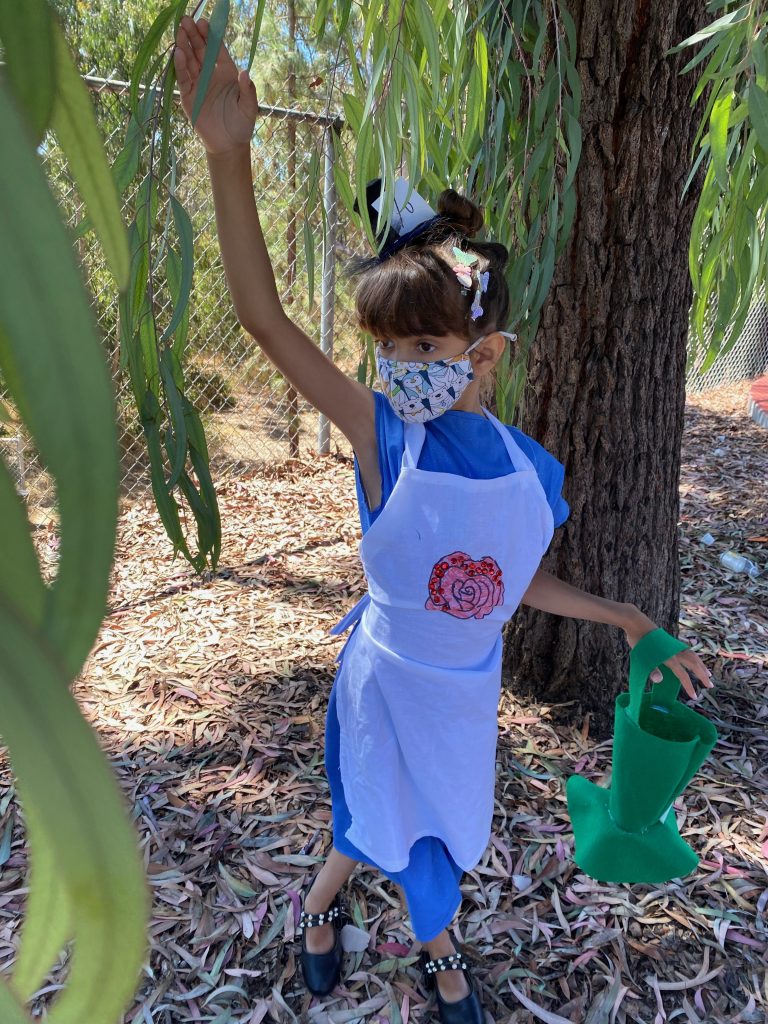
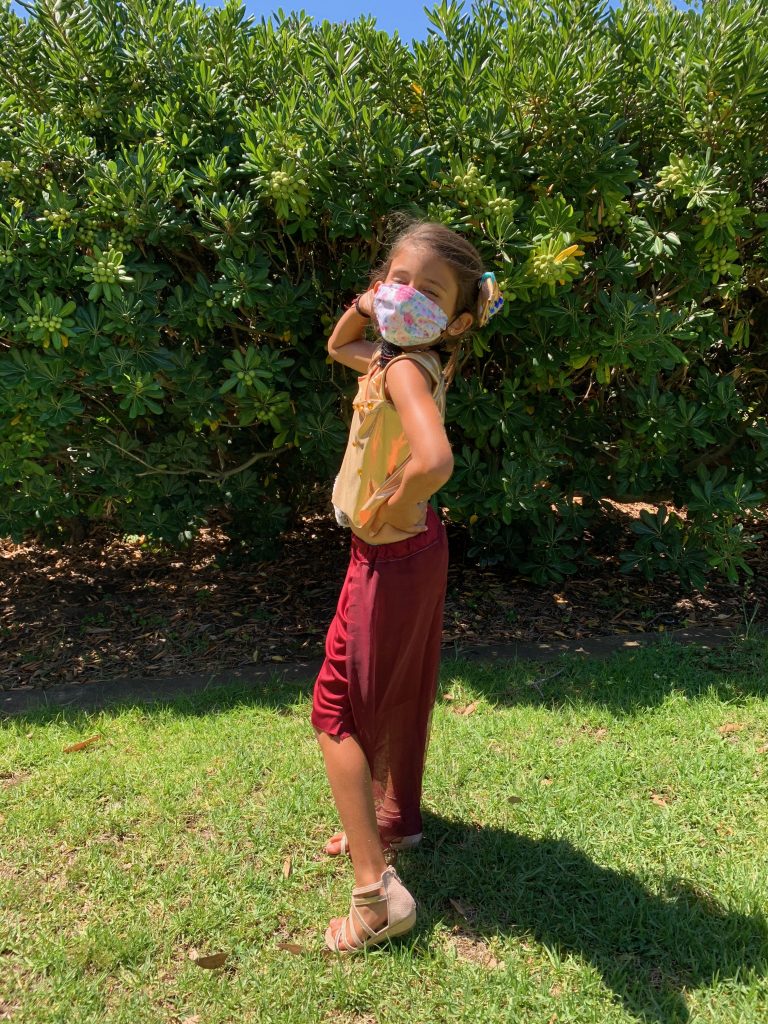
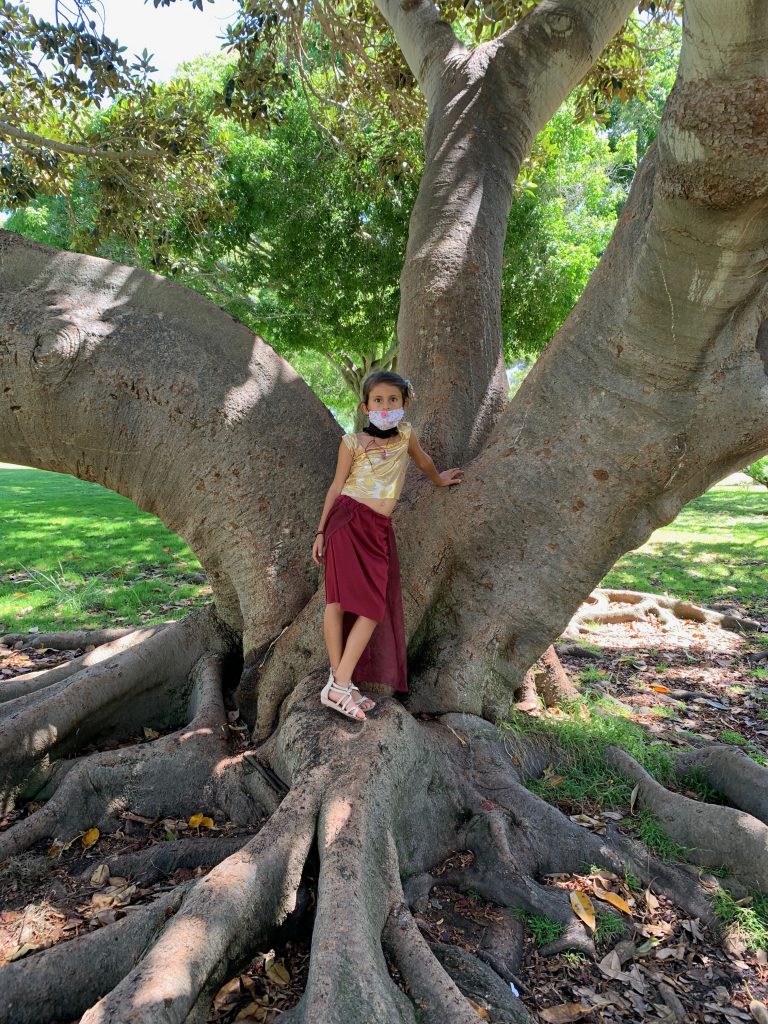
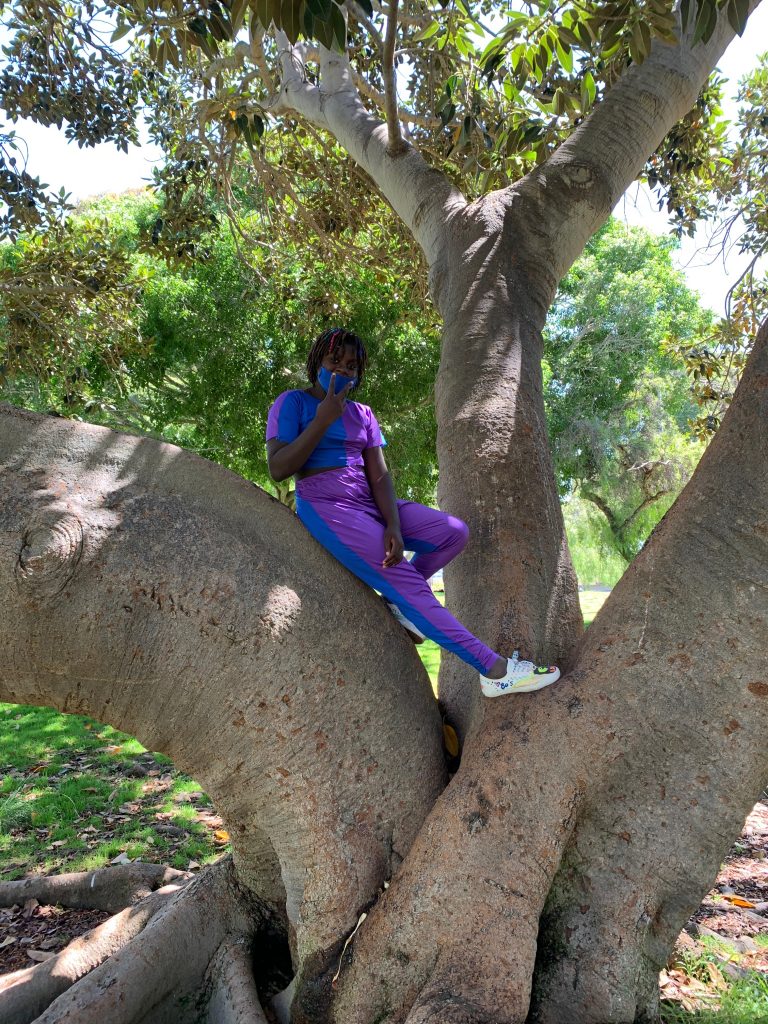
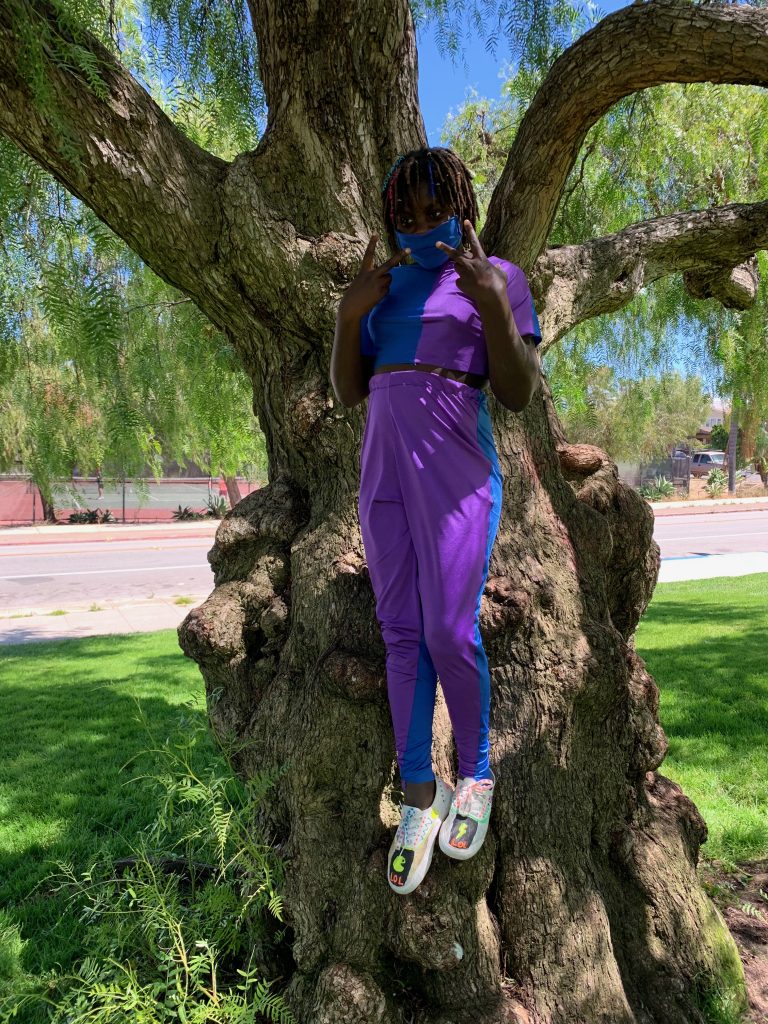
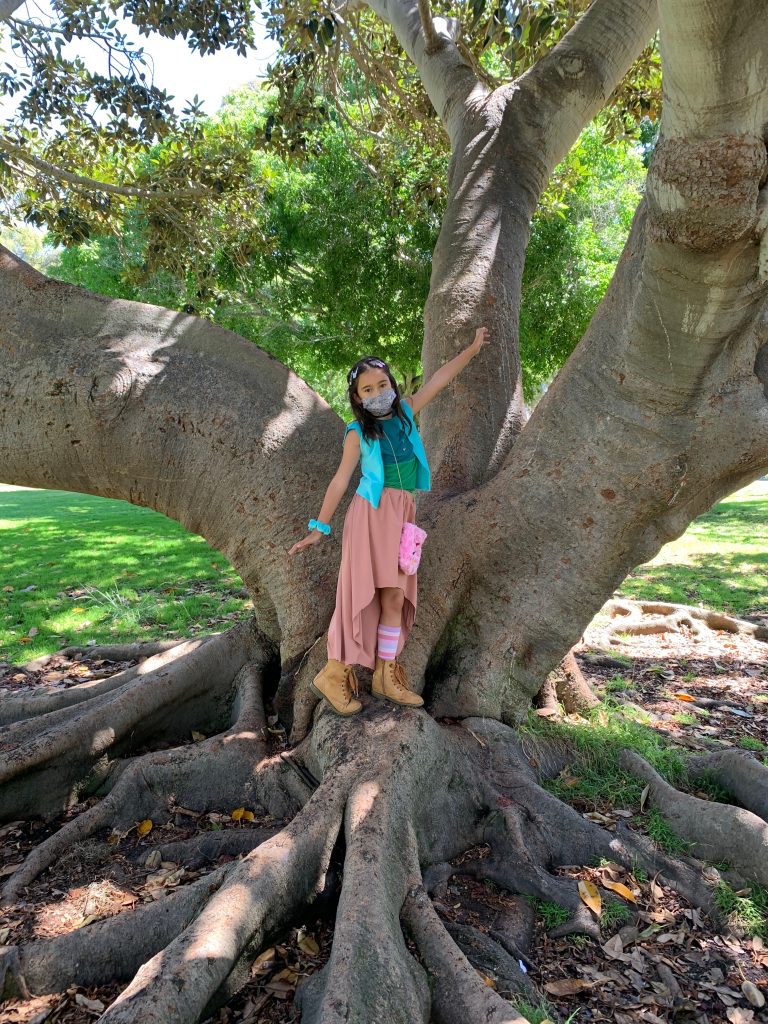
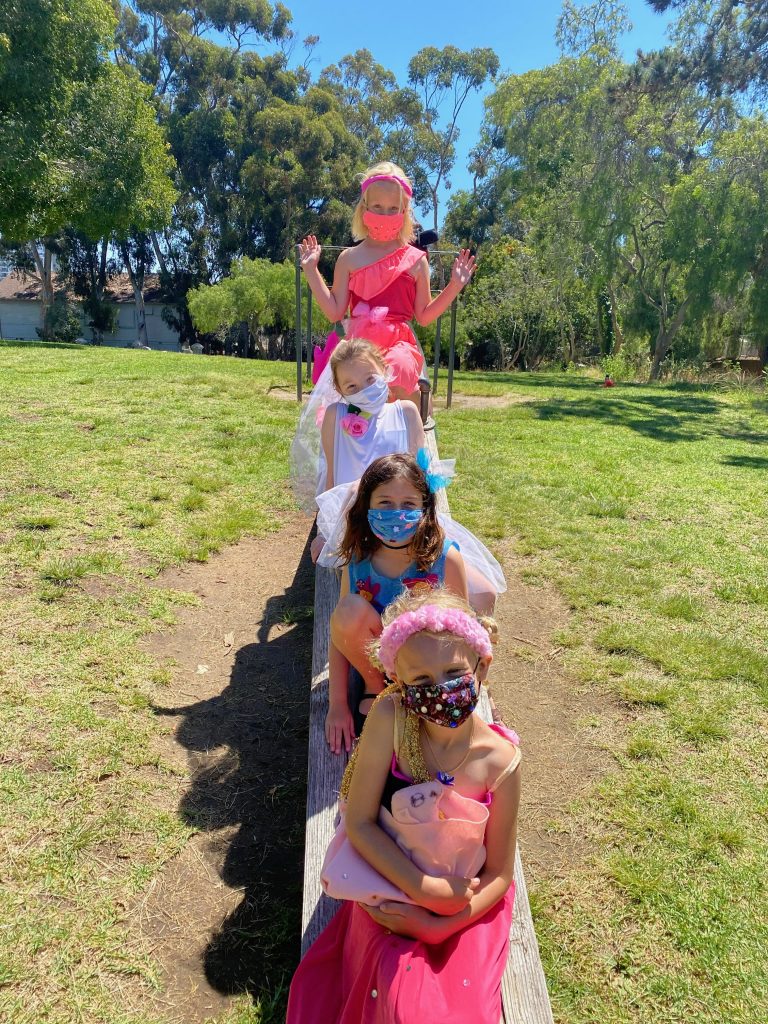
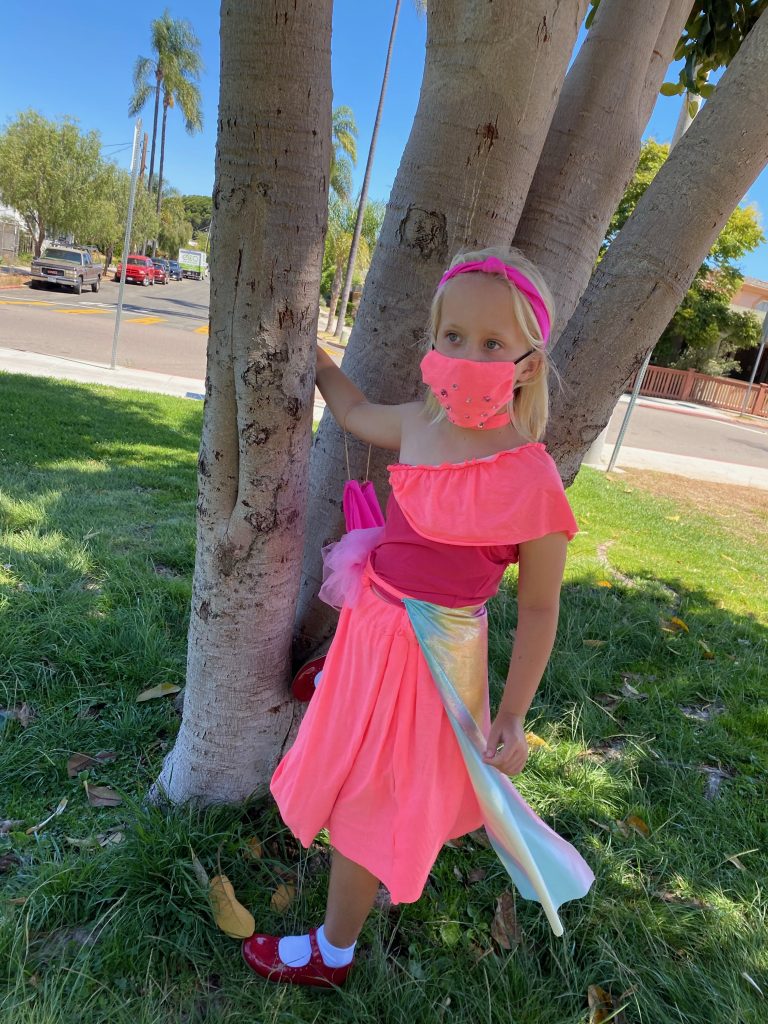
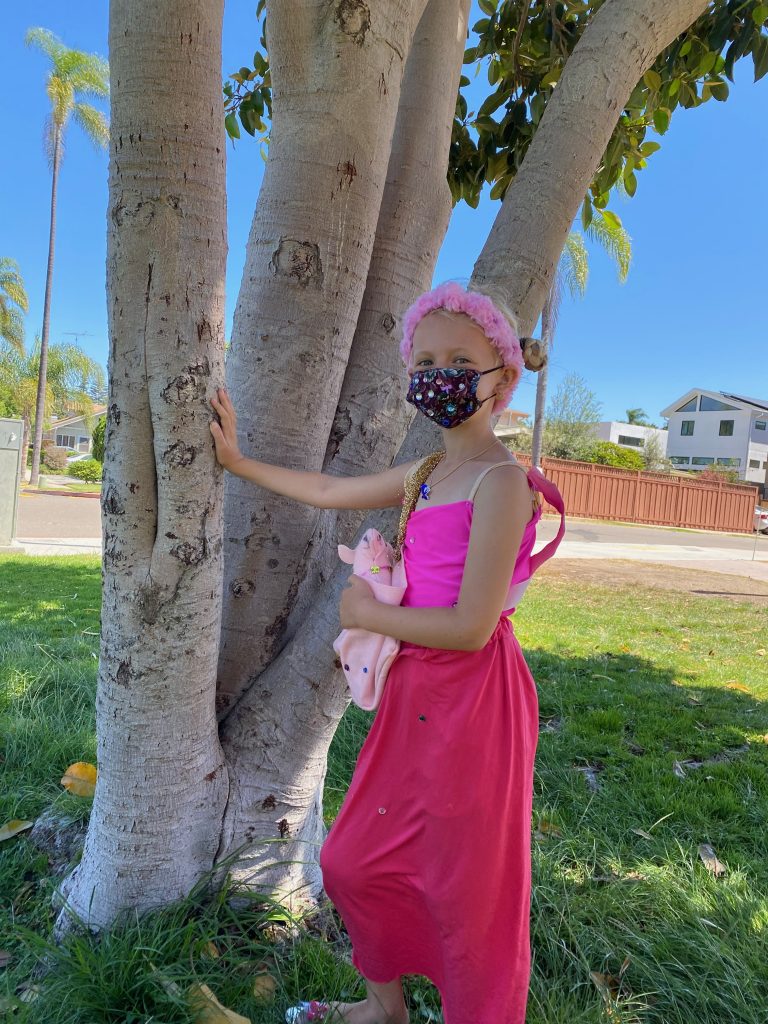
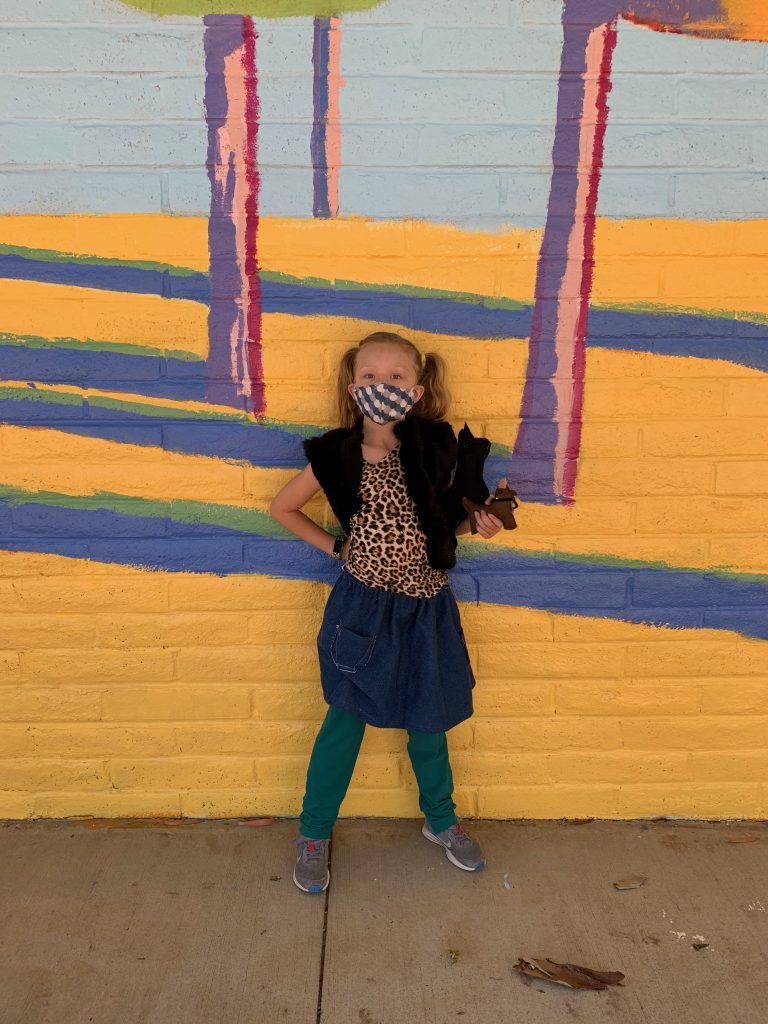
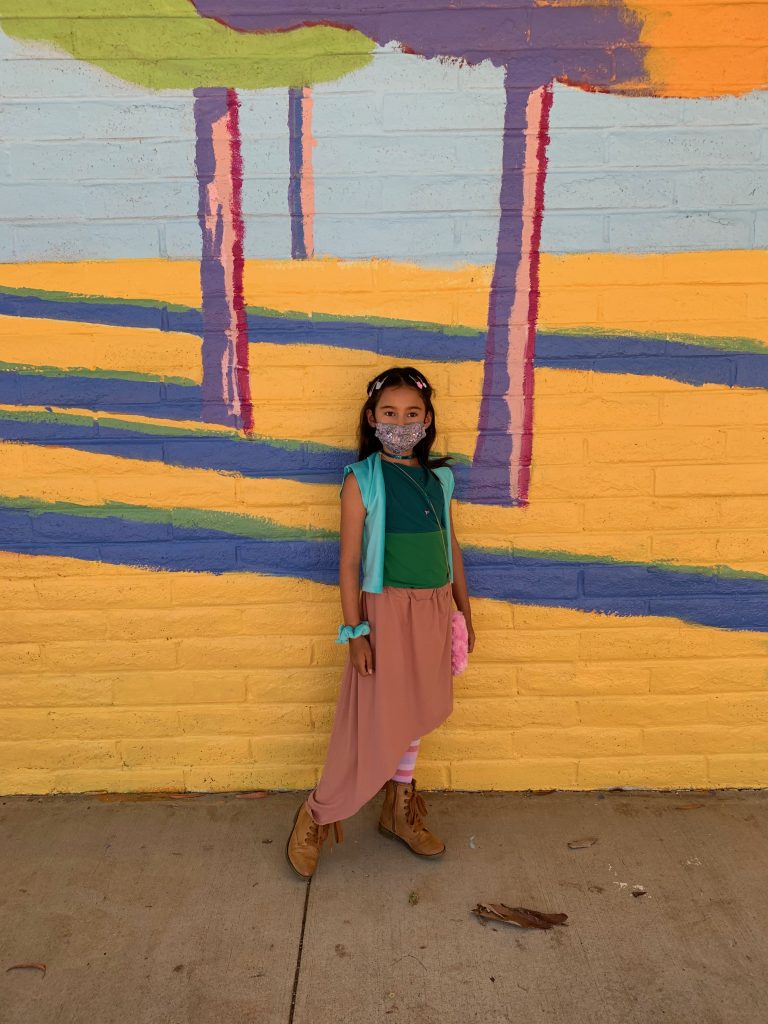
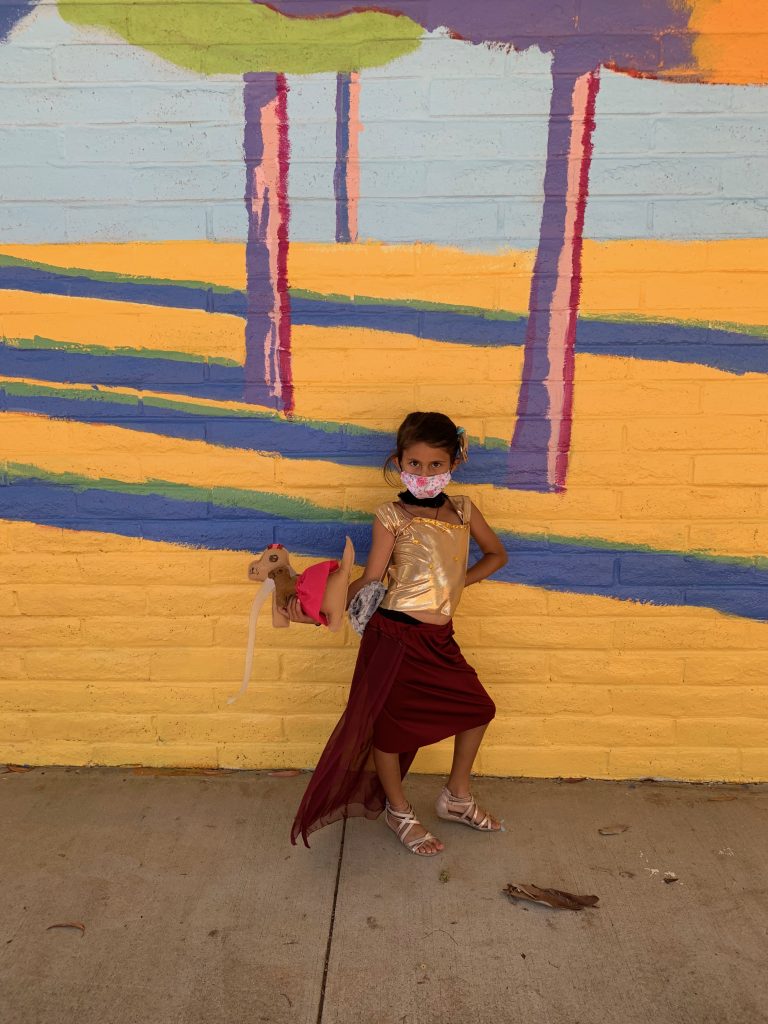
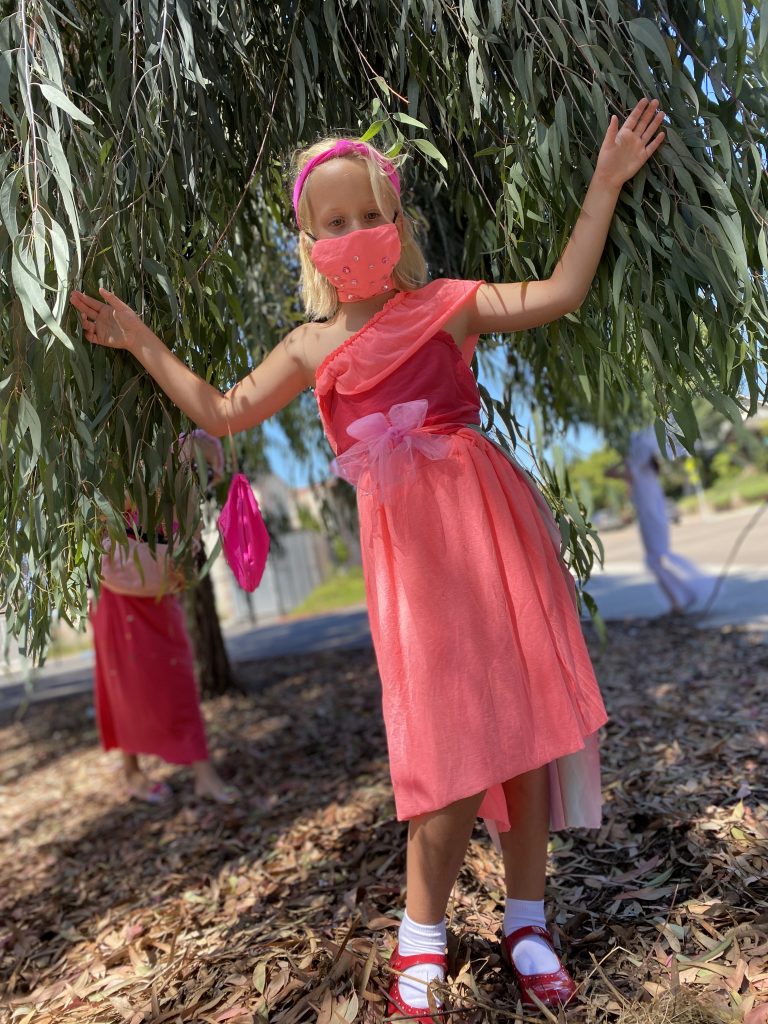
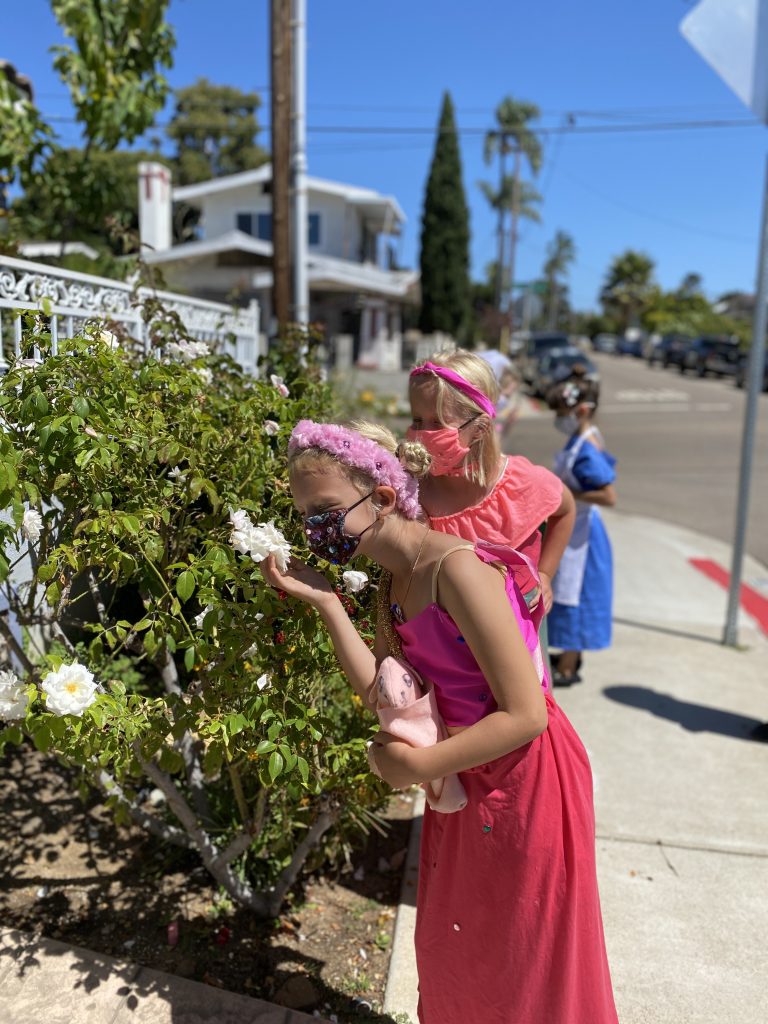
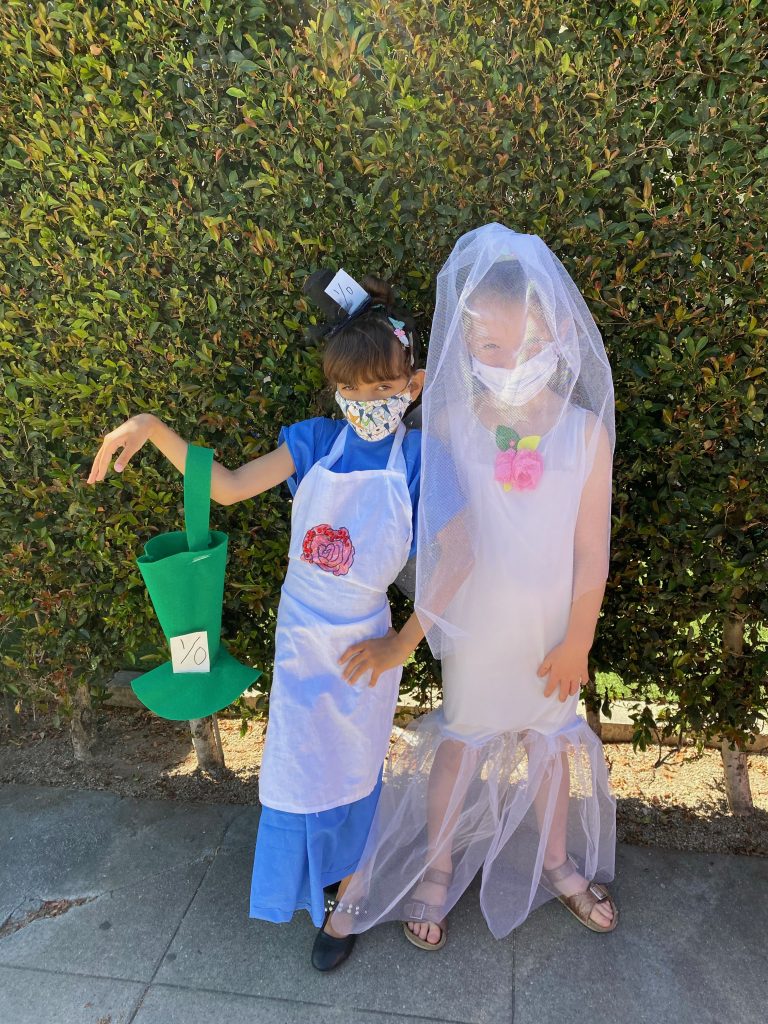
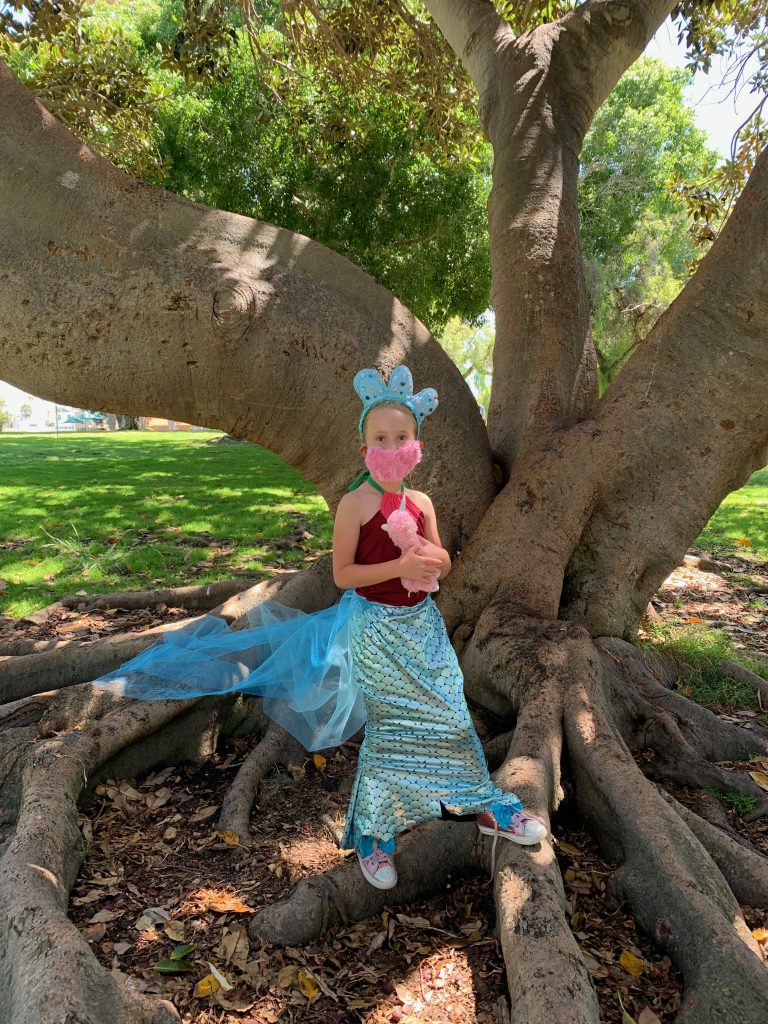
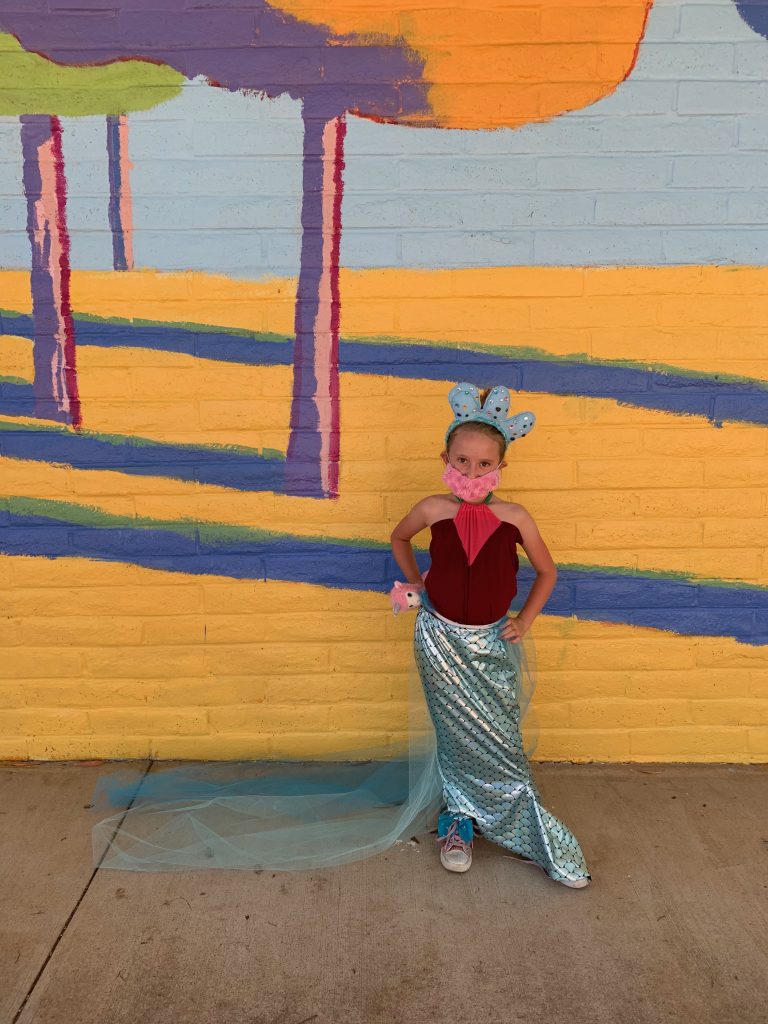
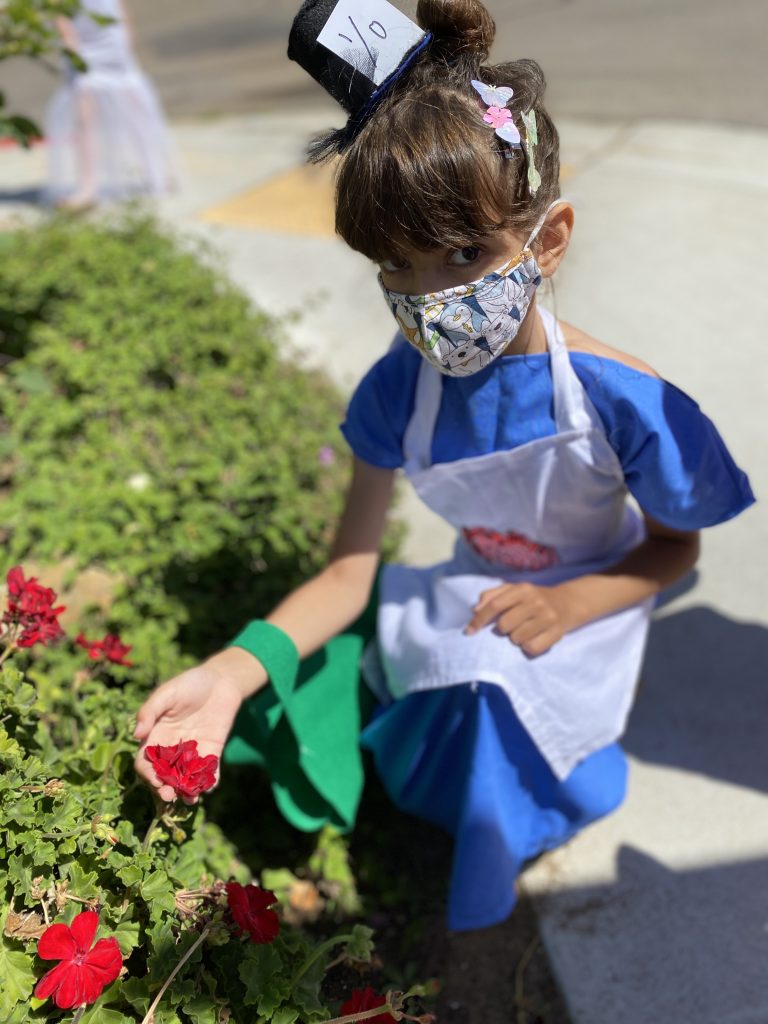
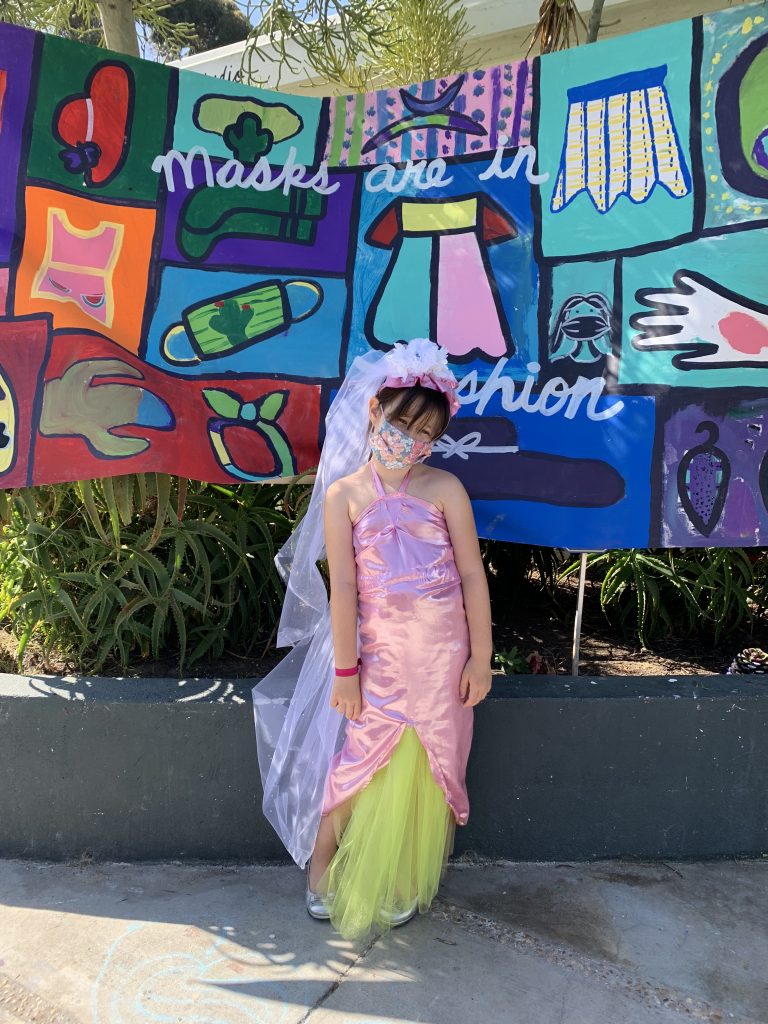
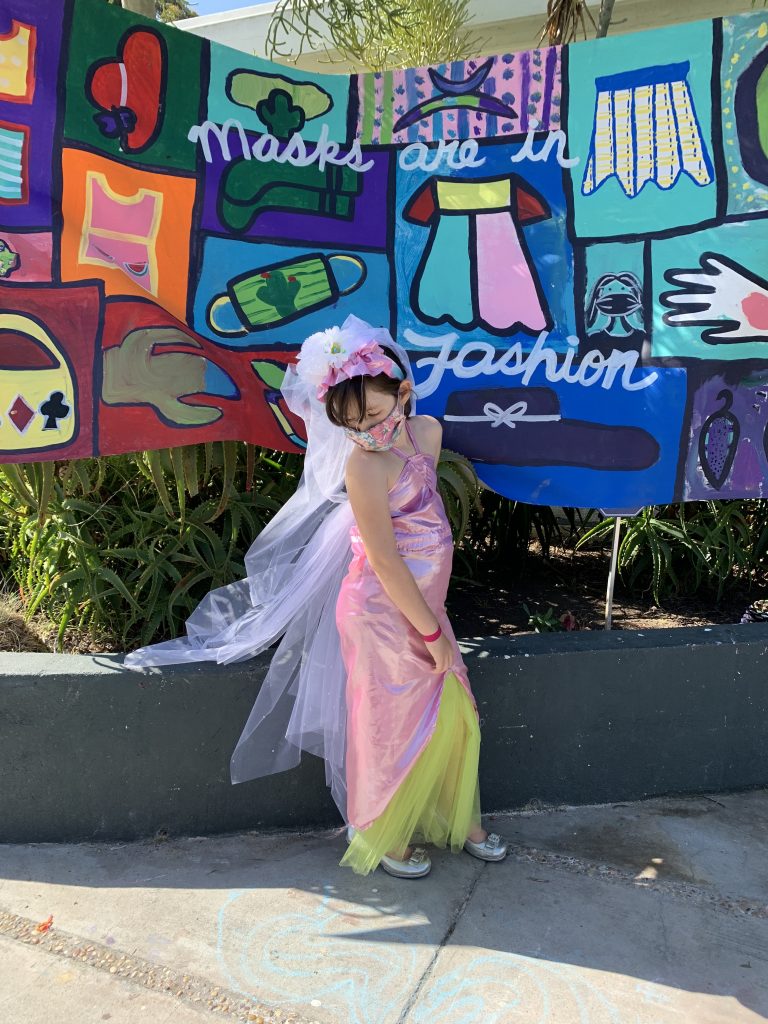
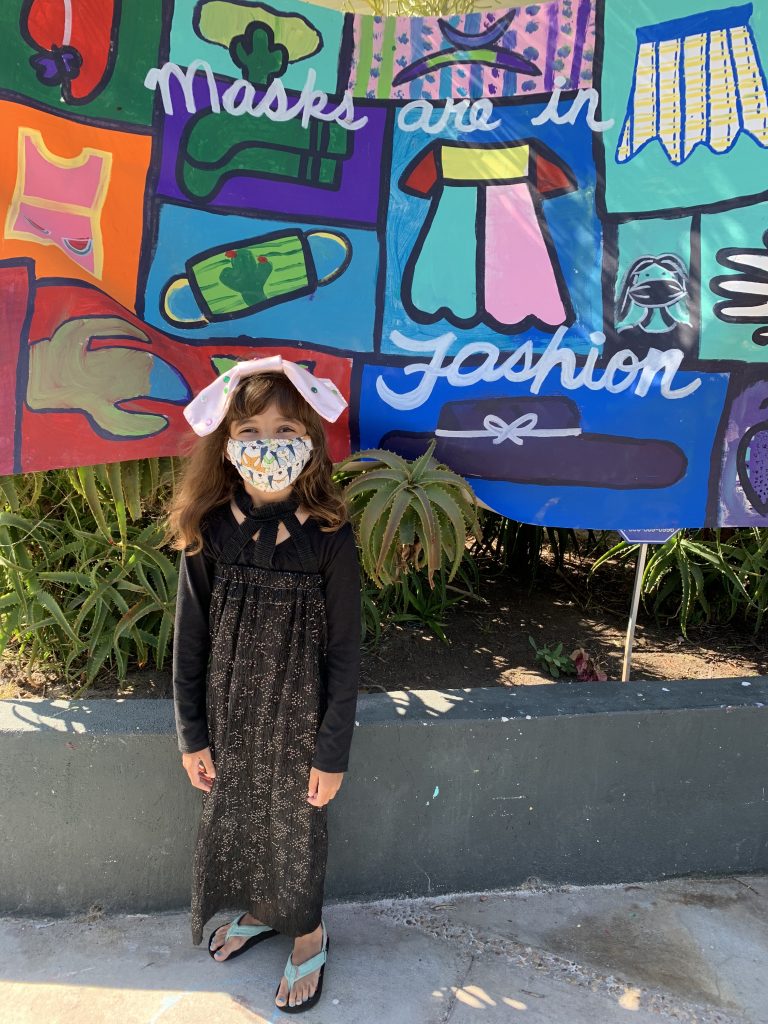
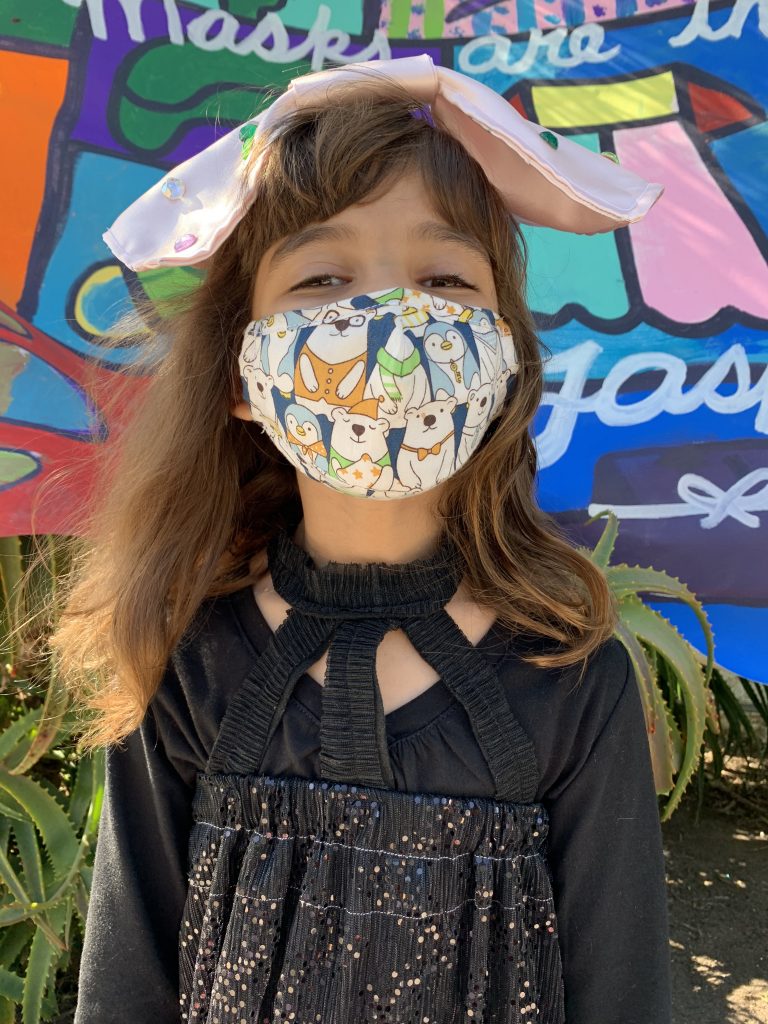
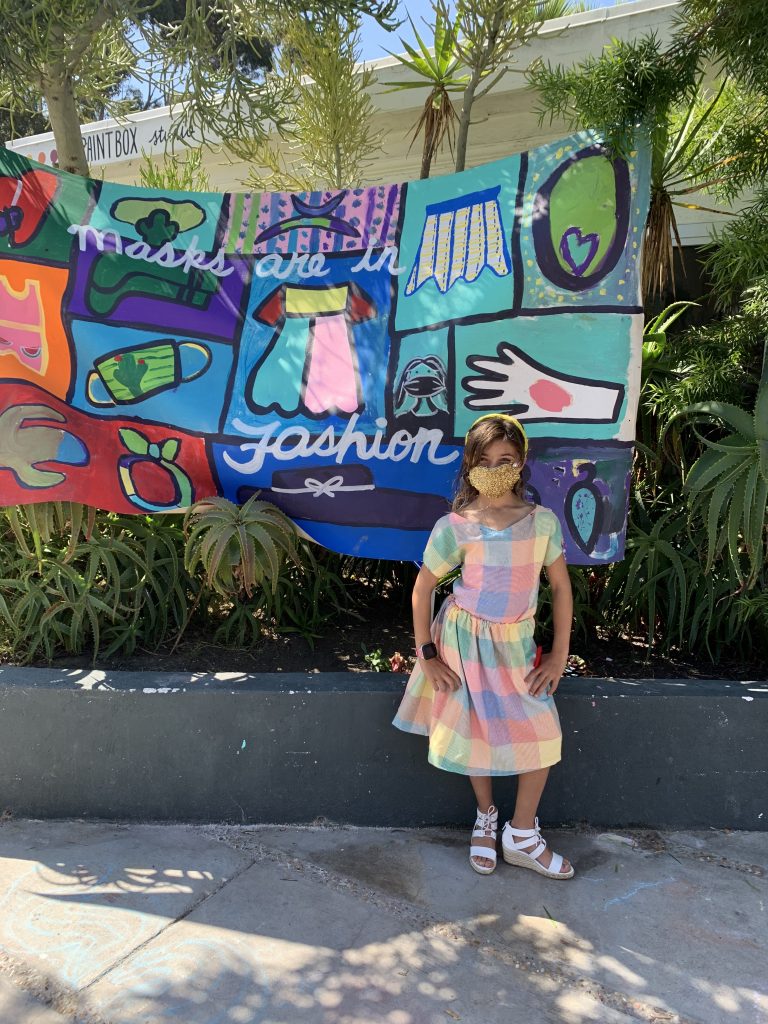
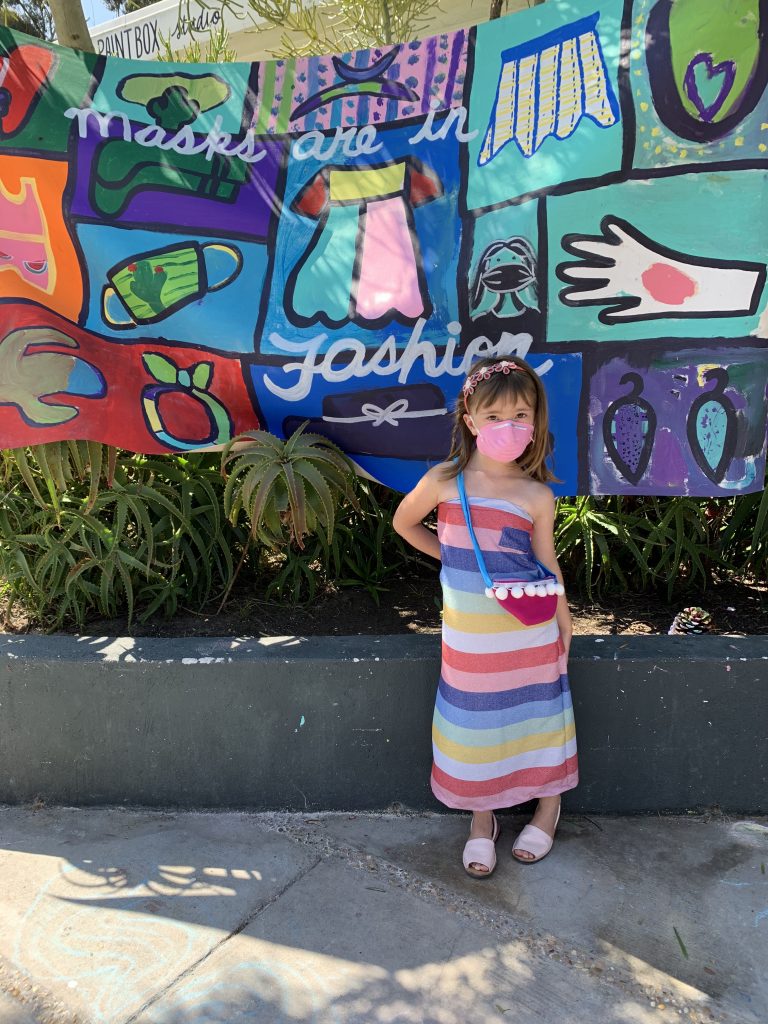
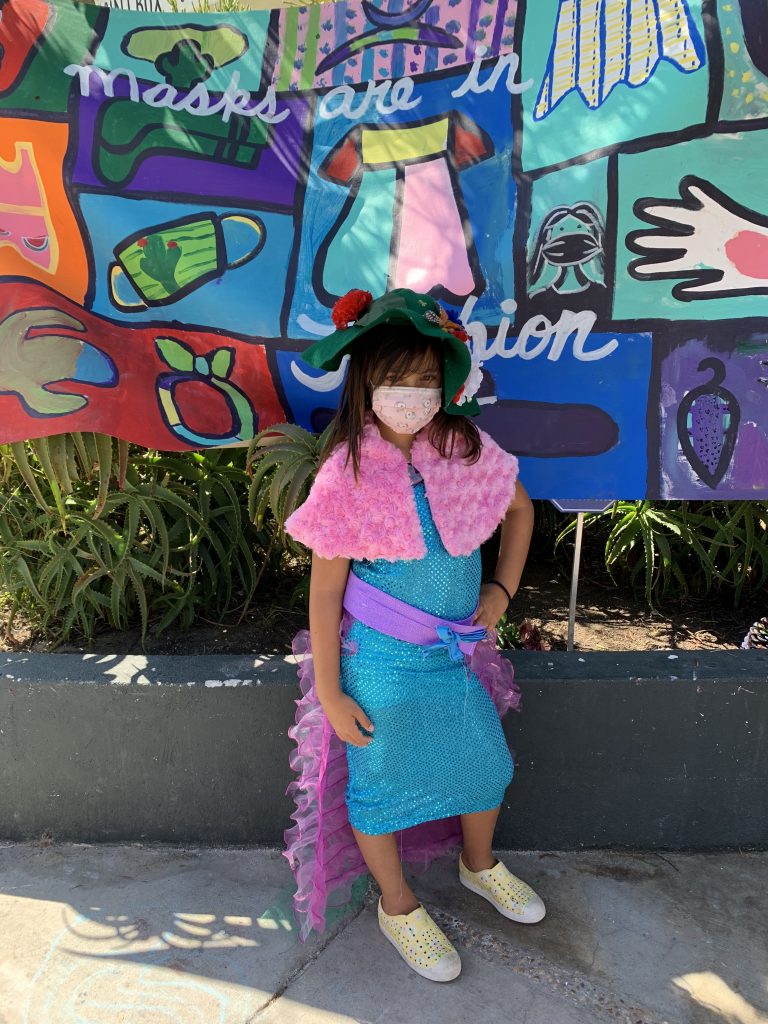
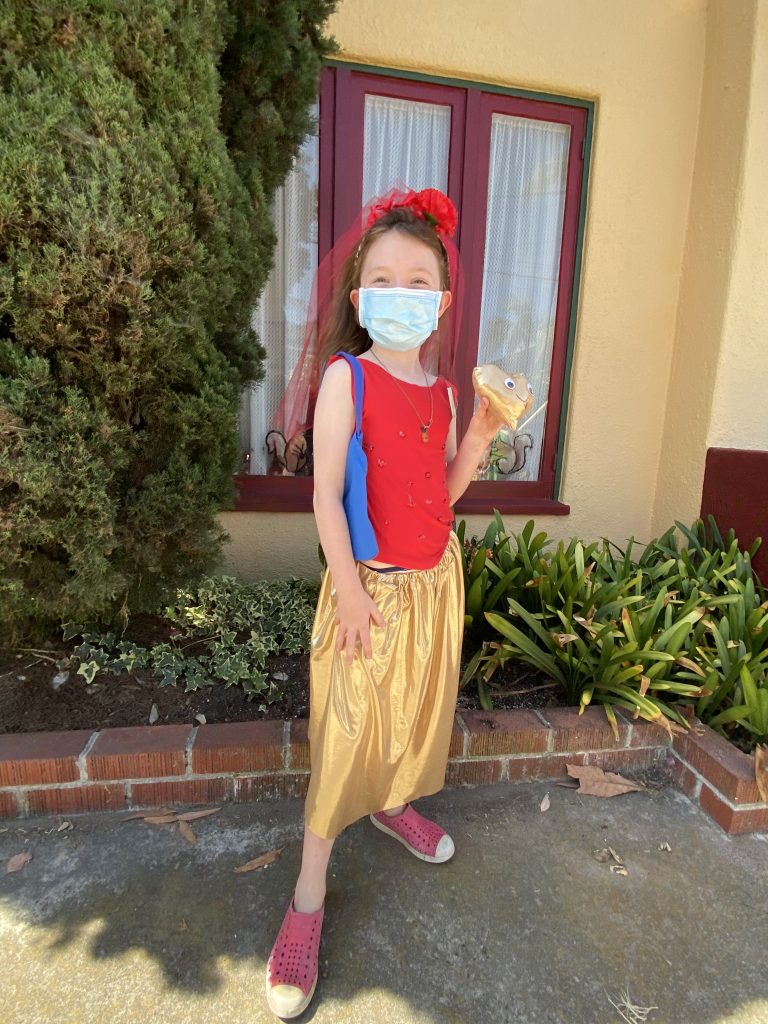
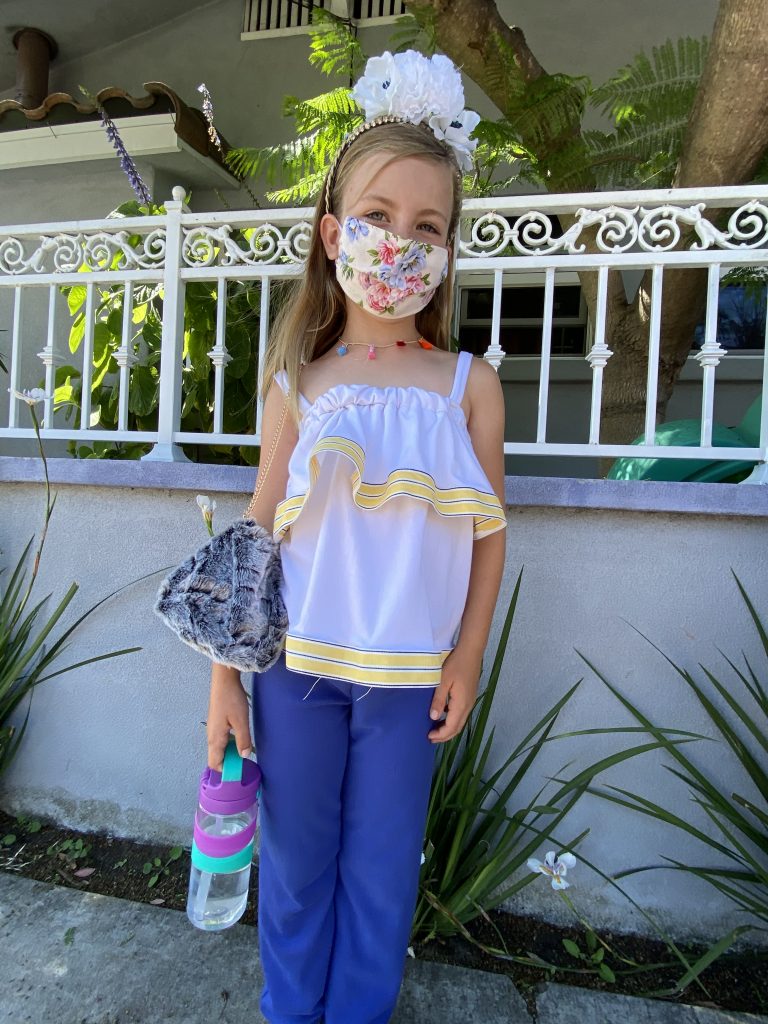
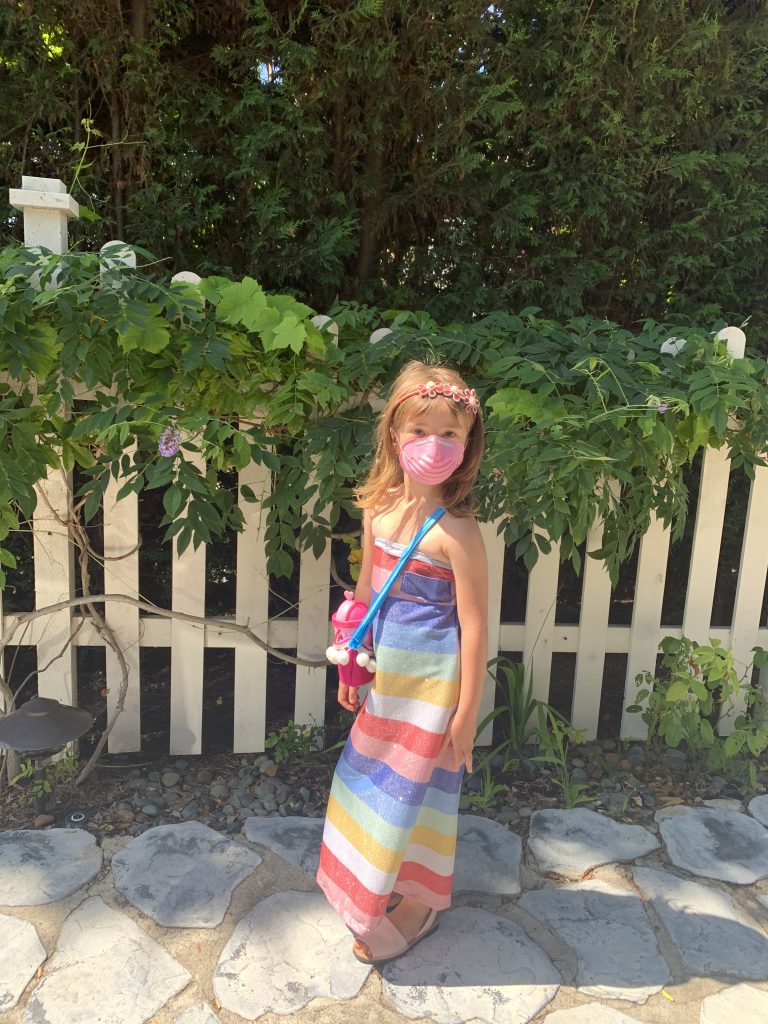
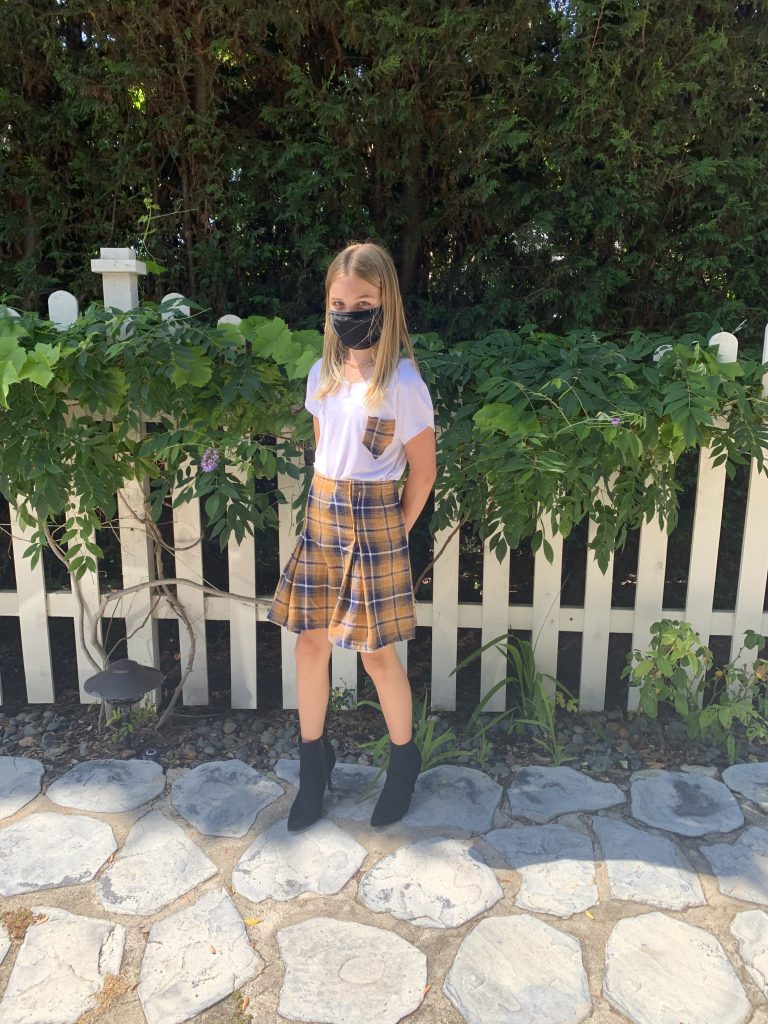
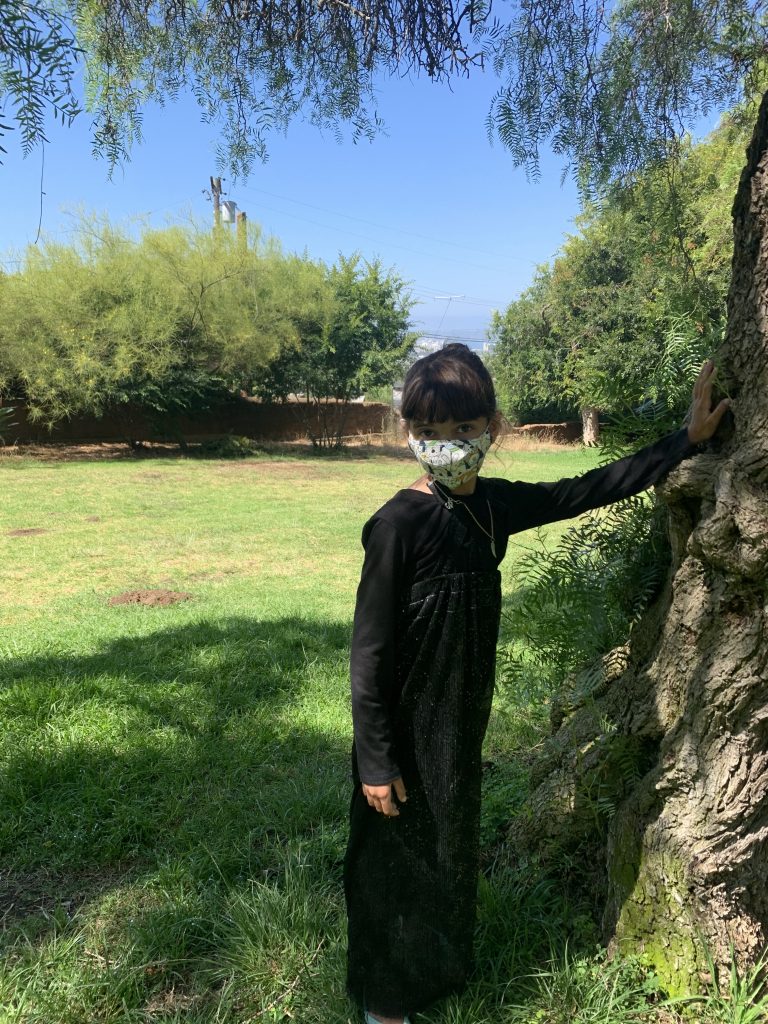
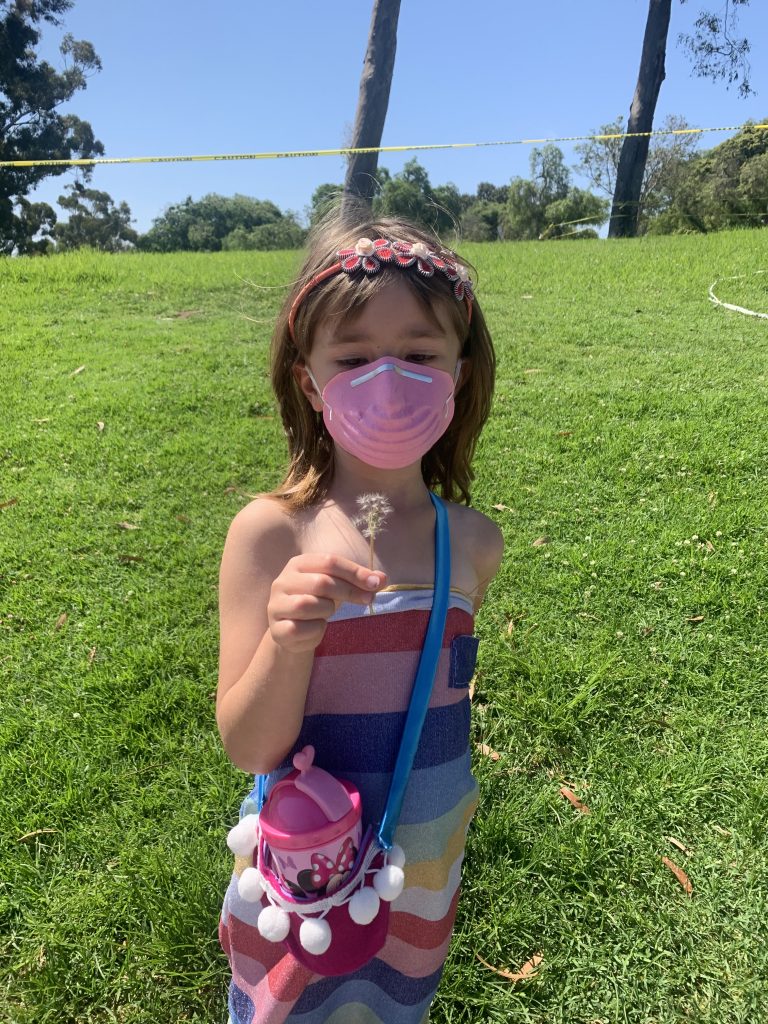
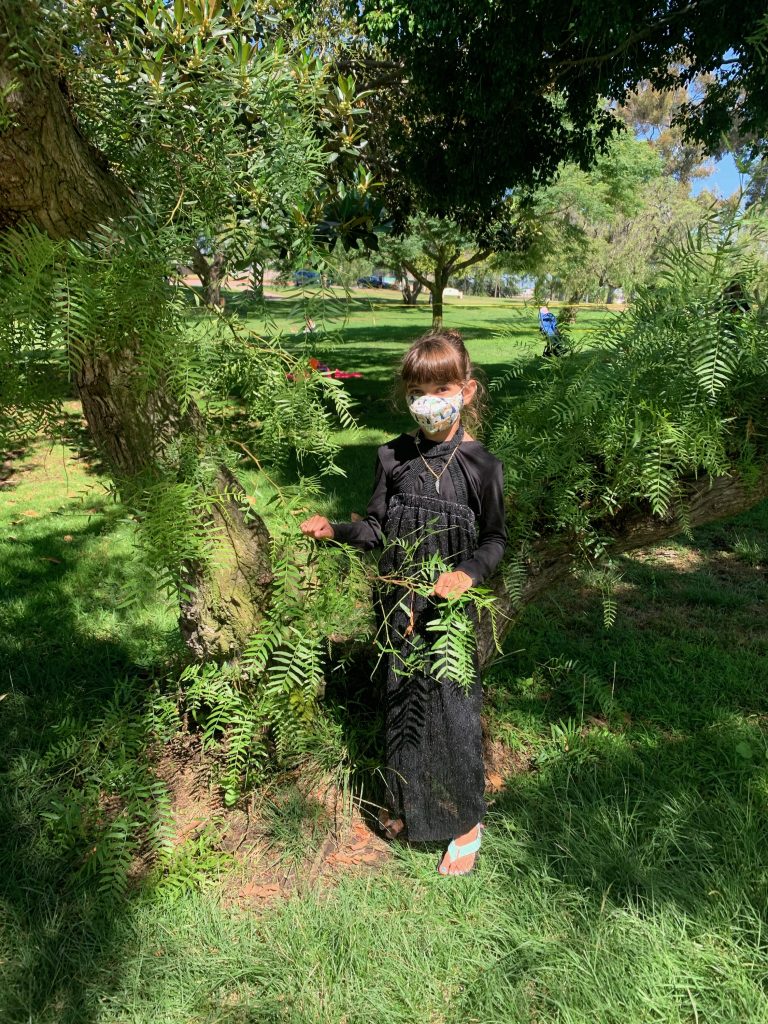
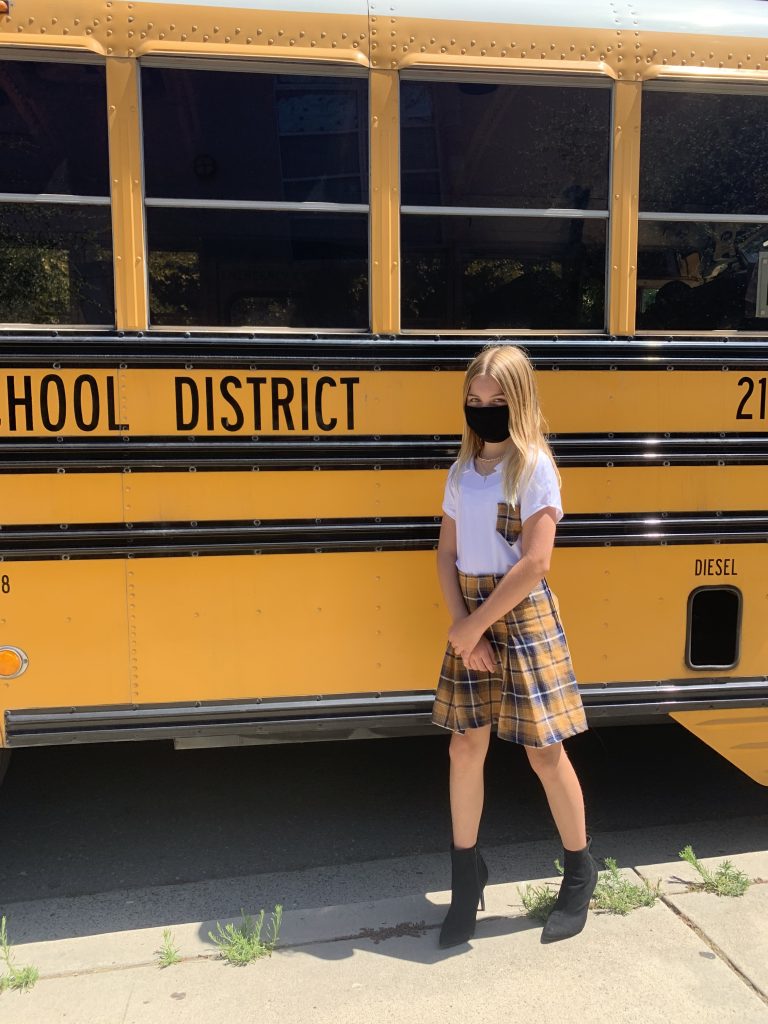
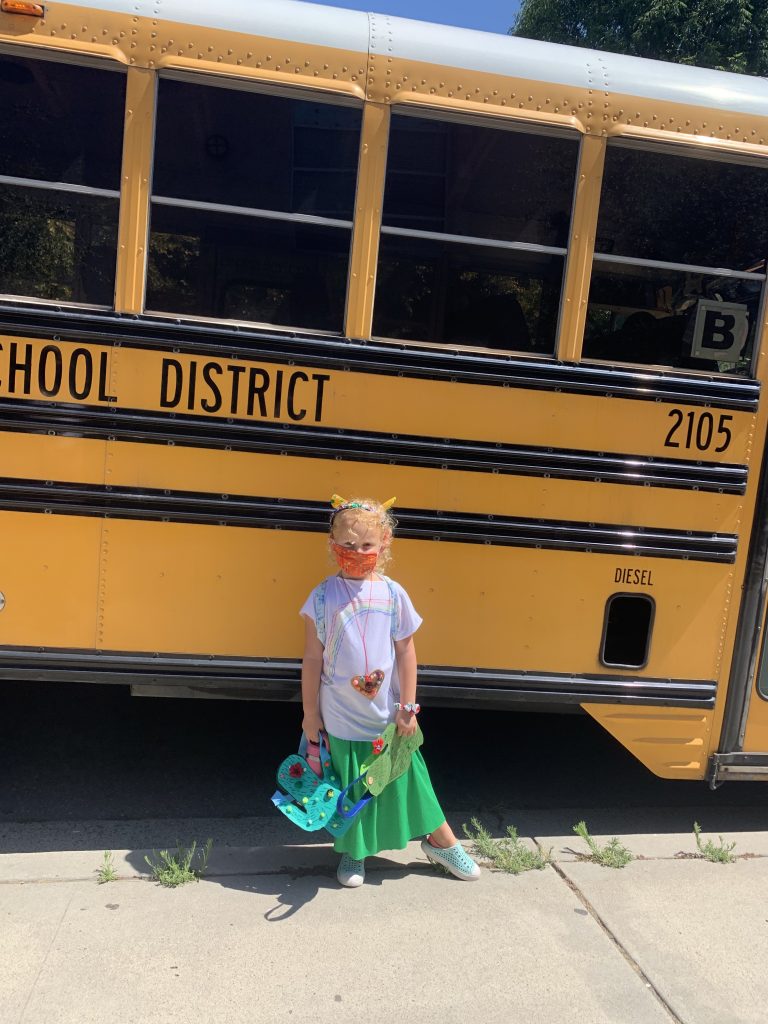
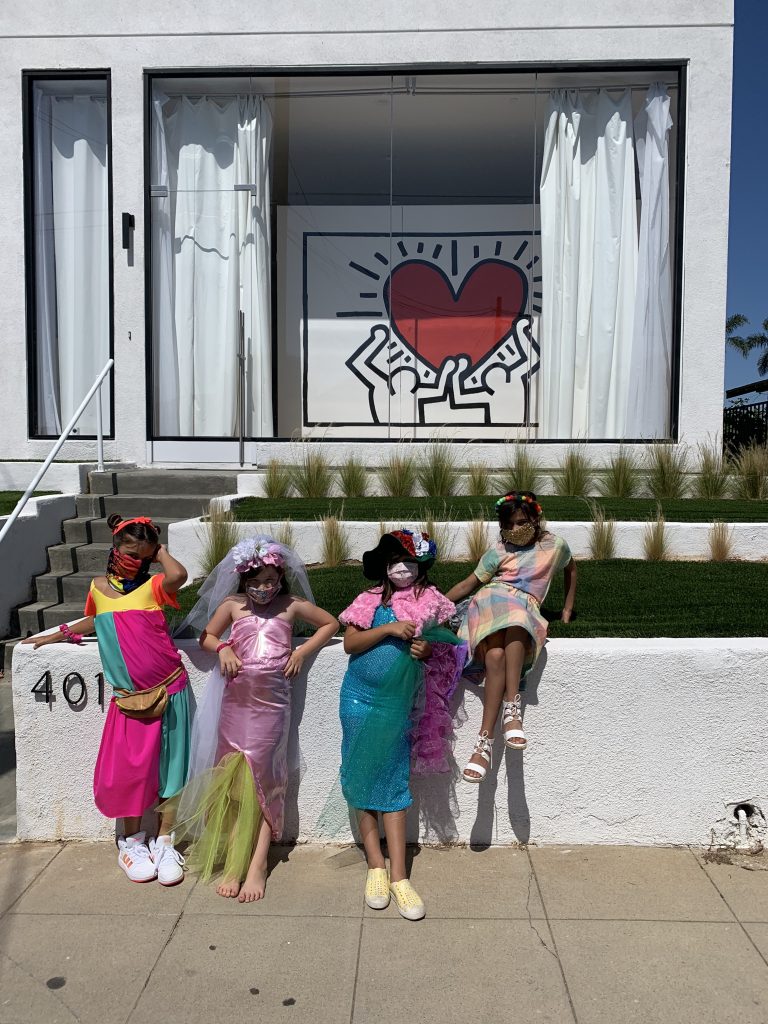
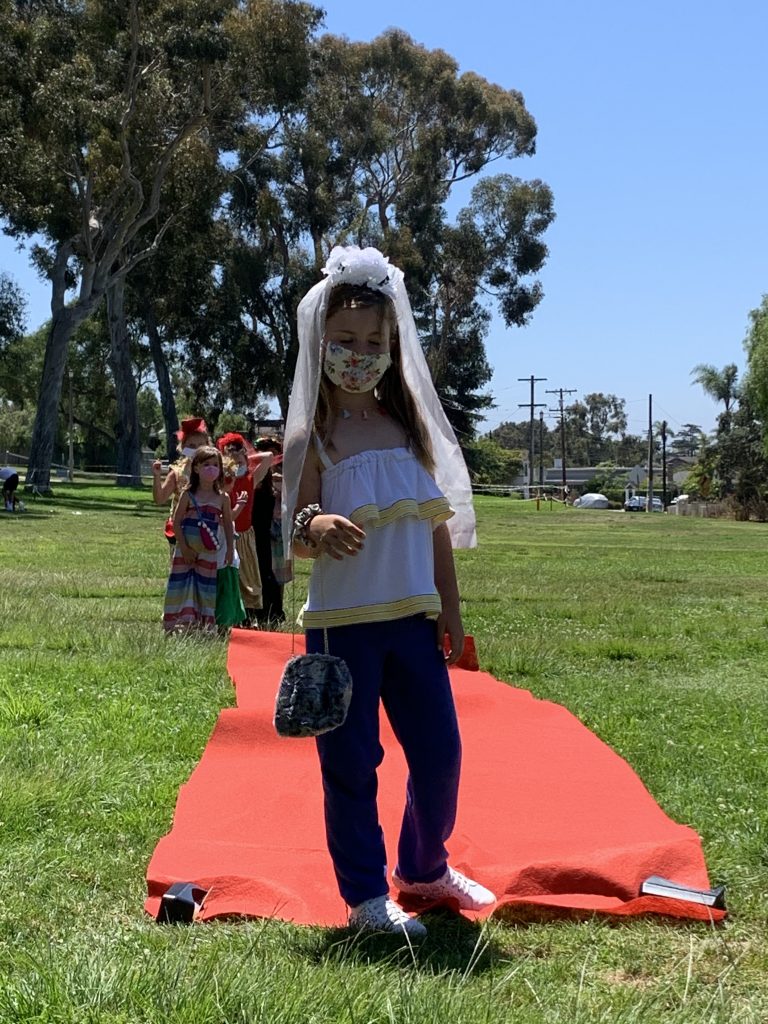
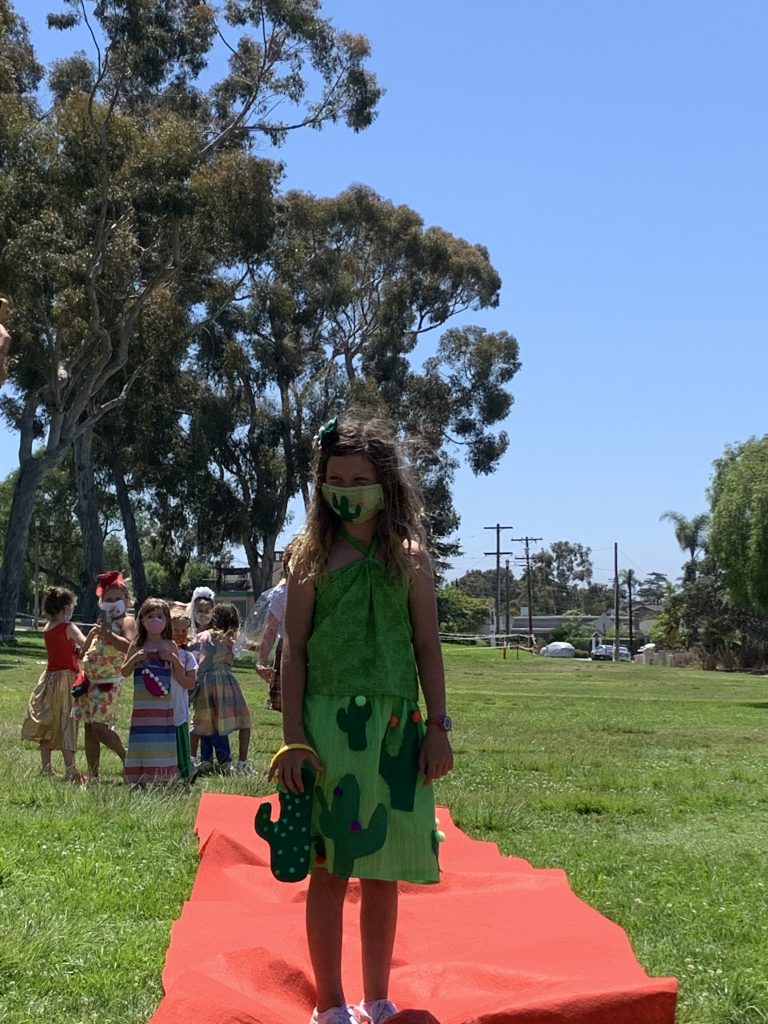
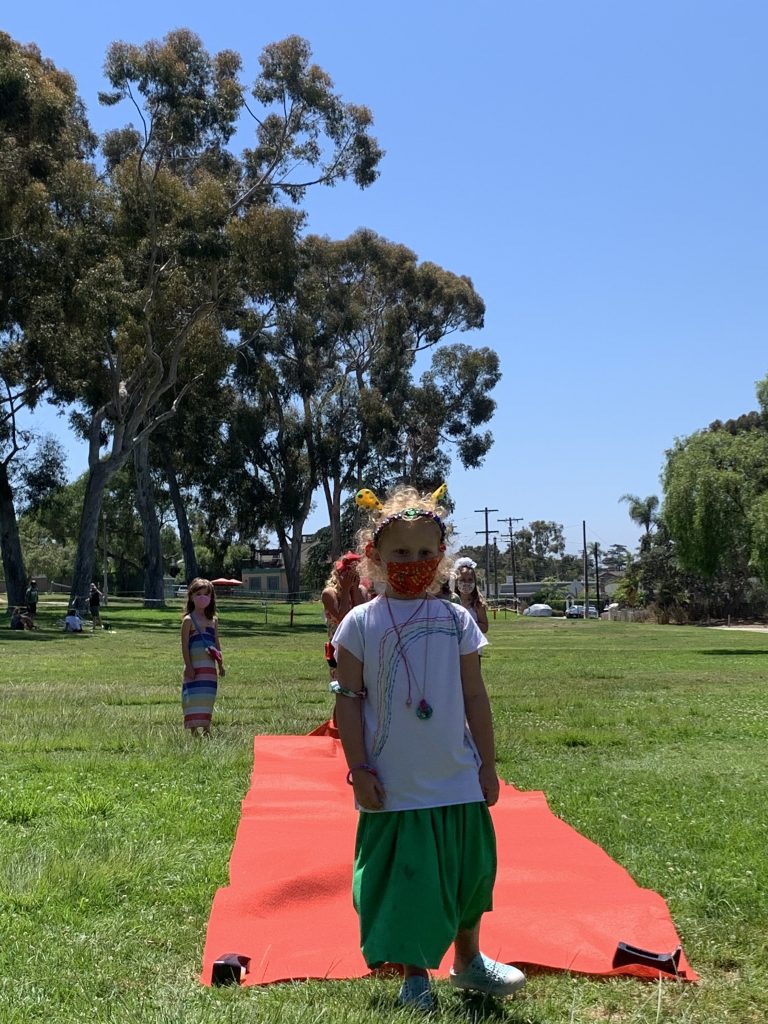
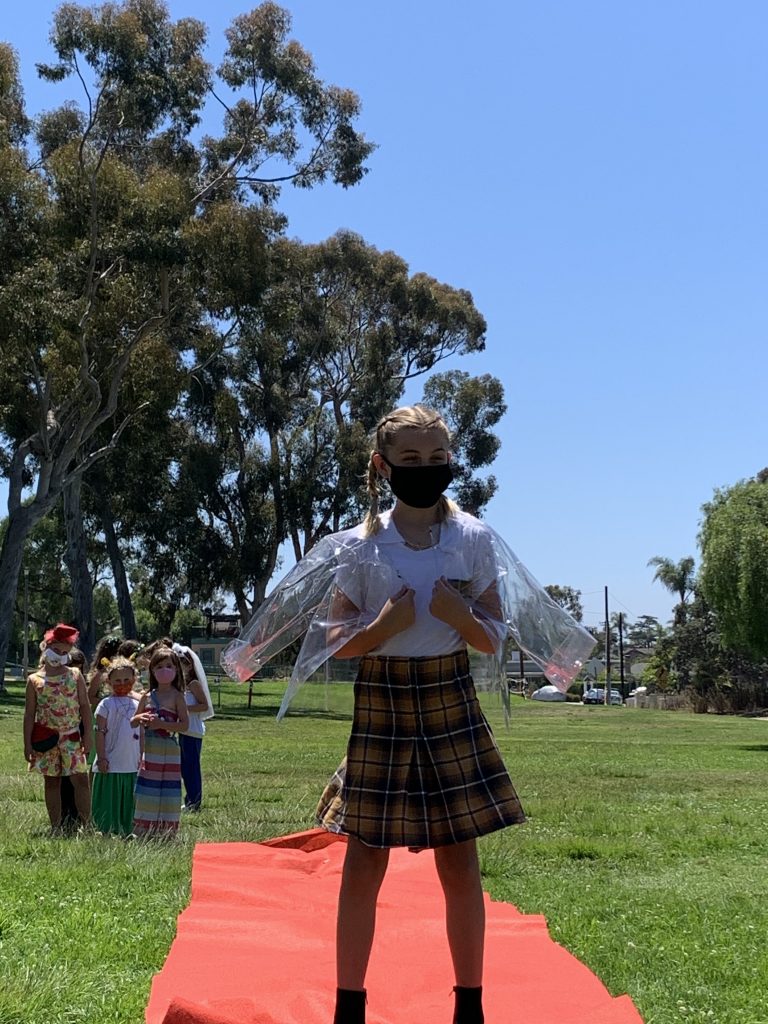
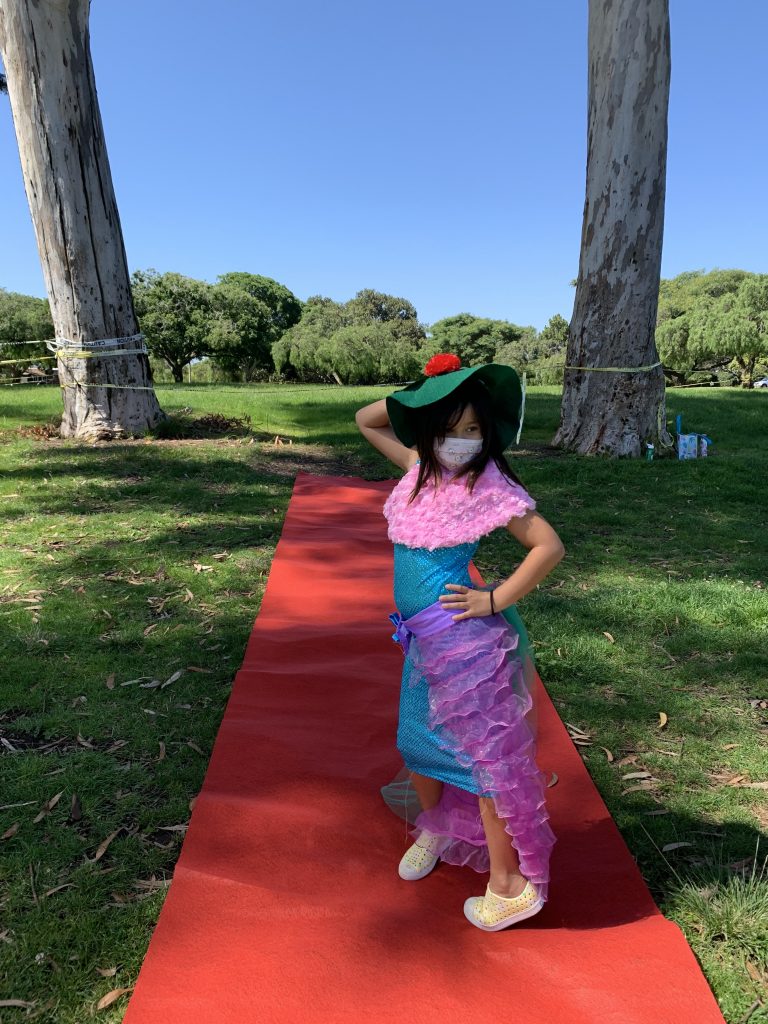
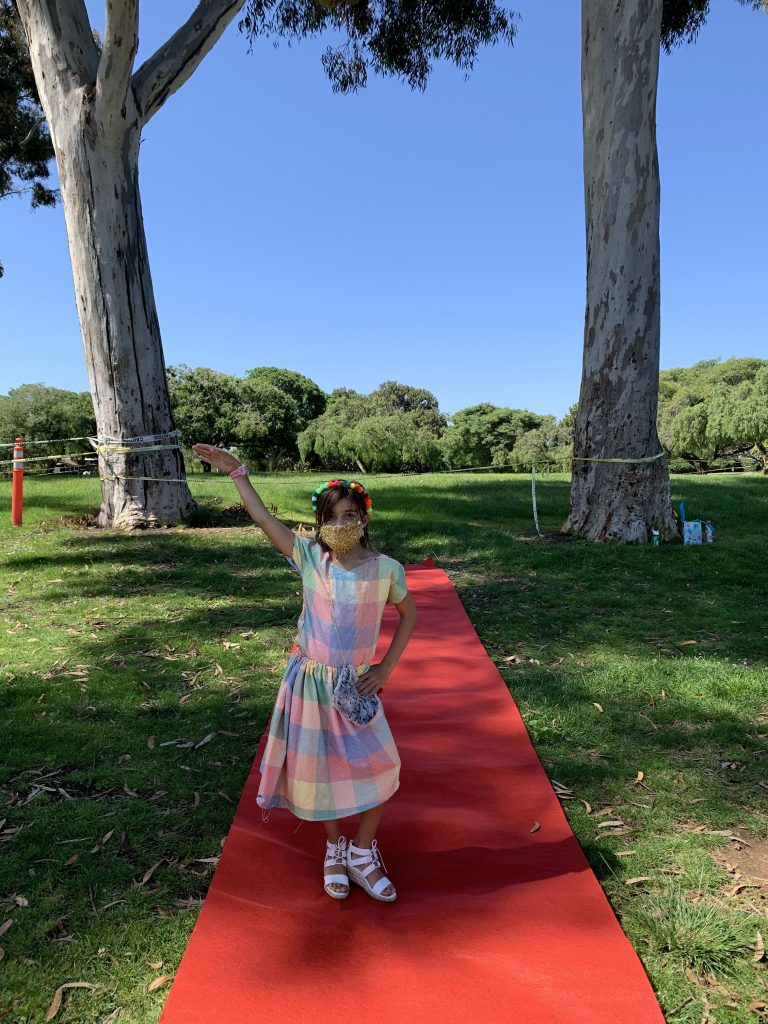
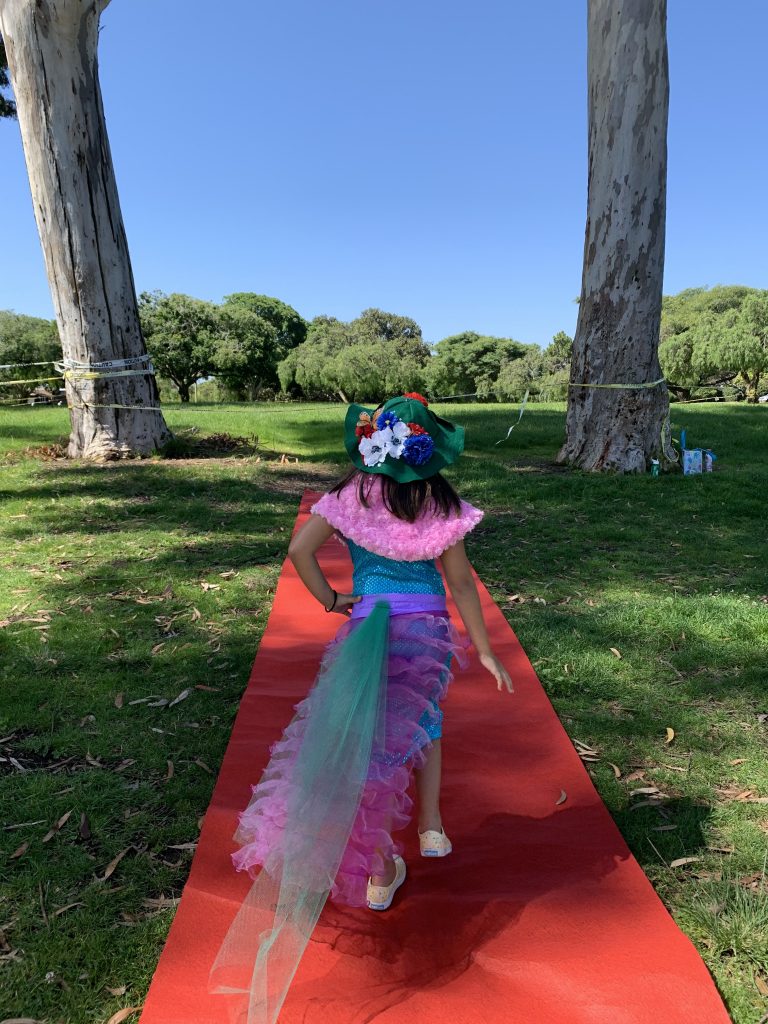
Fashion Camp Pics – Week 2
Fashion week is so much fun that we had to do it again! The kids started the week by drawing their looks first thing Monday morning and ended it by wearing their design down the runway for our Friday fashion show. Very excited to share the photos of their looks. Enjoy!
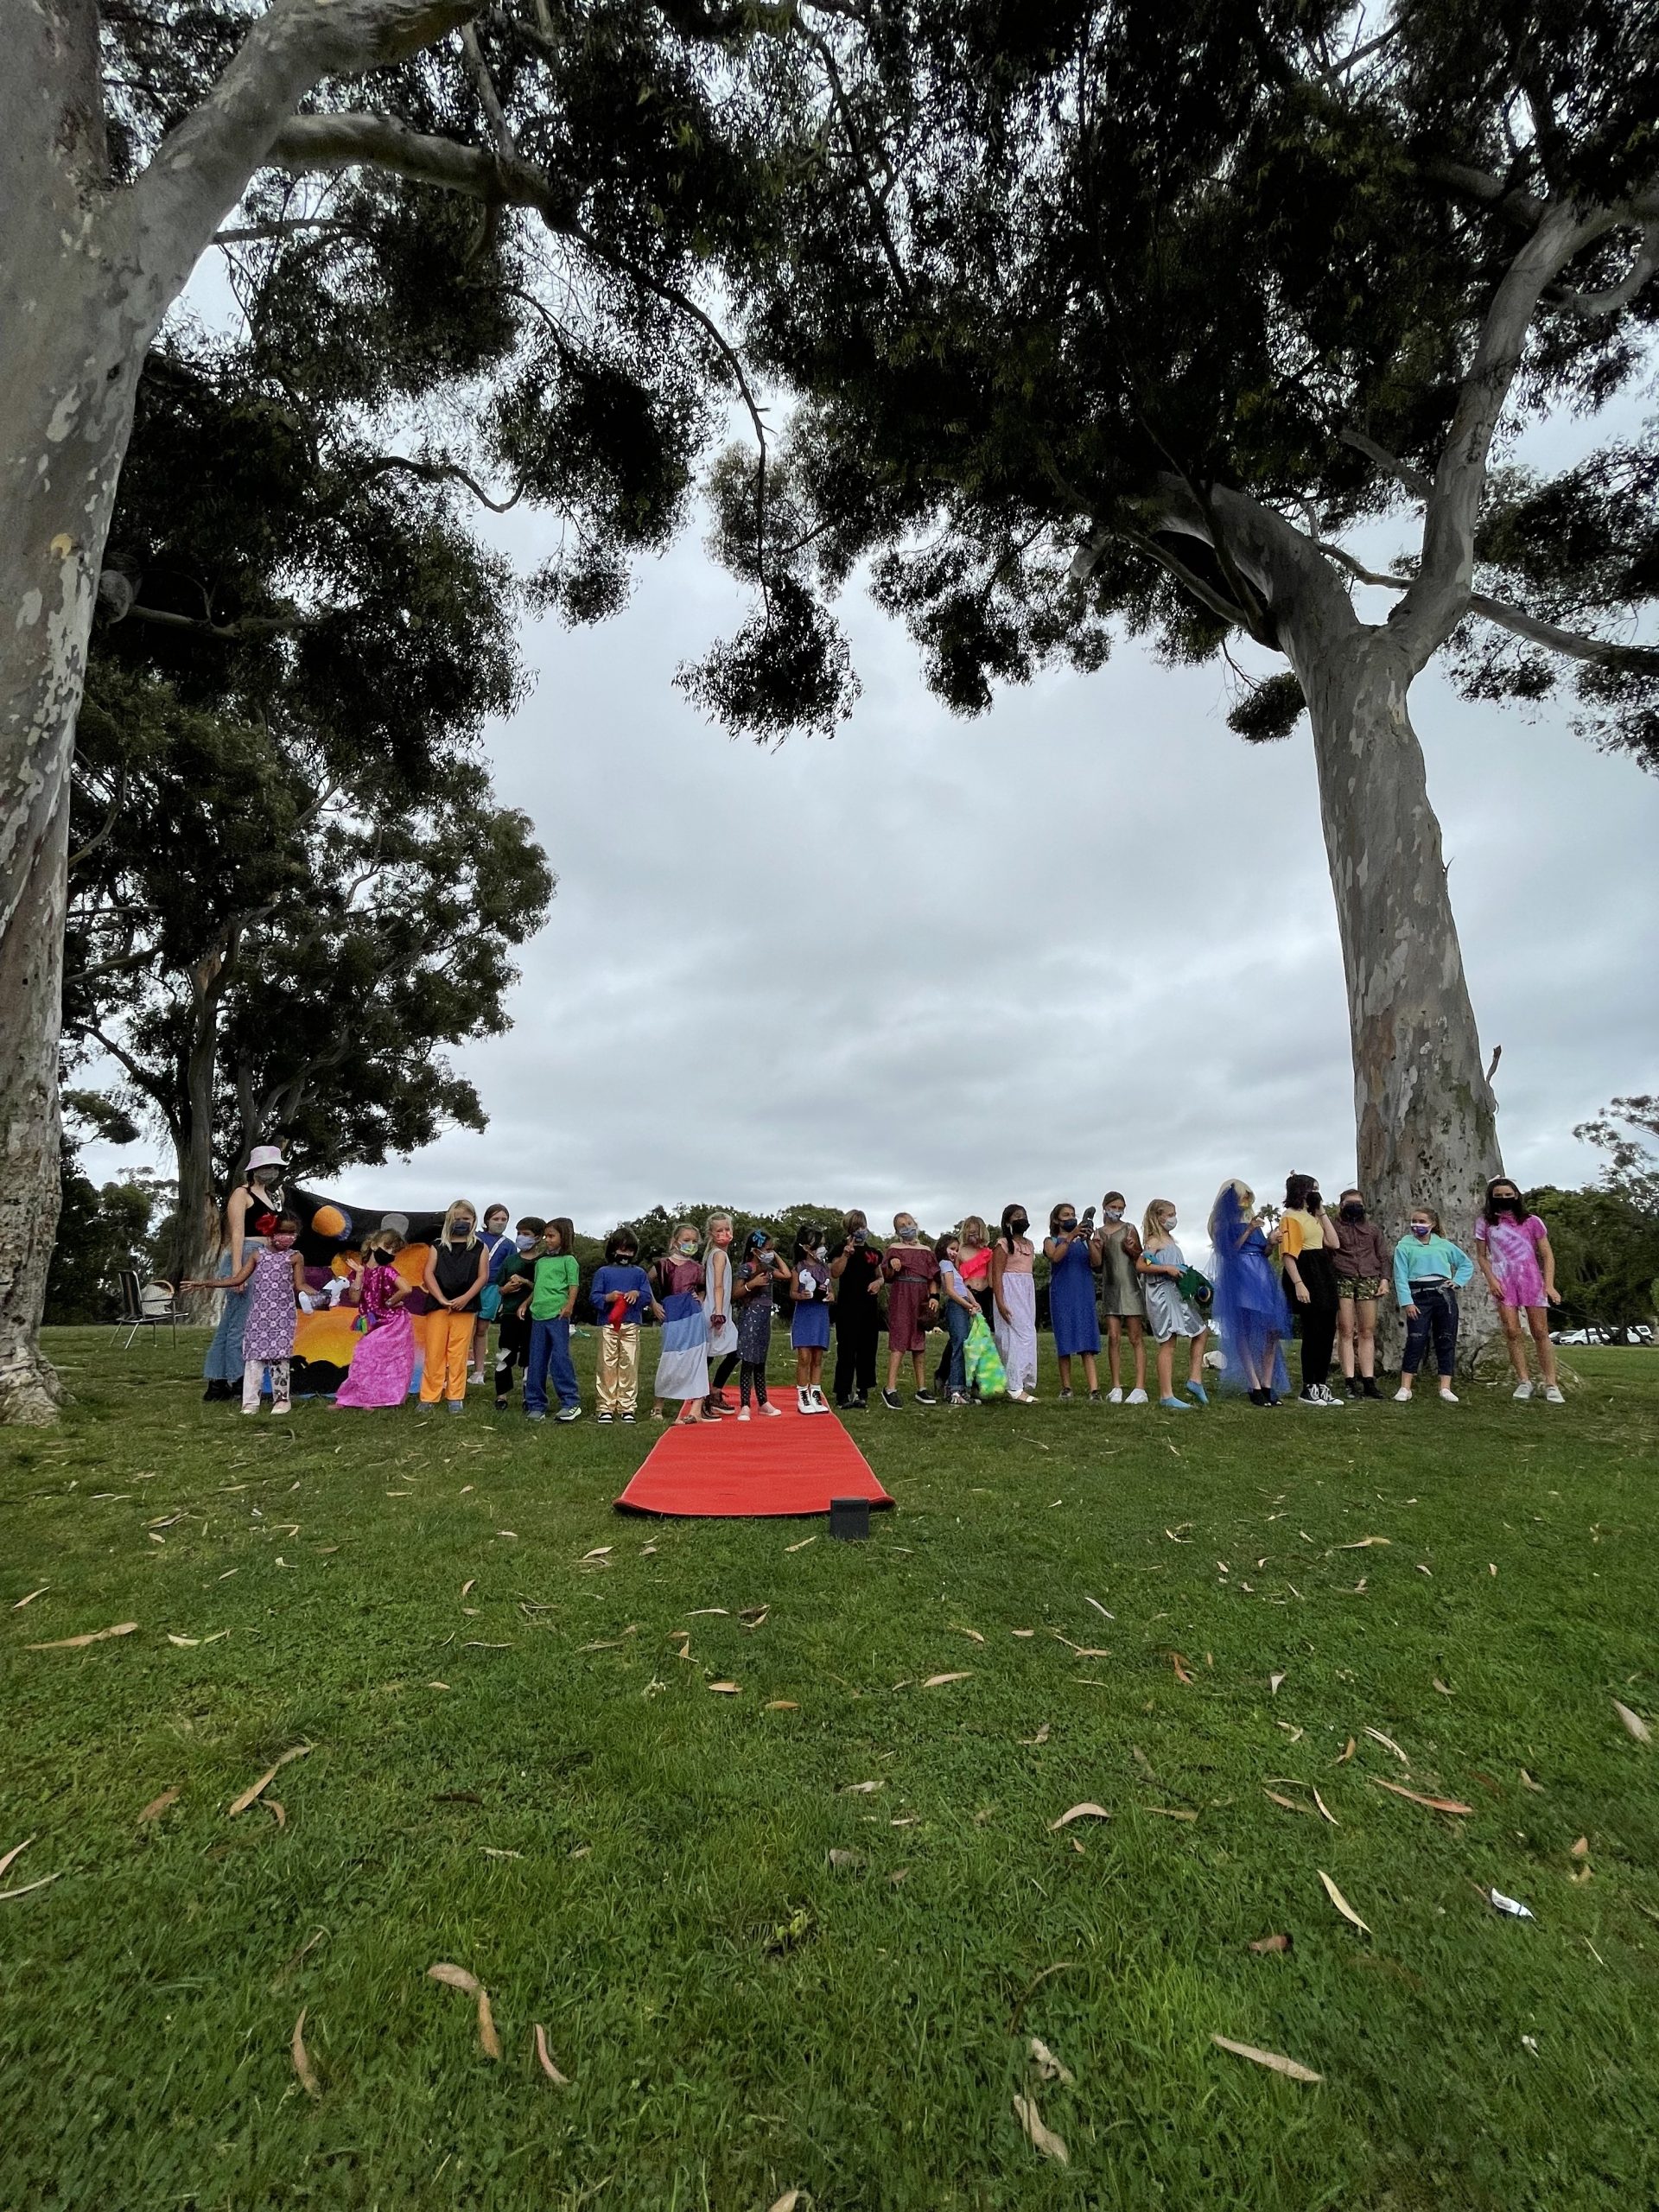
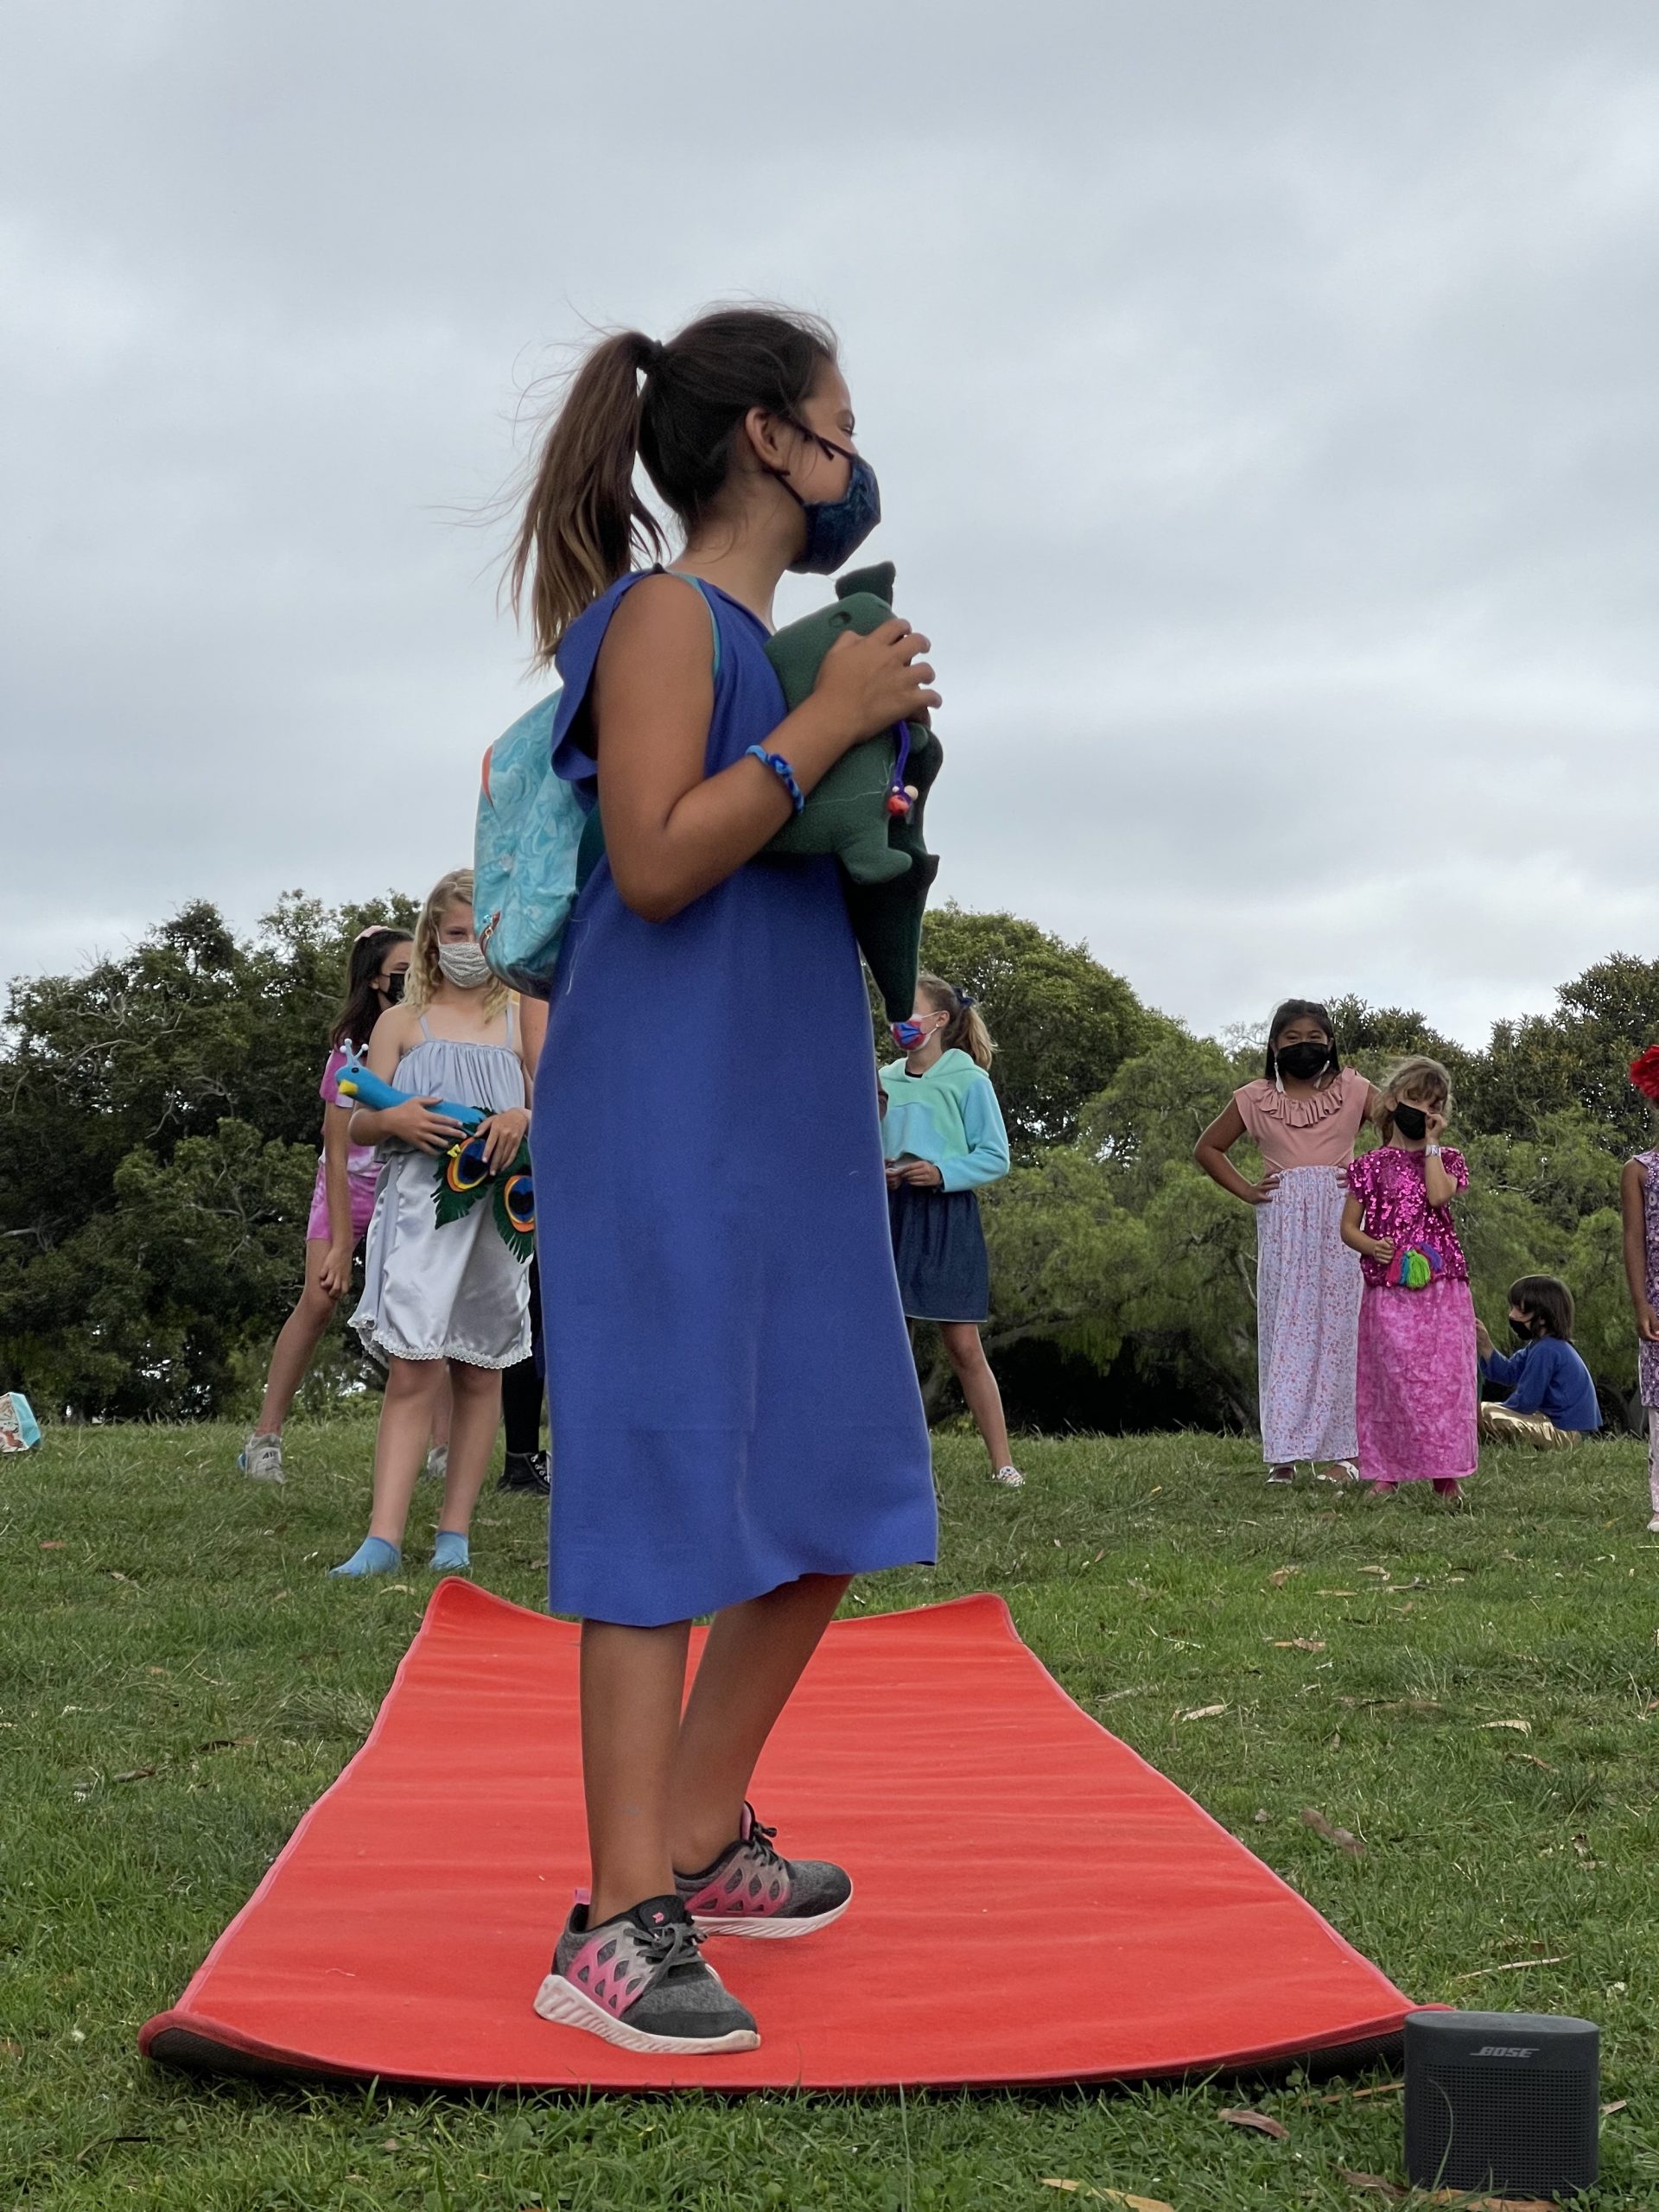
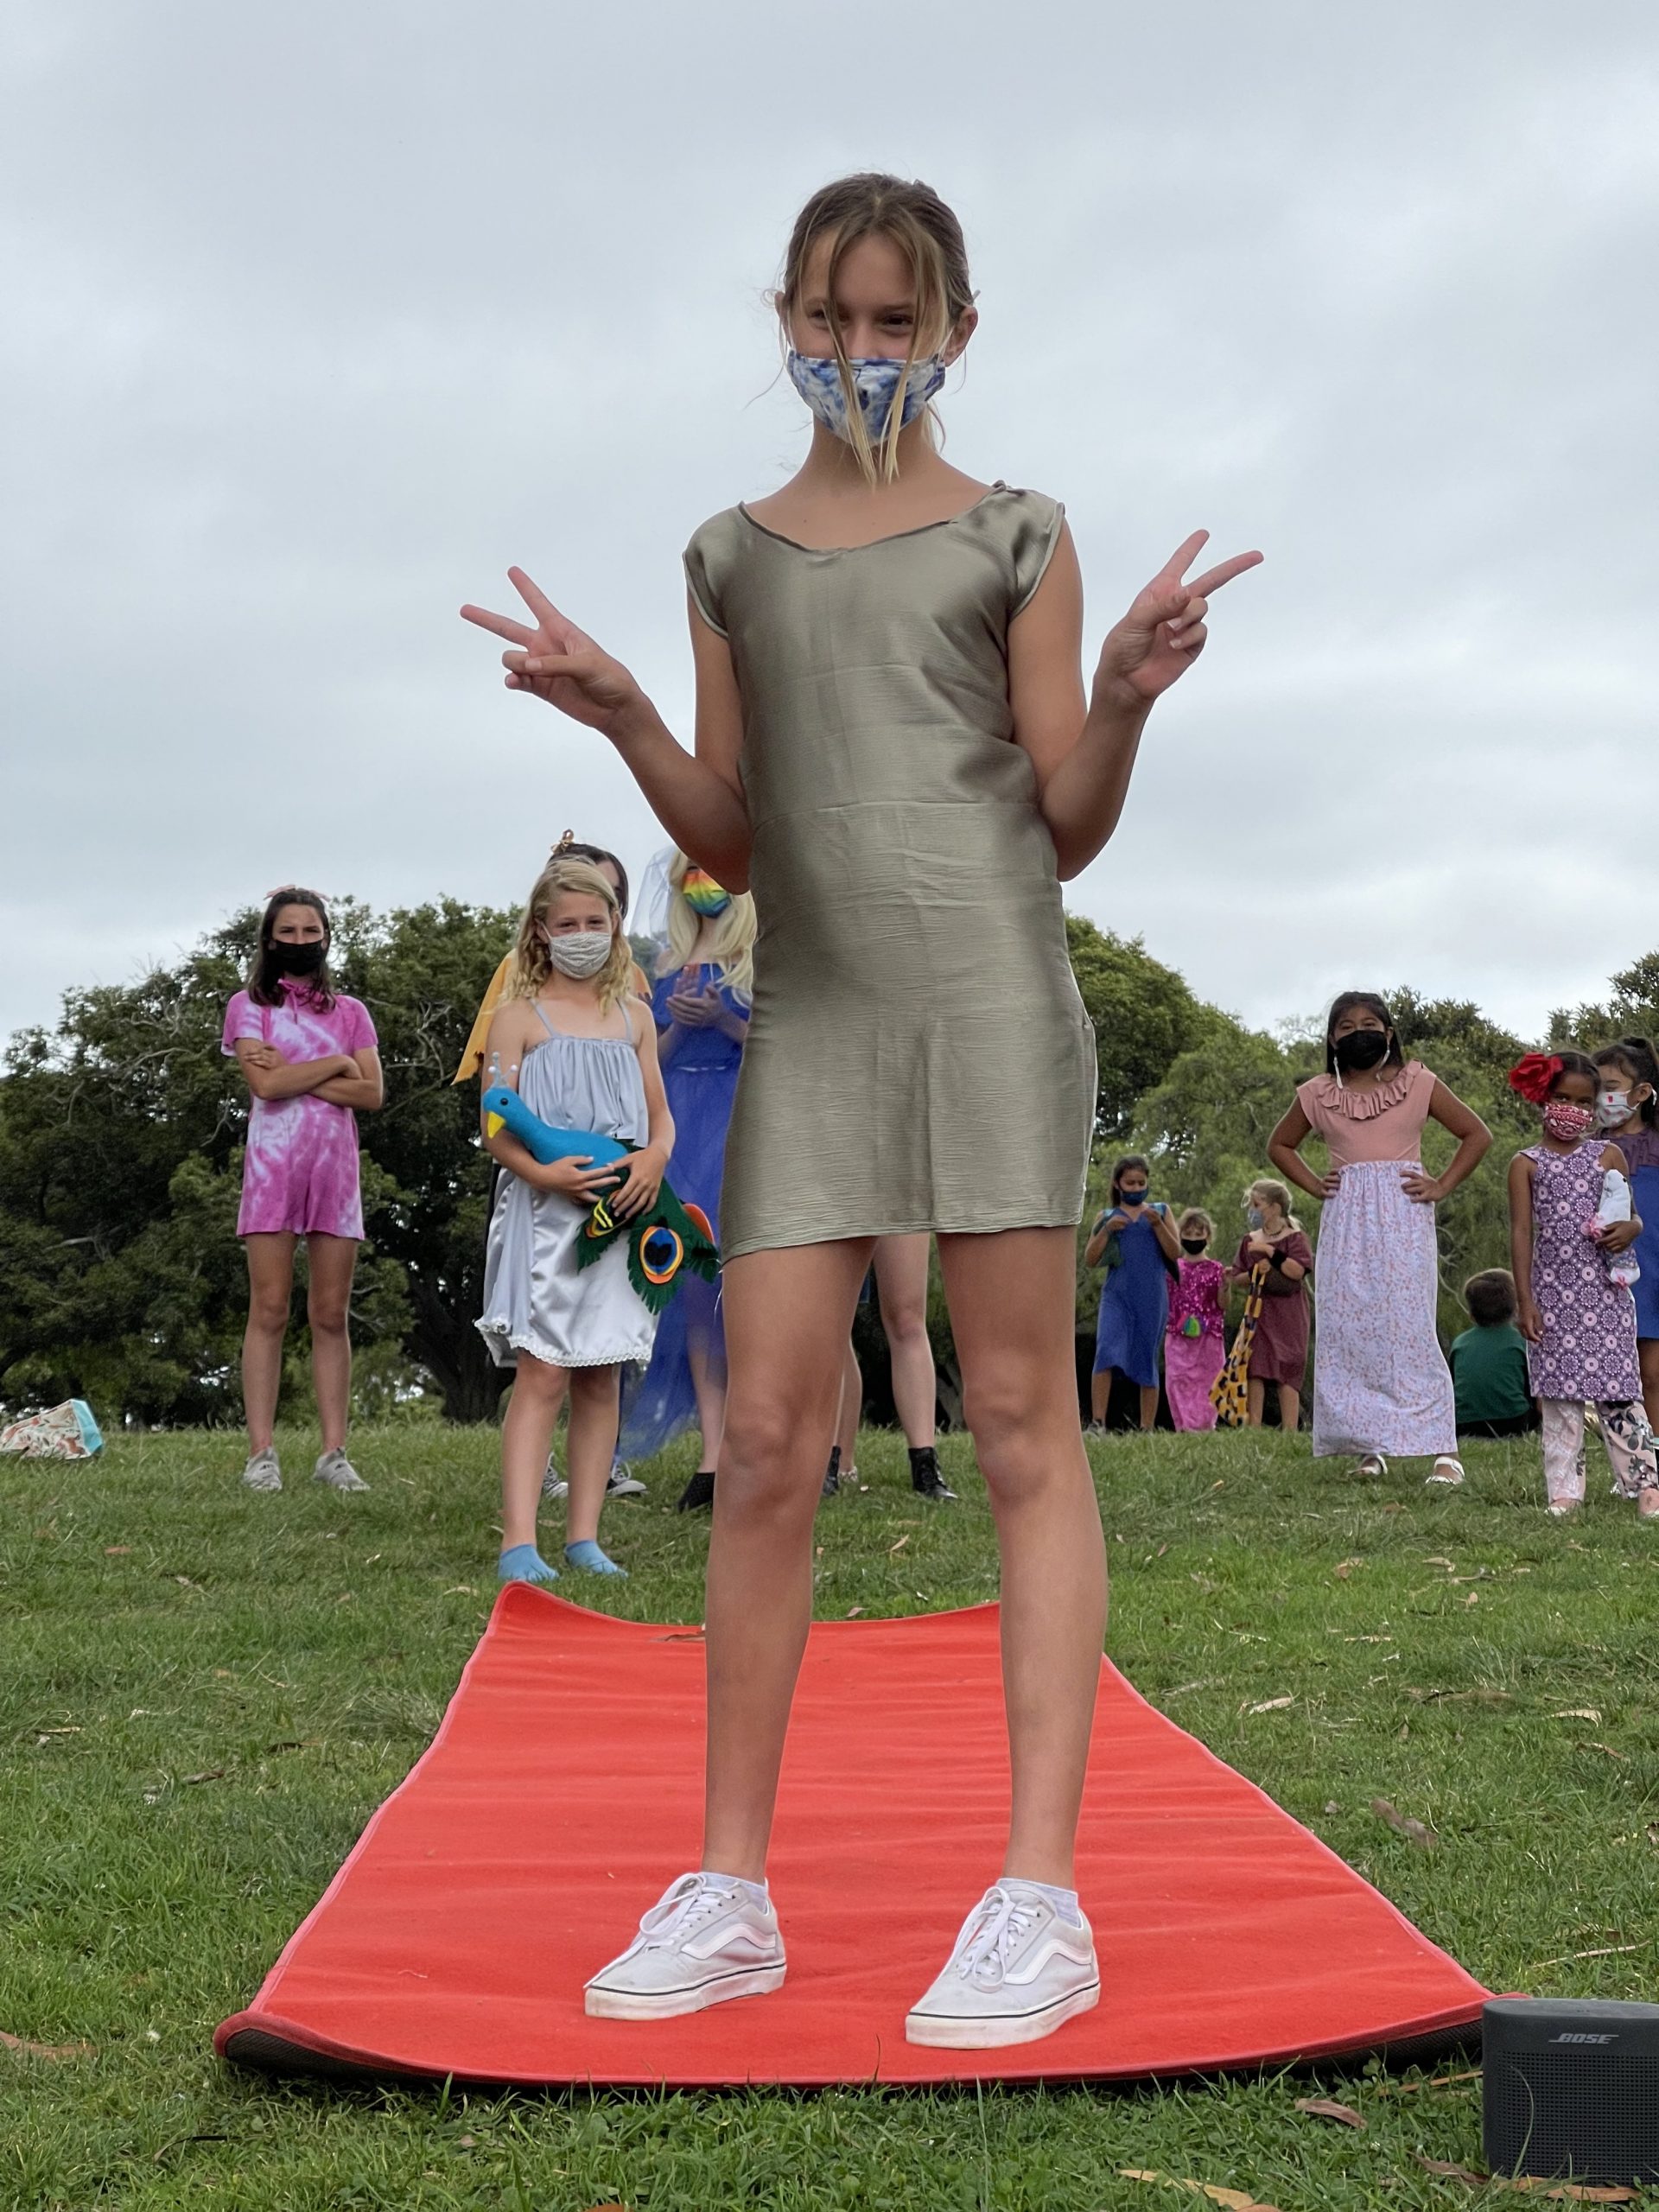
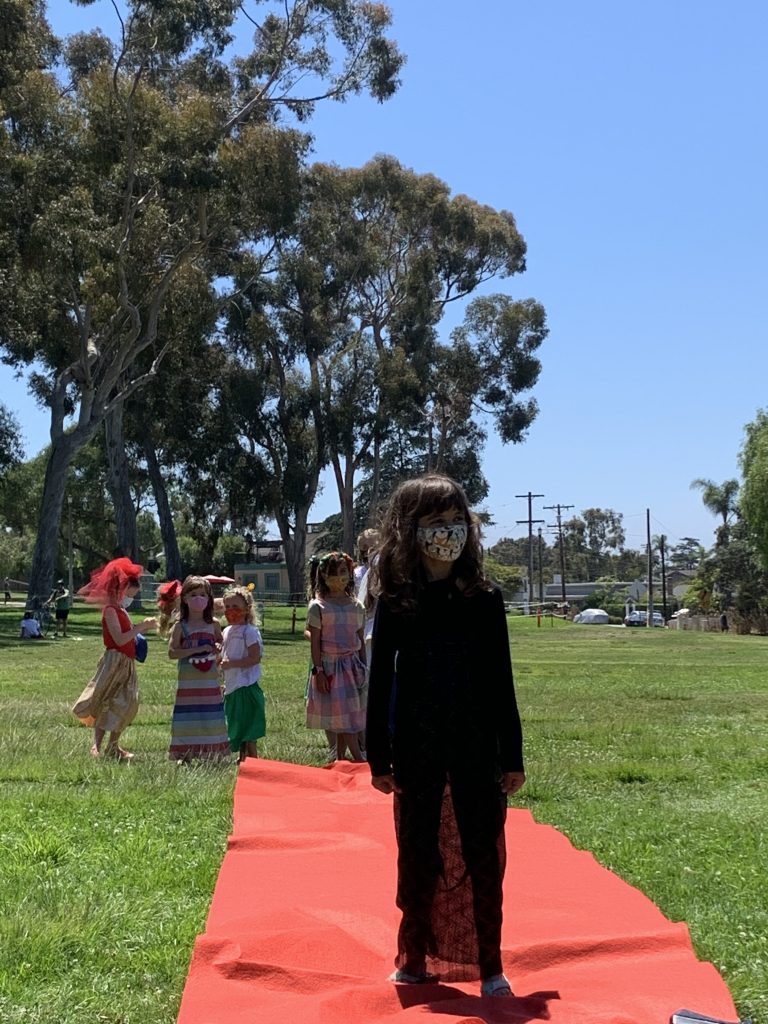
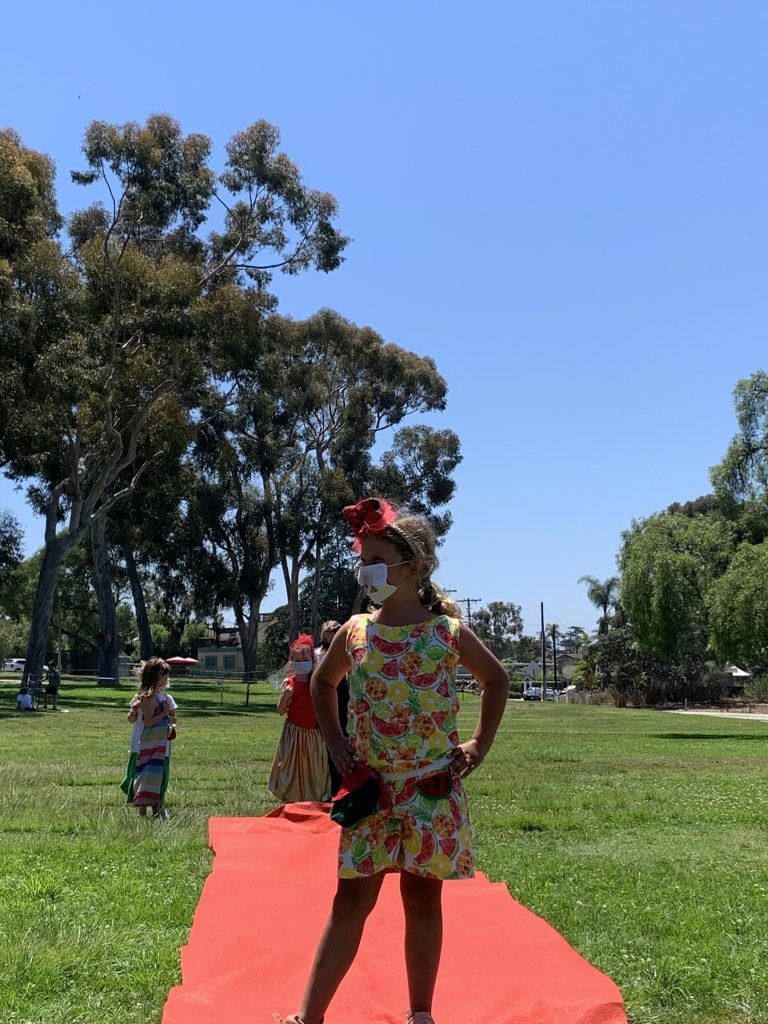
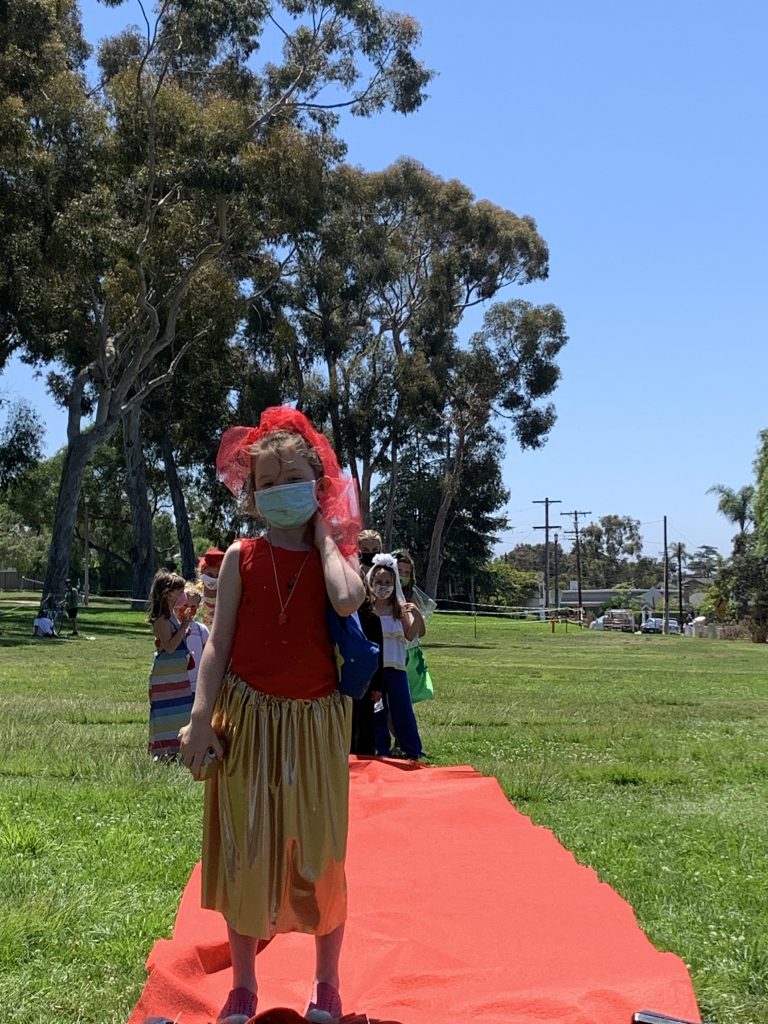
The Runway:

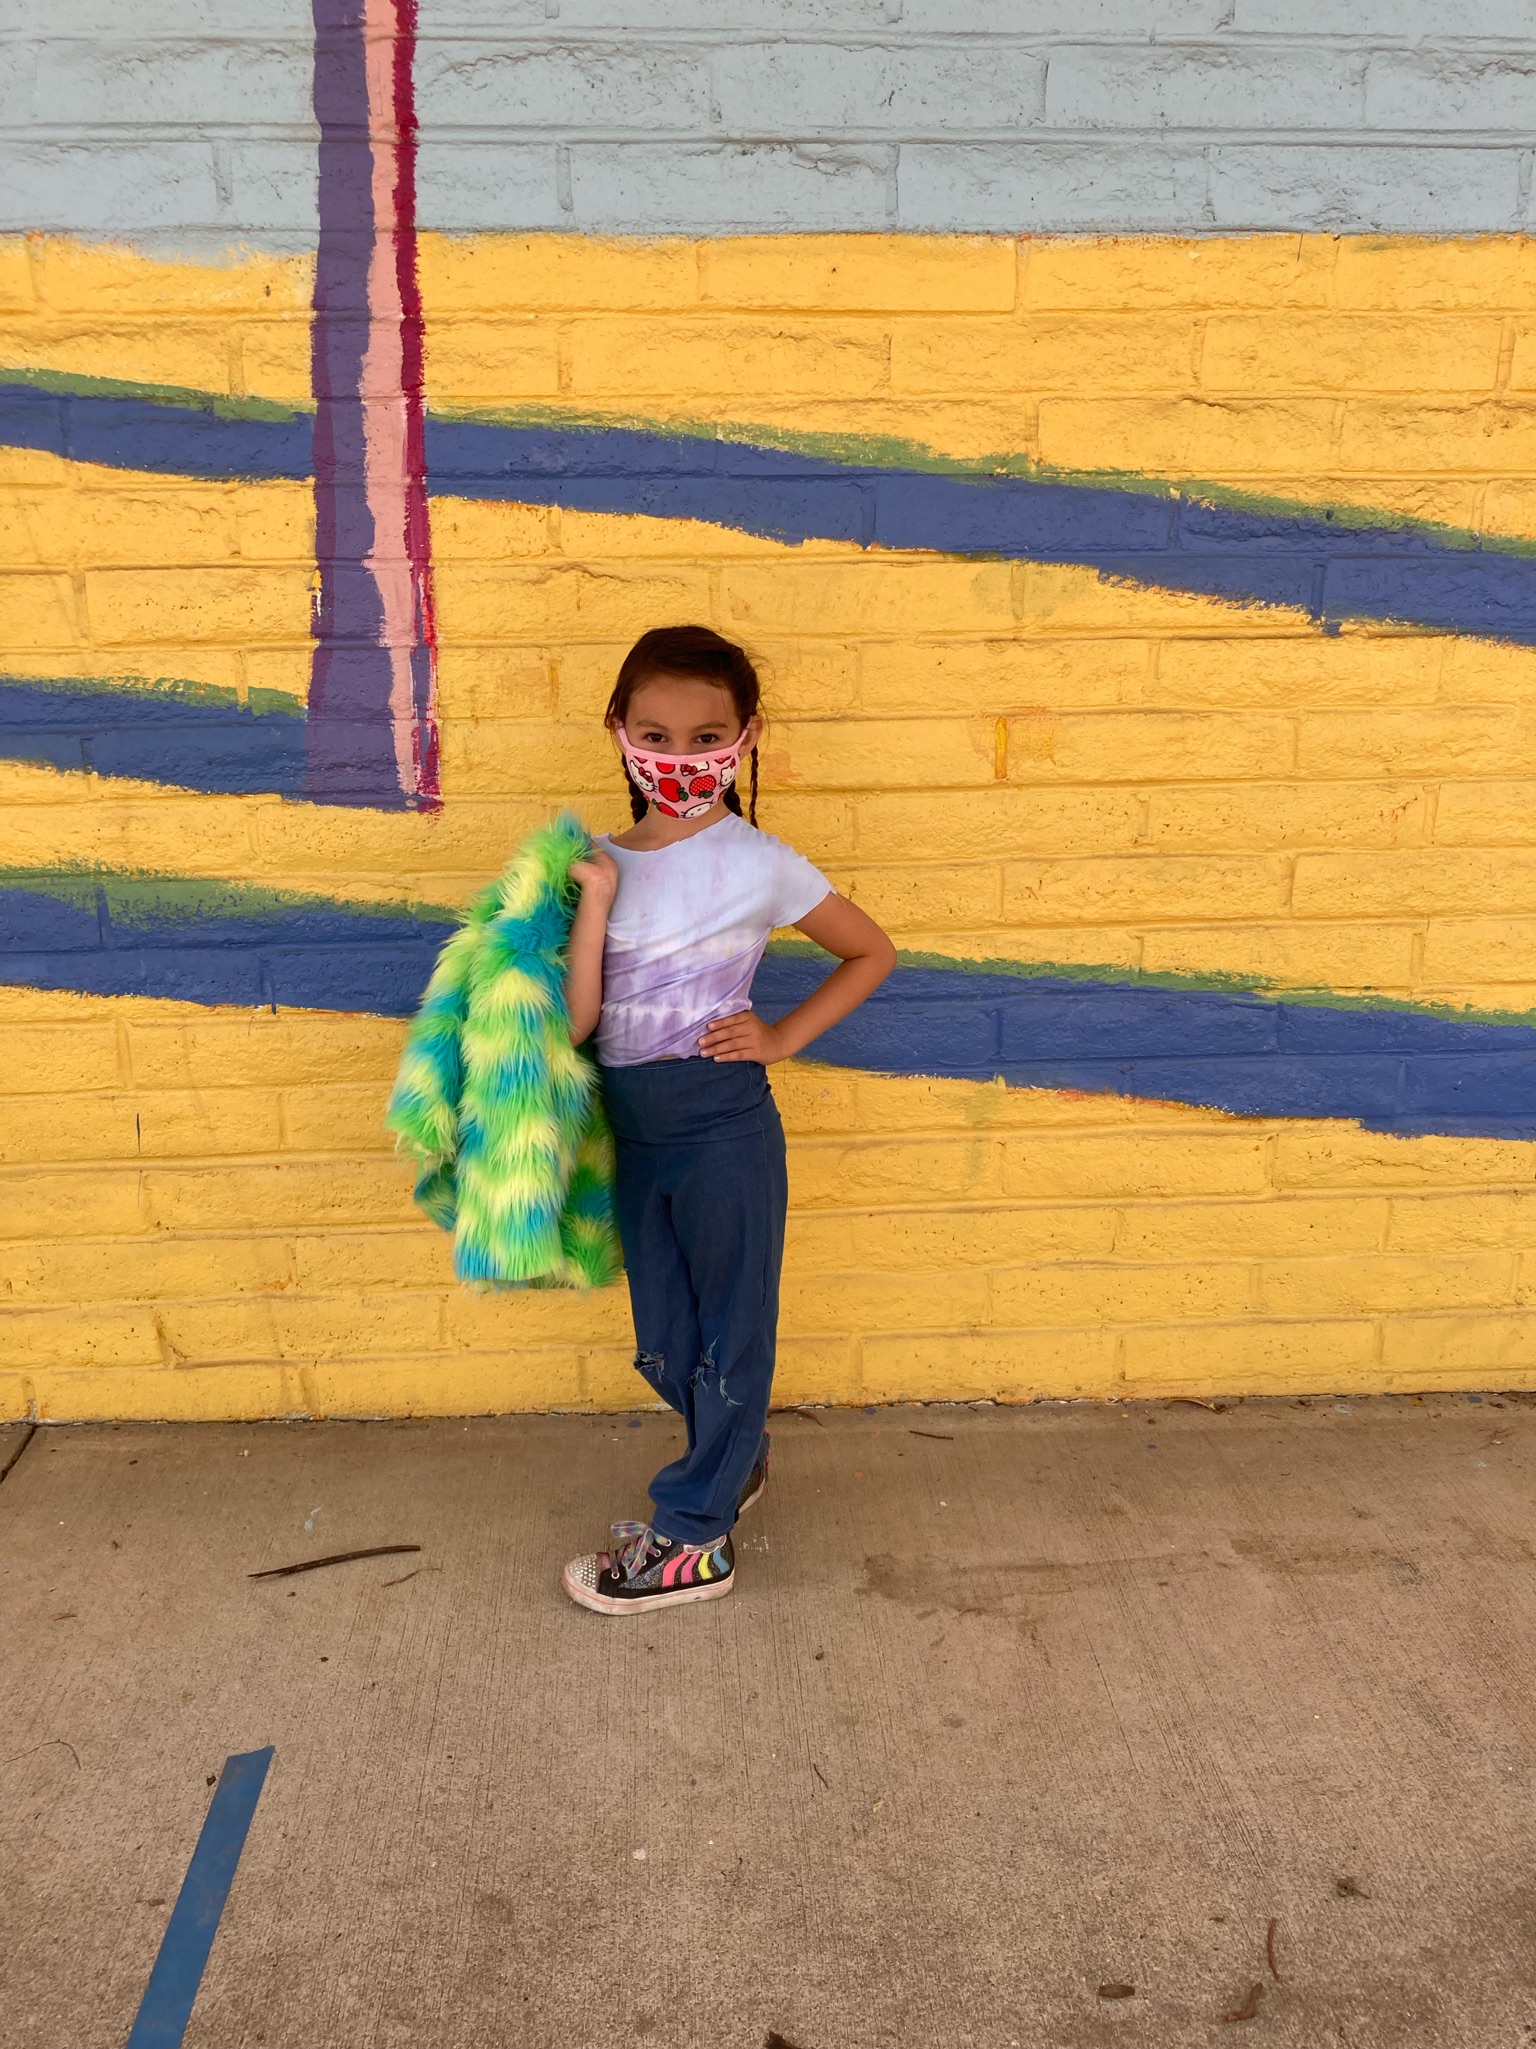
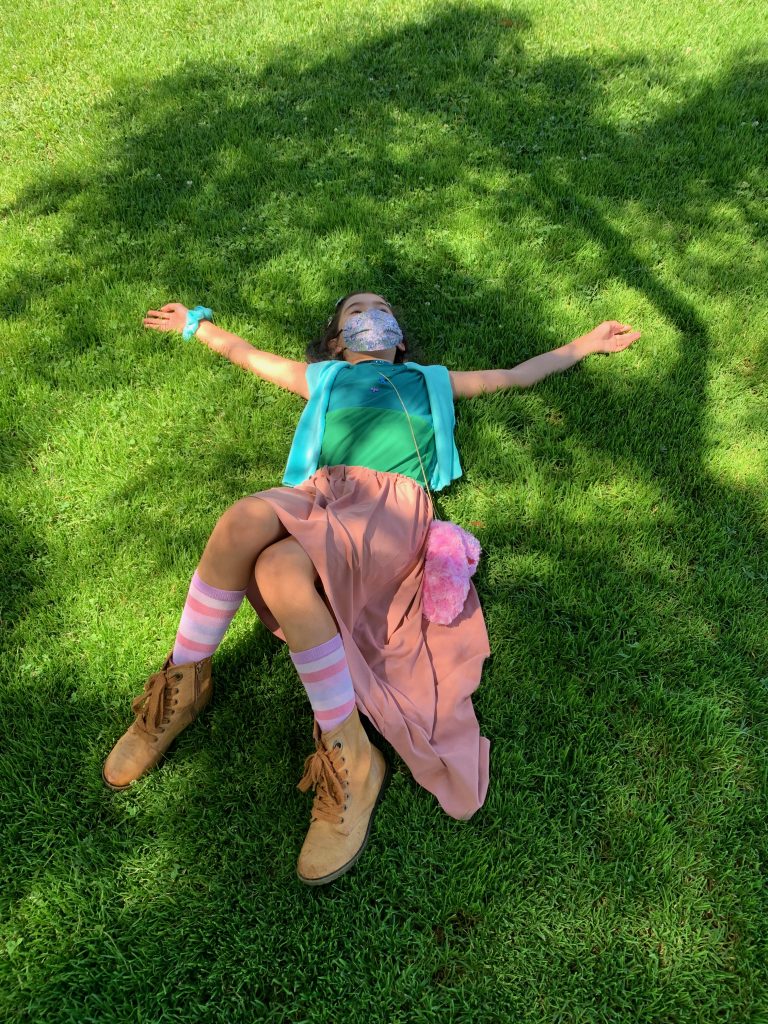
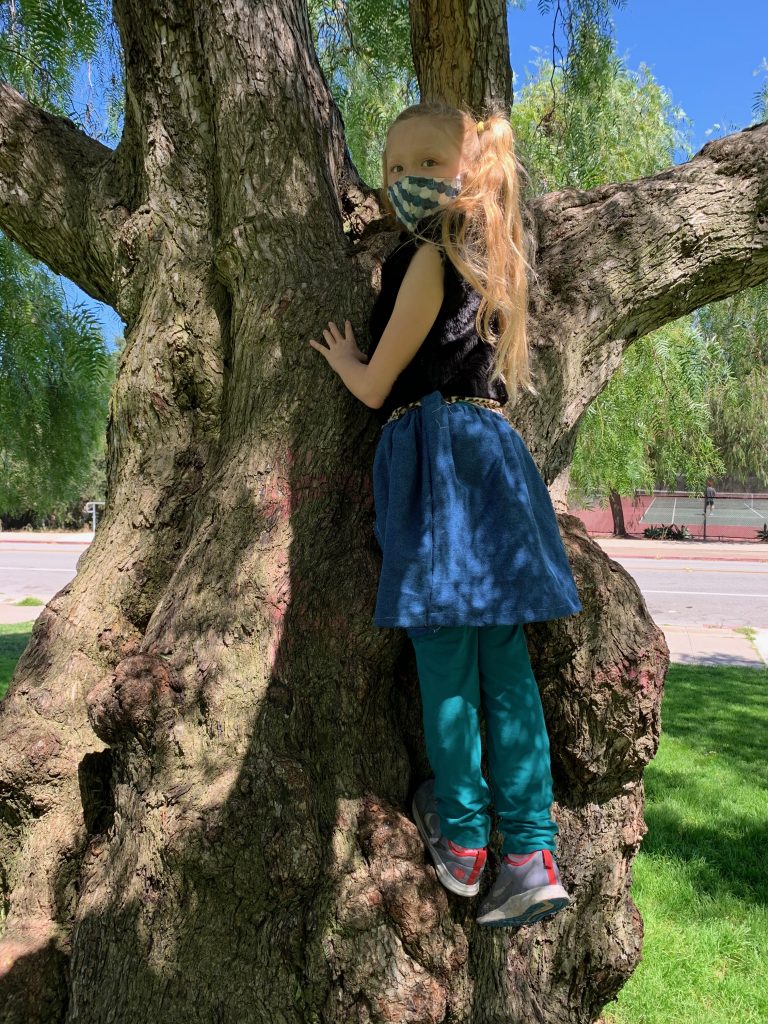
The Photoshoot:


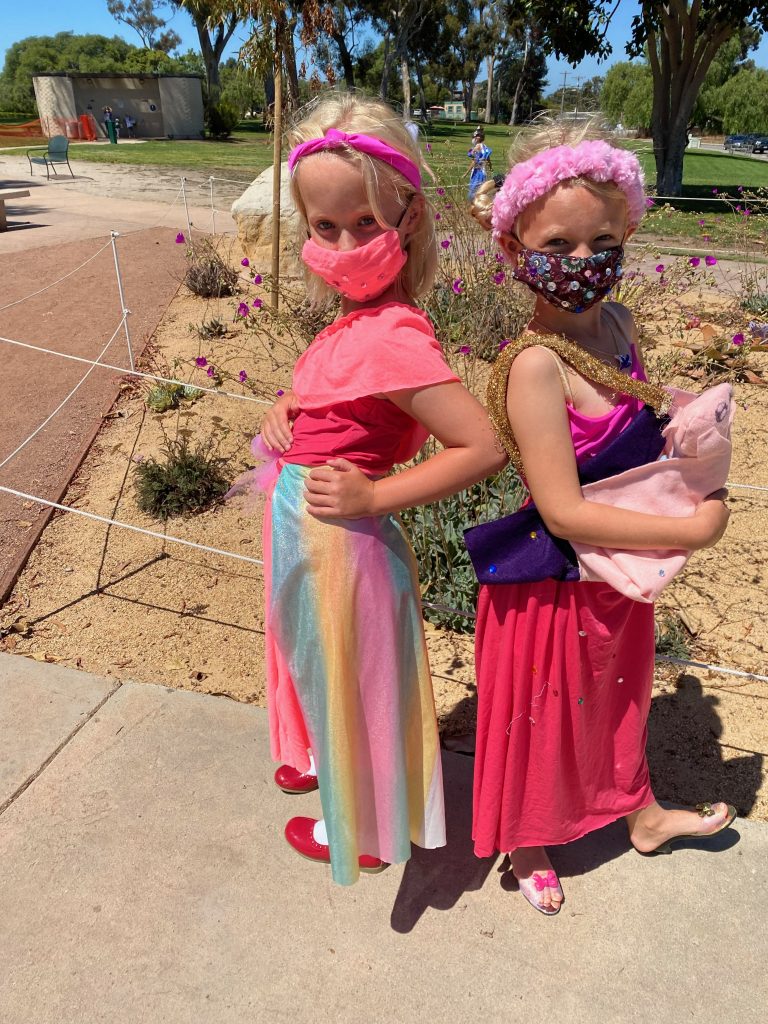
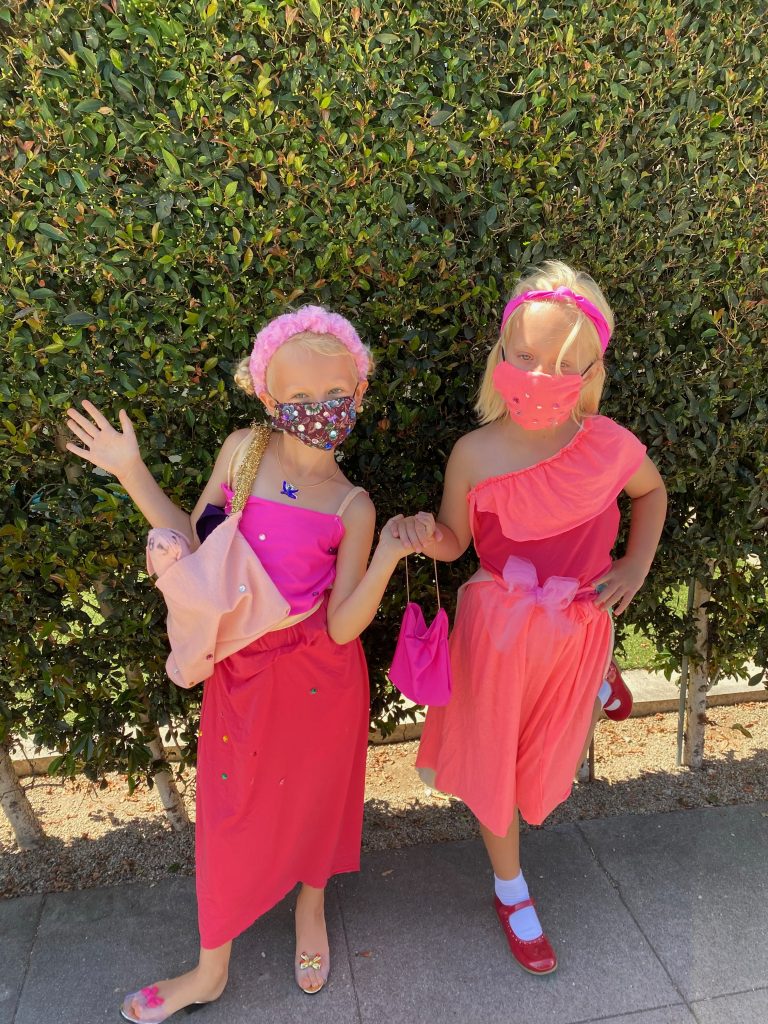

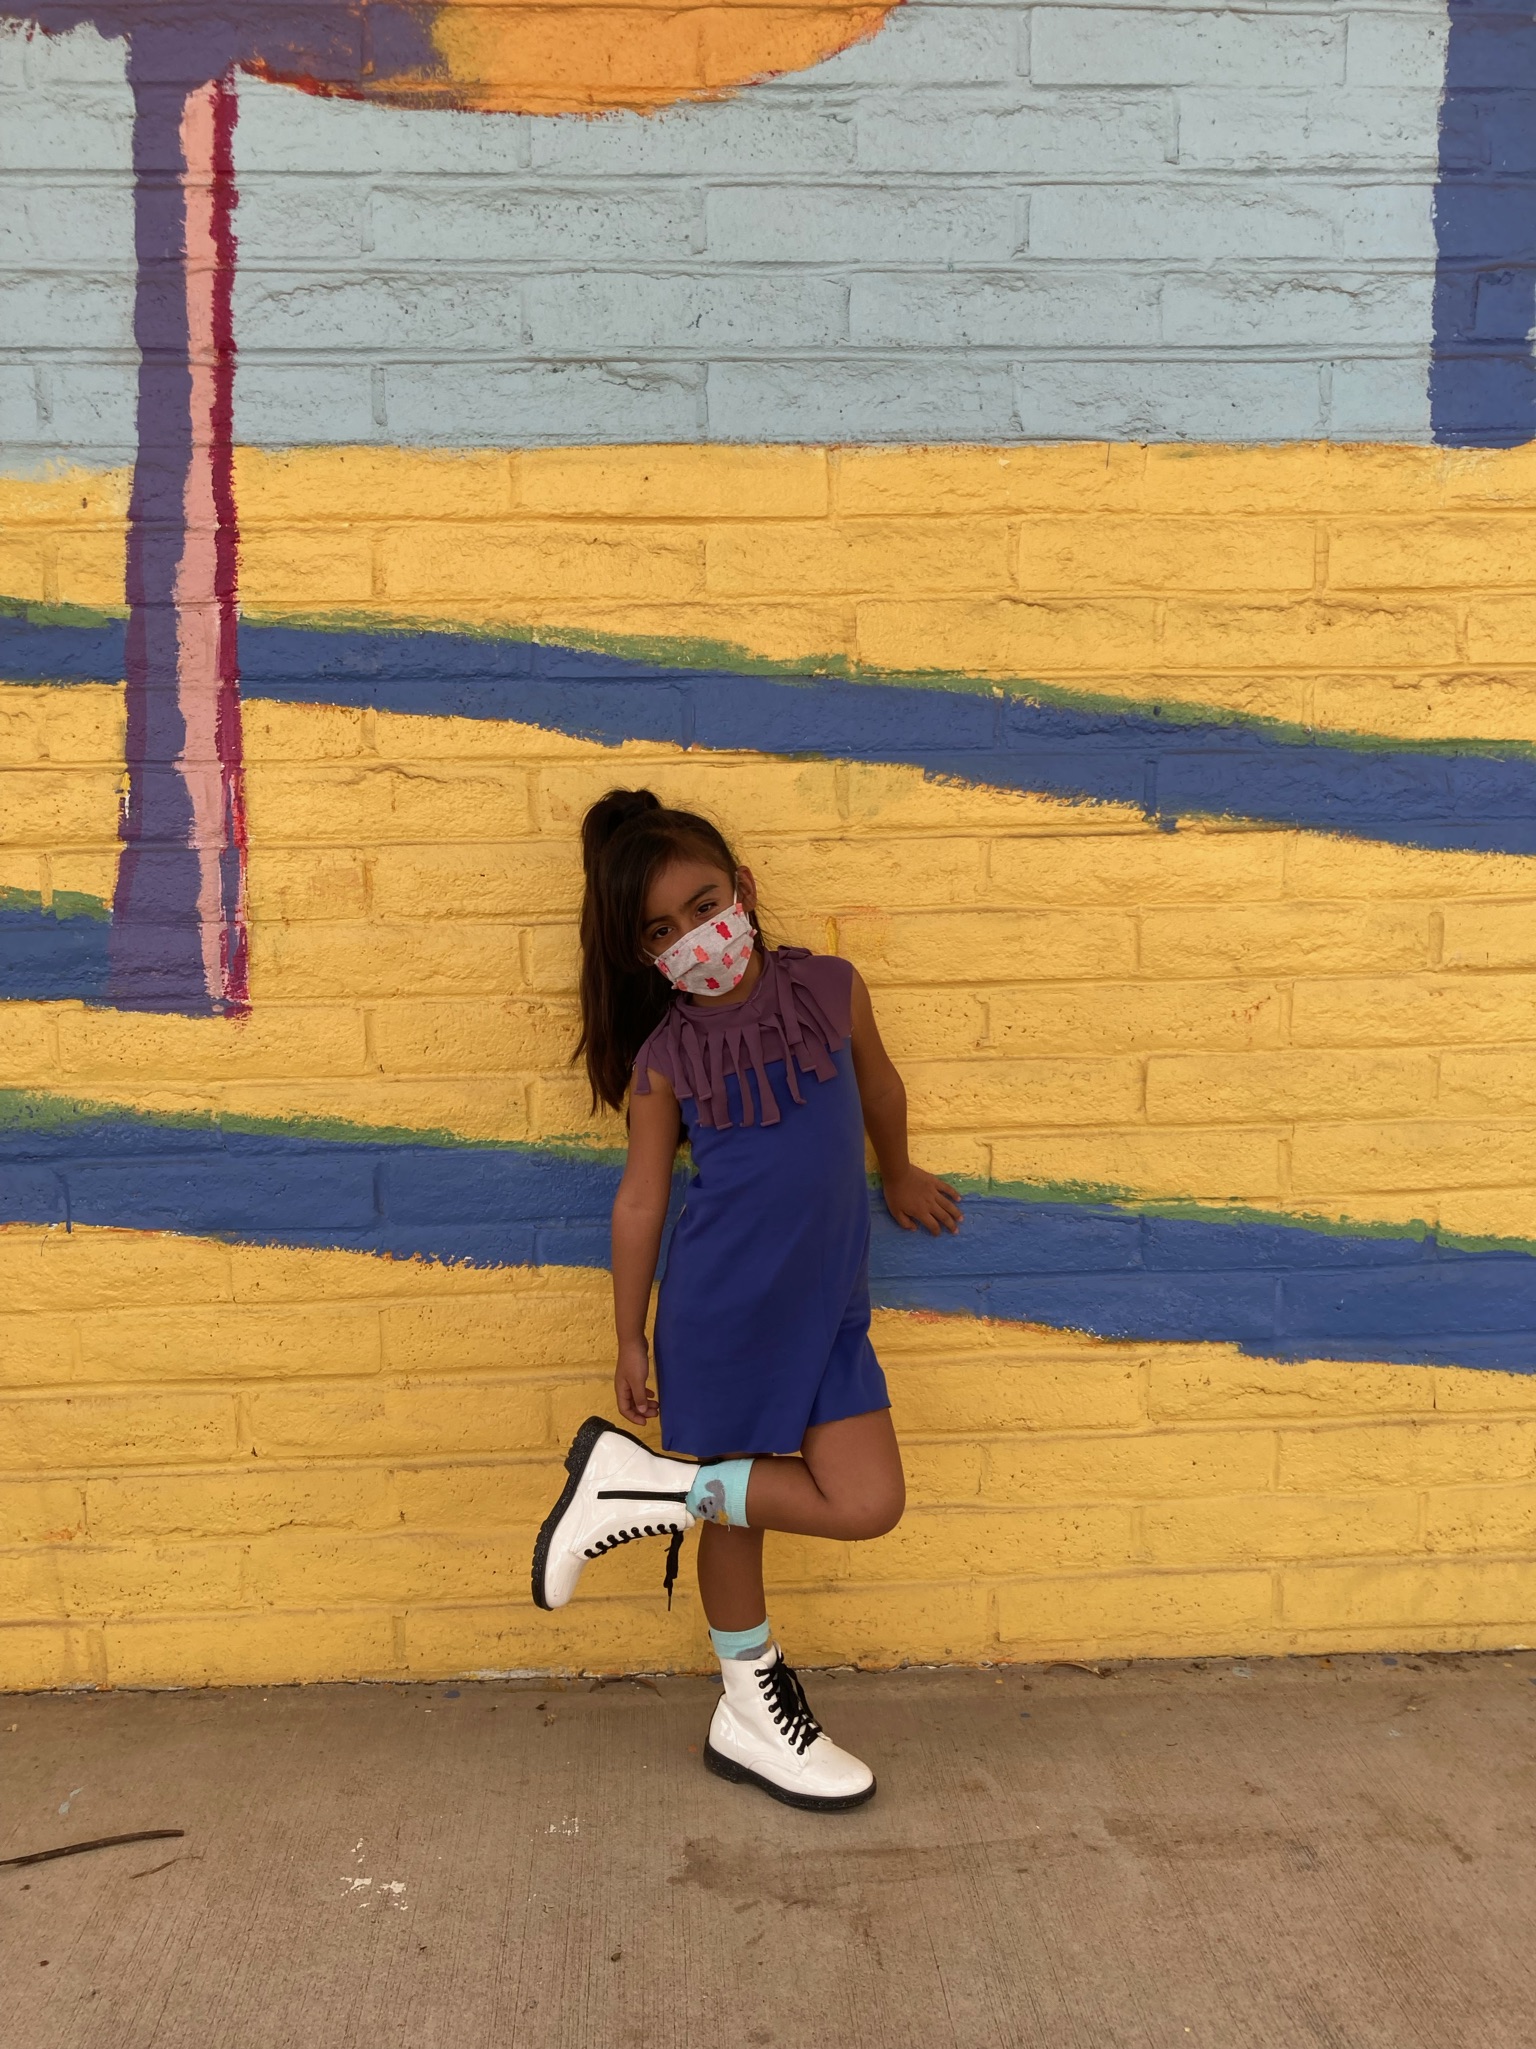
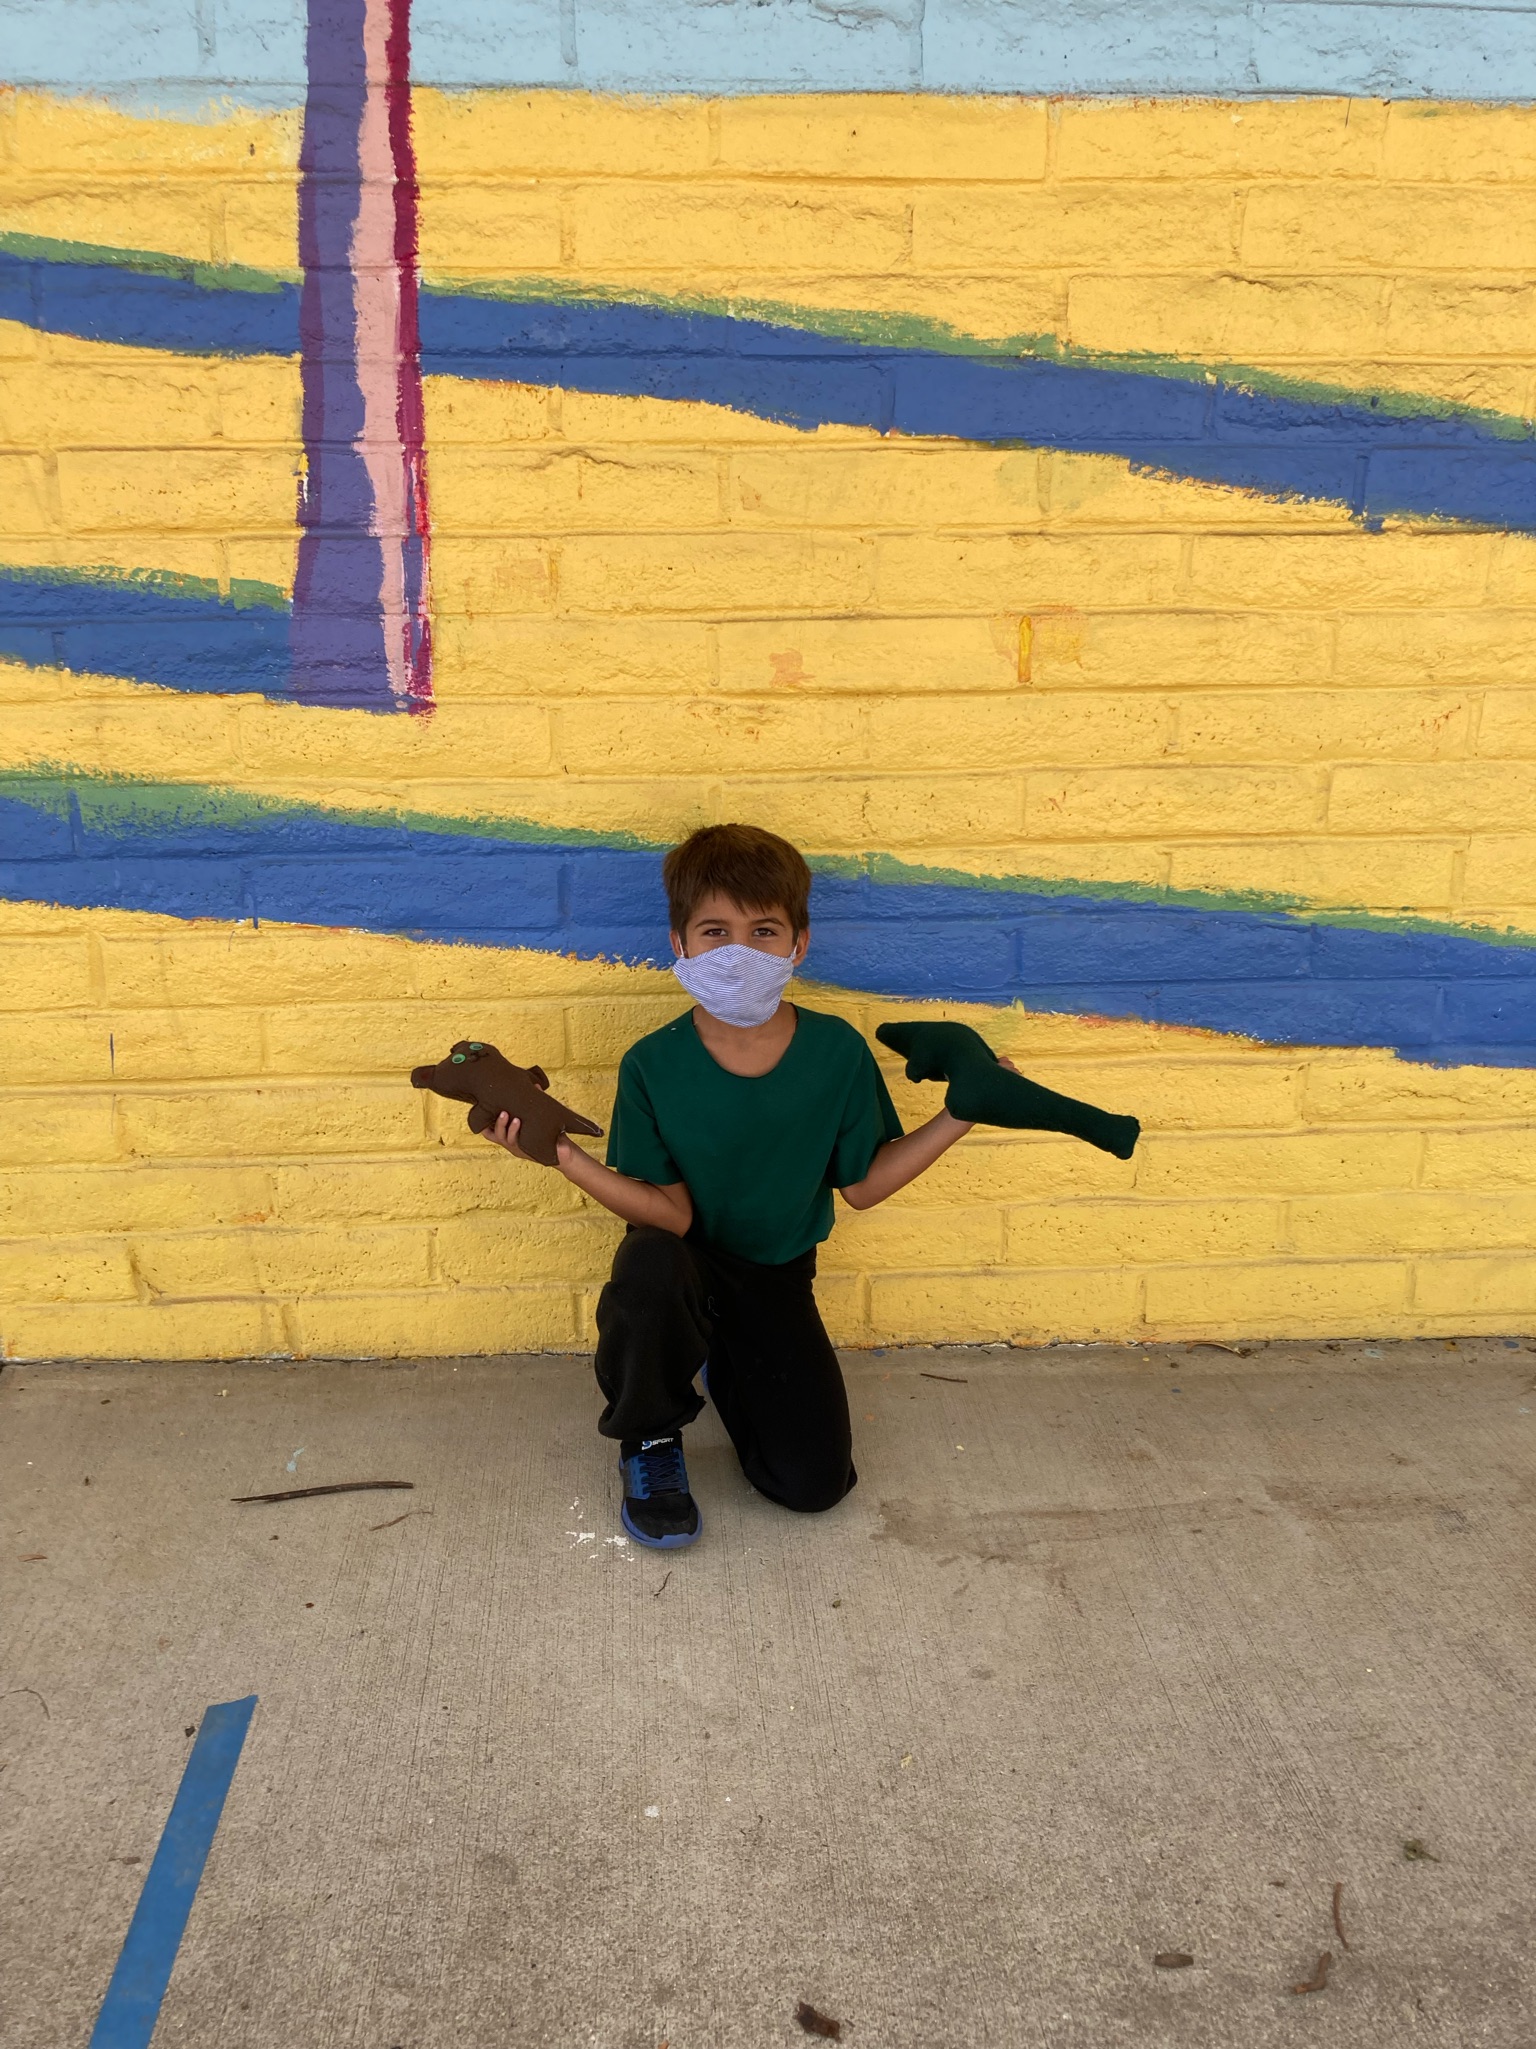
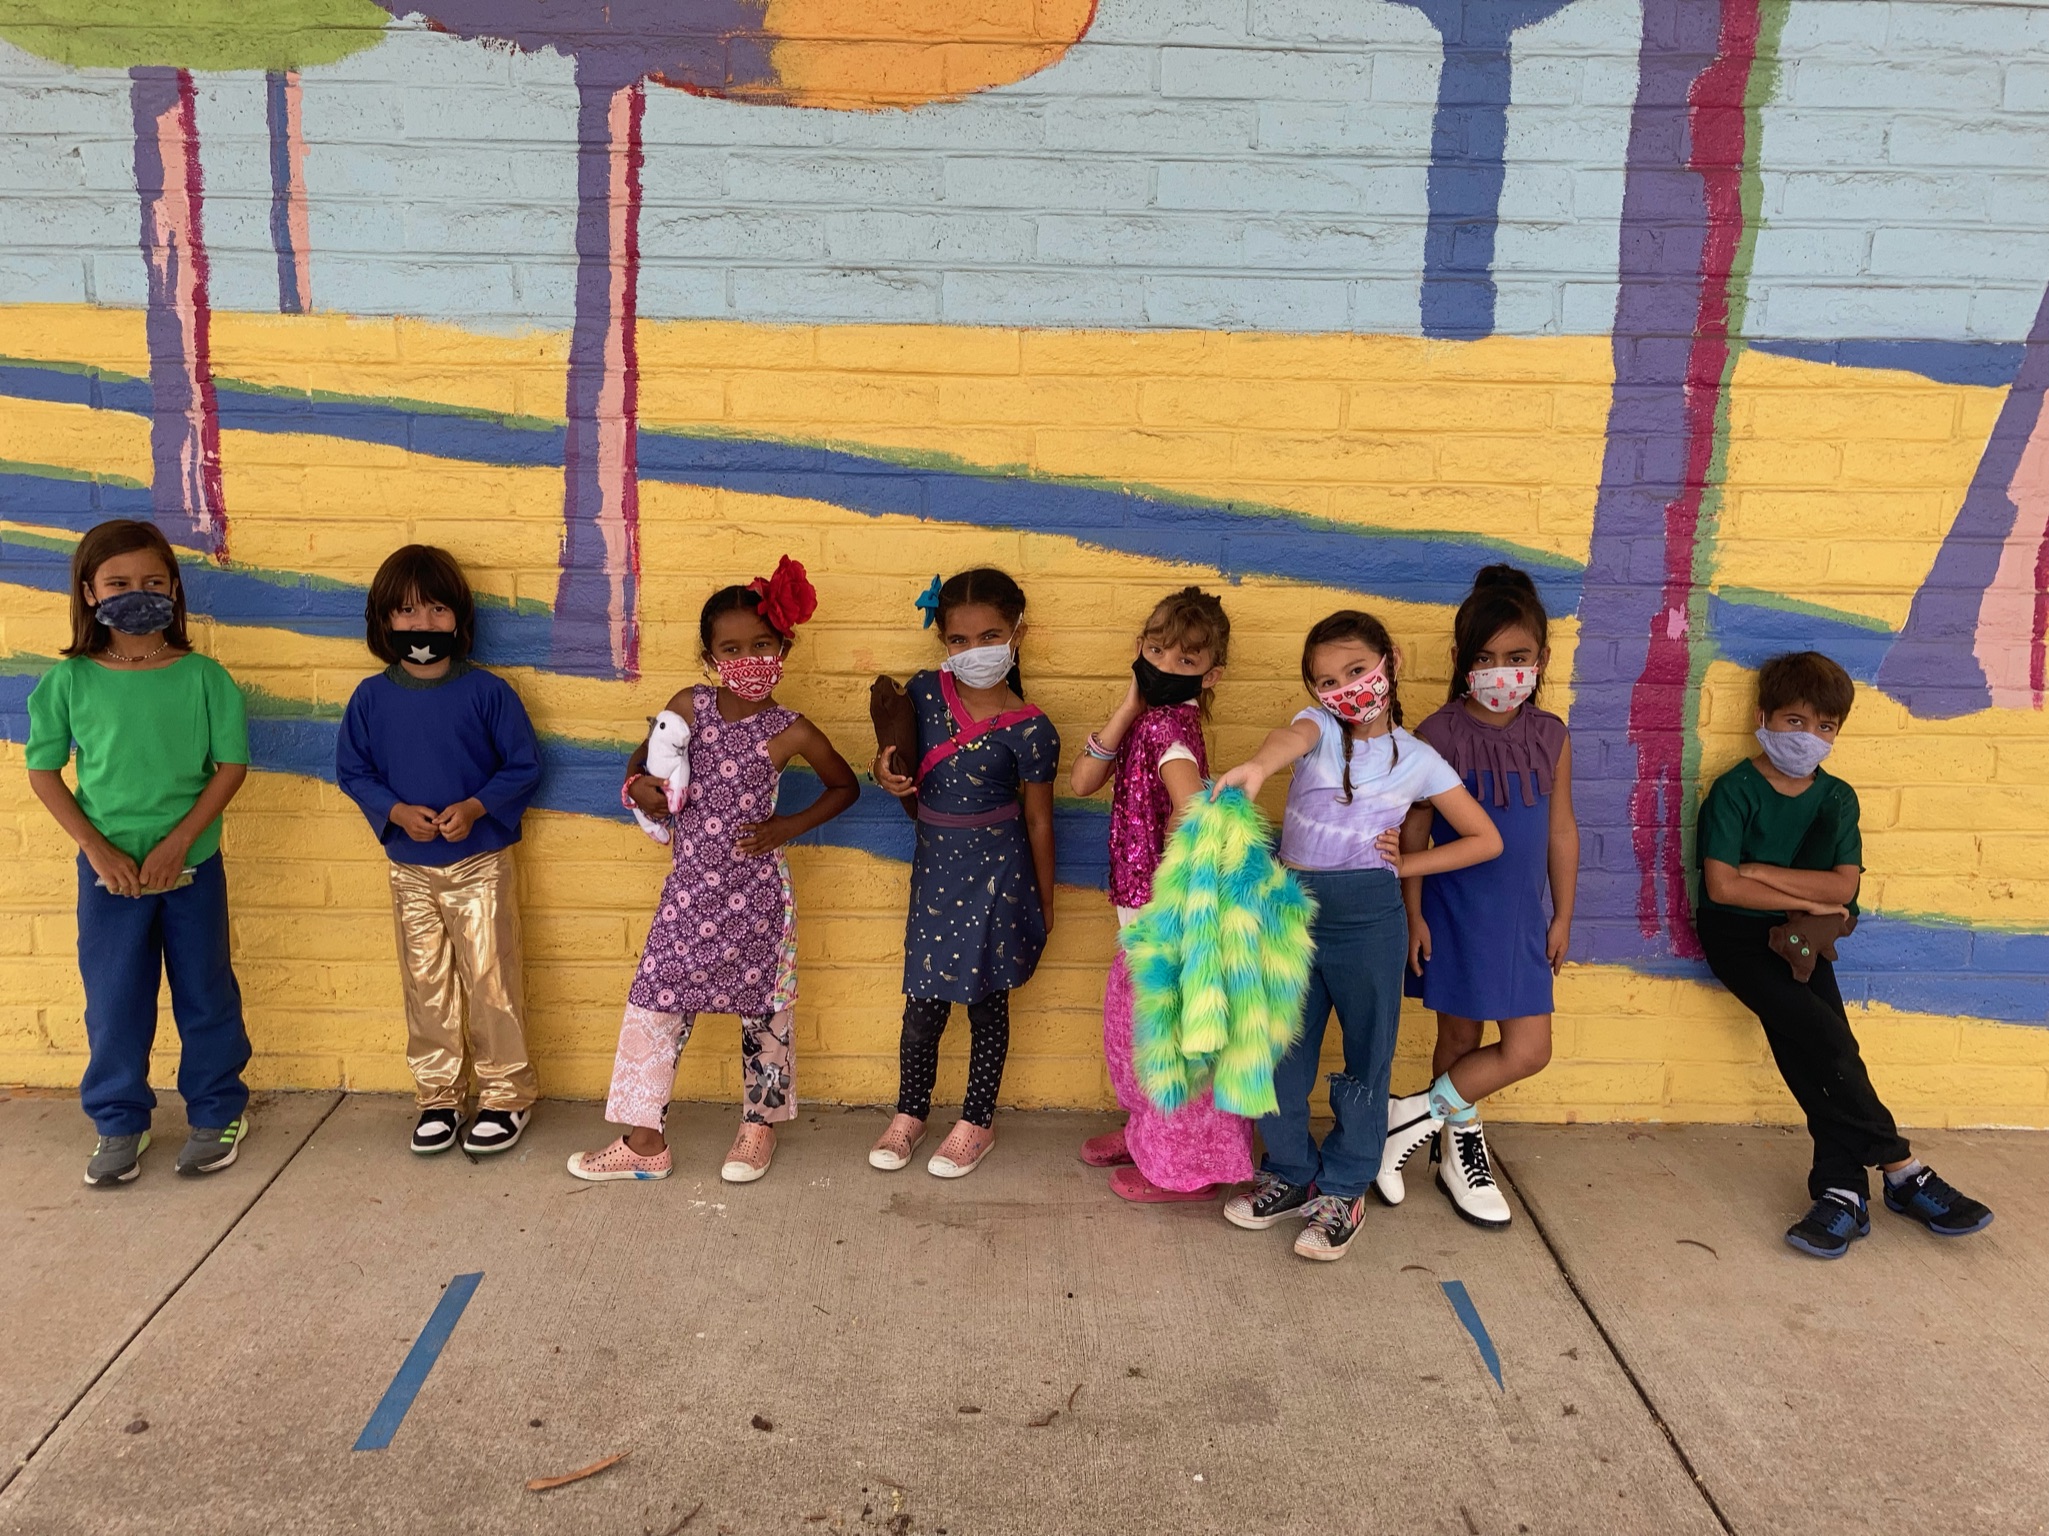
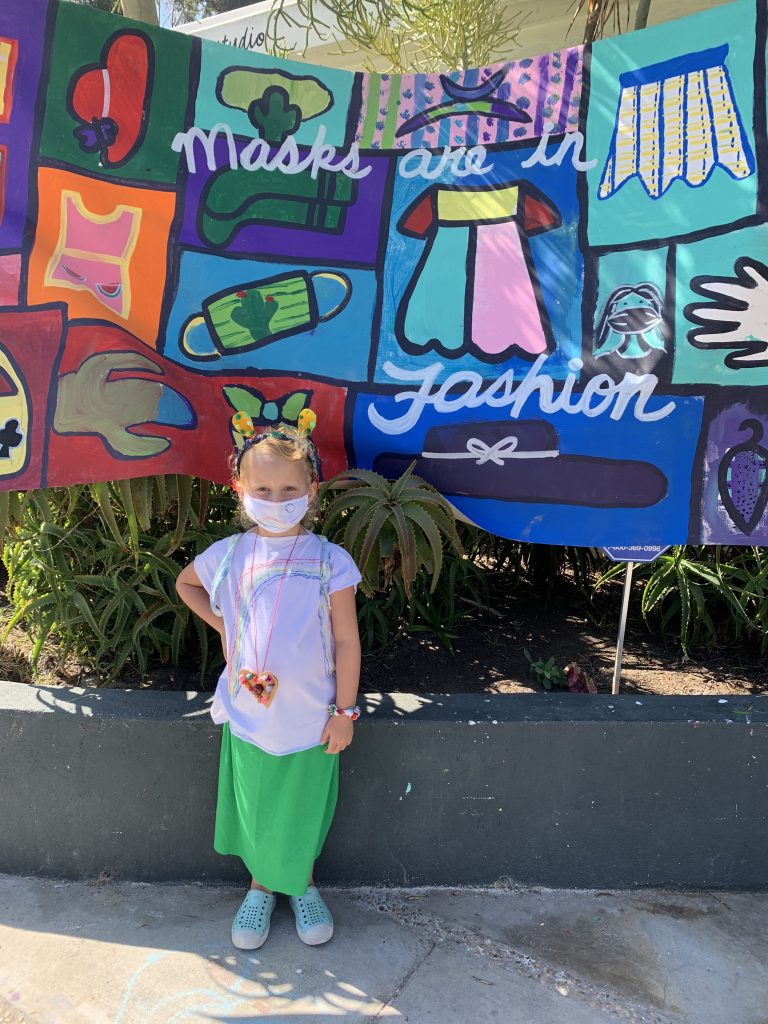
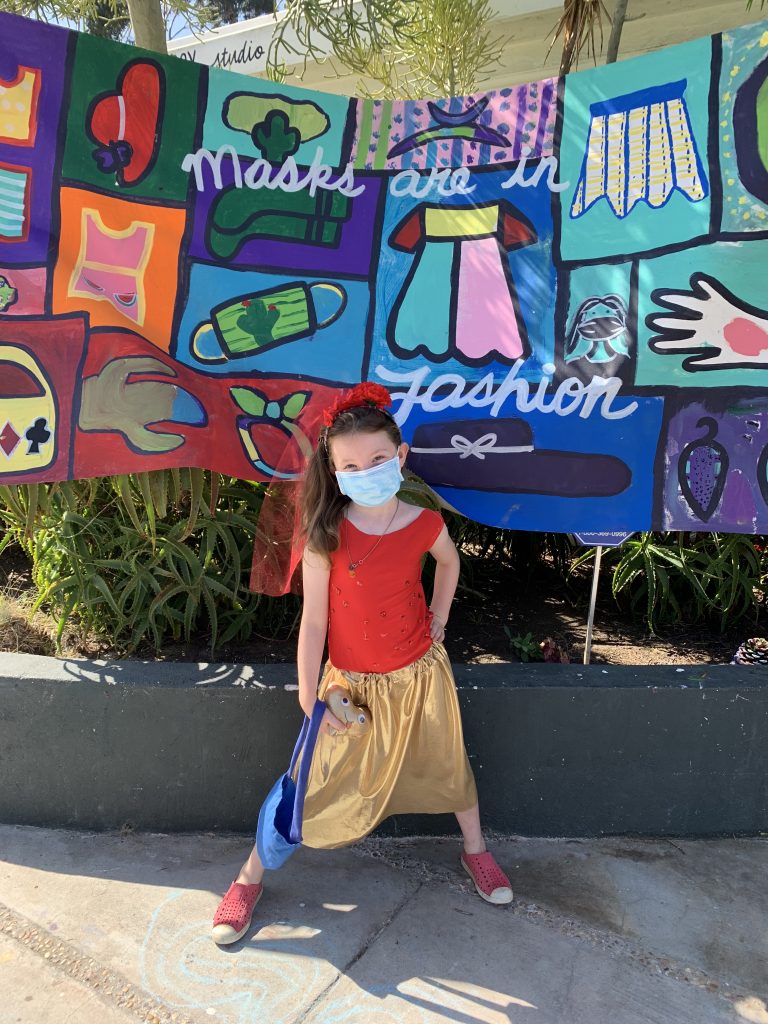
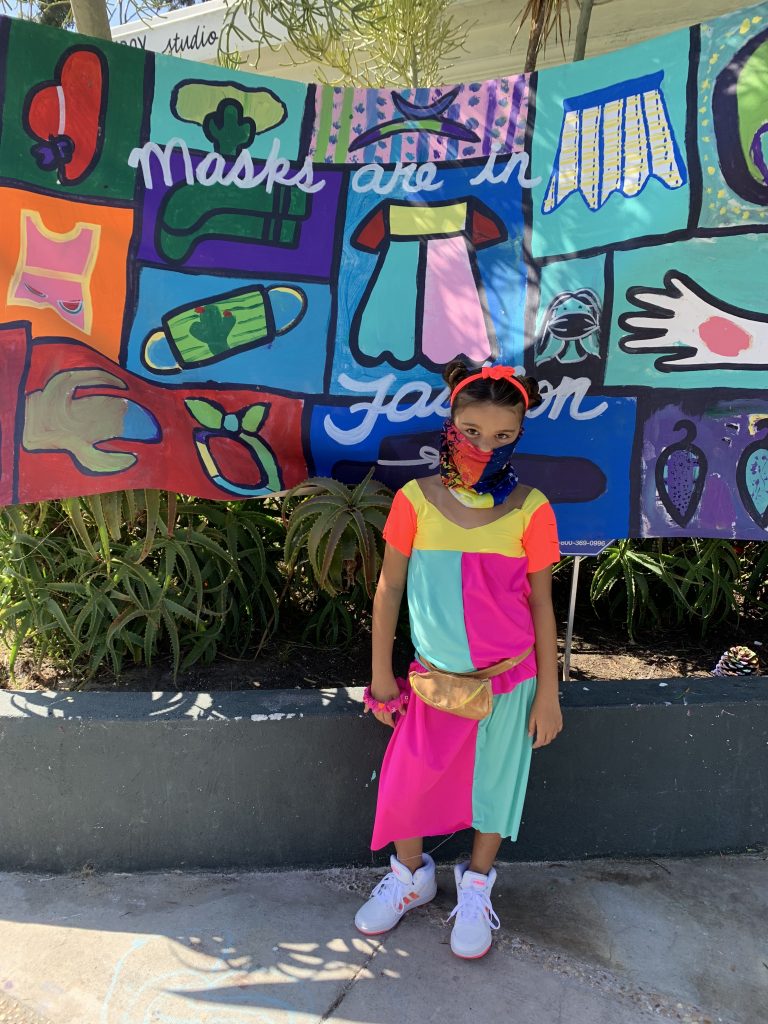
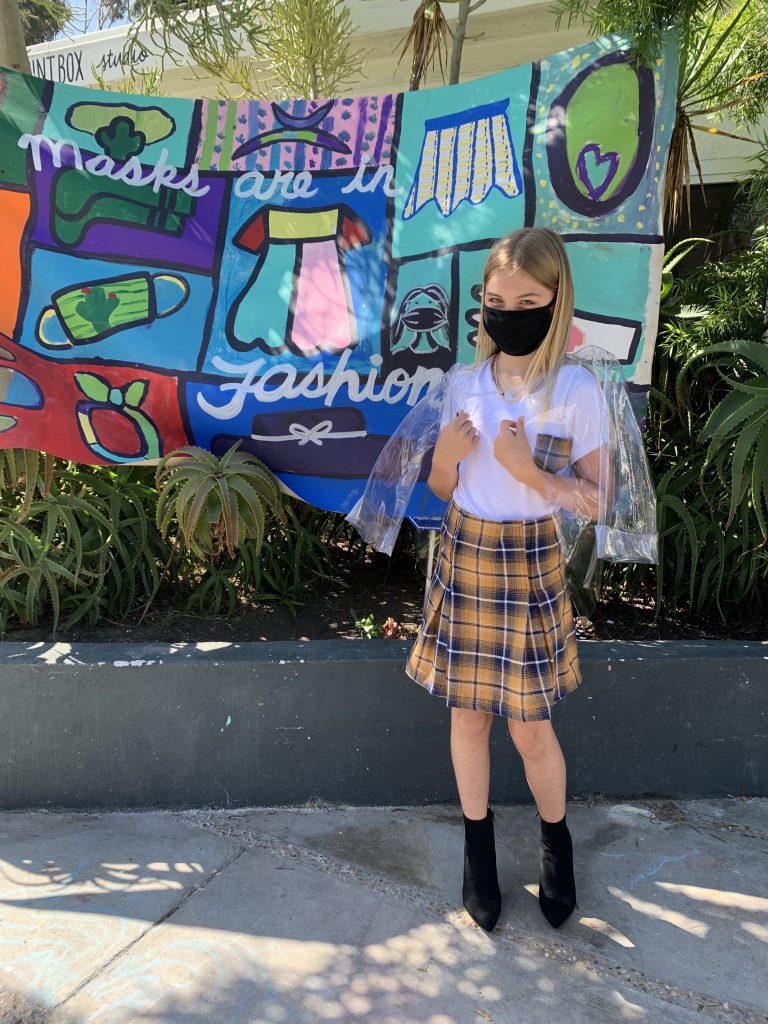
Fashion Camp Photos!
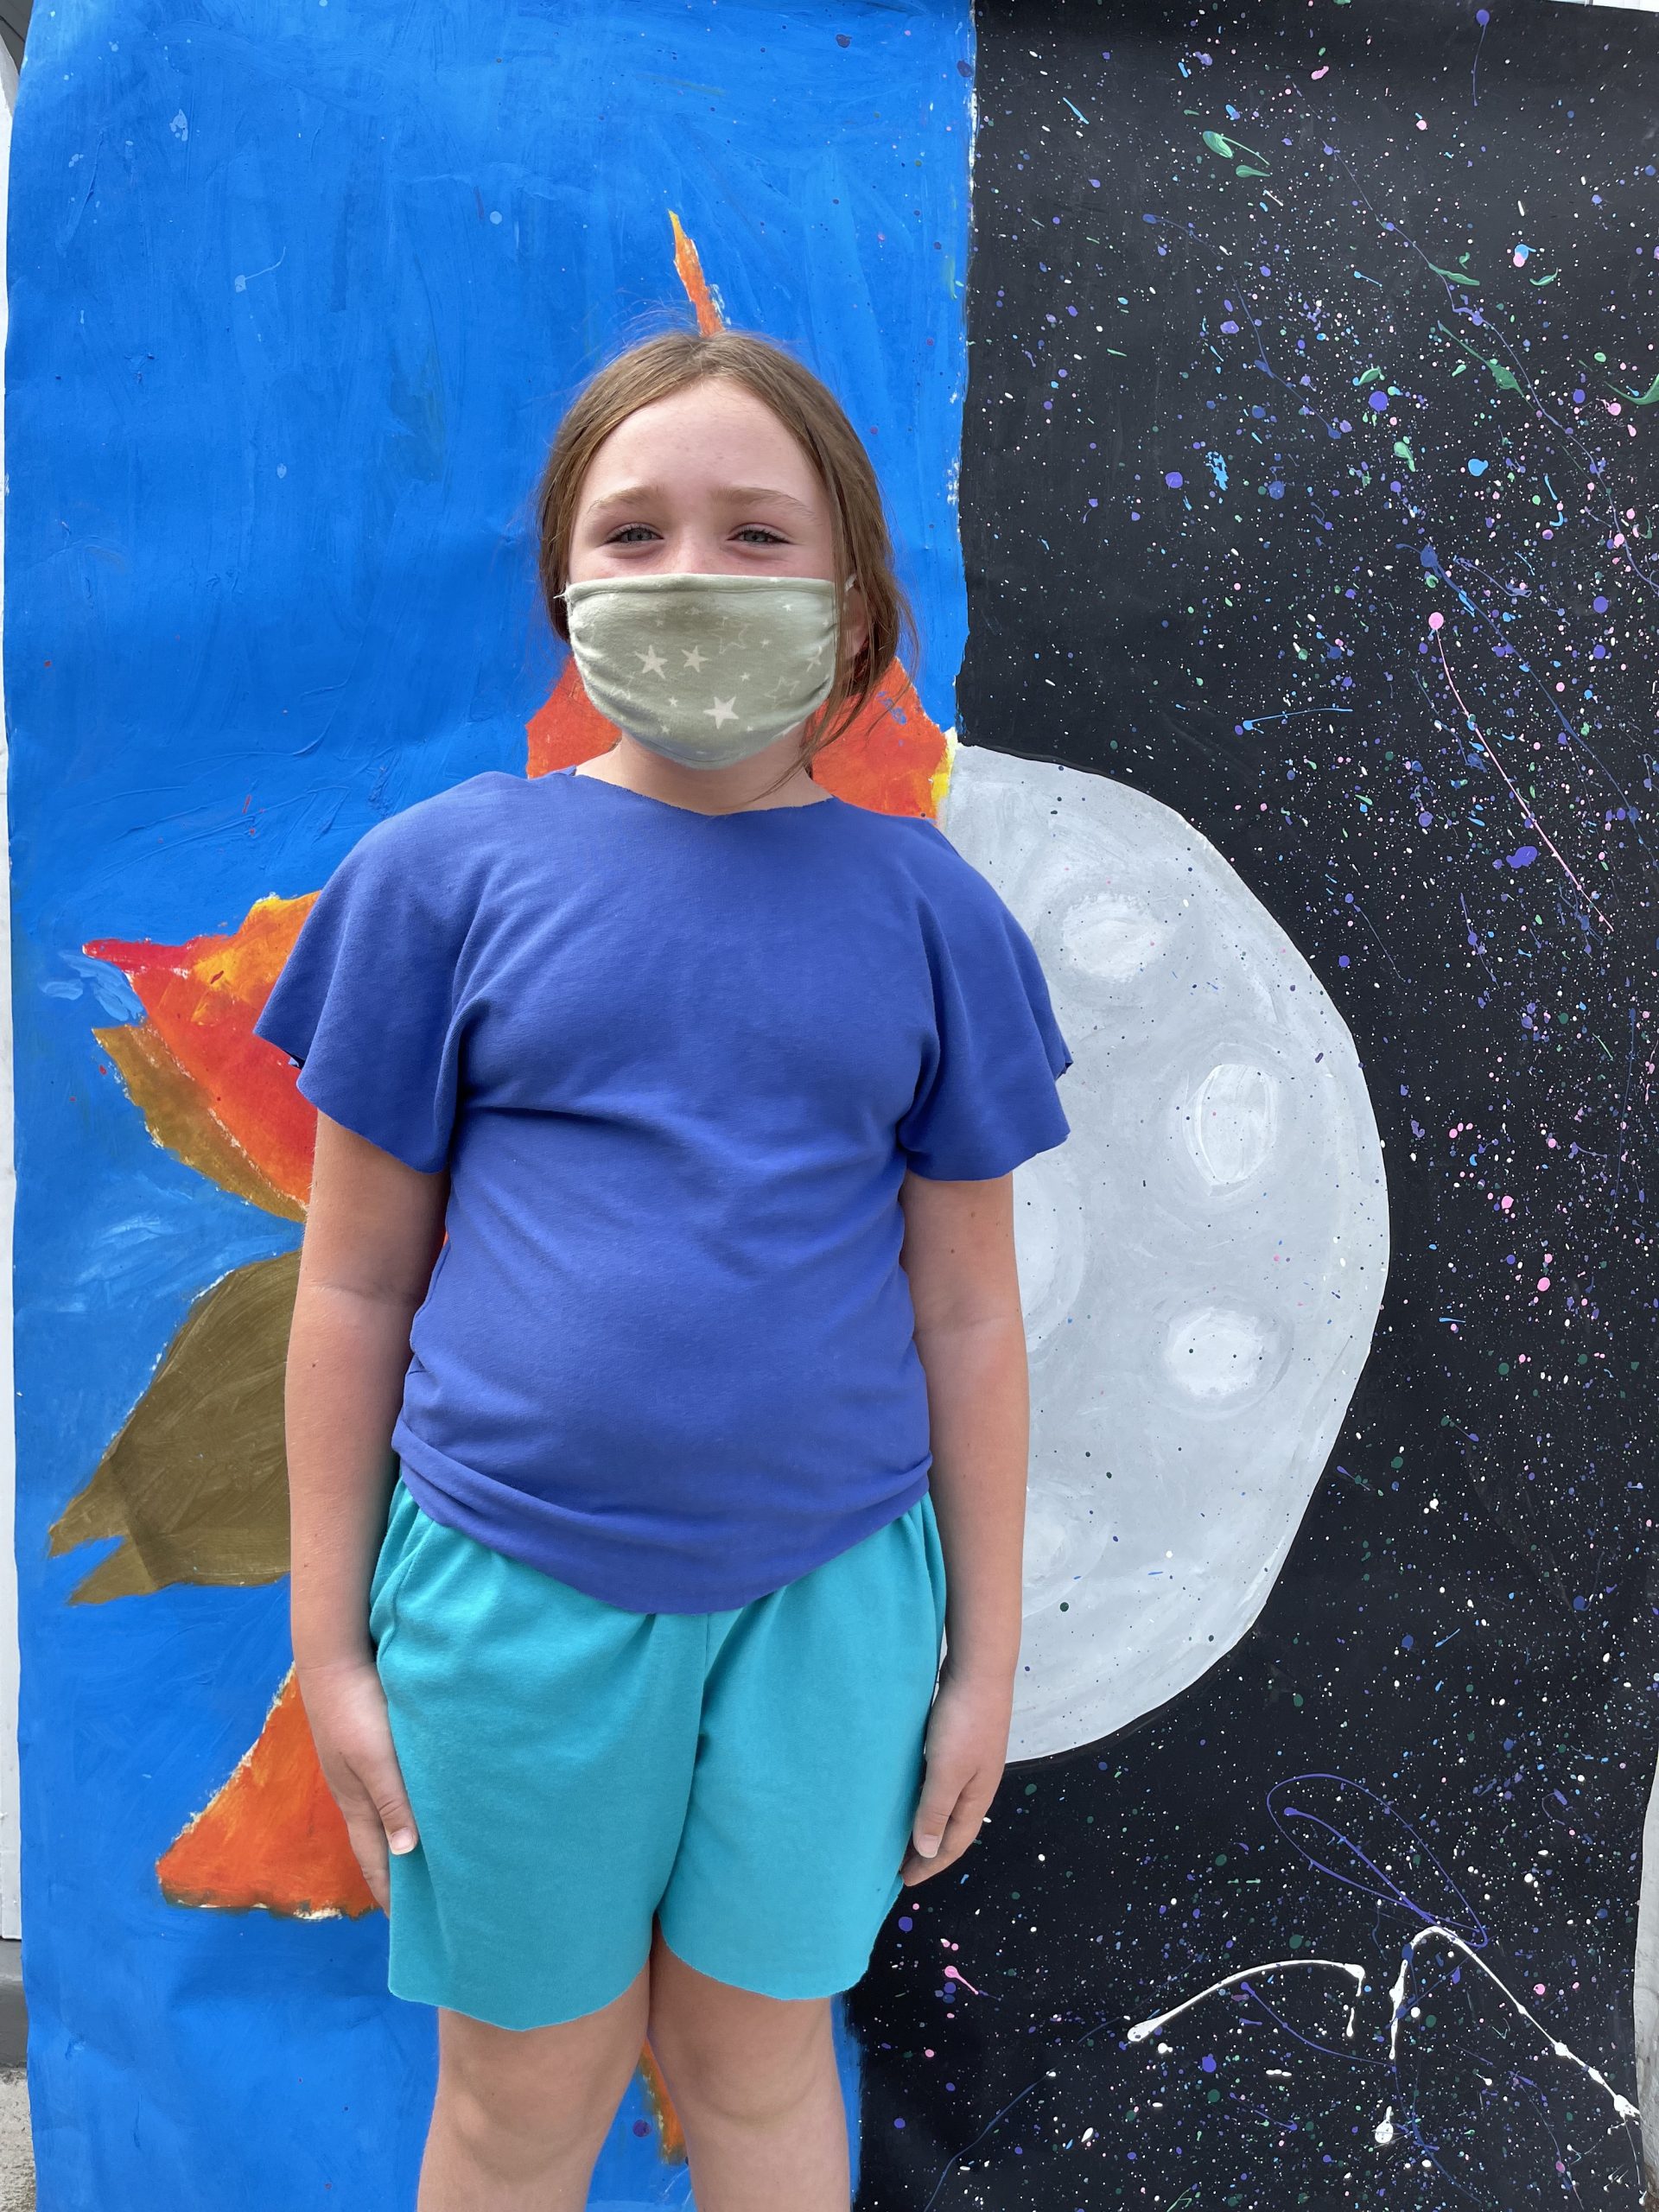
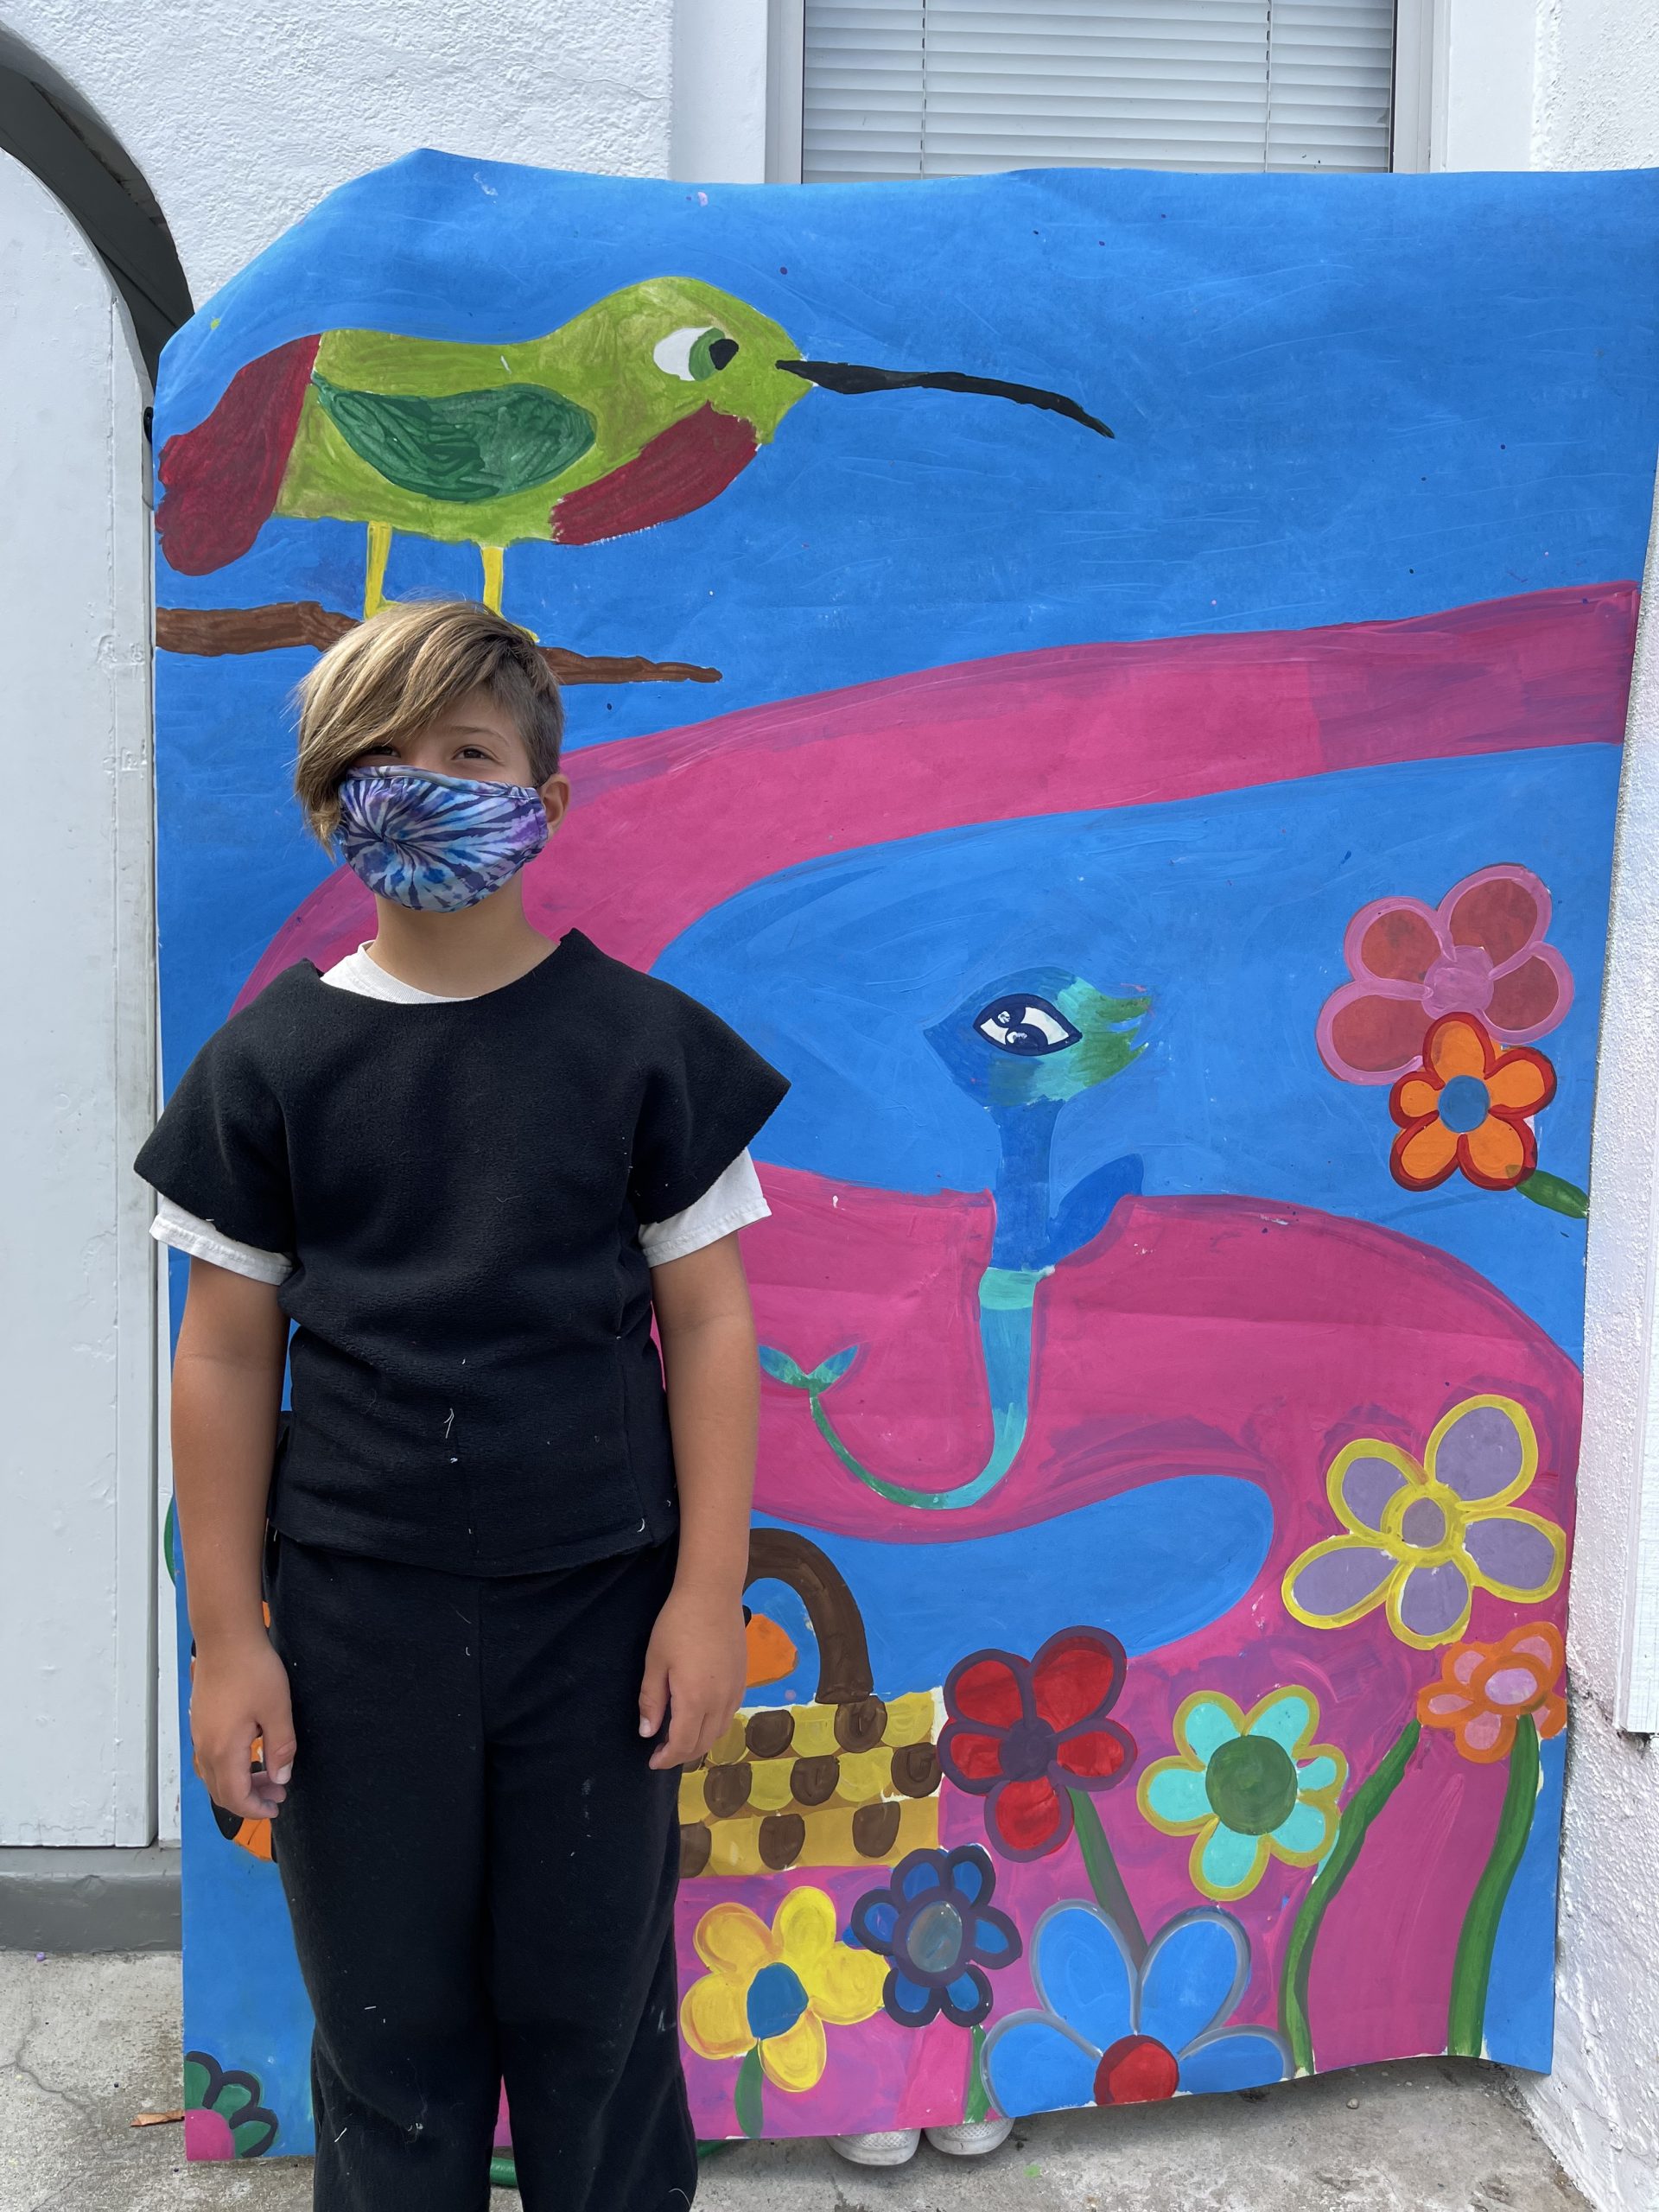
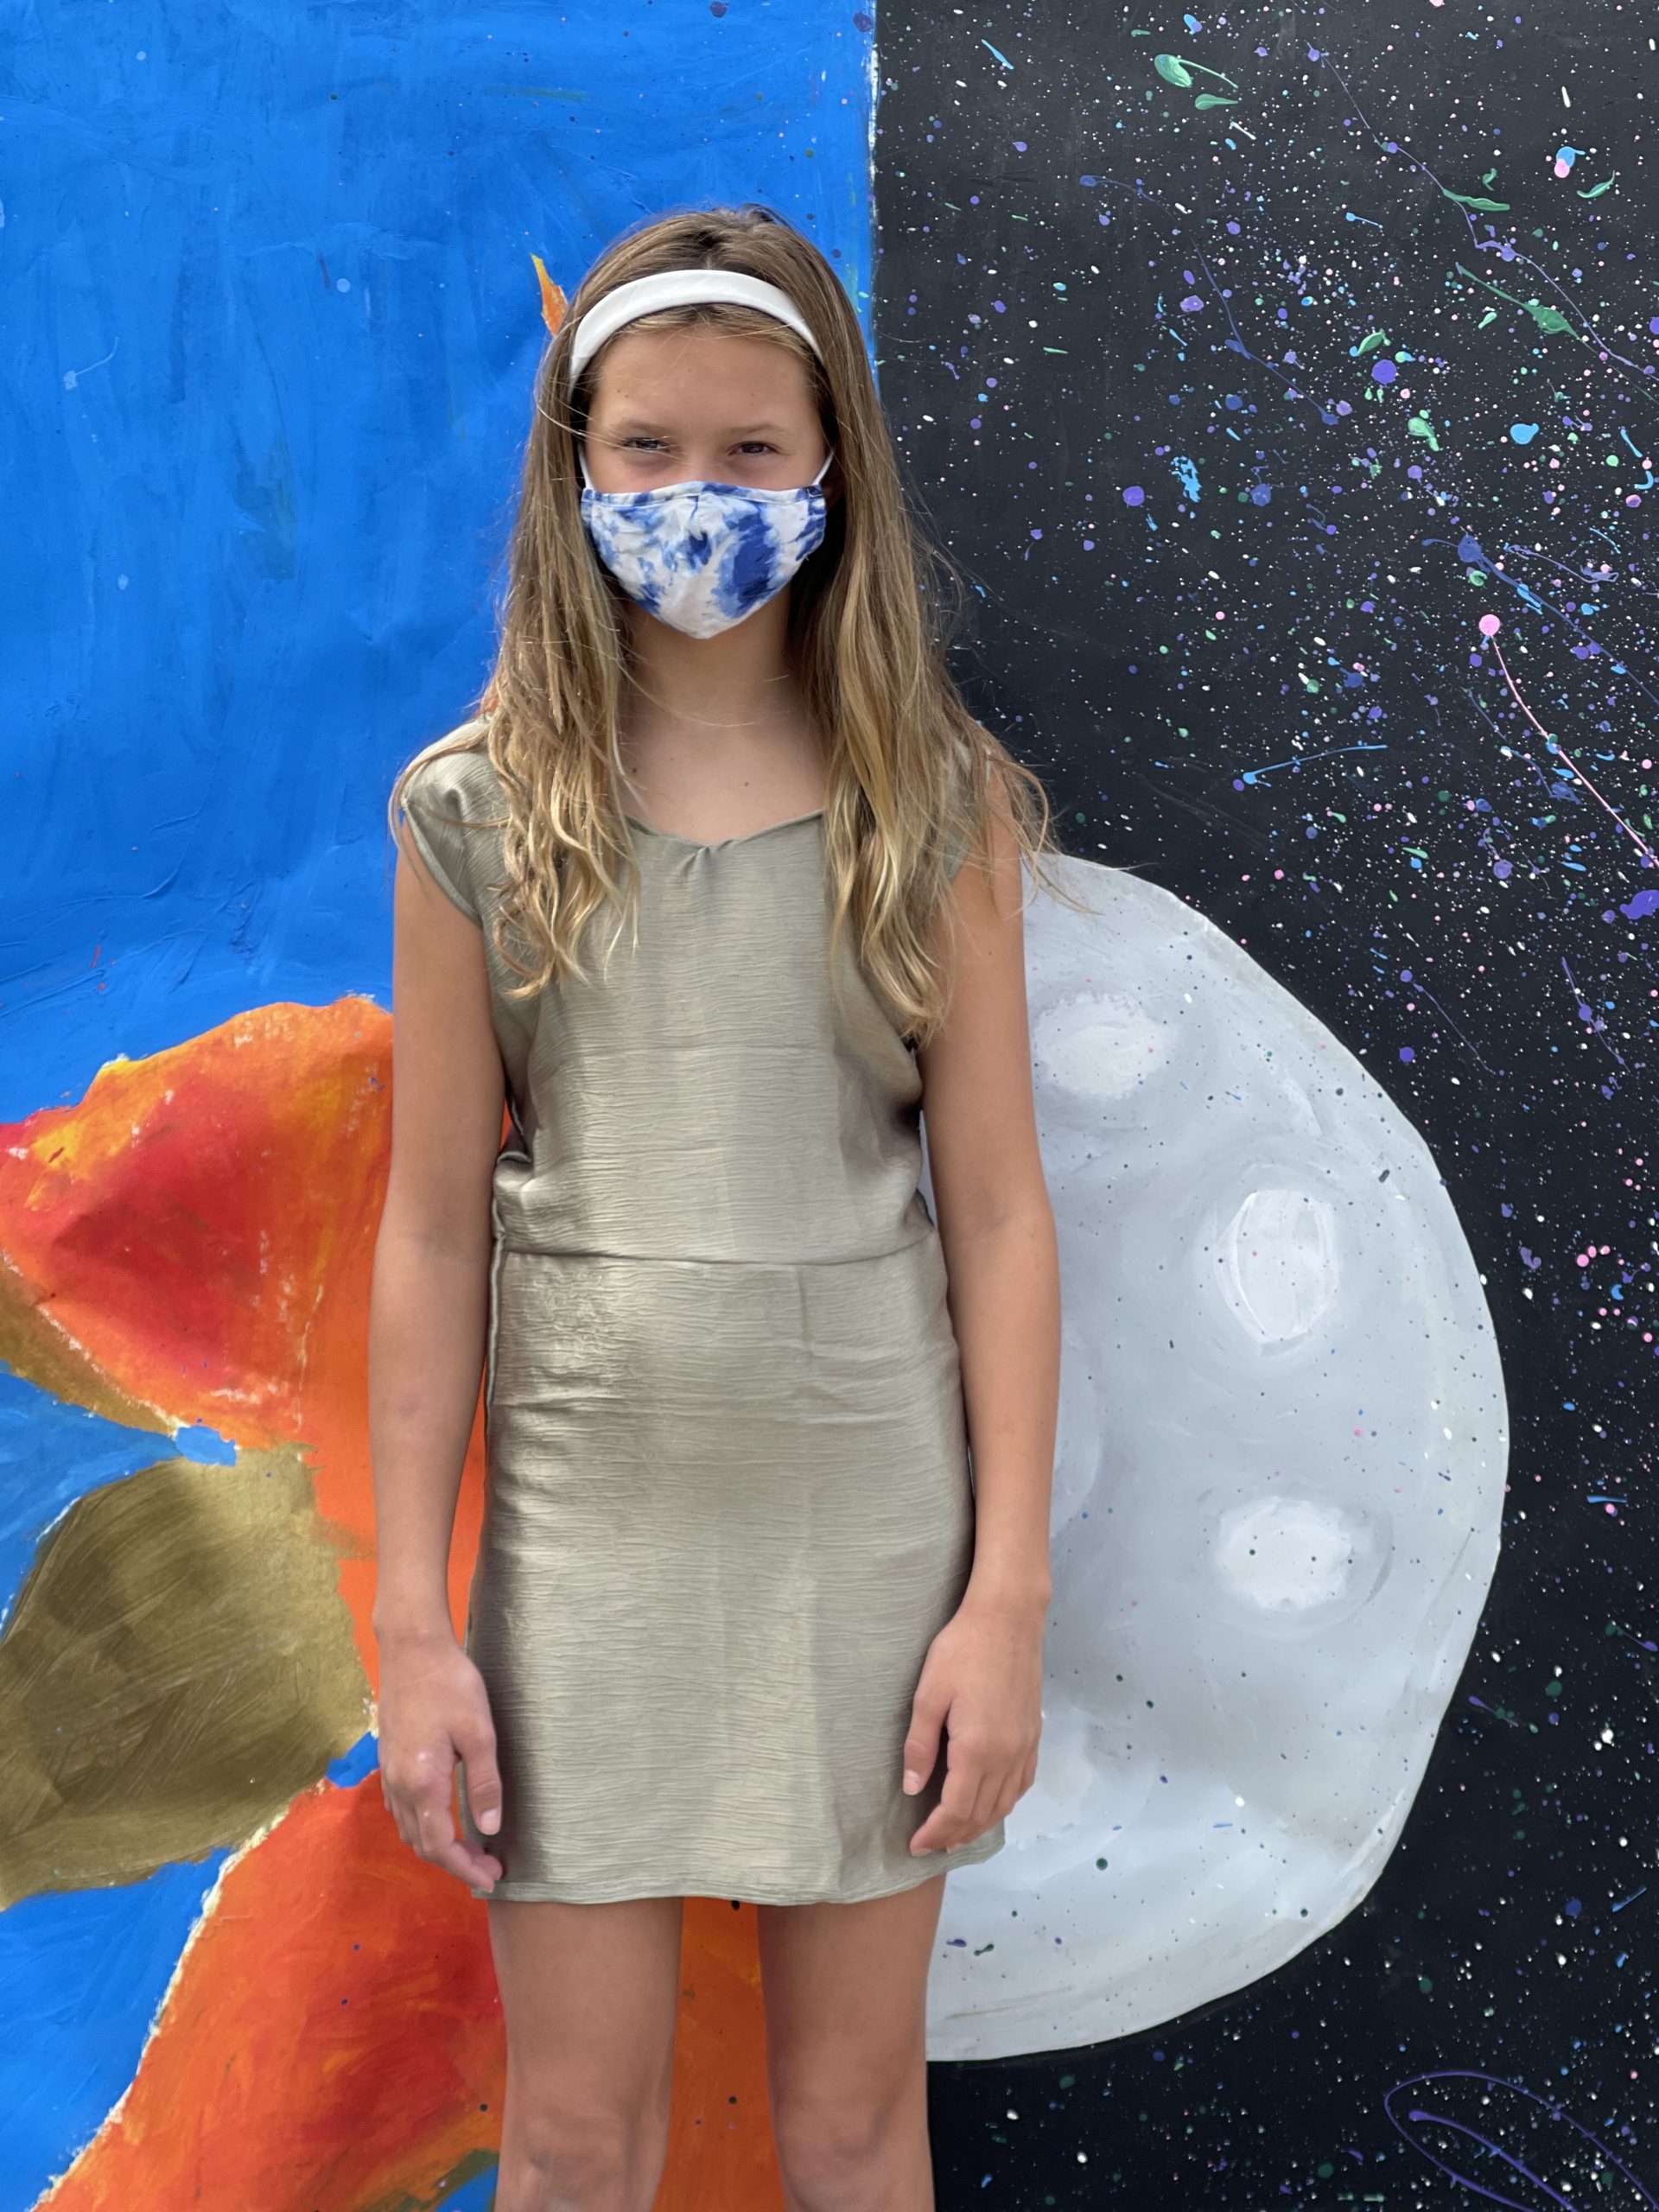
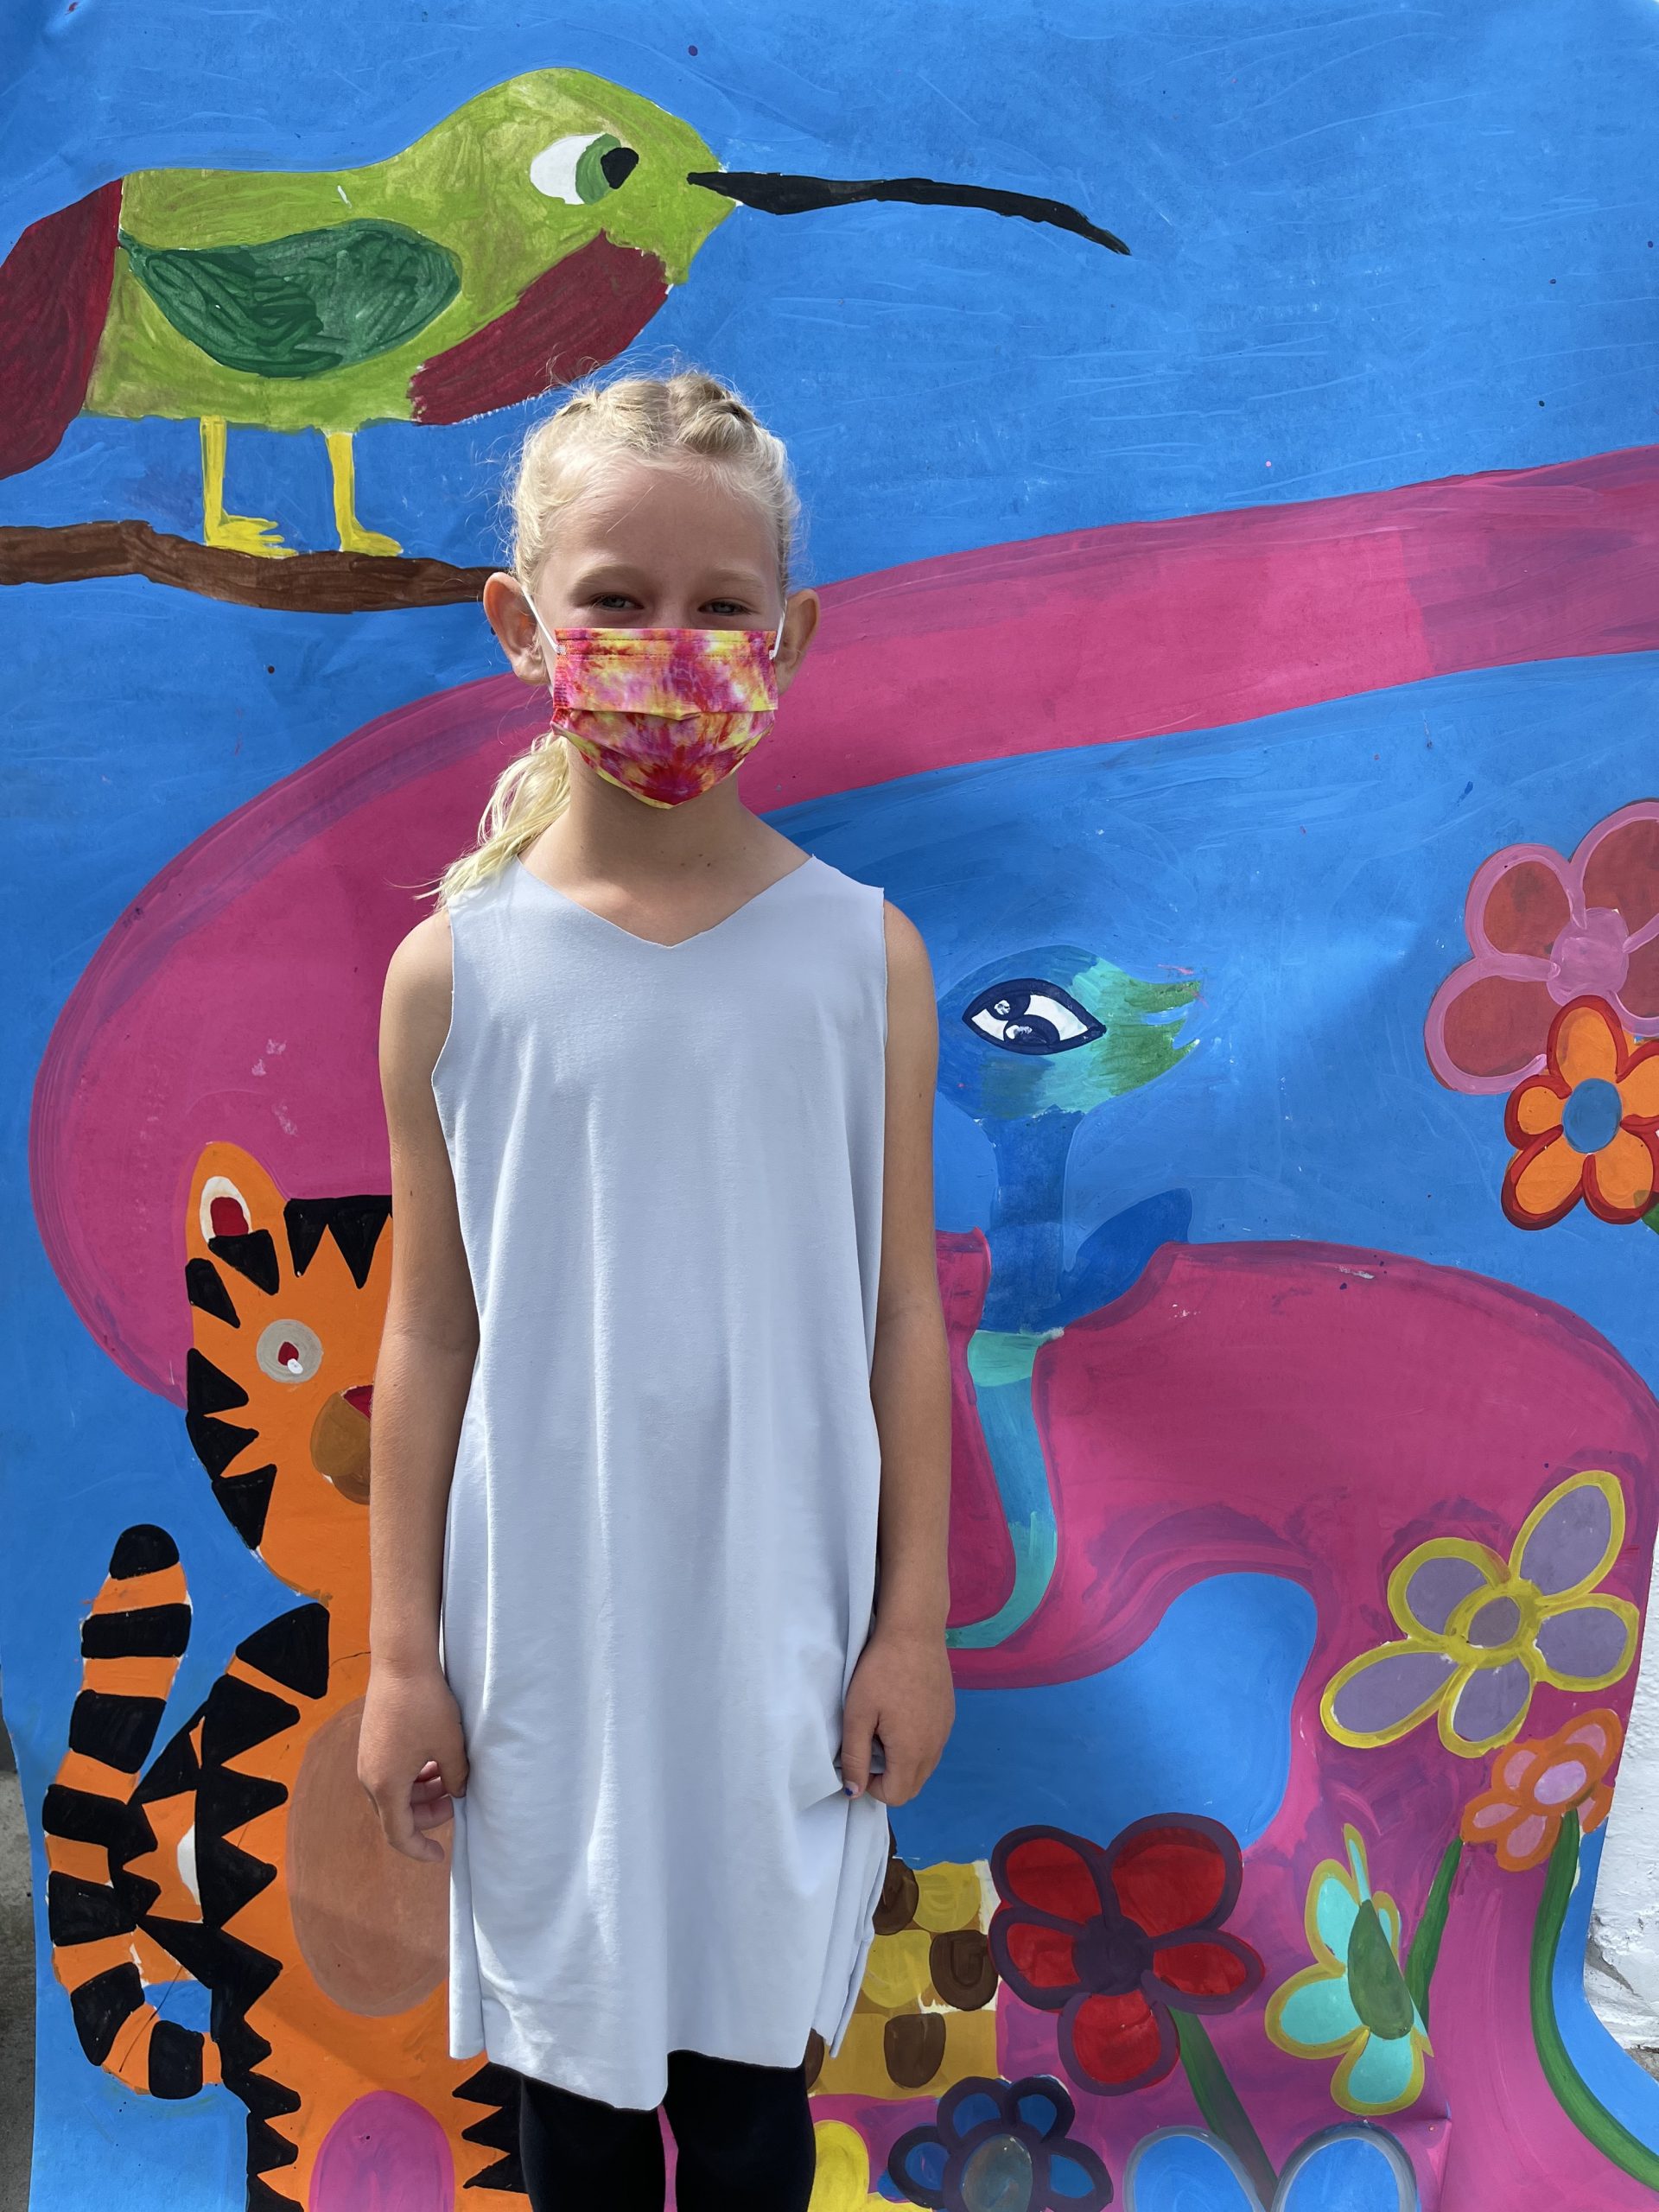
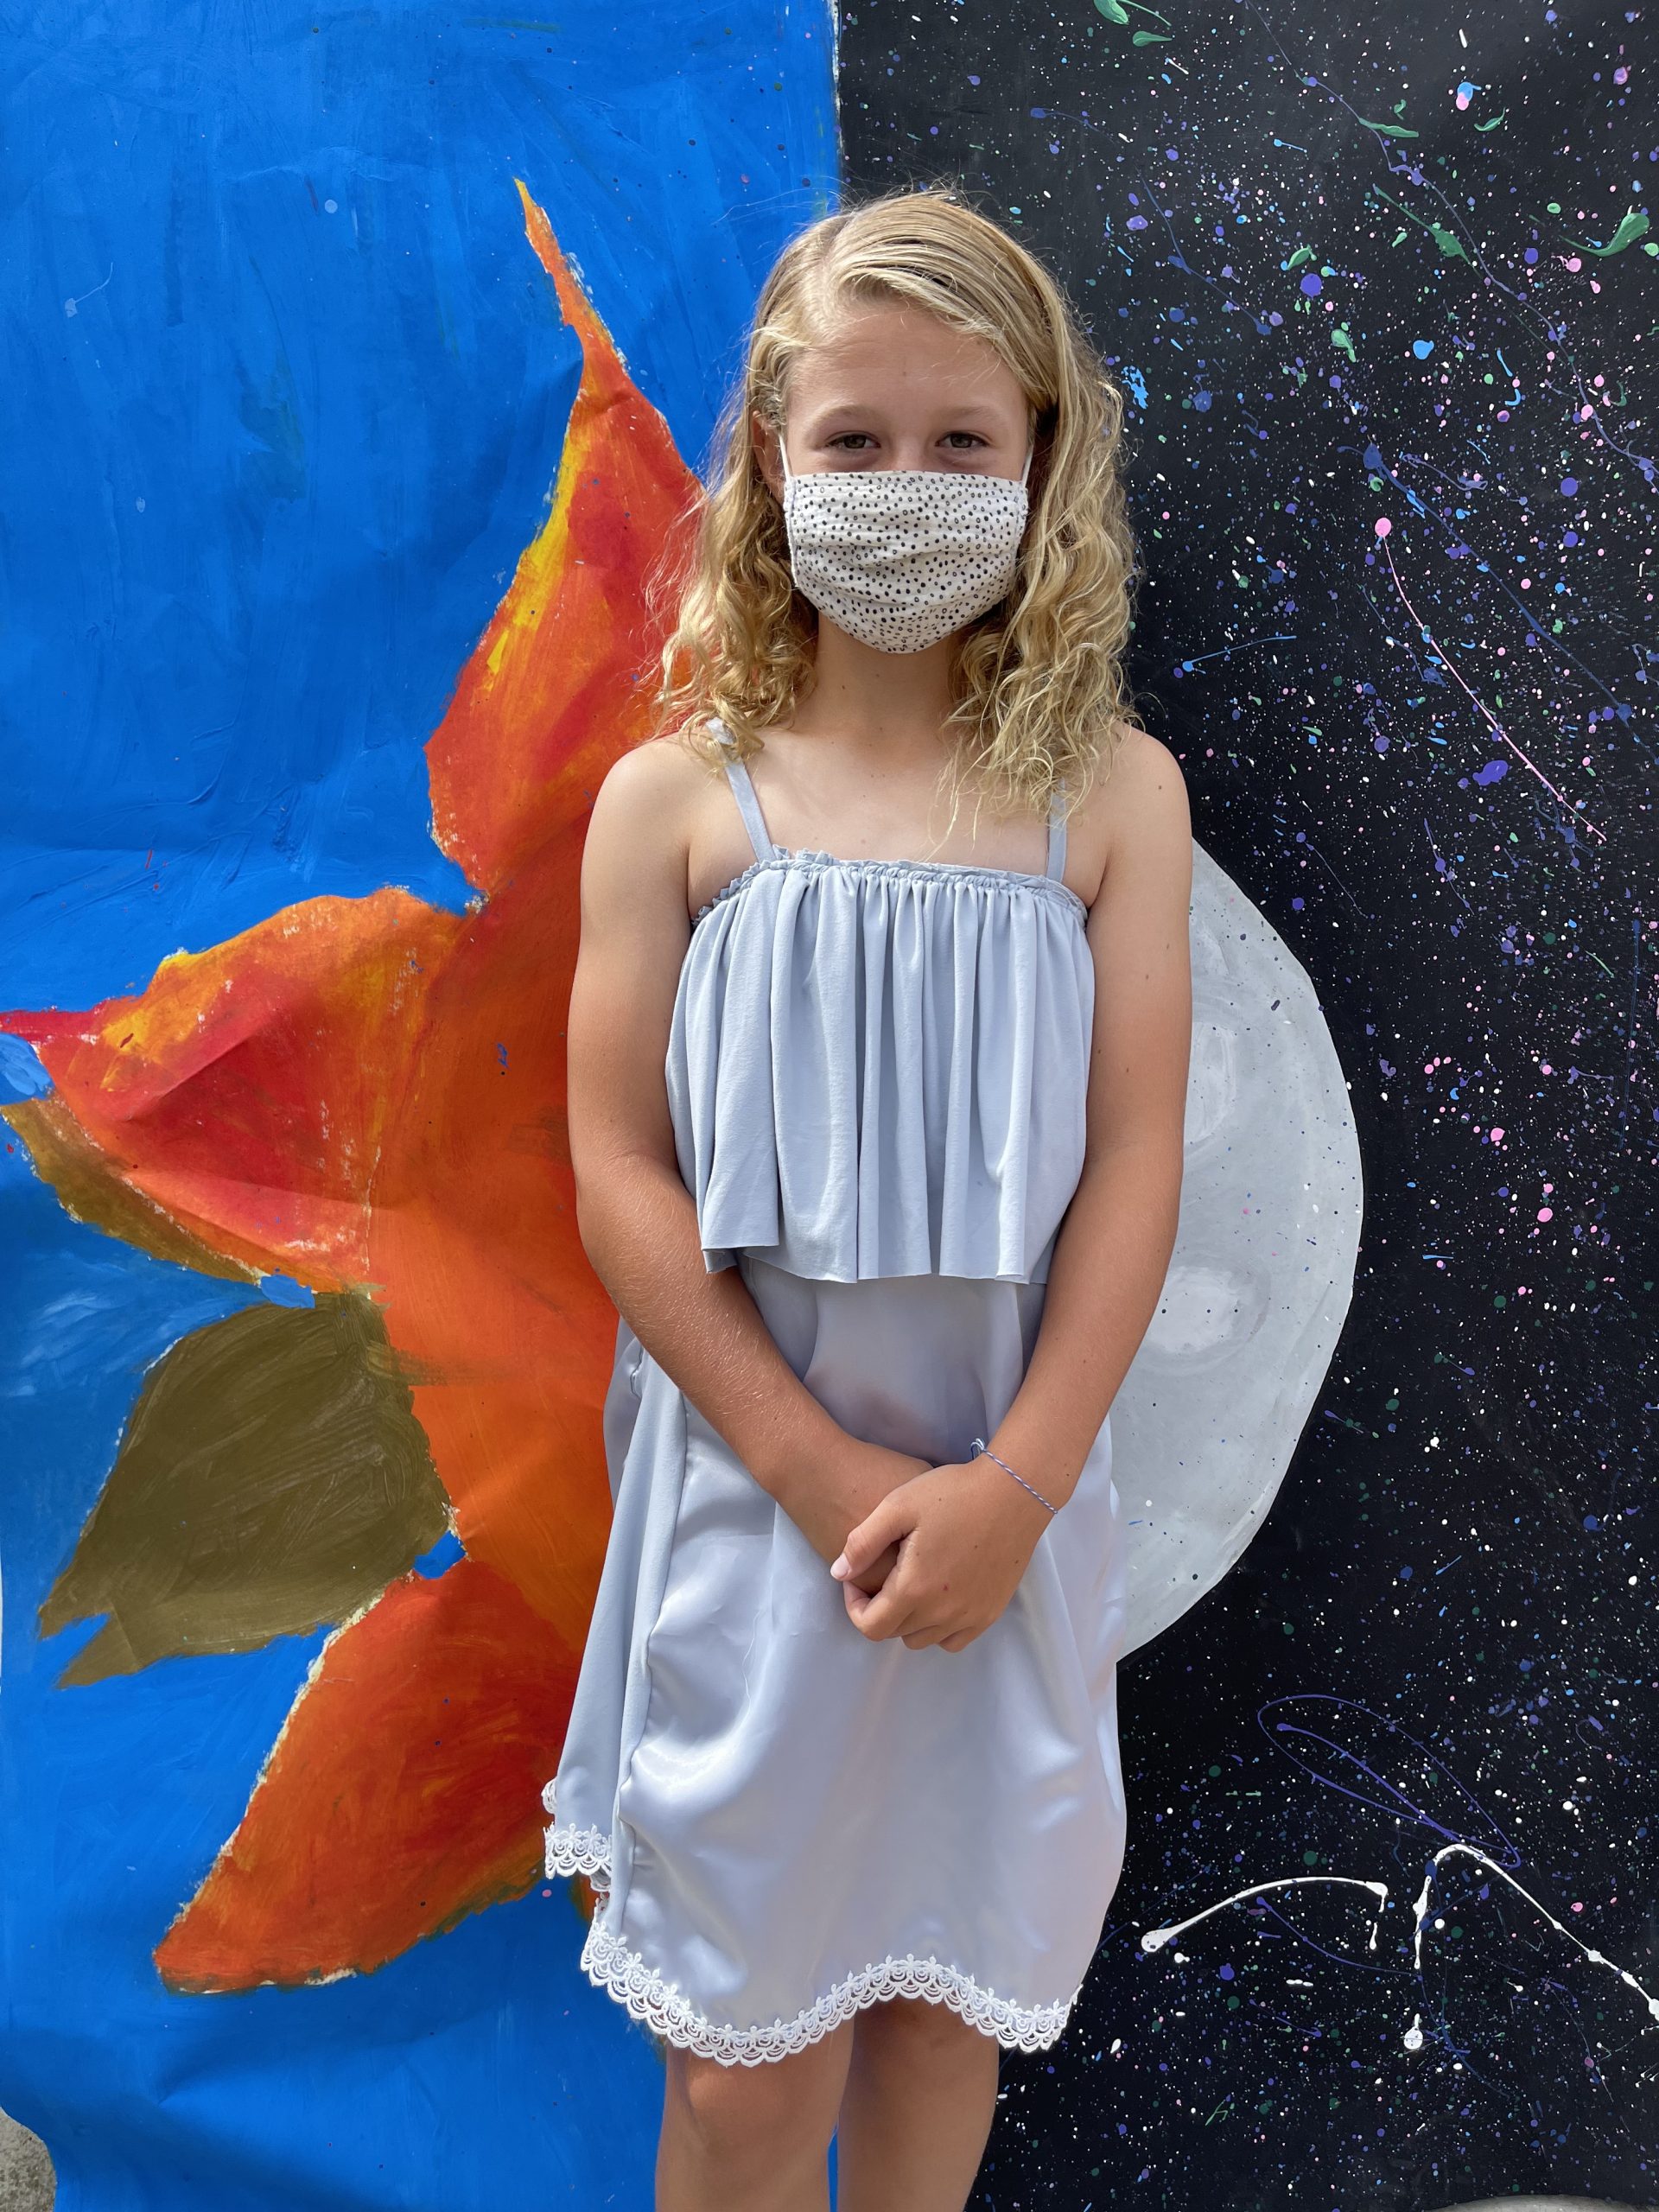
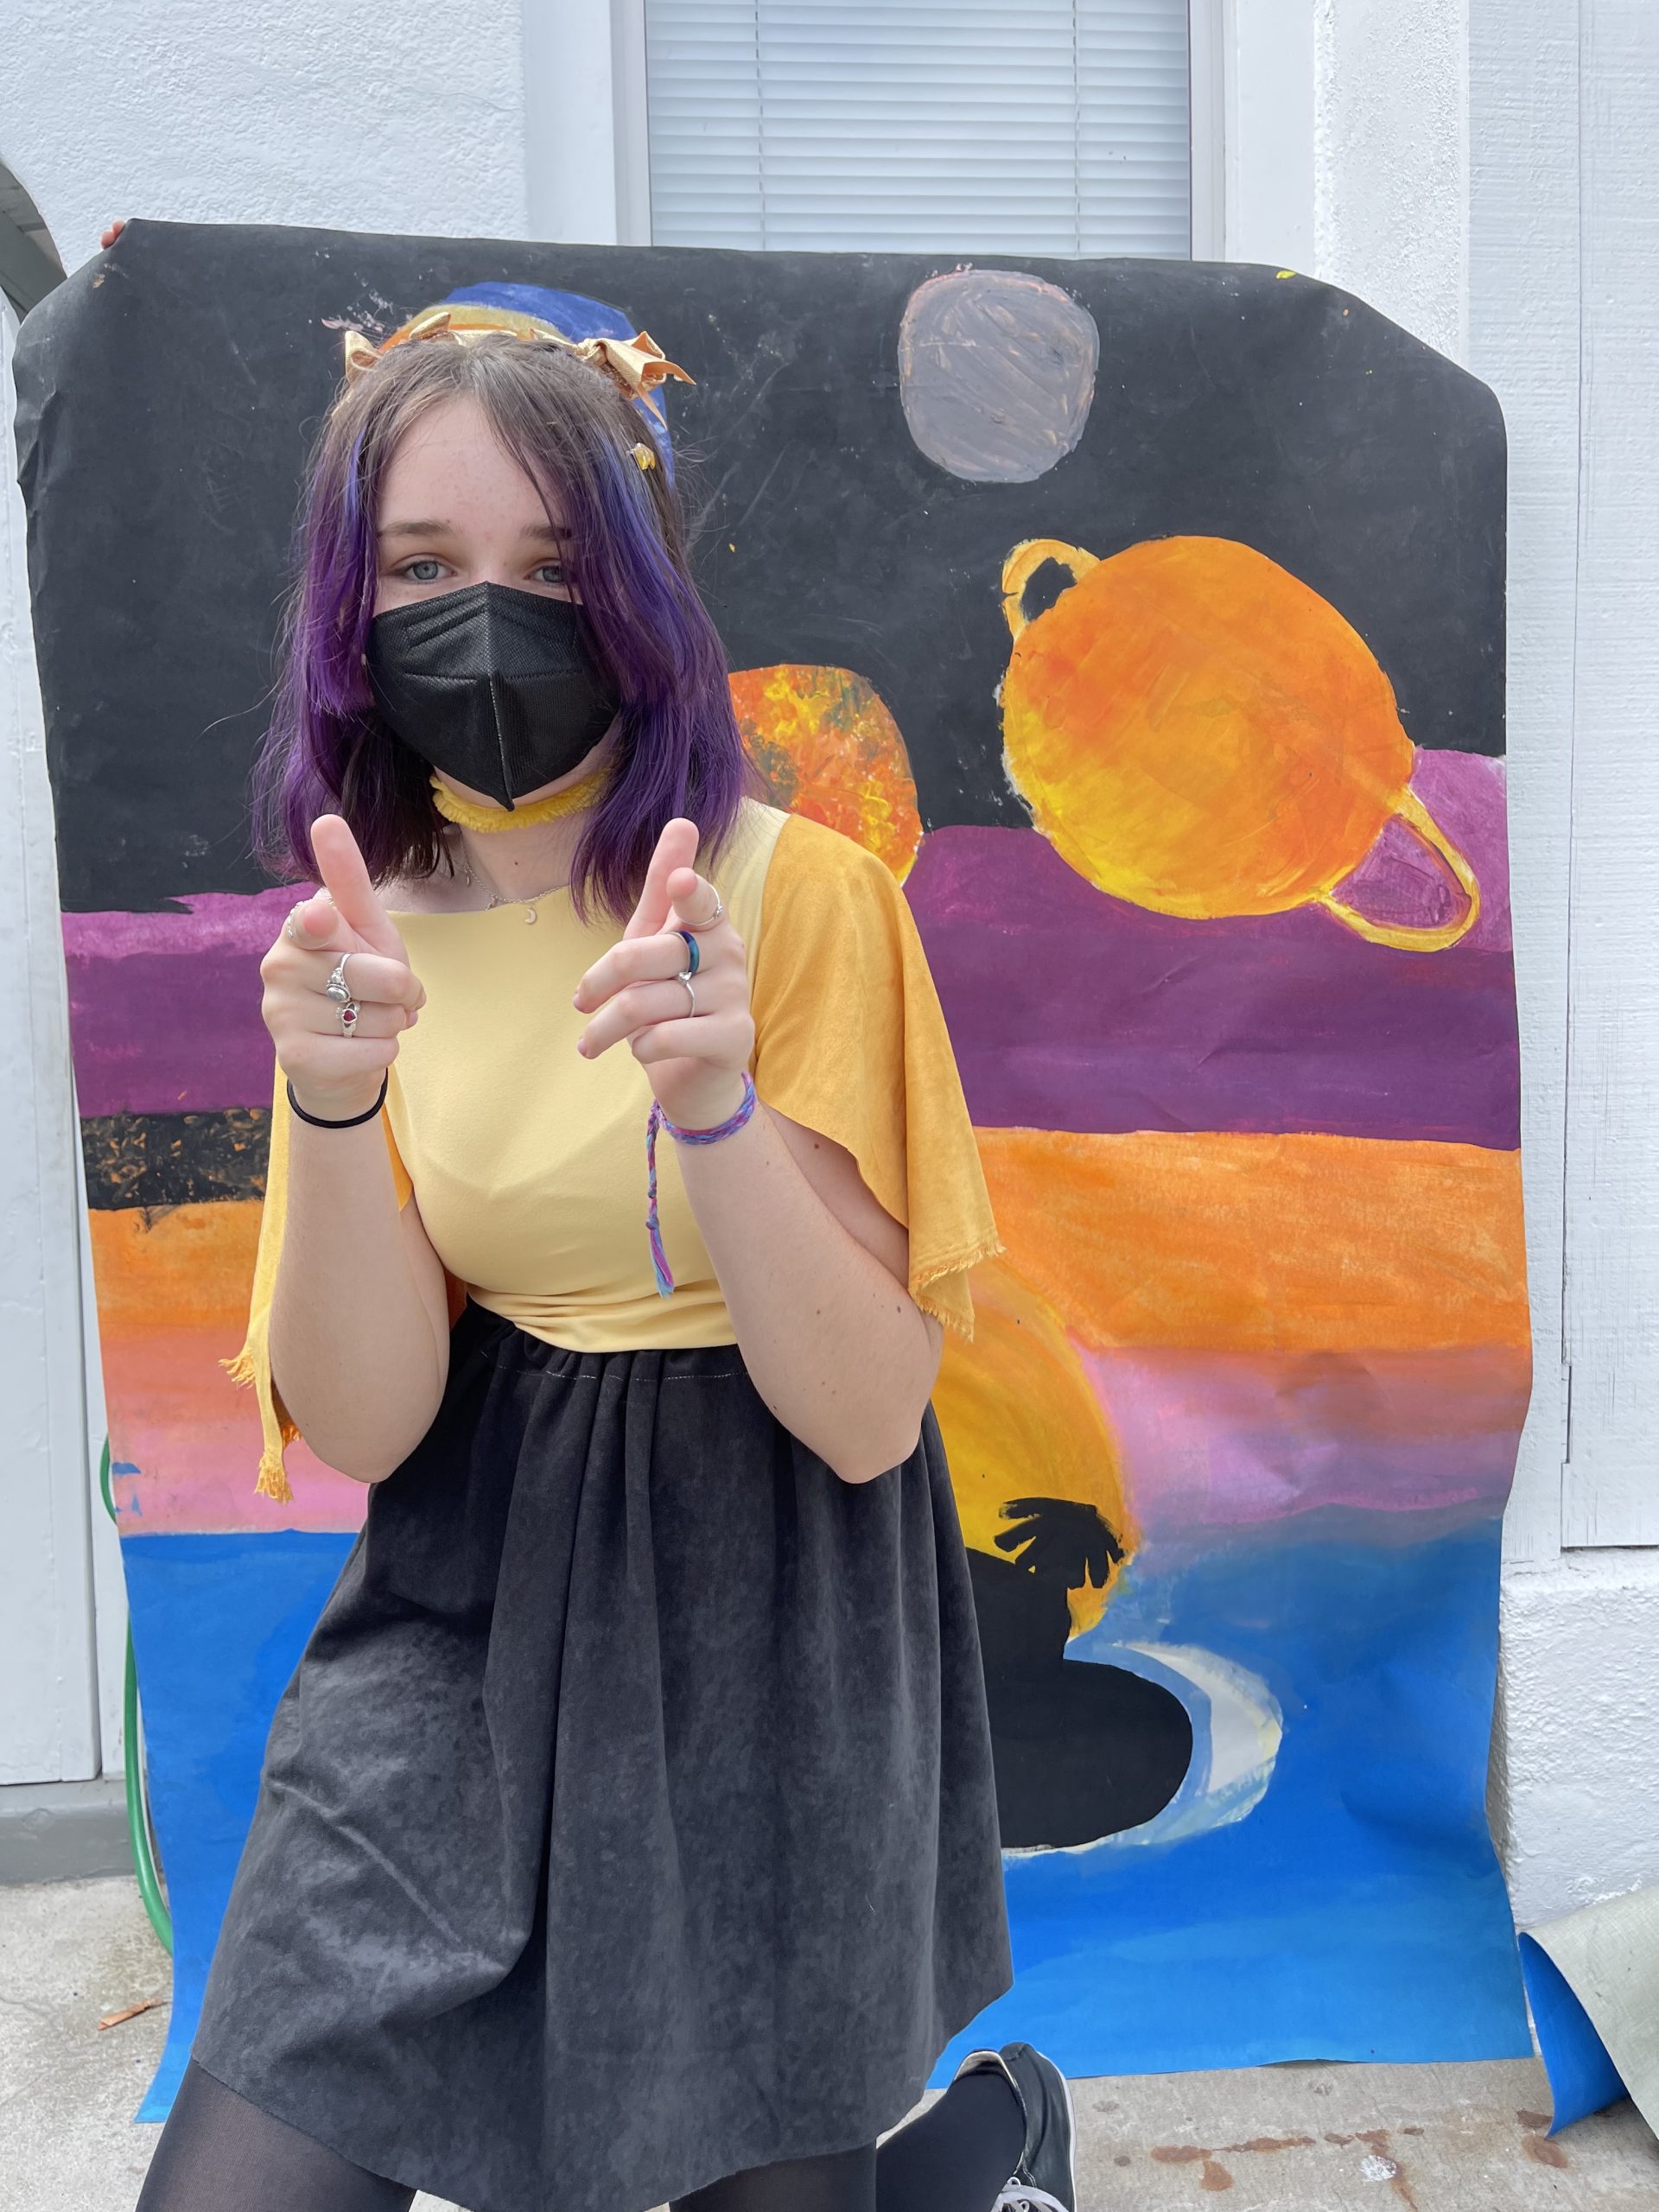
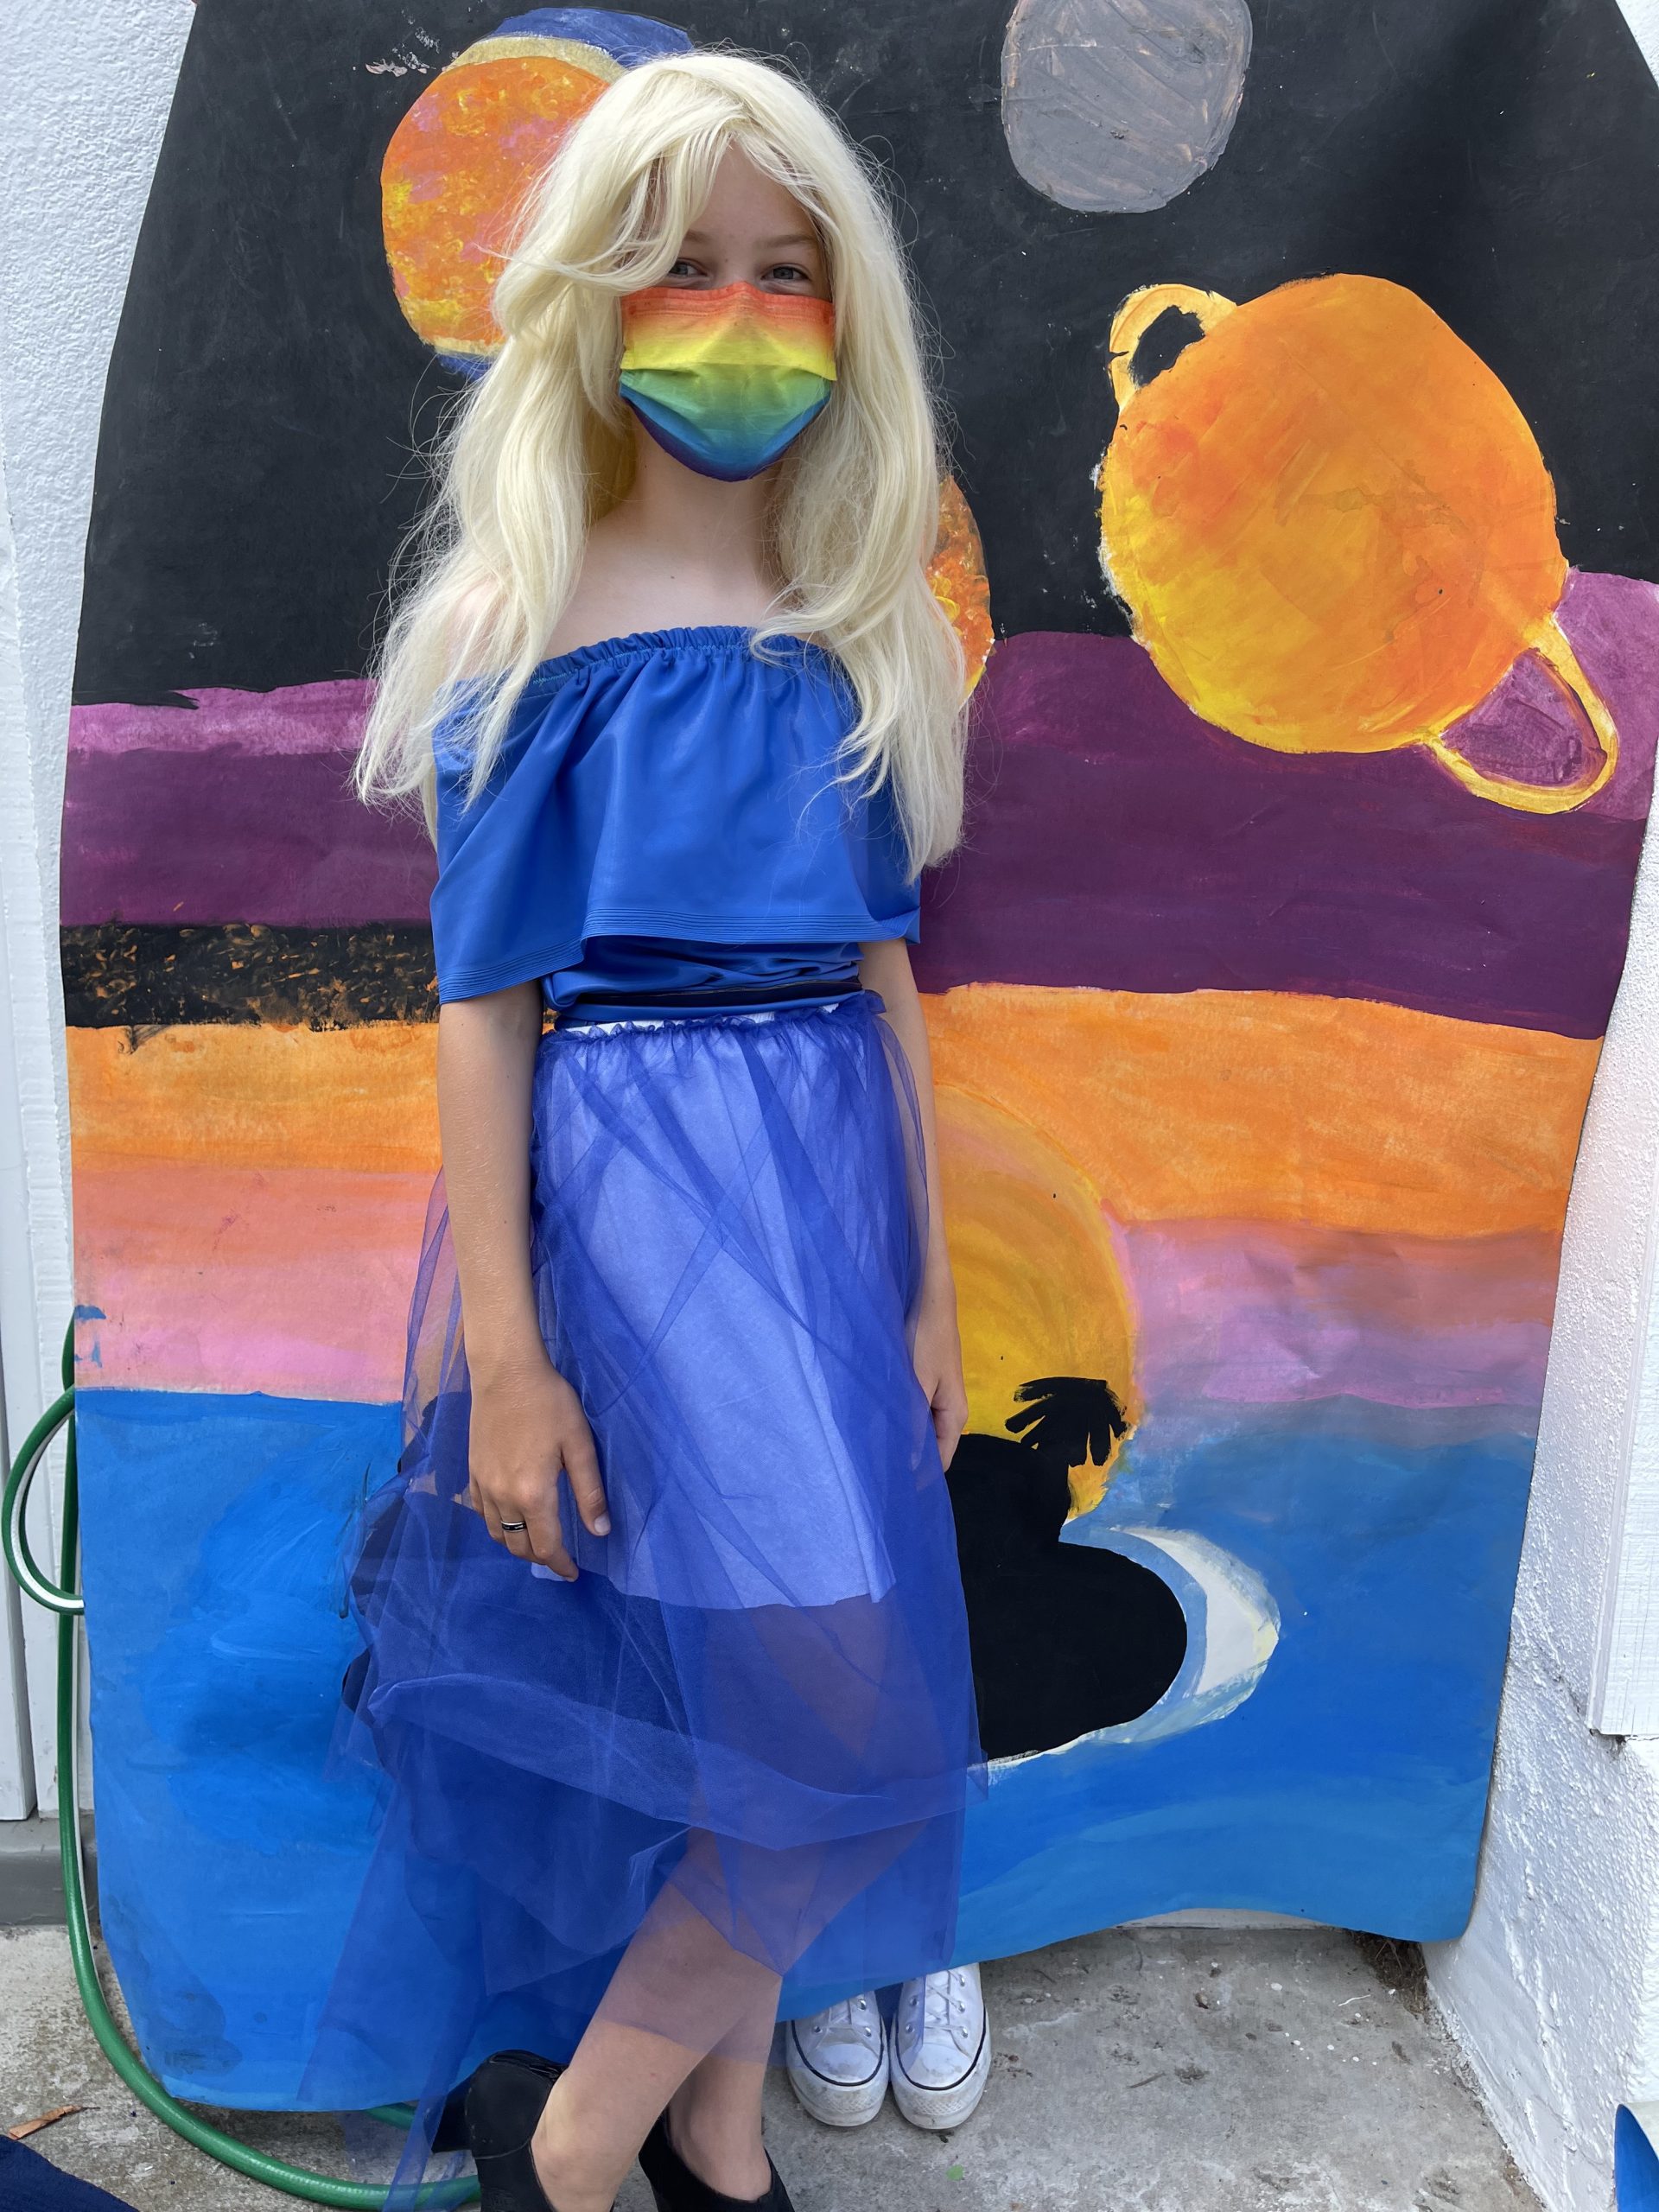
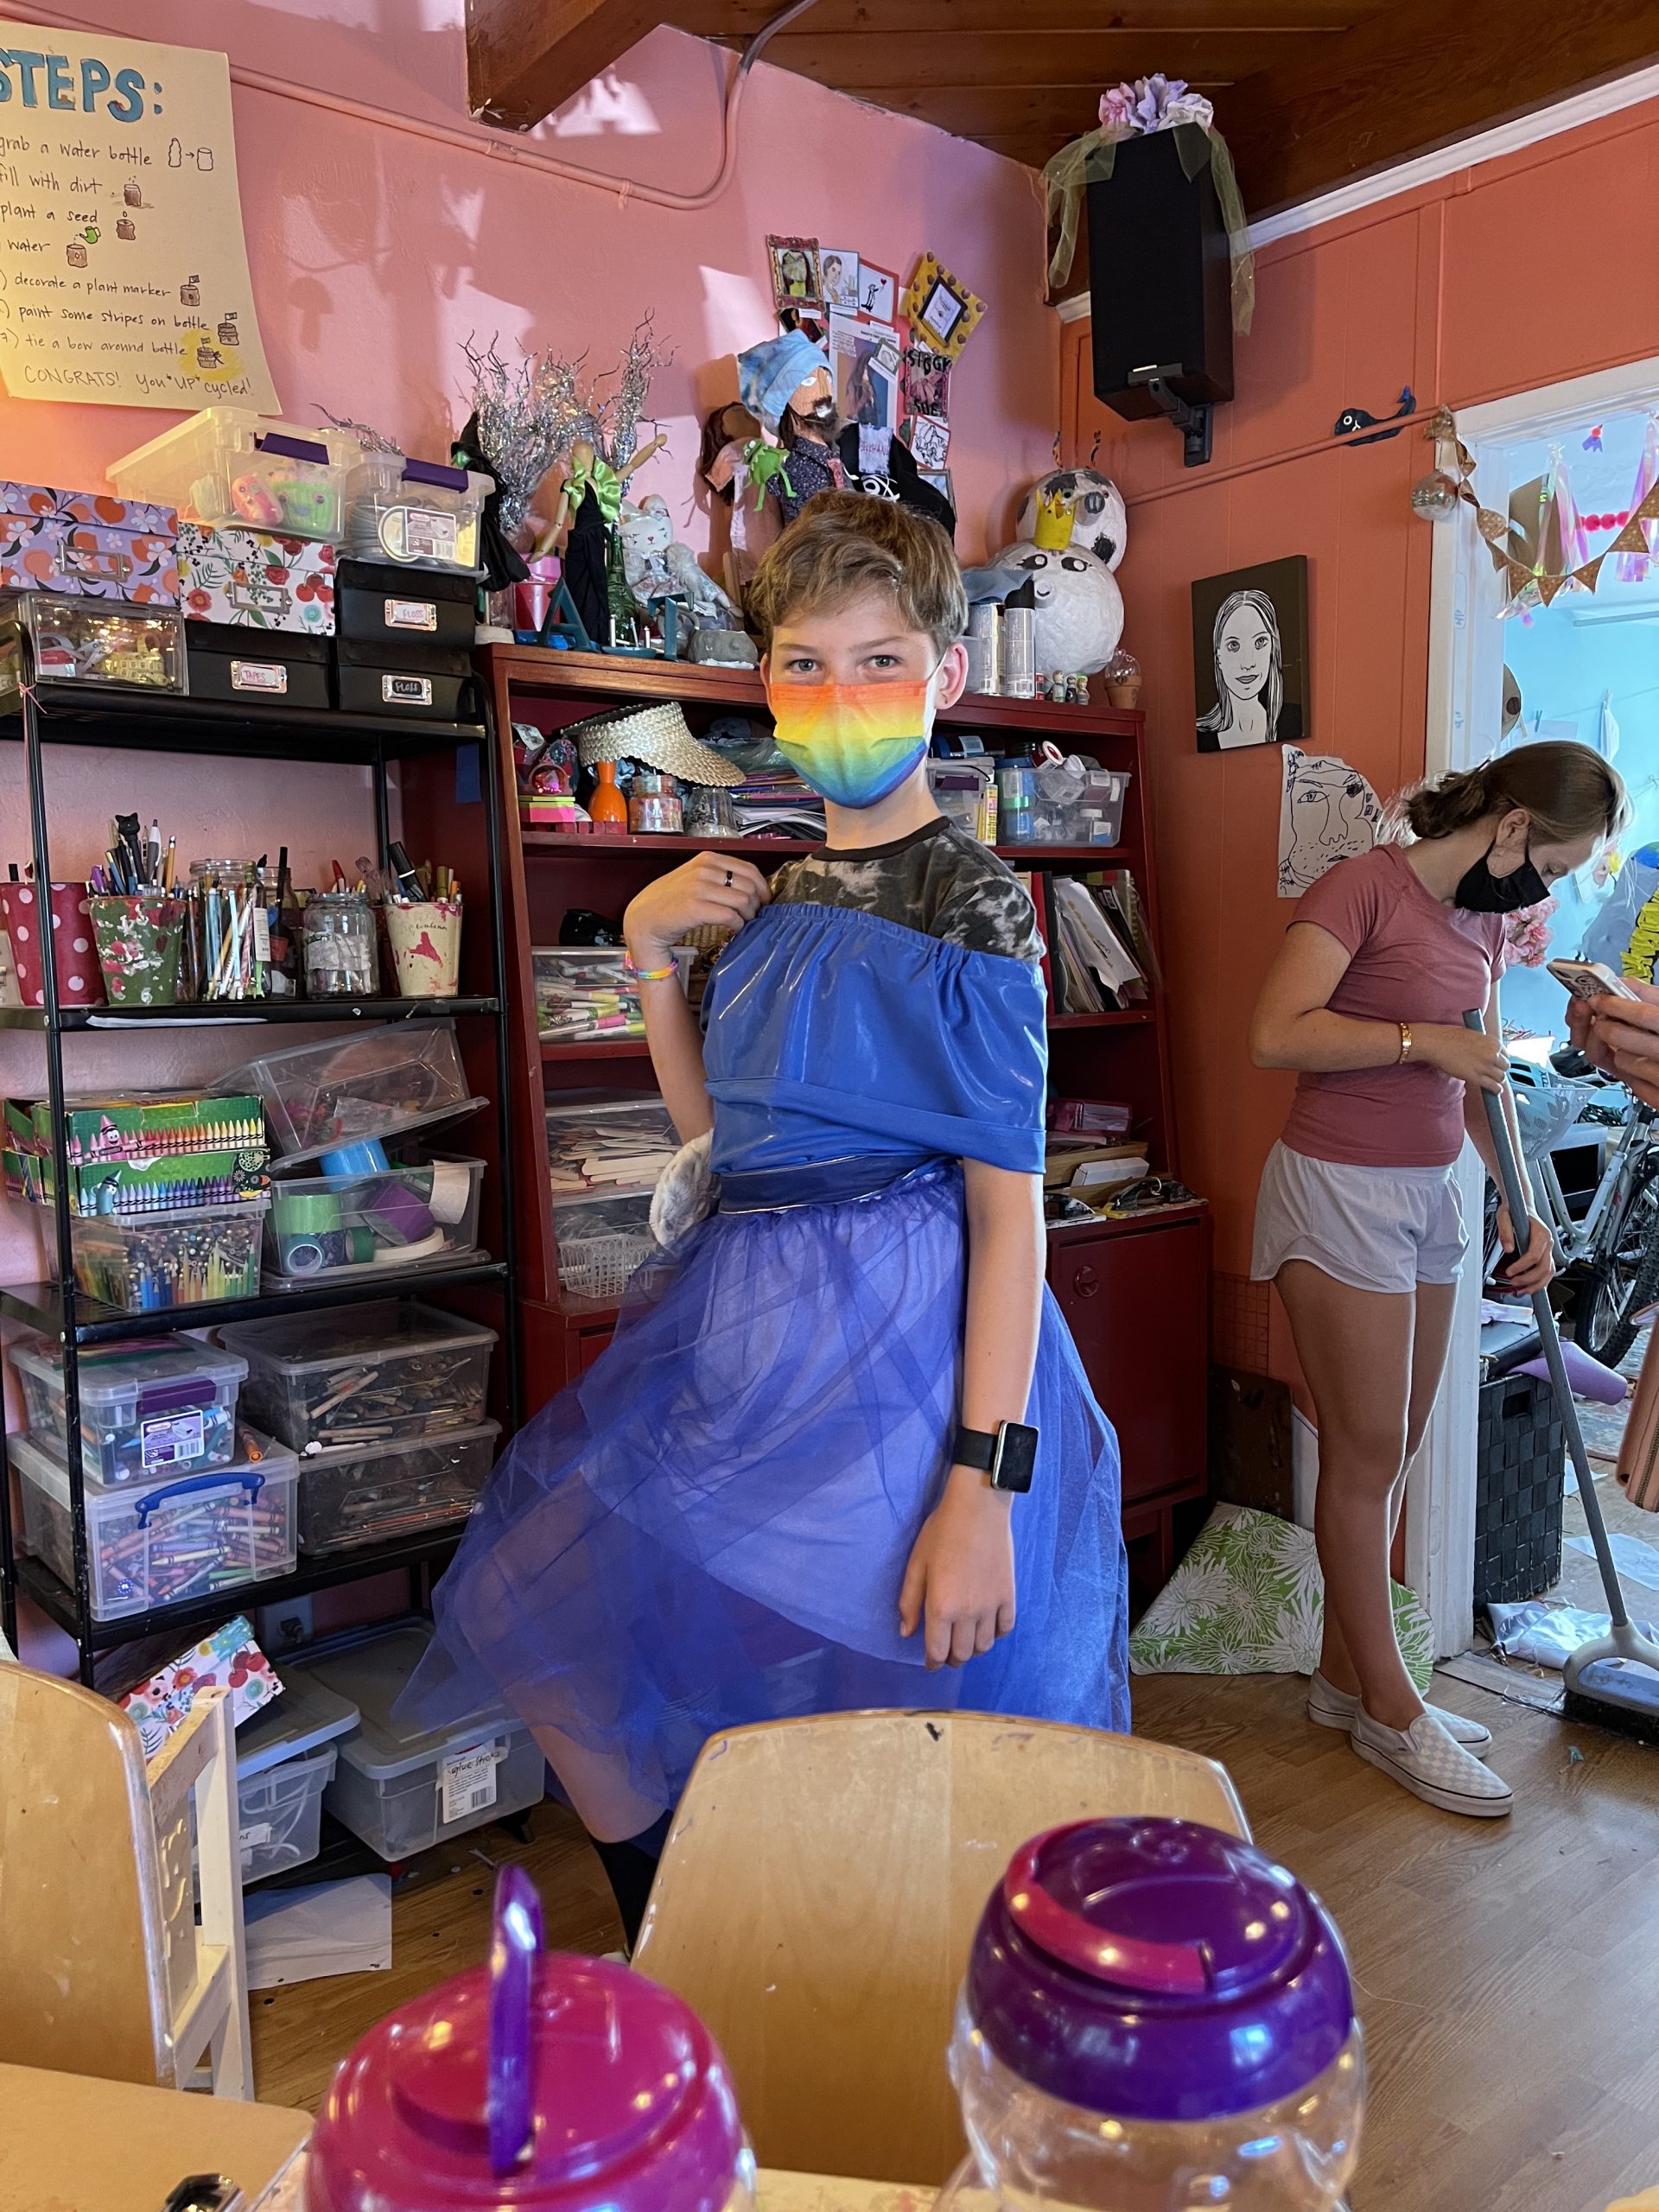
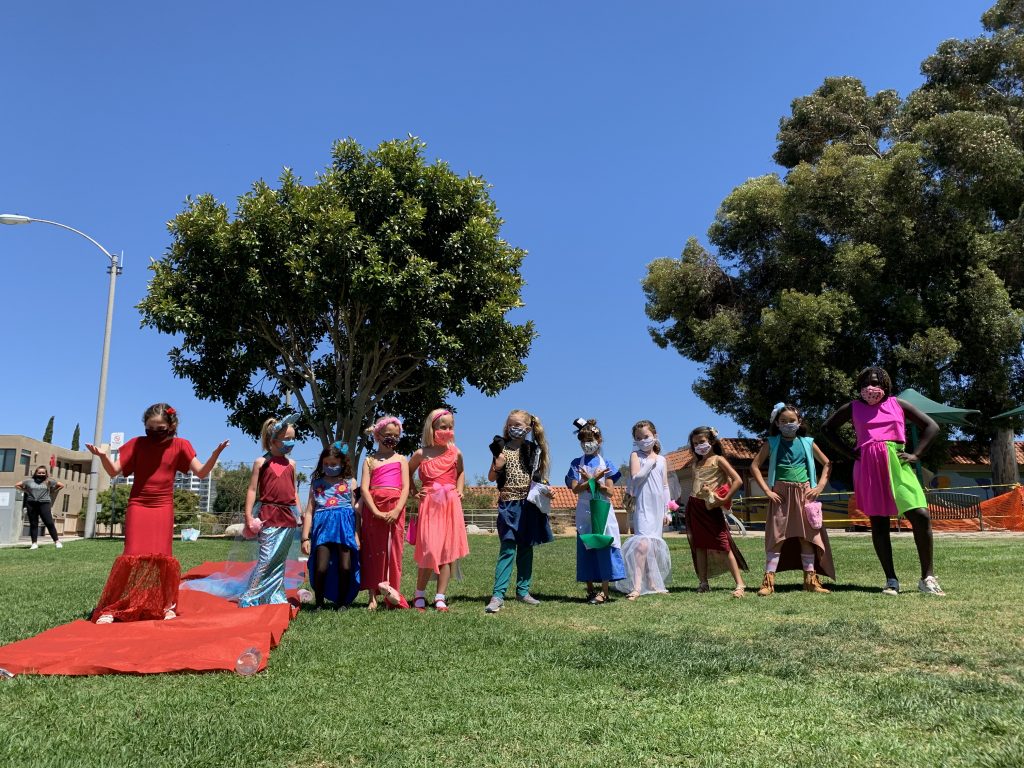
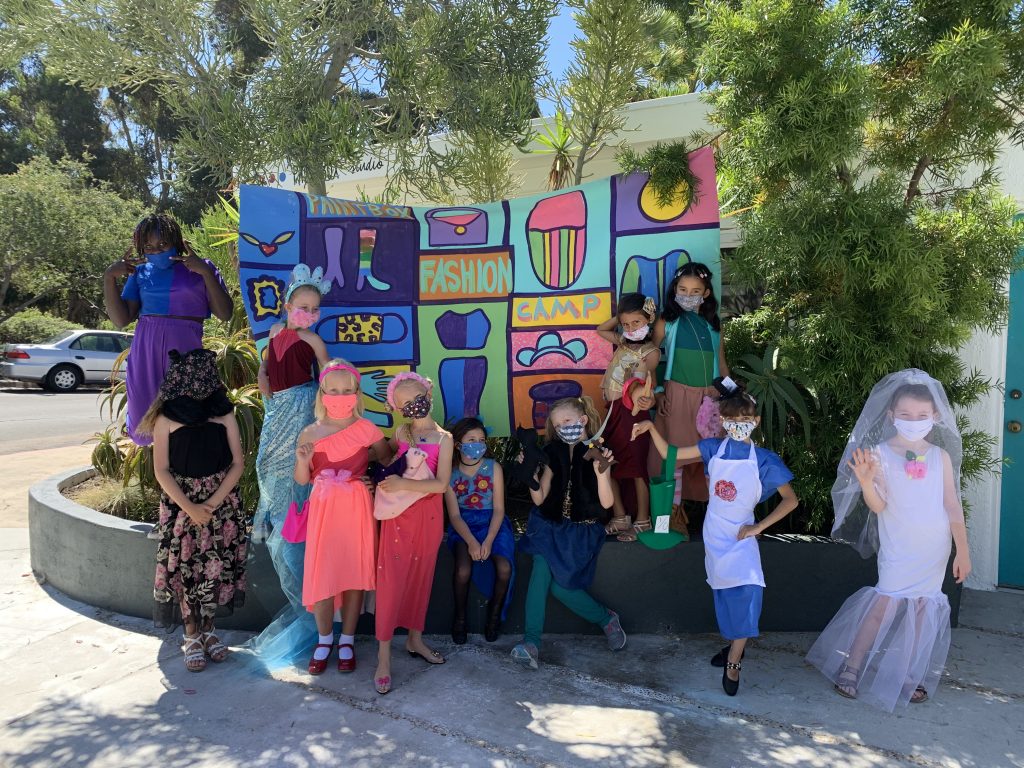
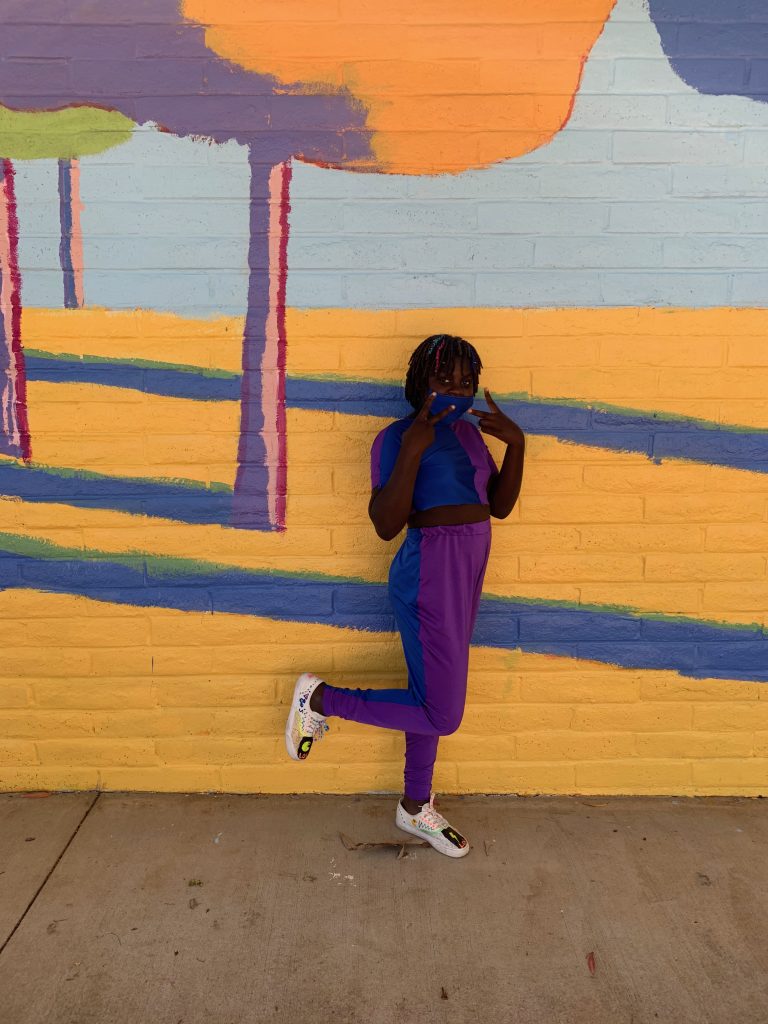
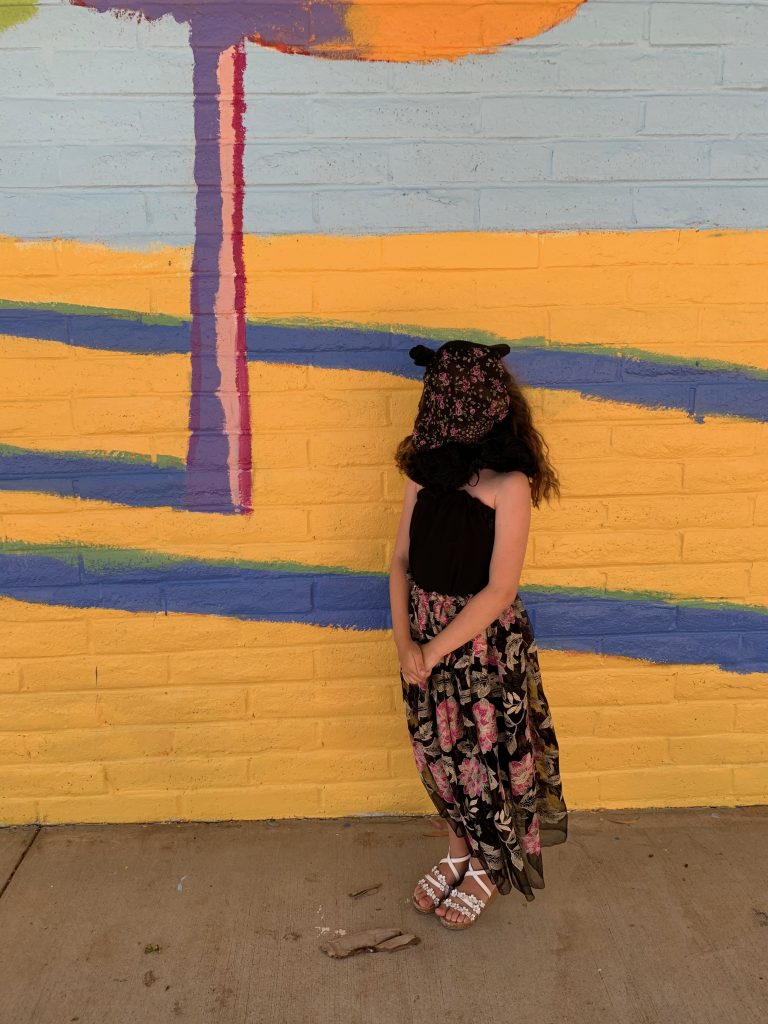
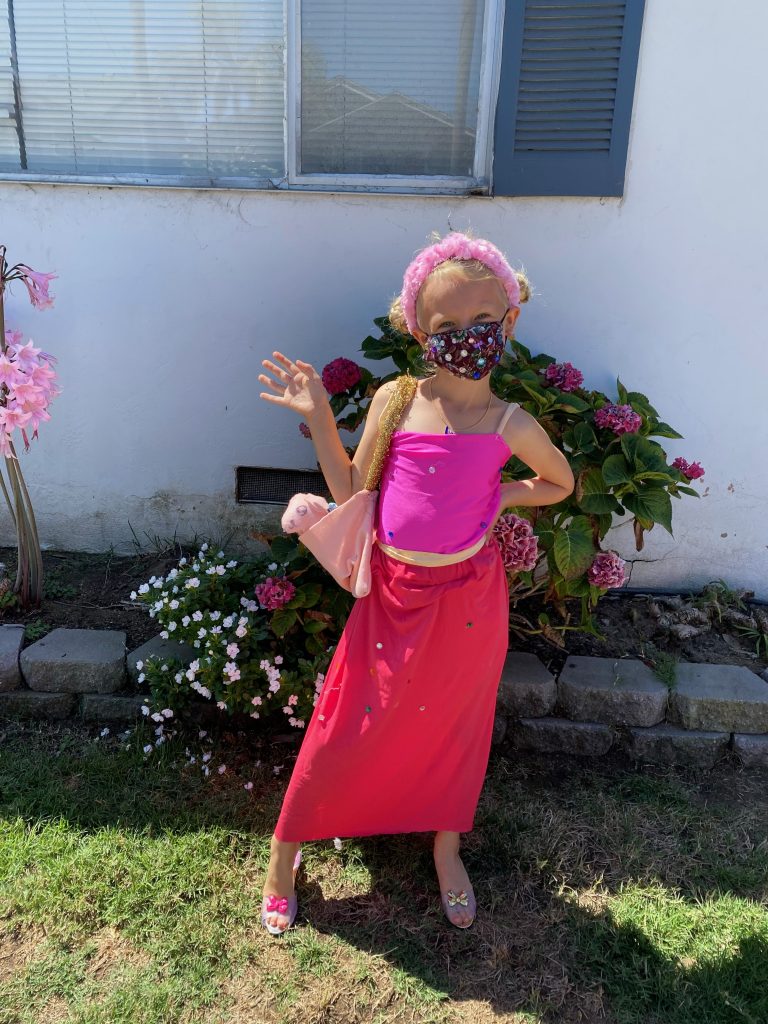
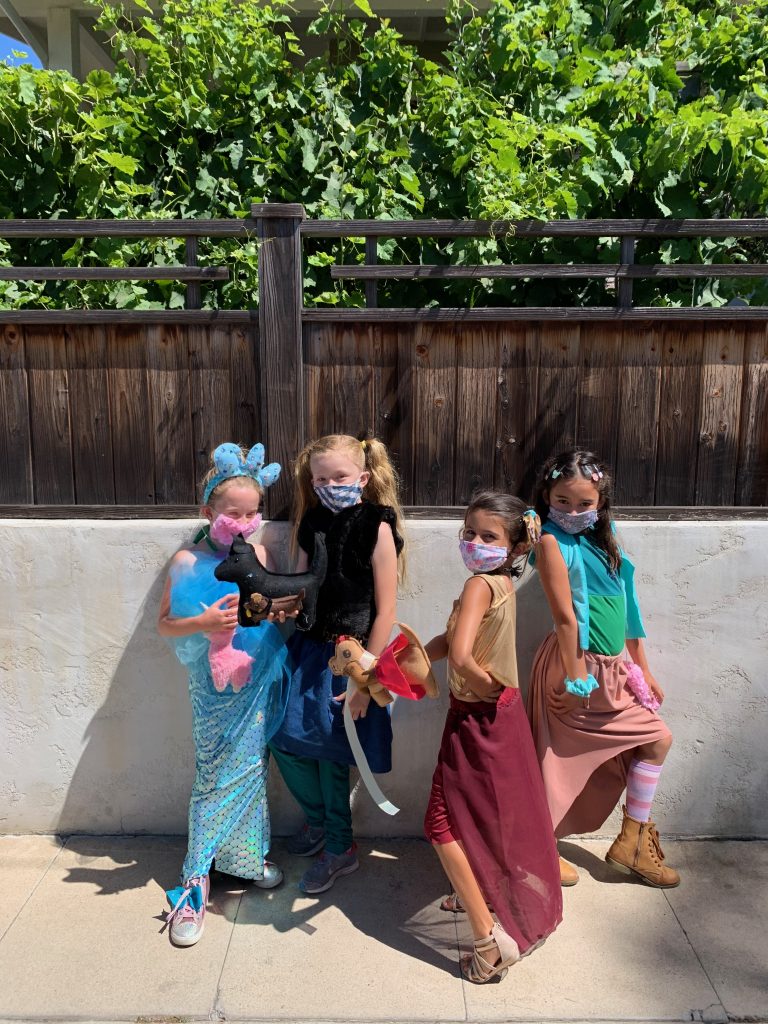
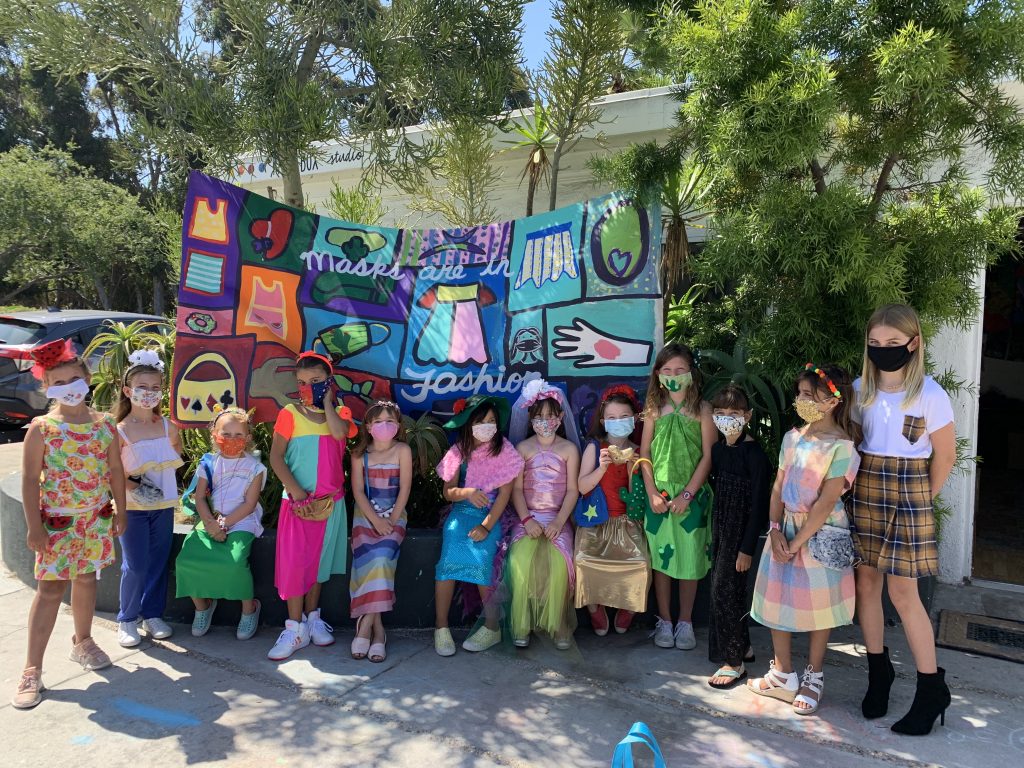
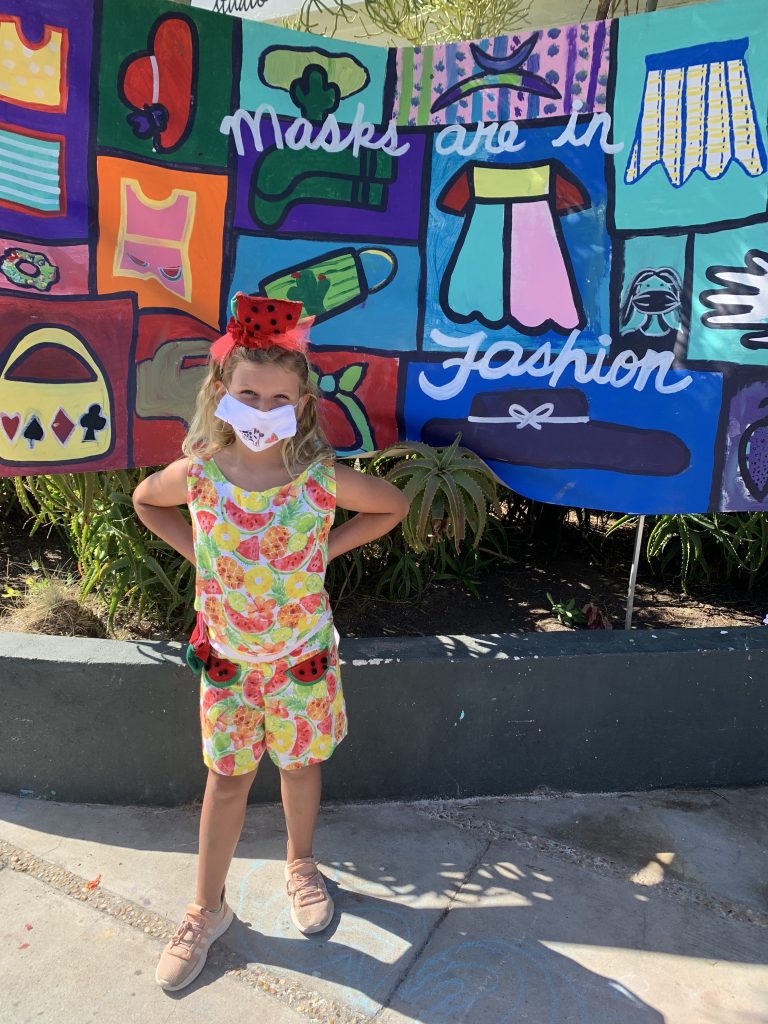
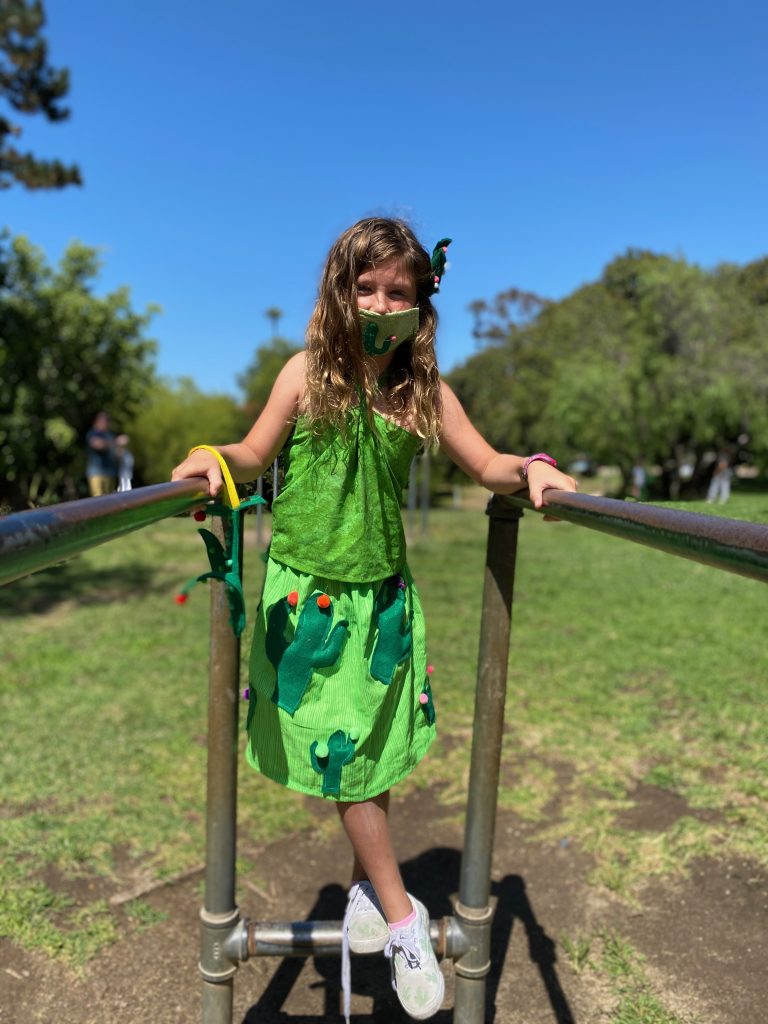
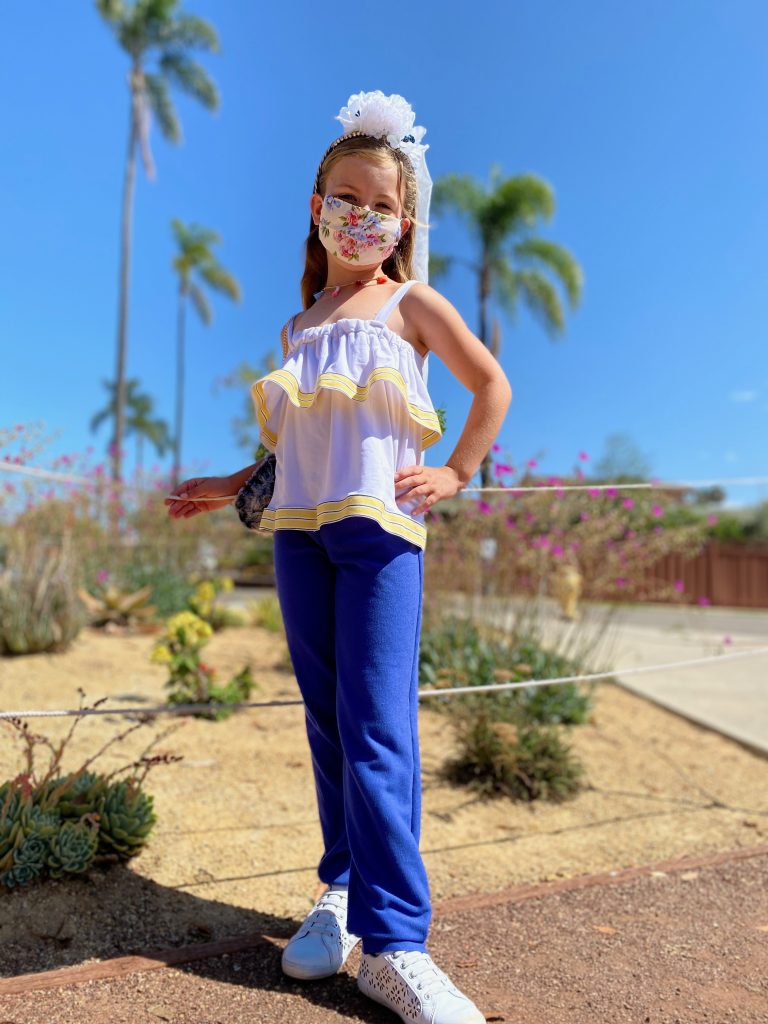
Fashion camp was such a blast! Each kid started by drawing their dream outfit on Monday morning, and by Tuesday we had all of their fabrics ready and we got to work! Check out these incredible outfits that our students created from conception to completion!
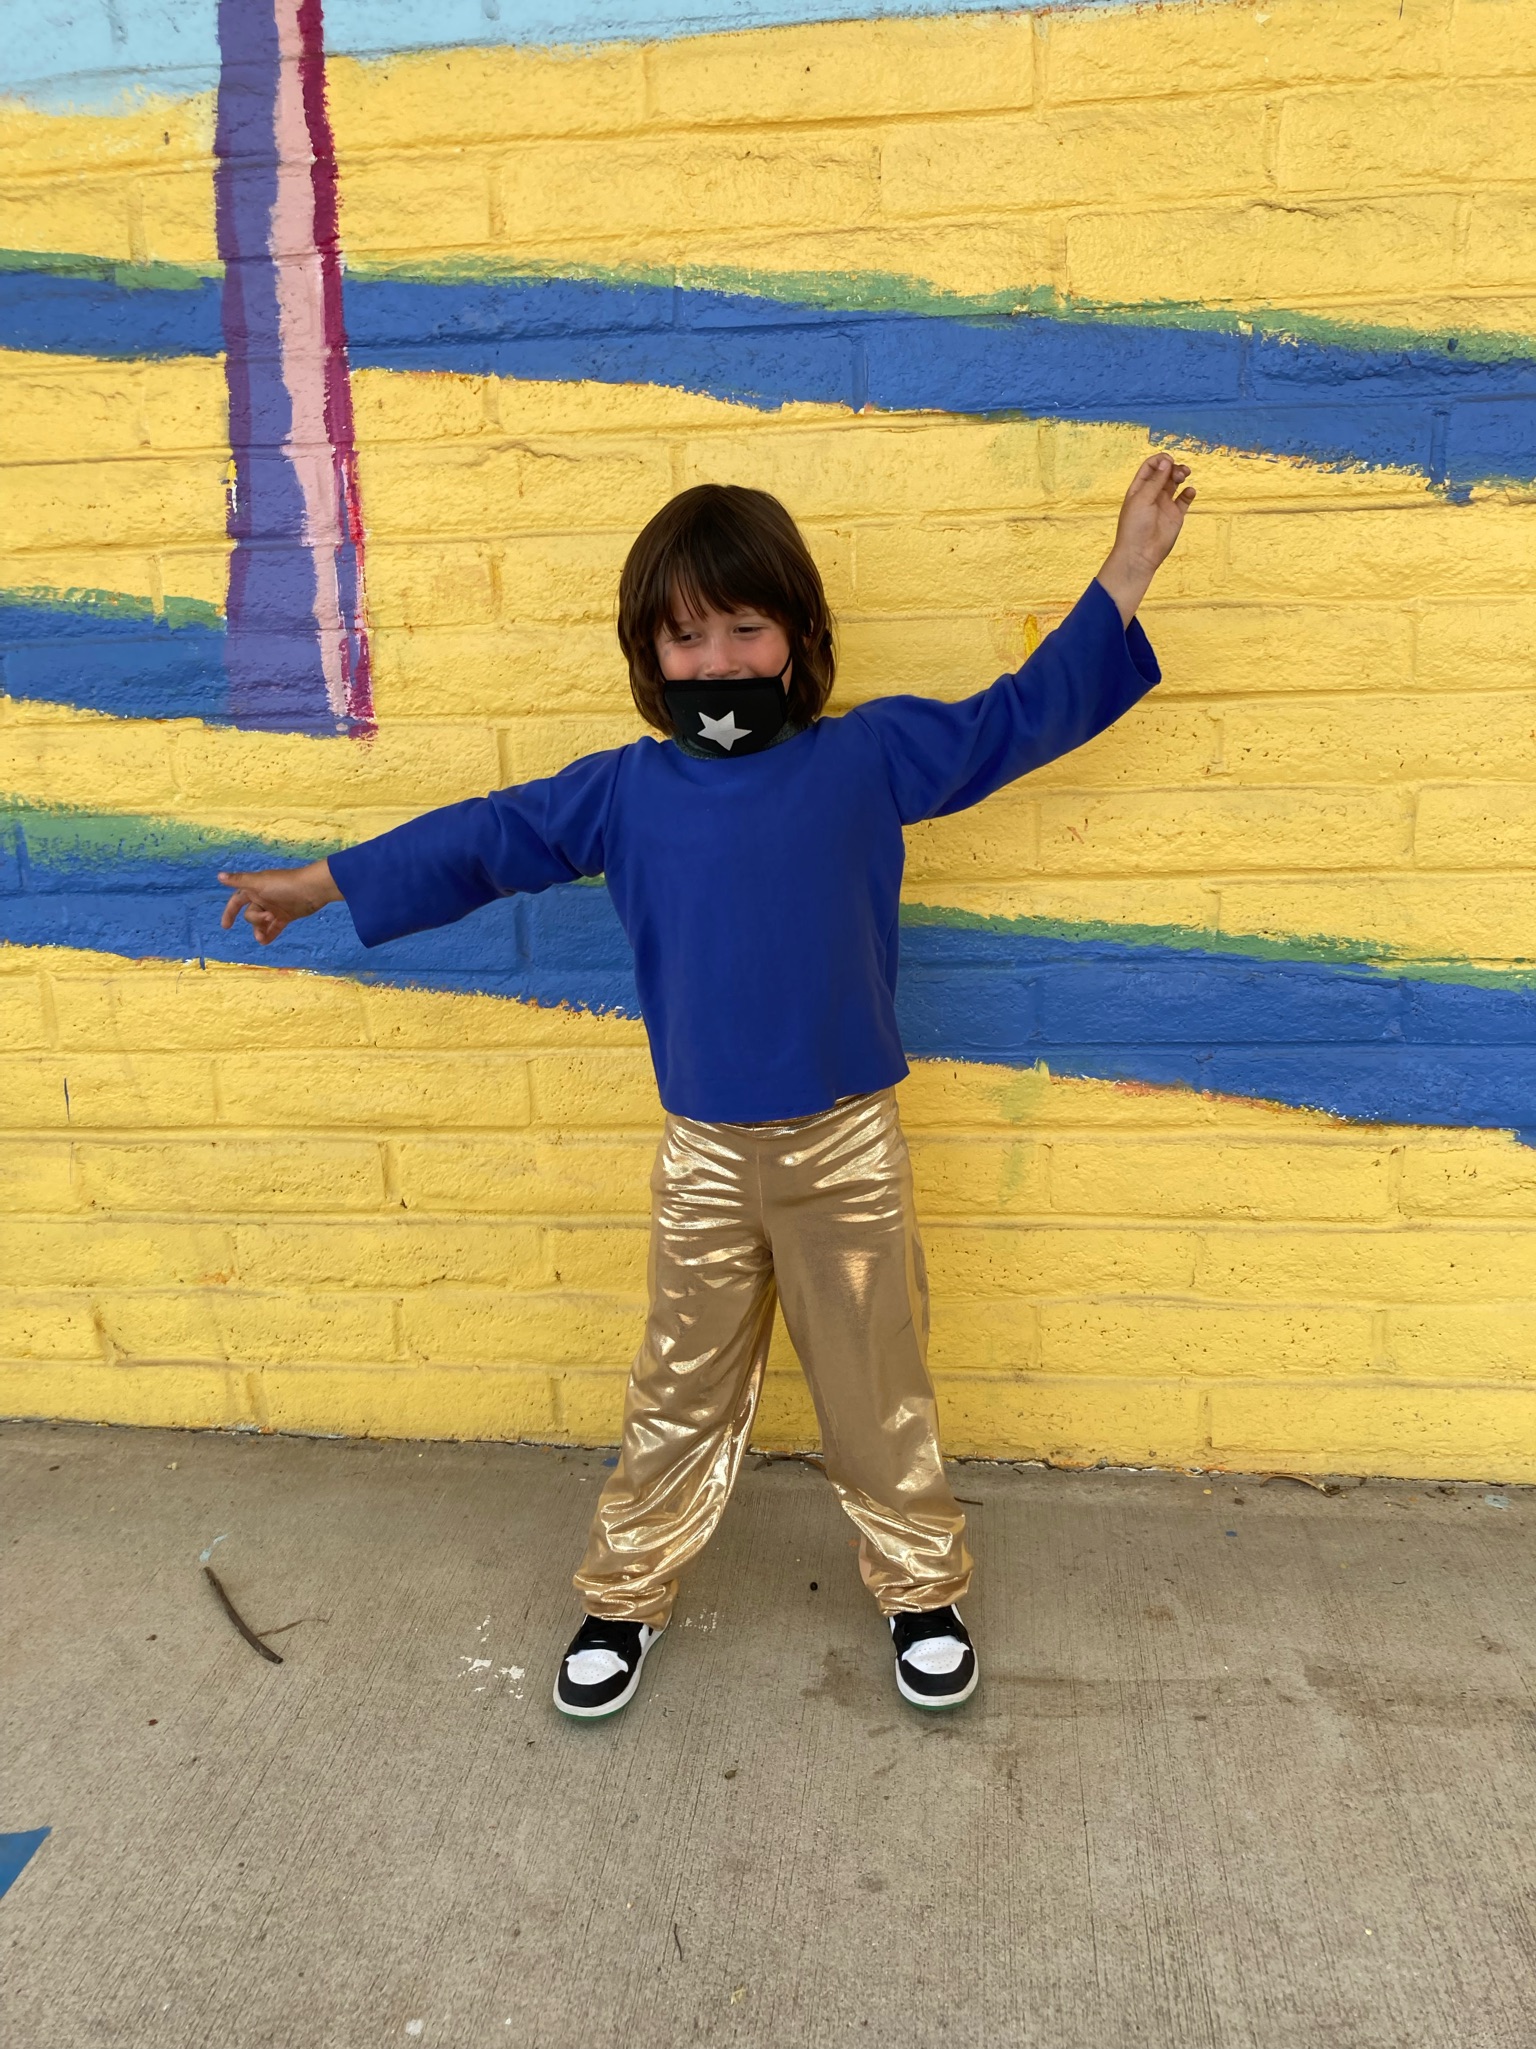
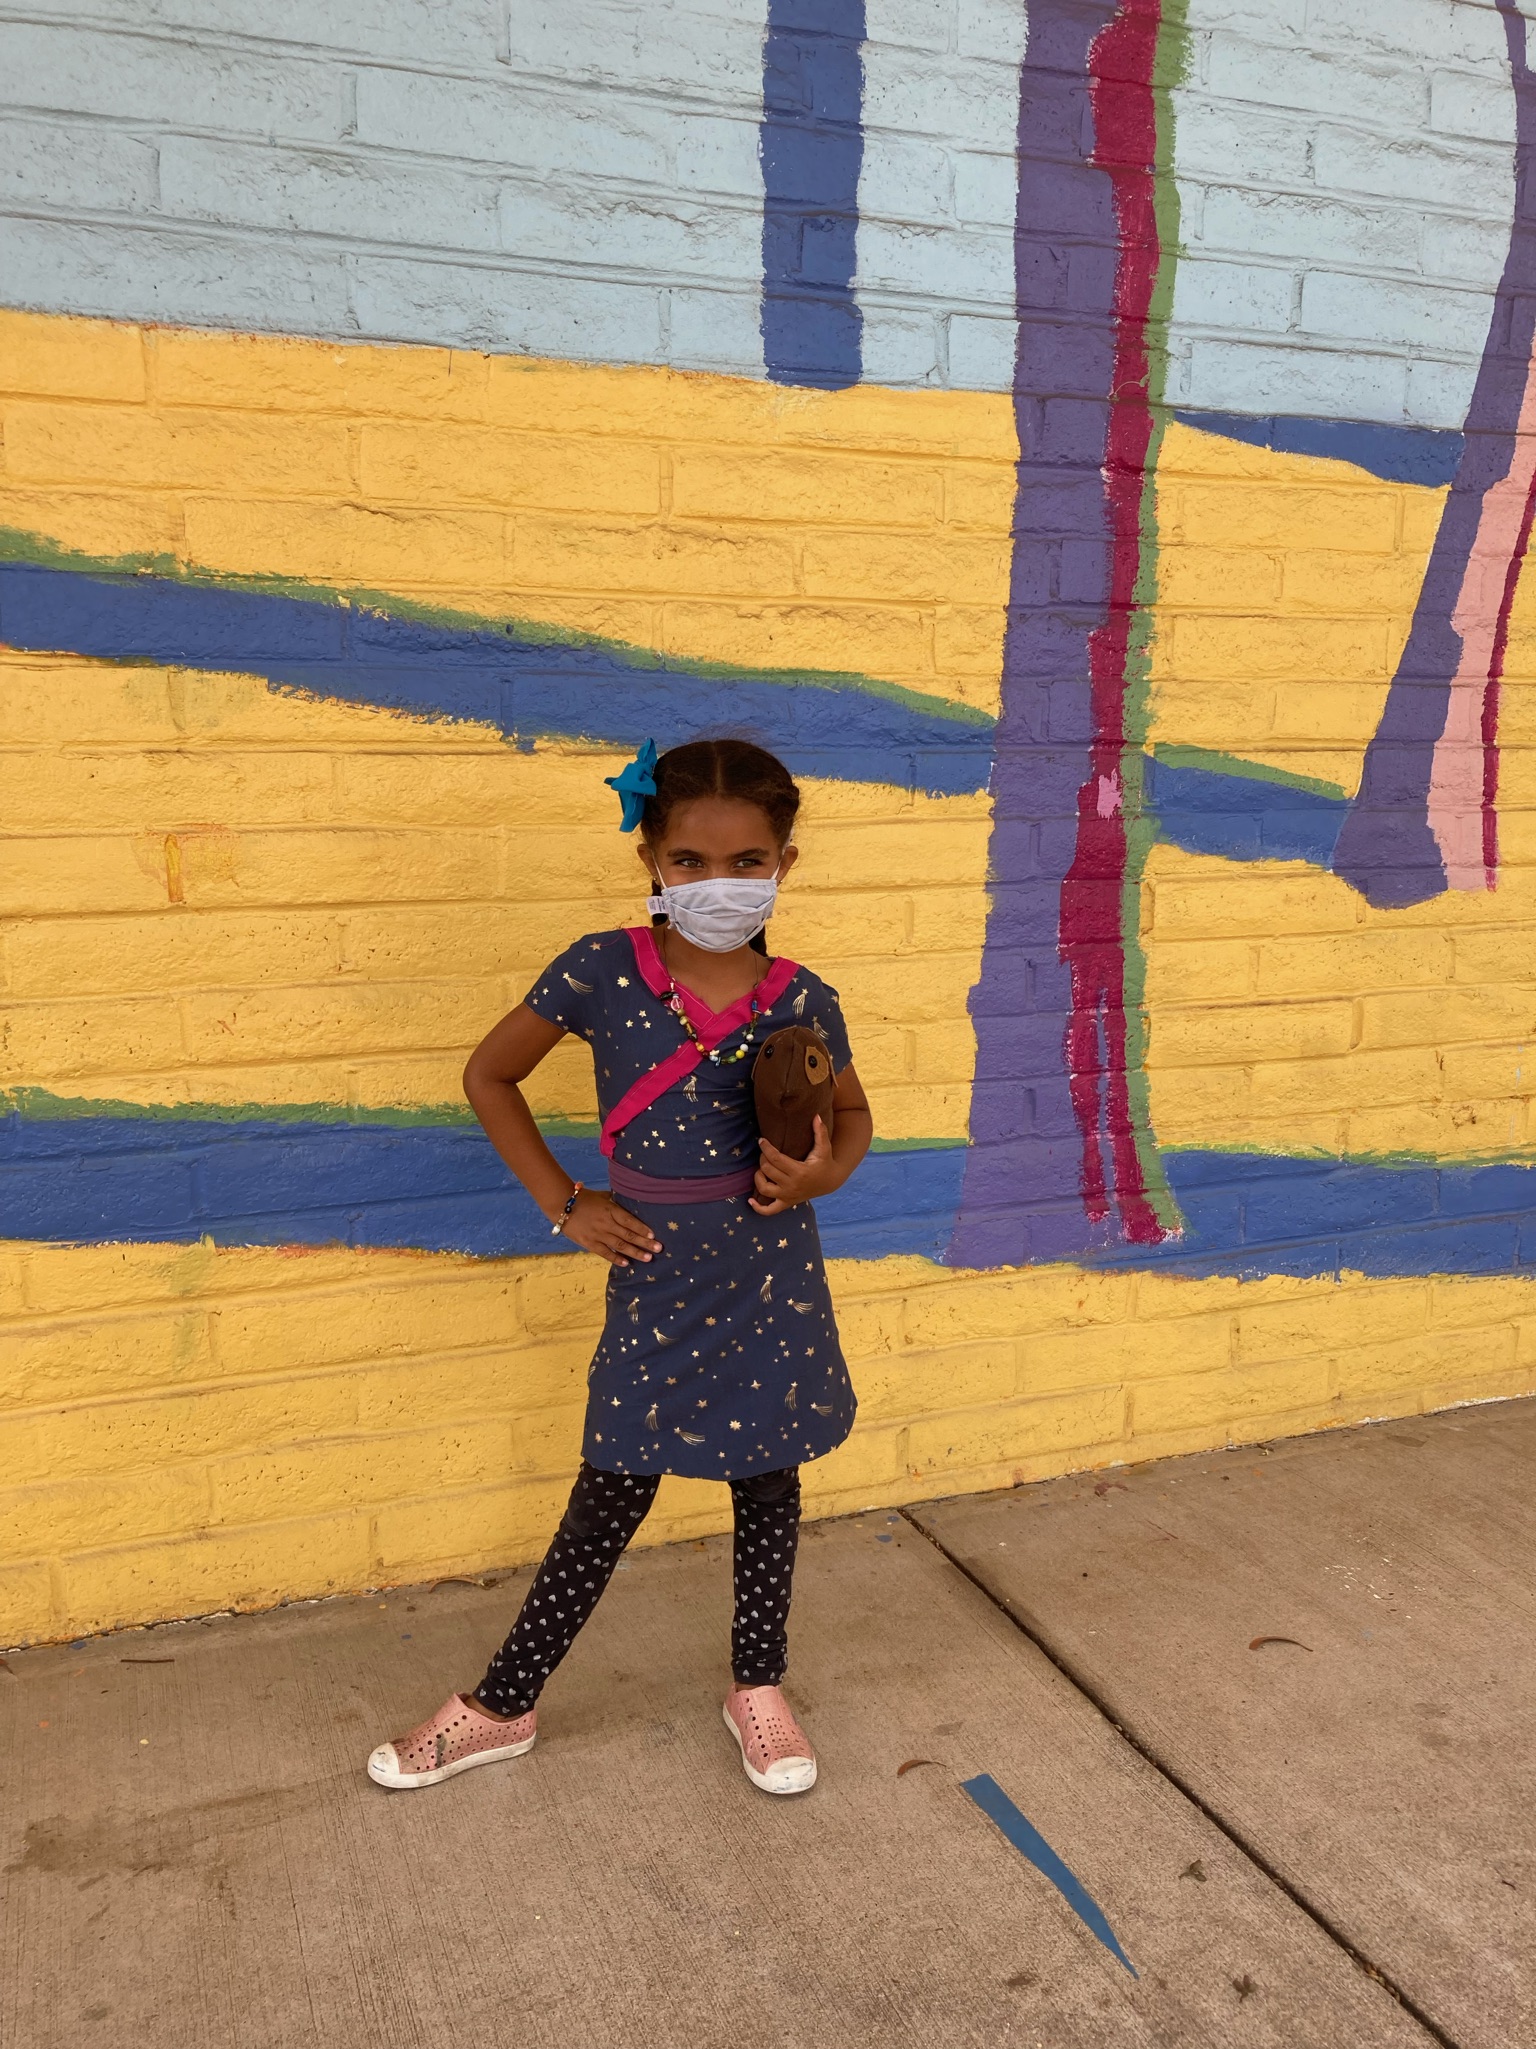
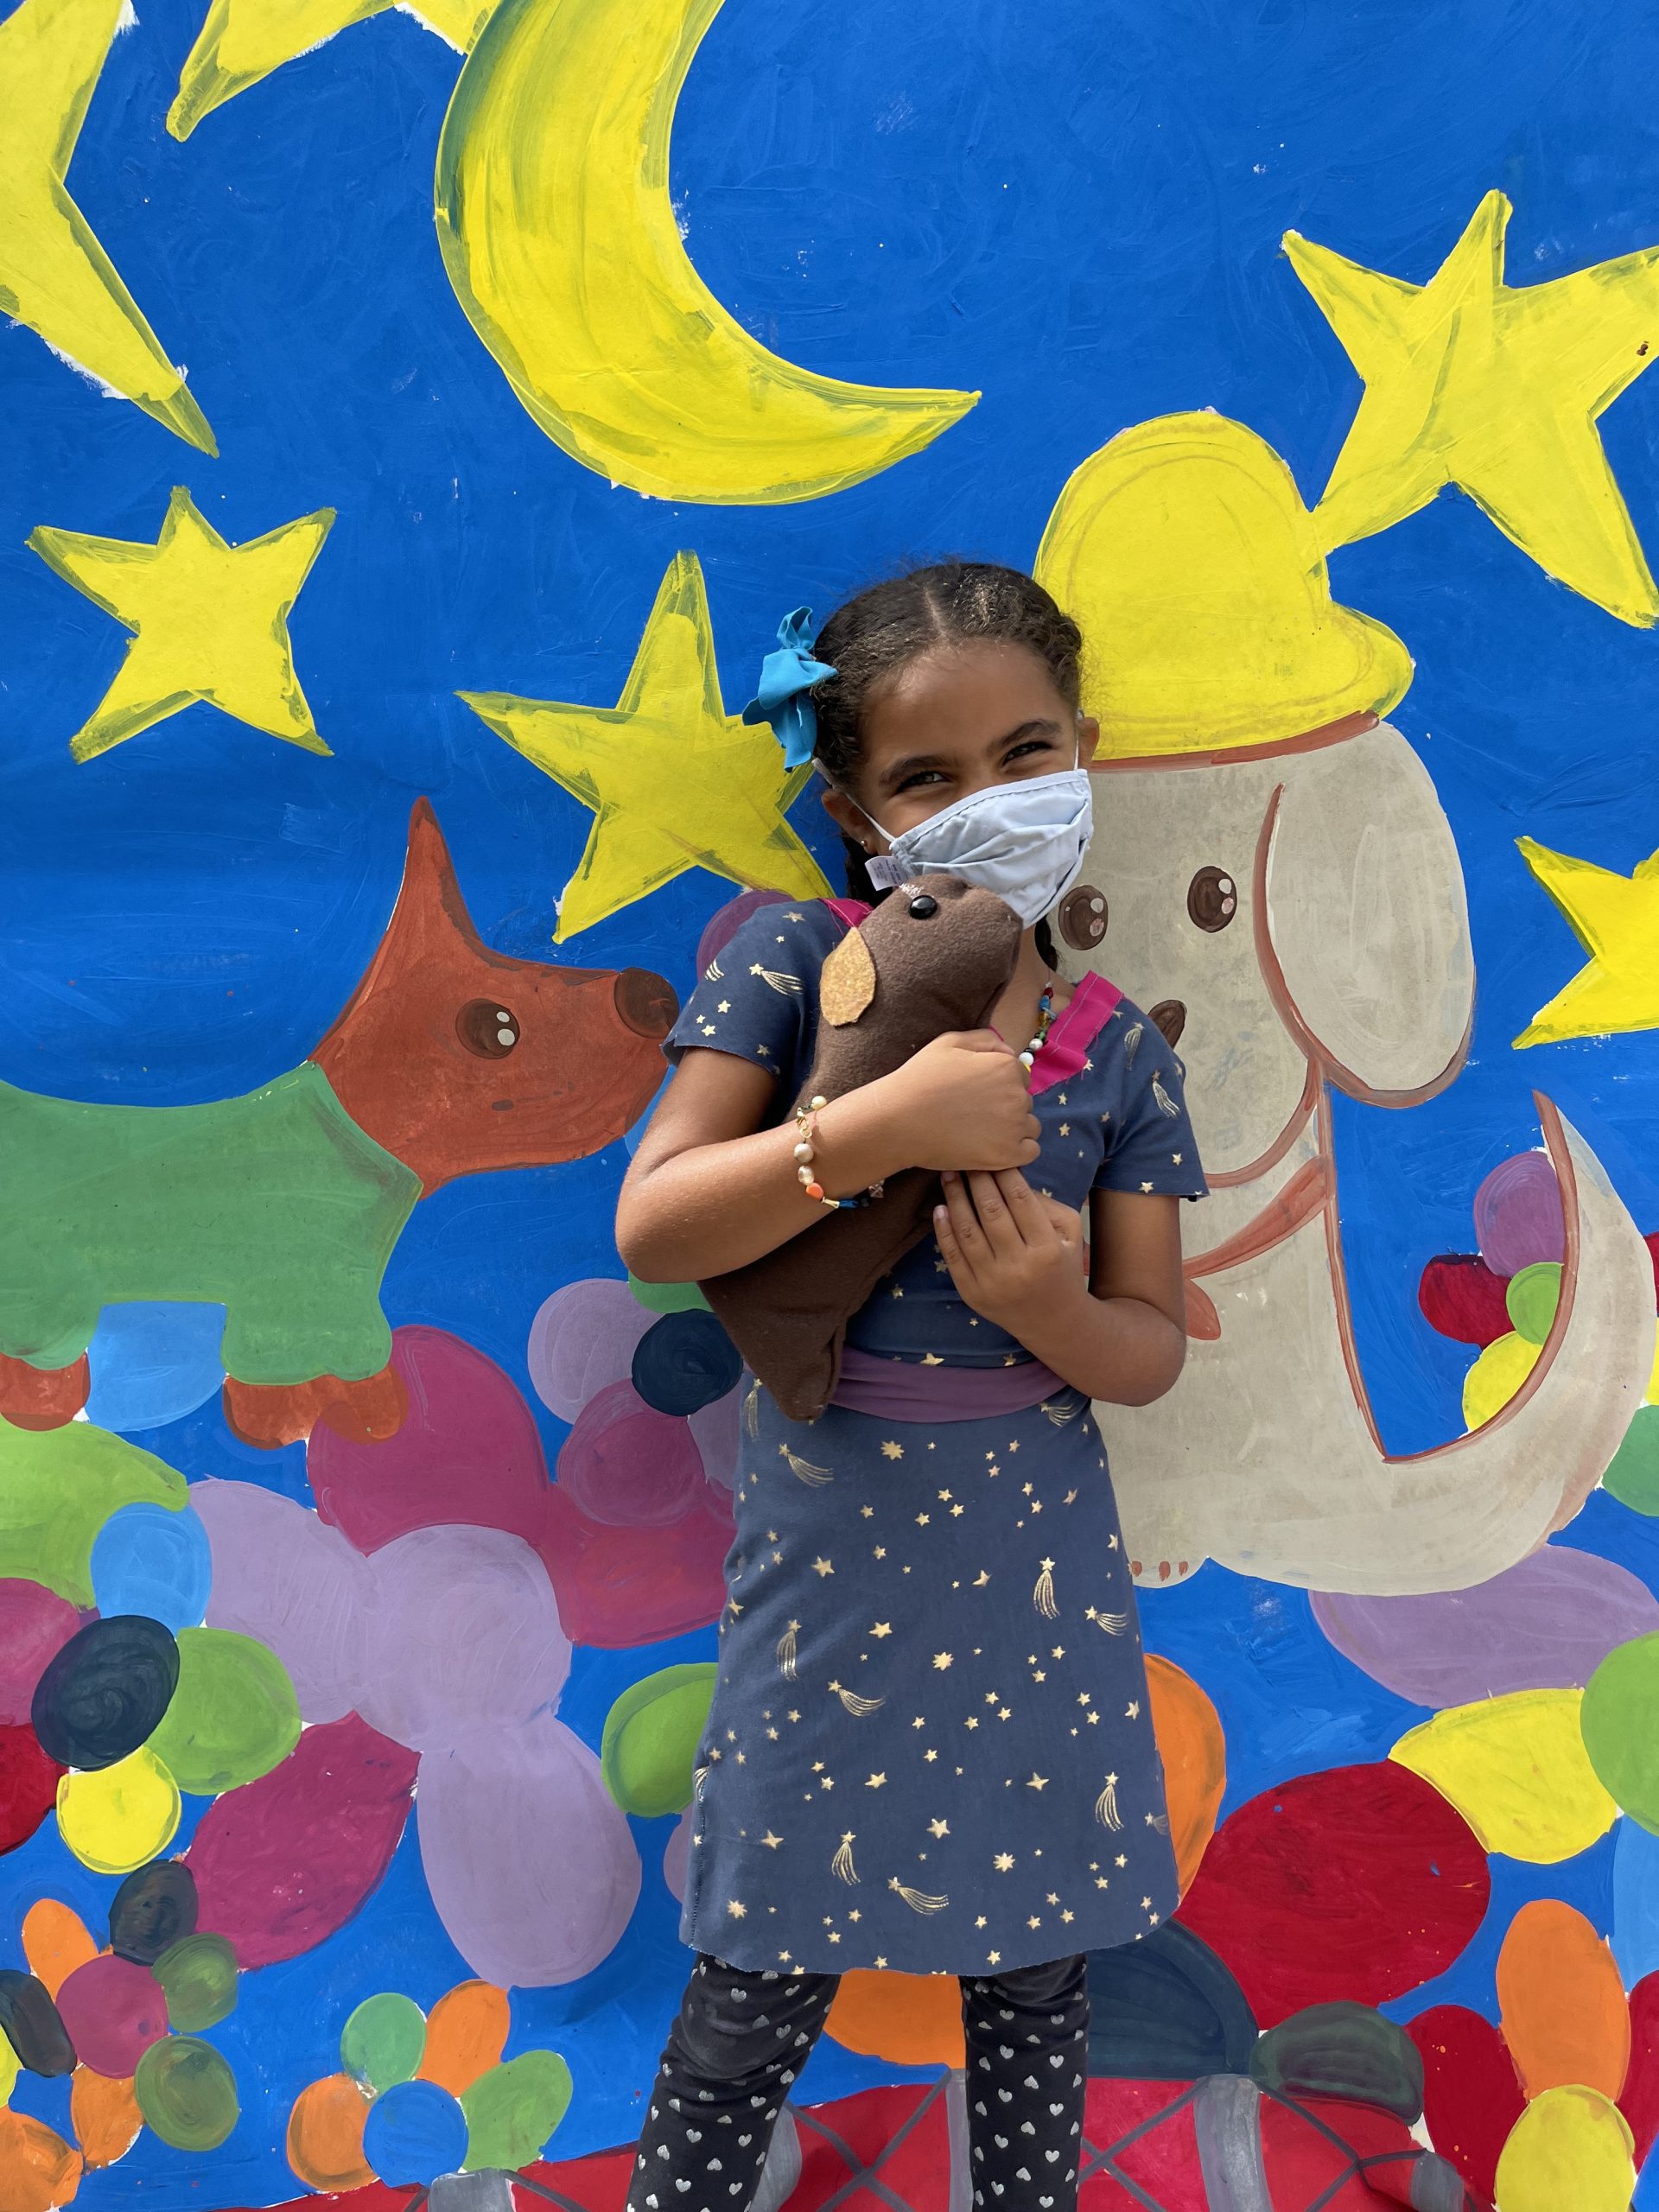
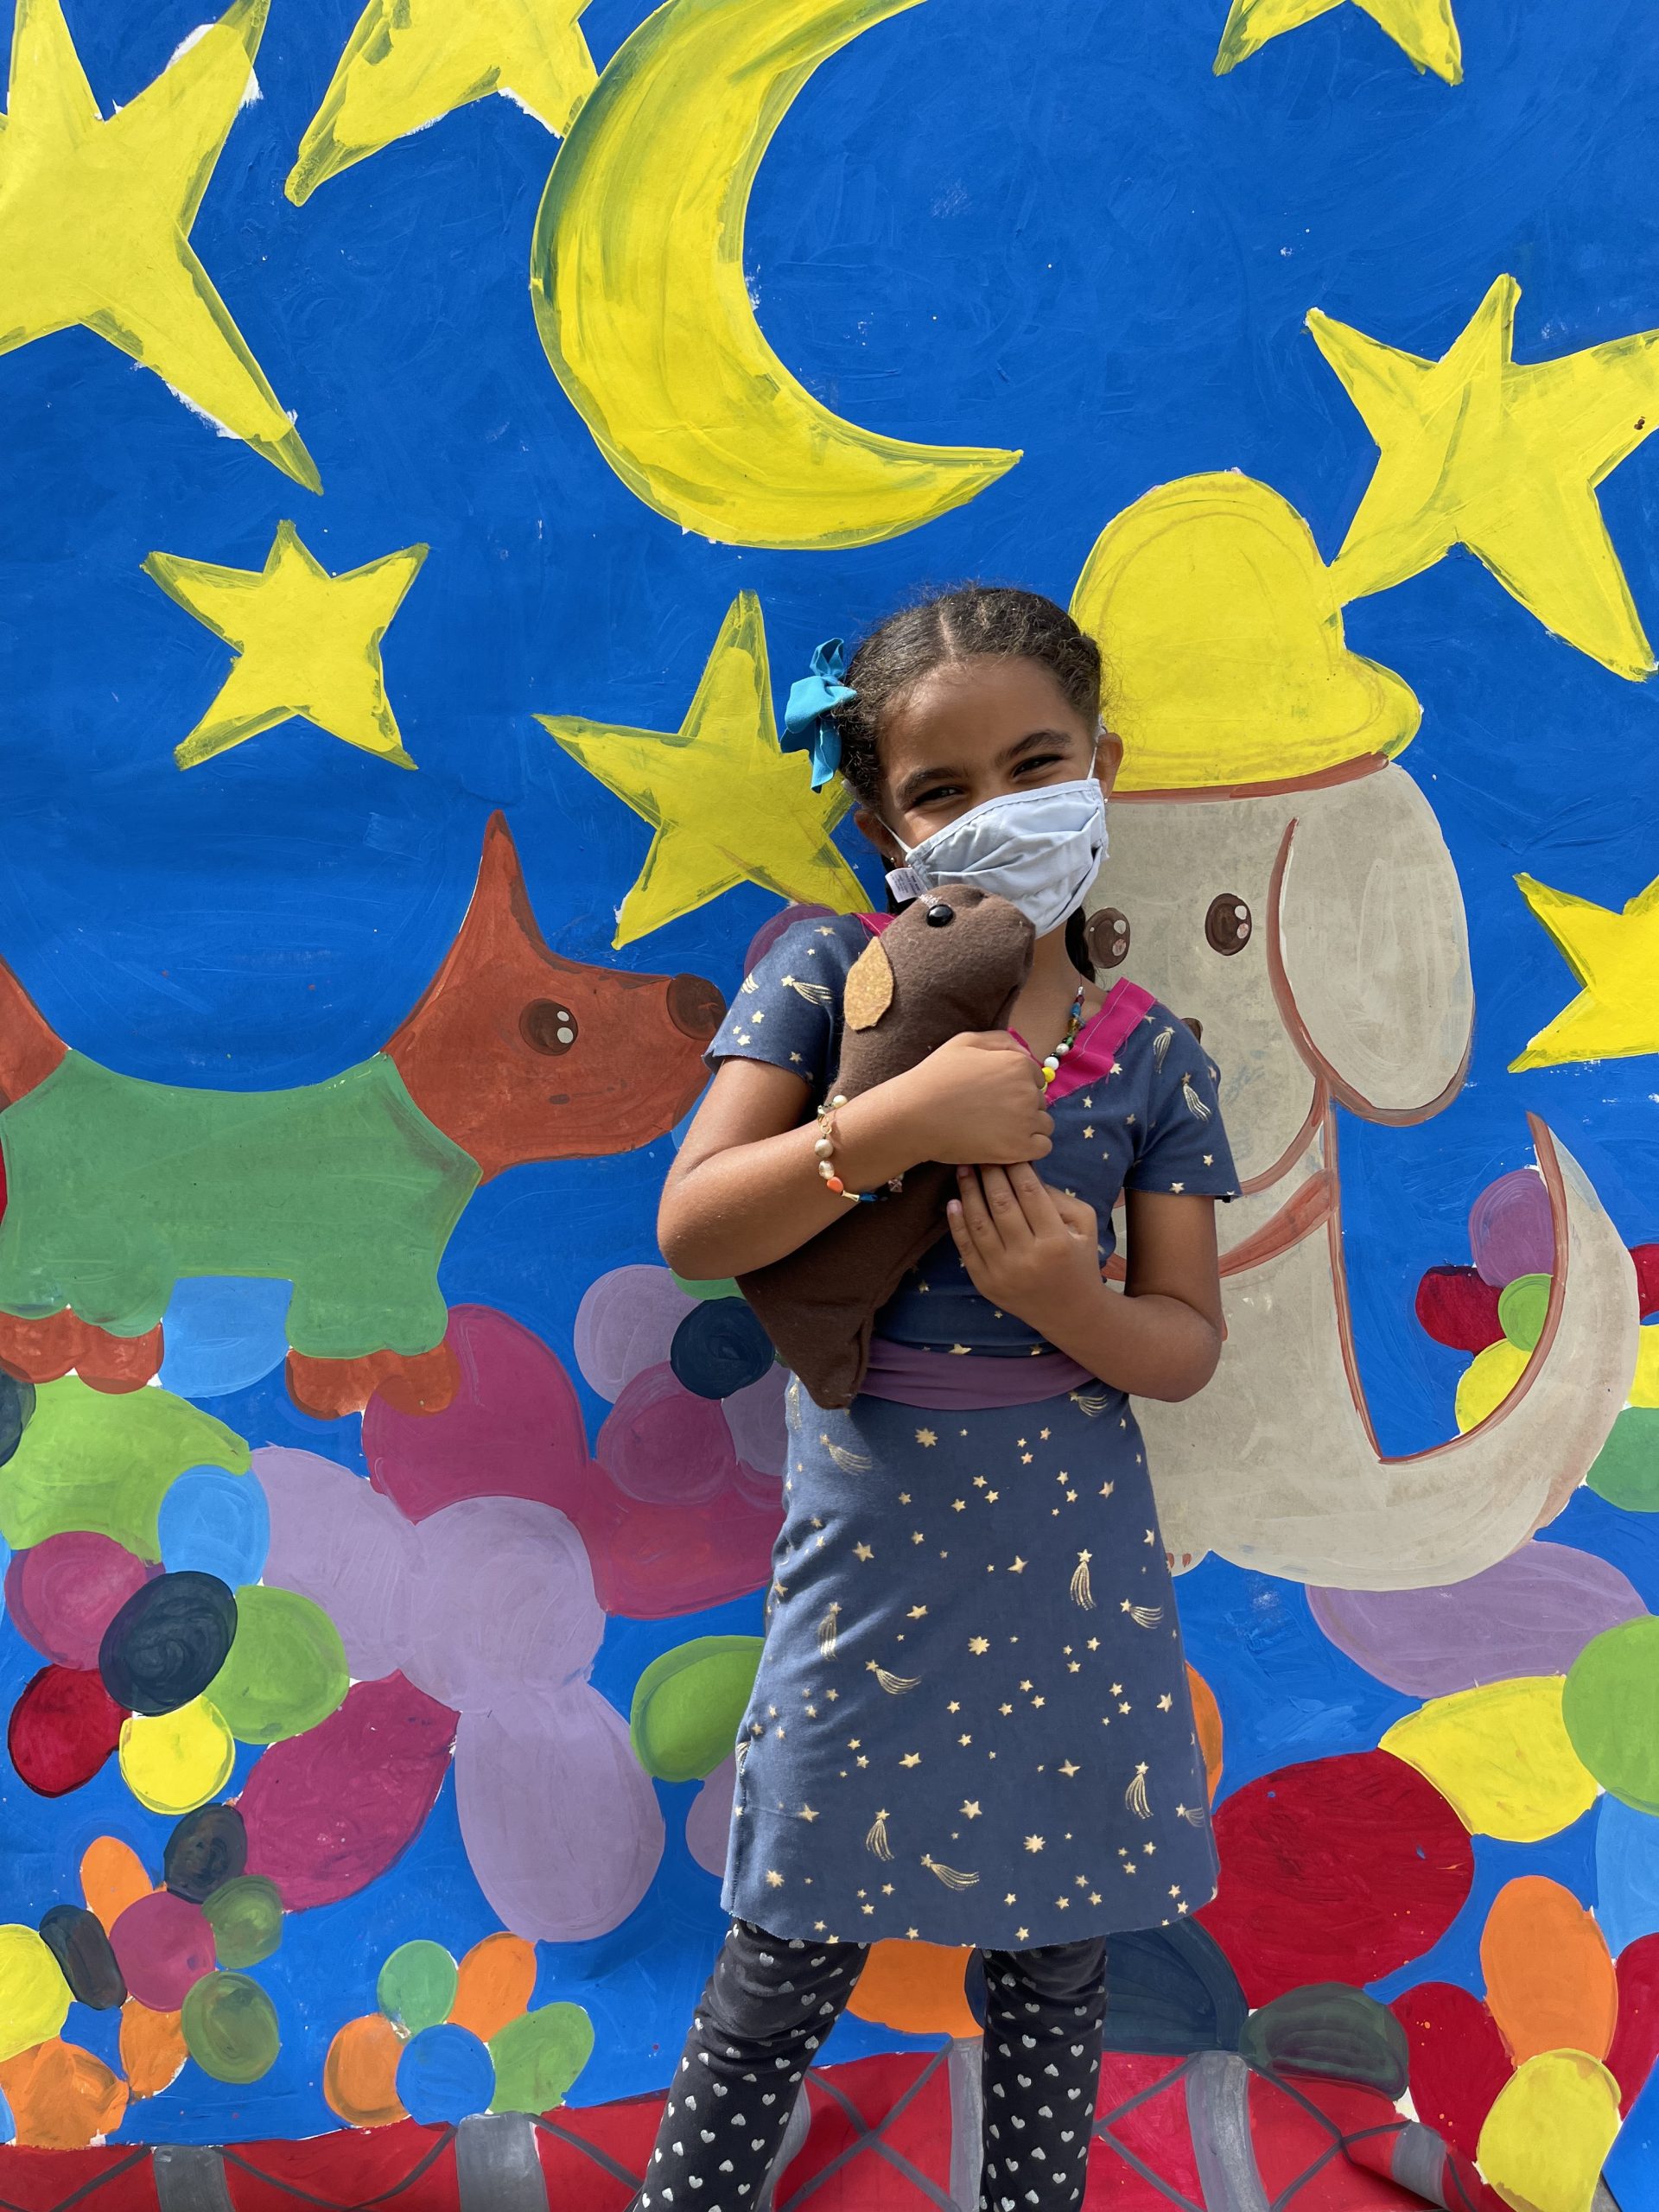
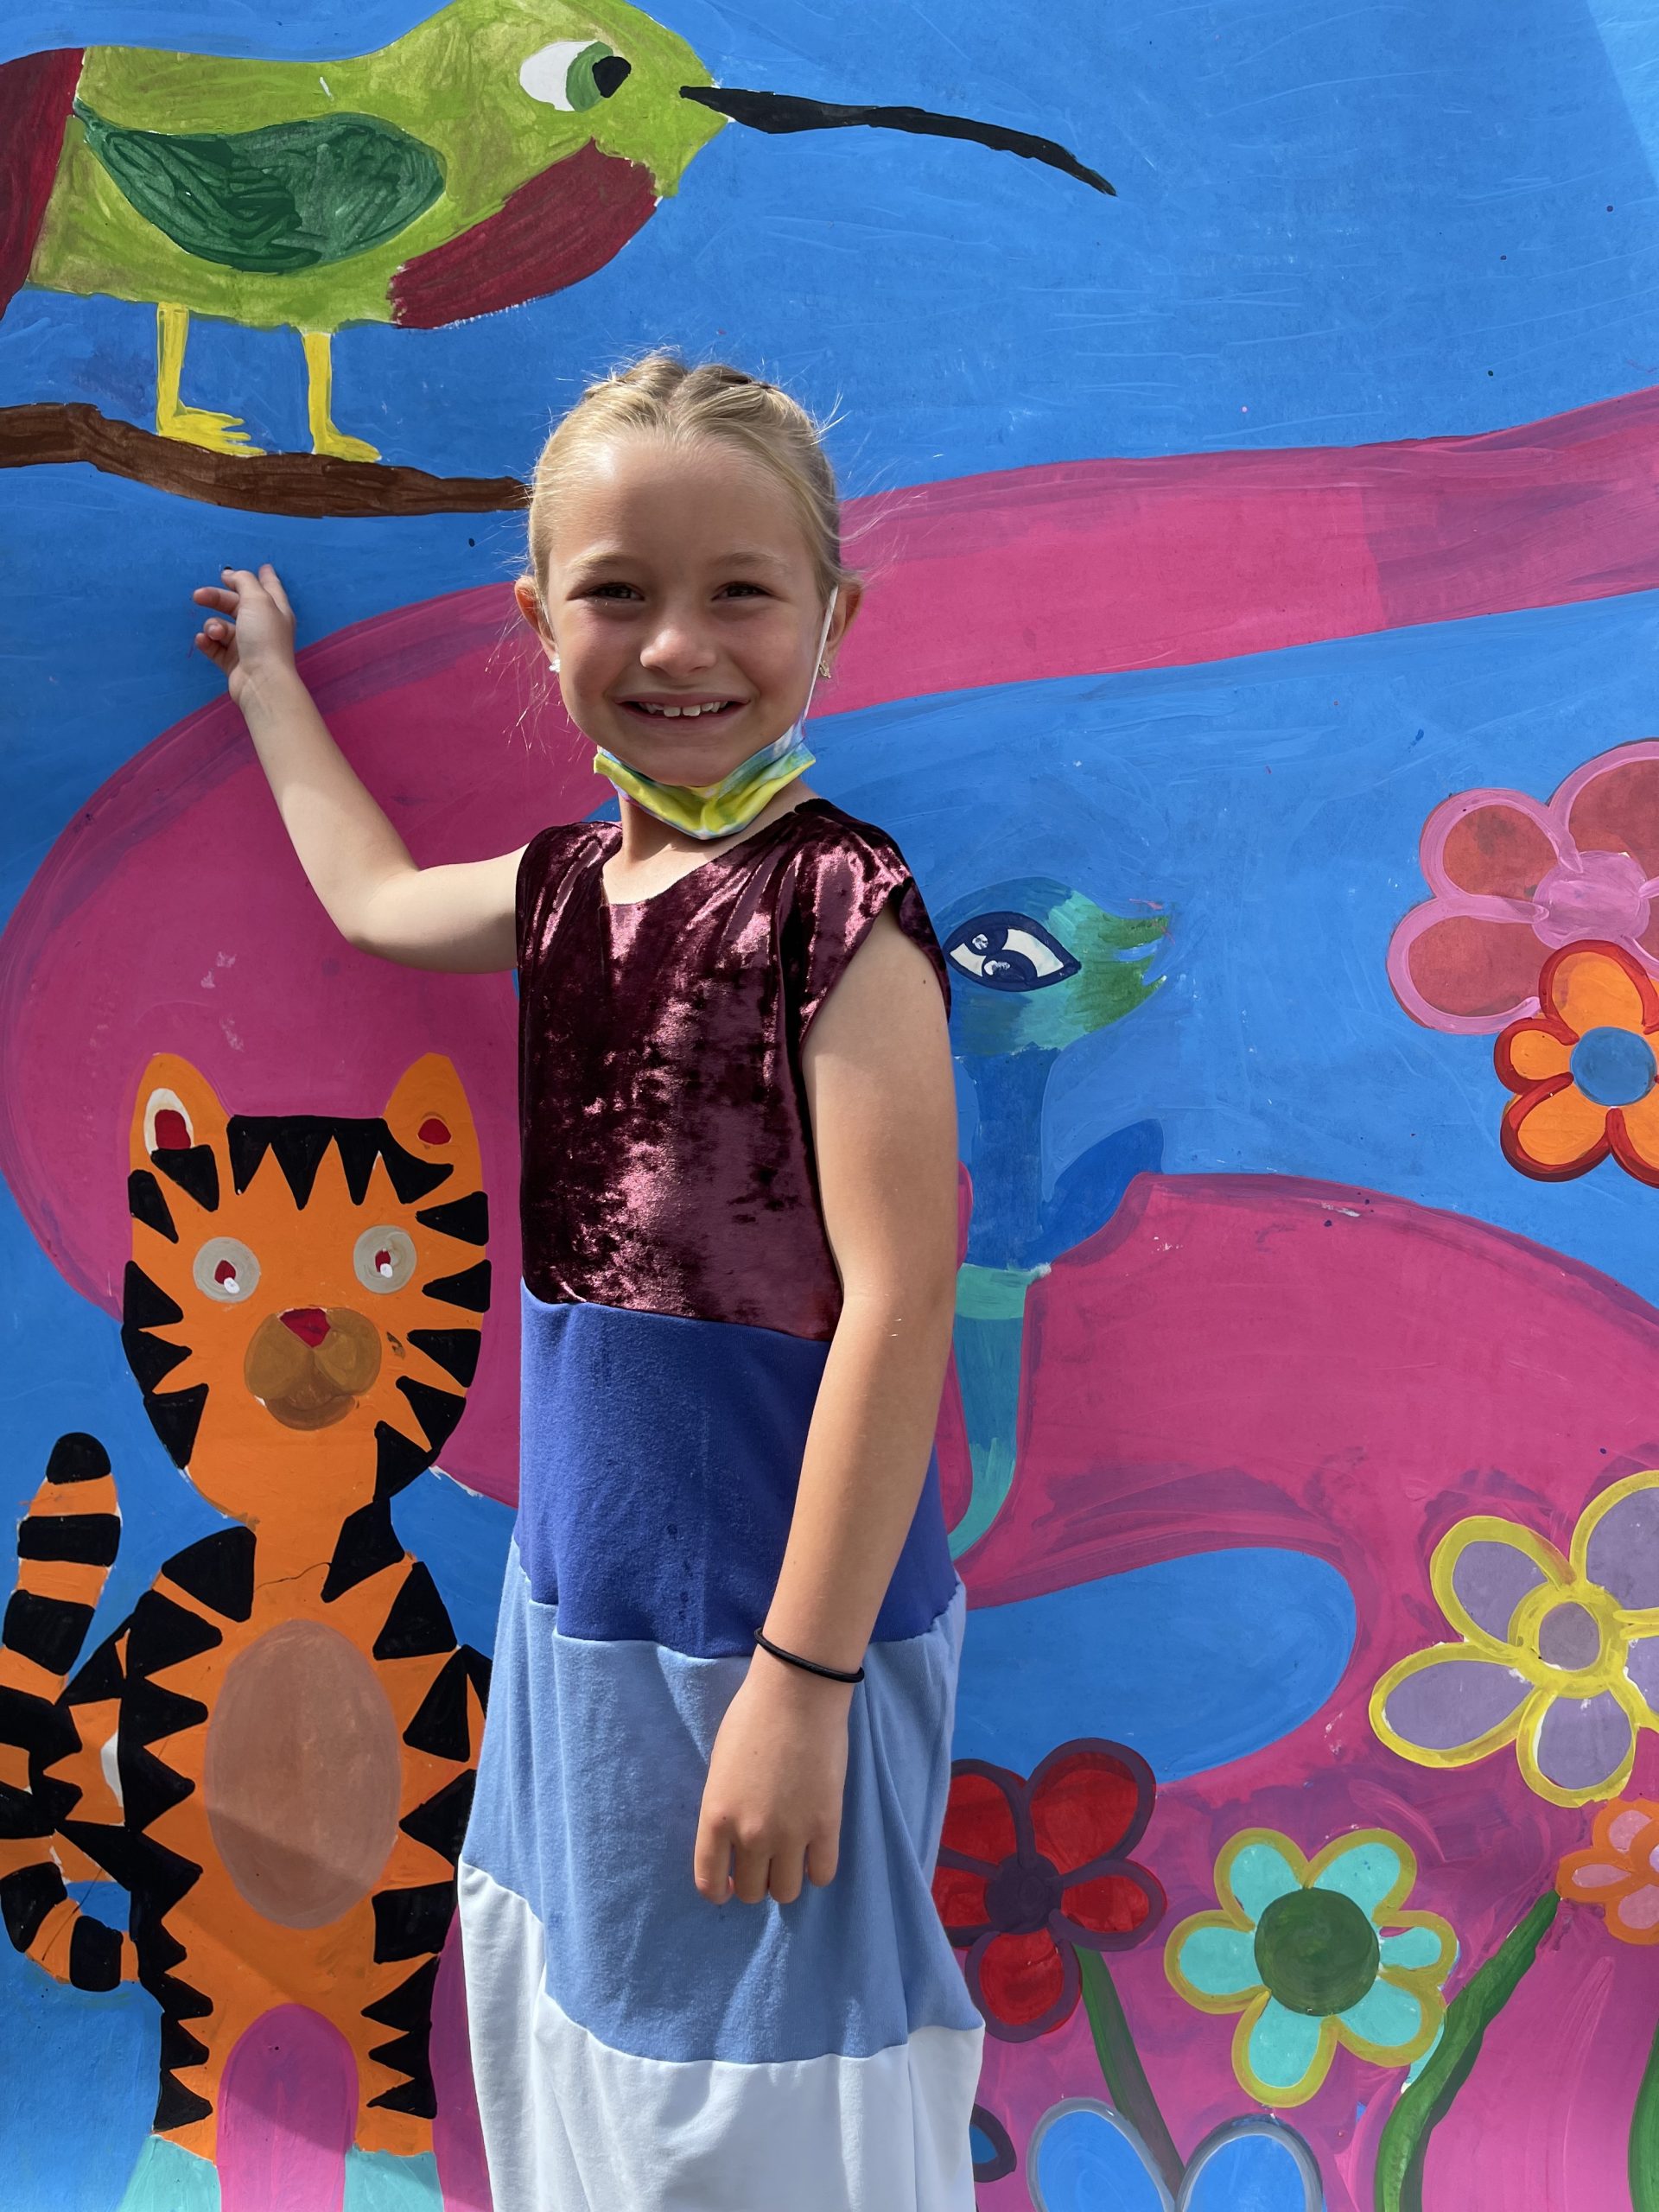
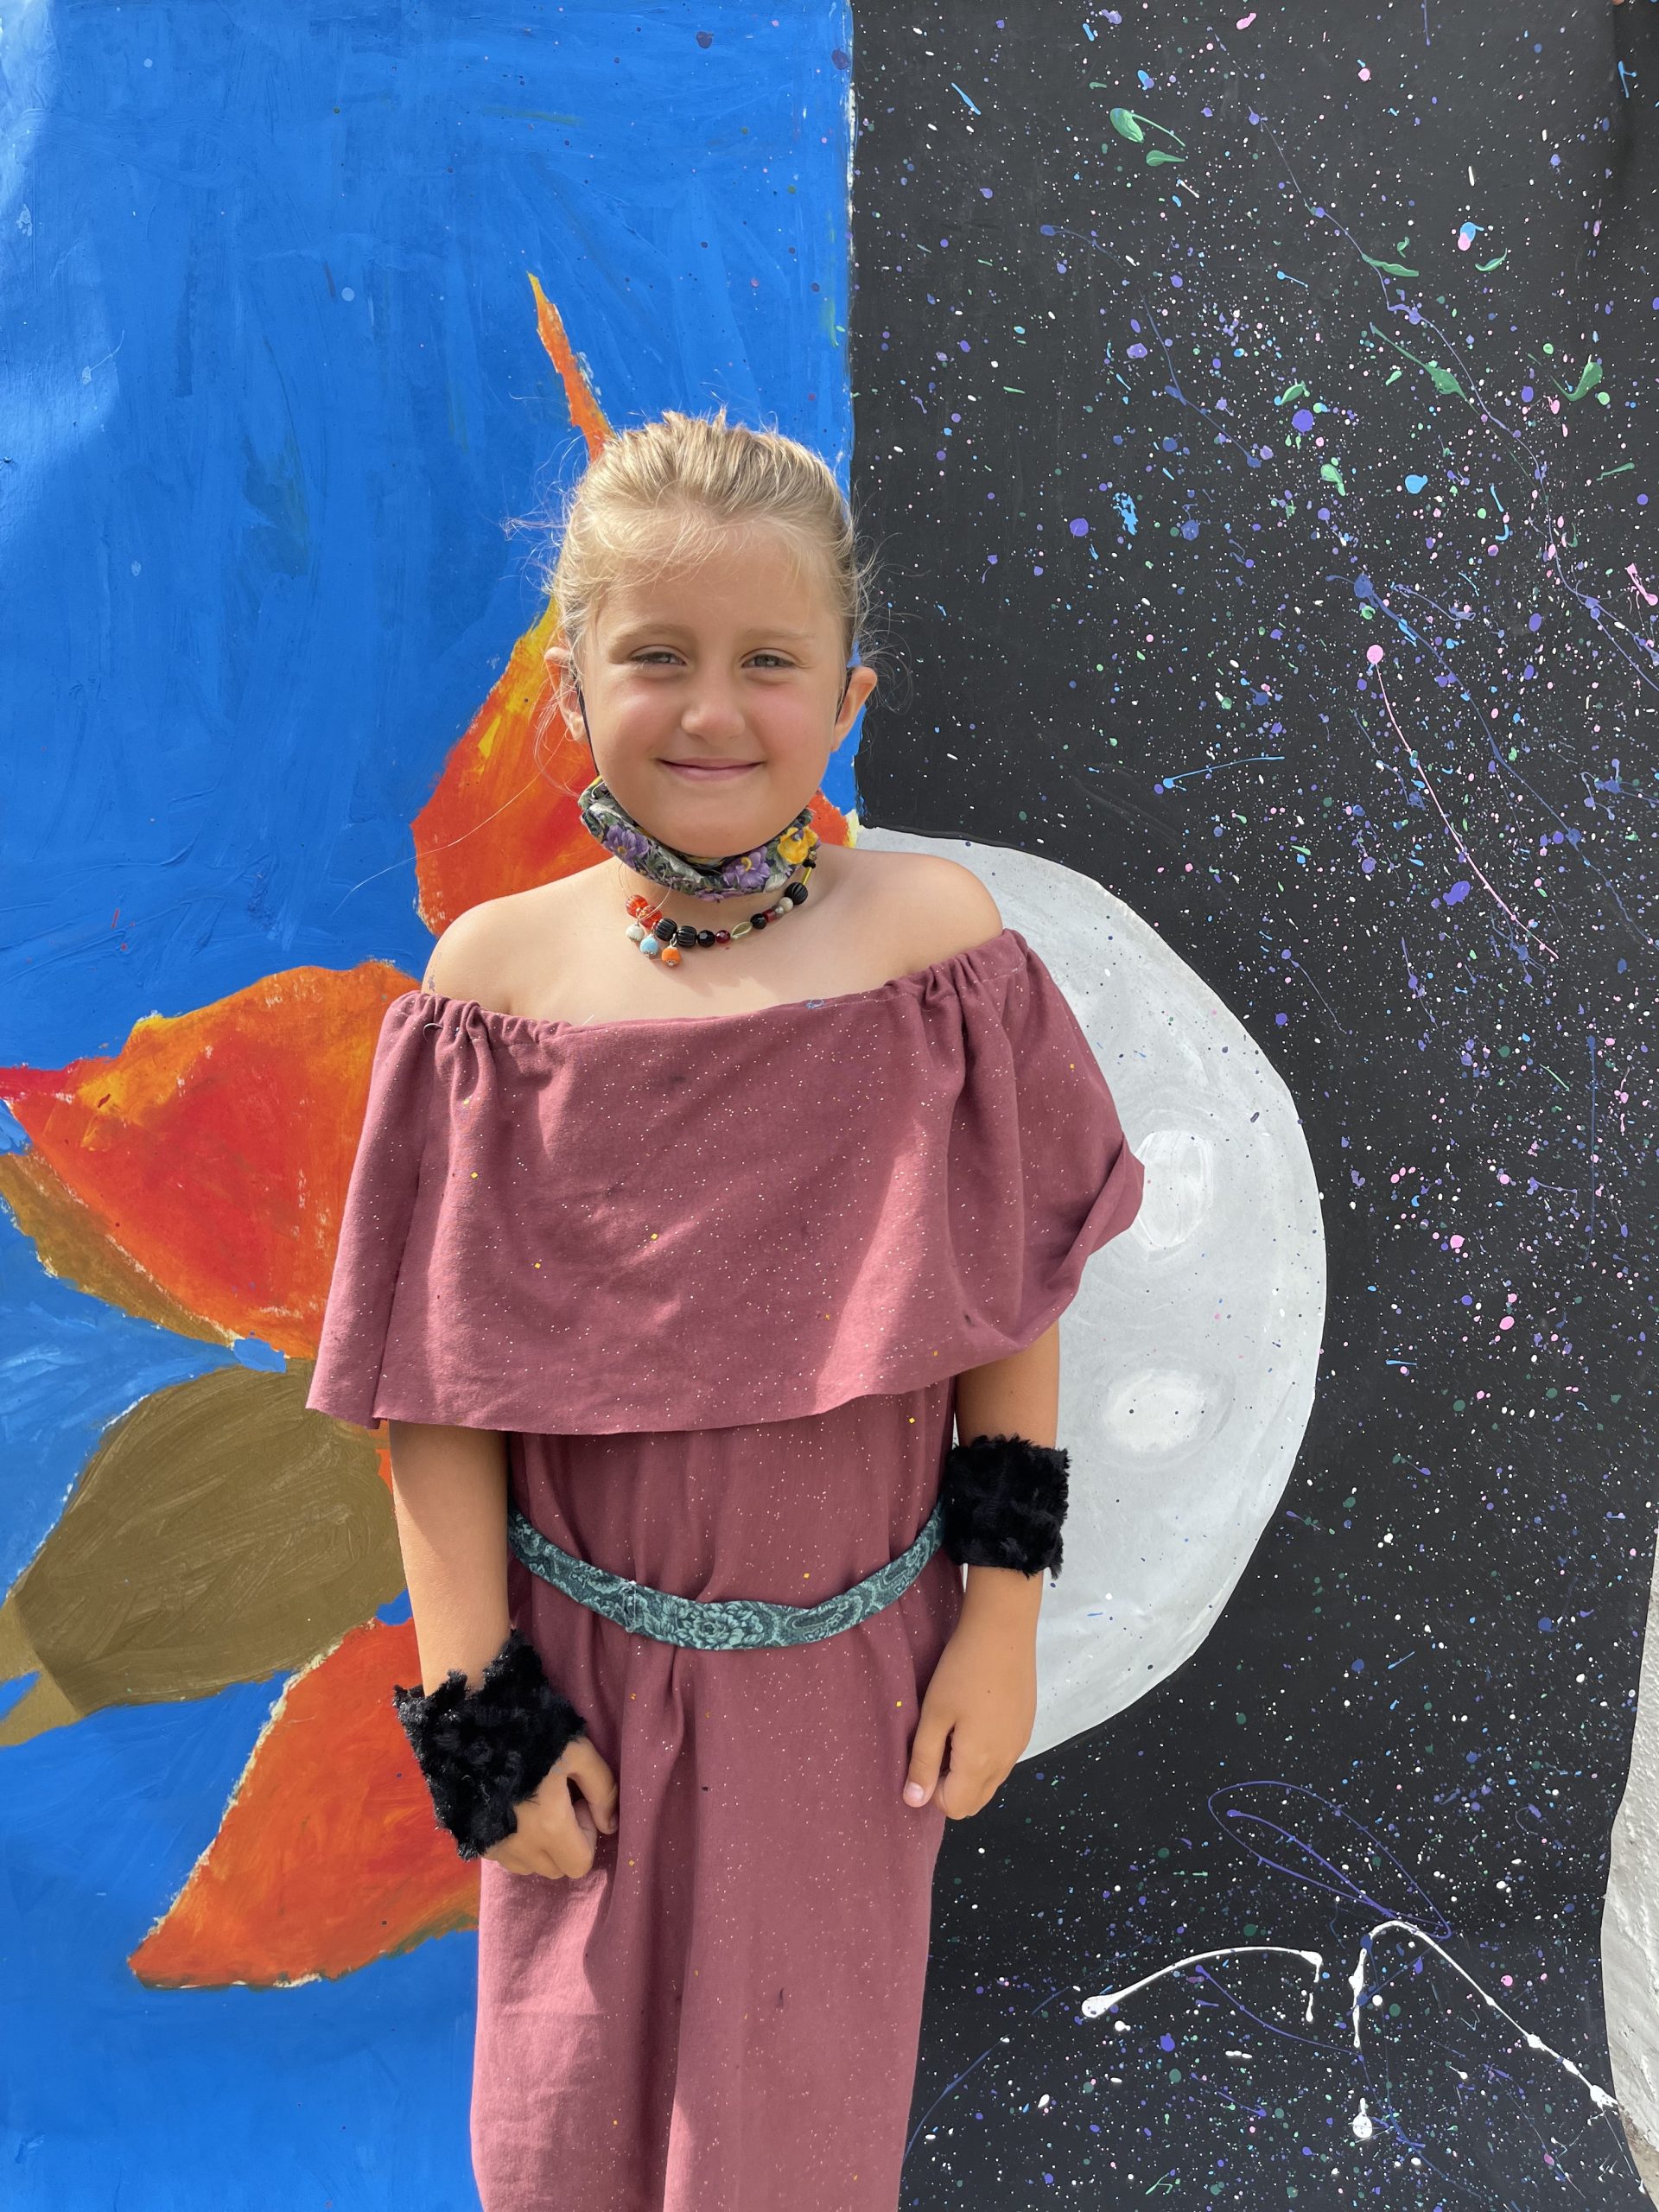
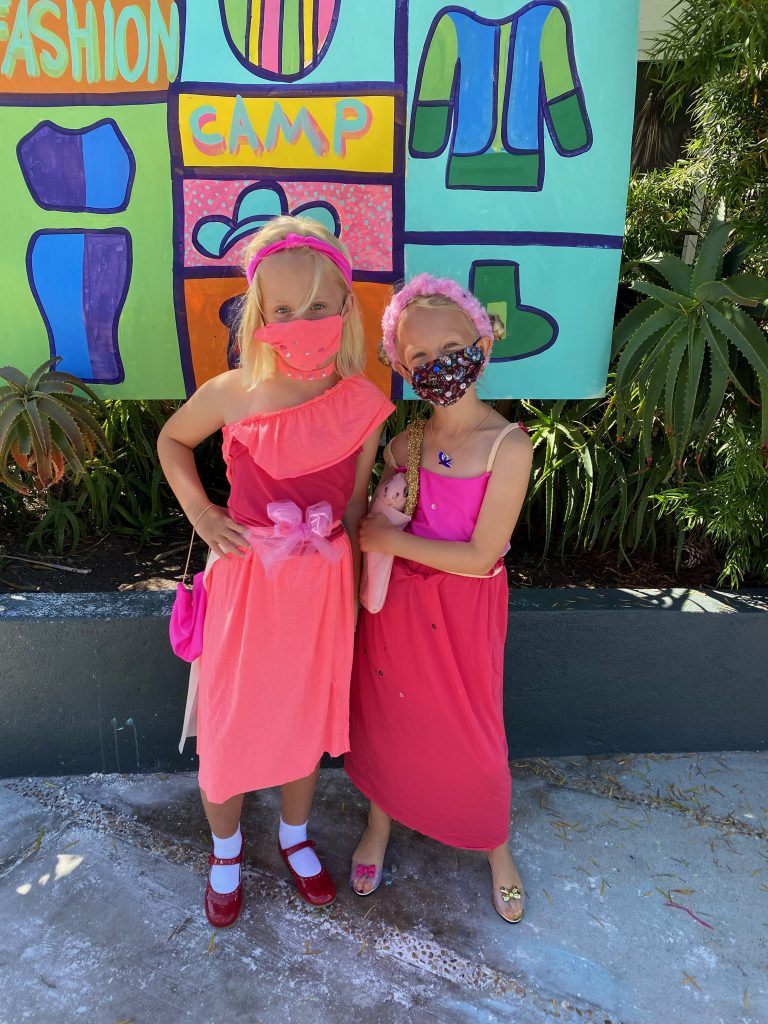
Here are all of the looks in front of the mural that we painted together.


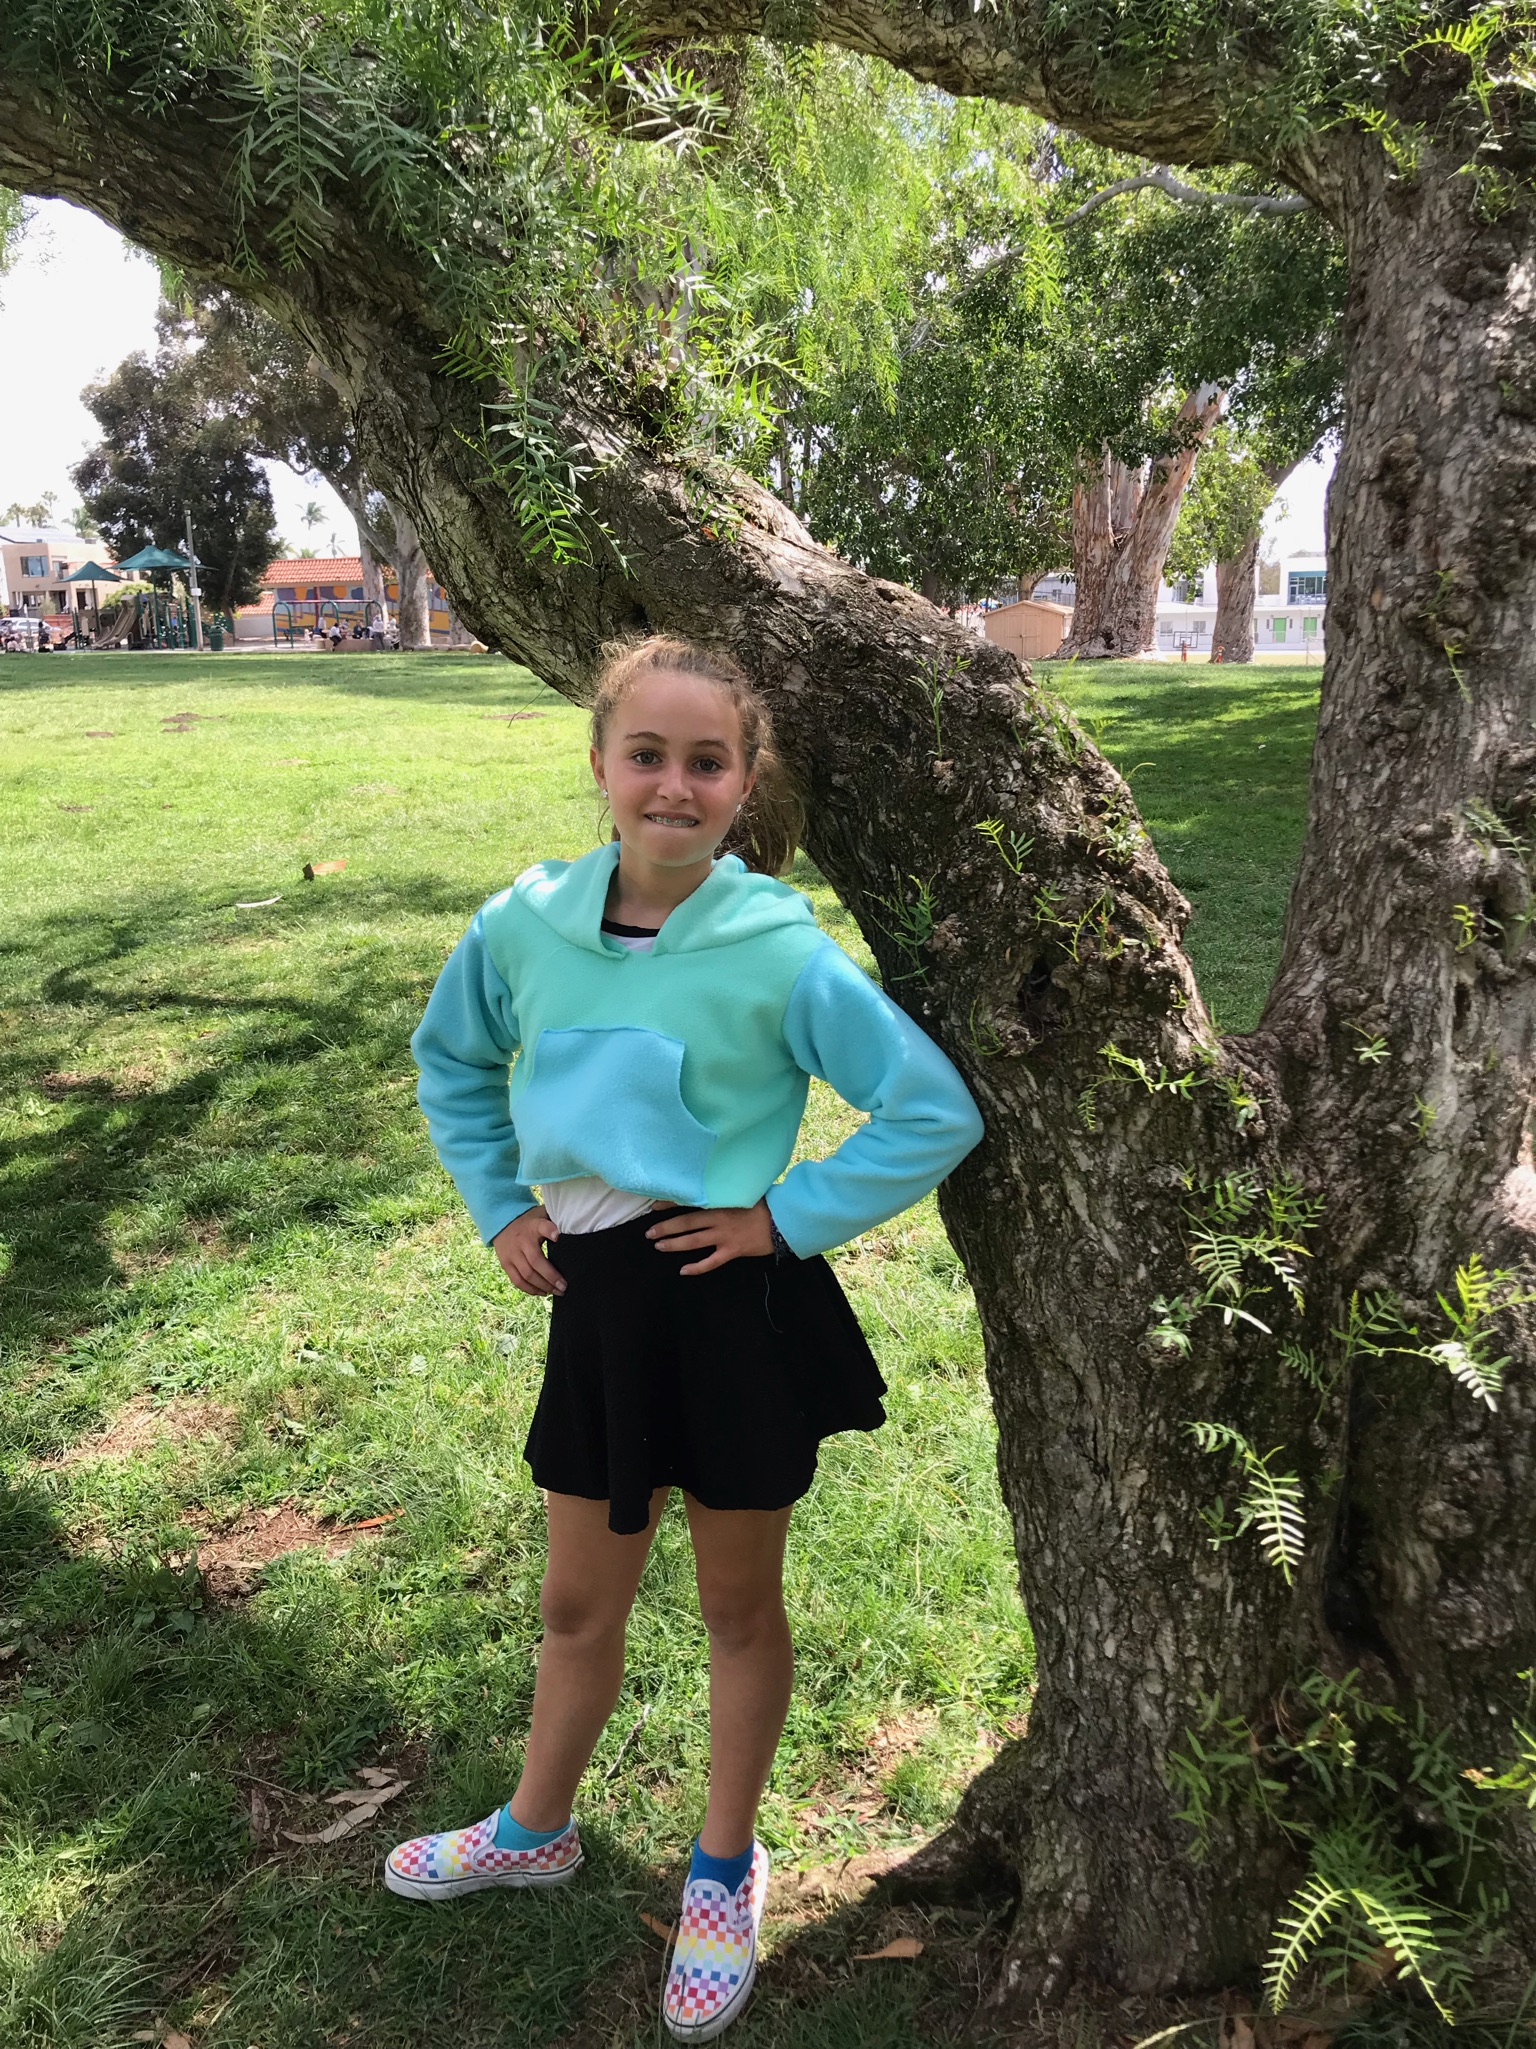
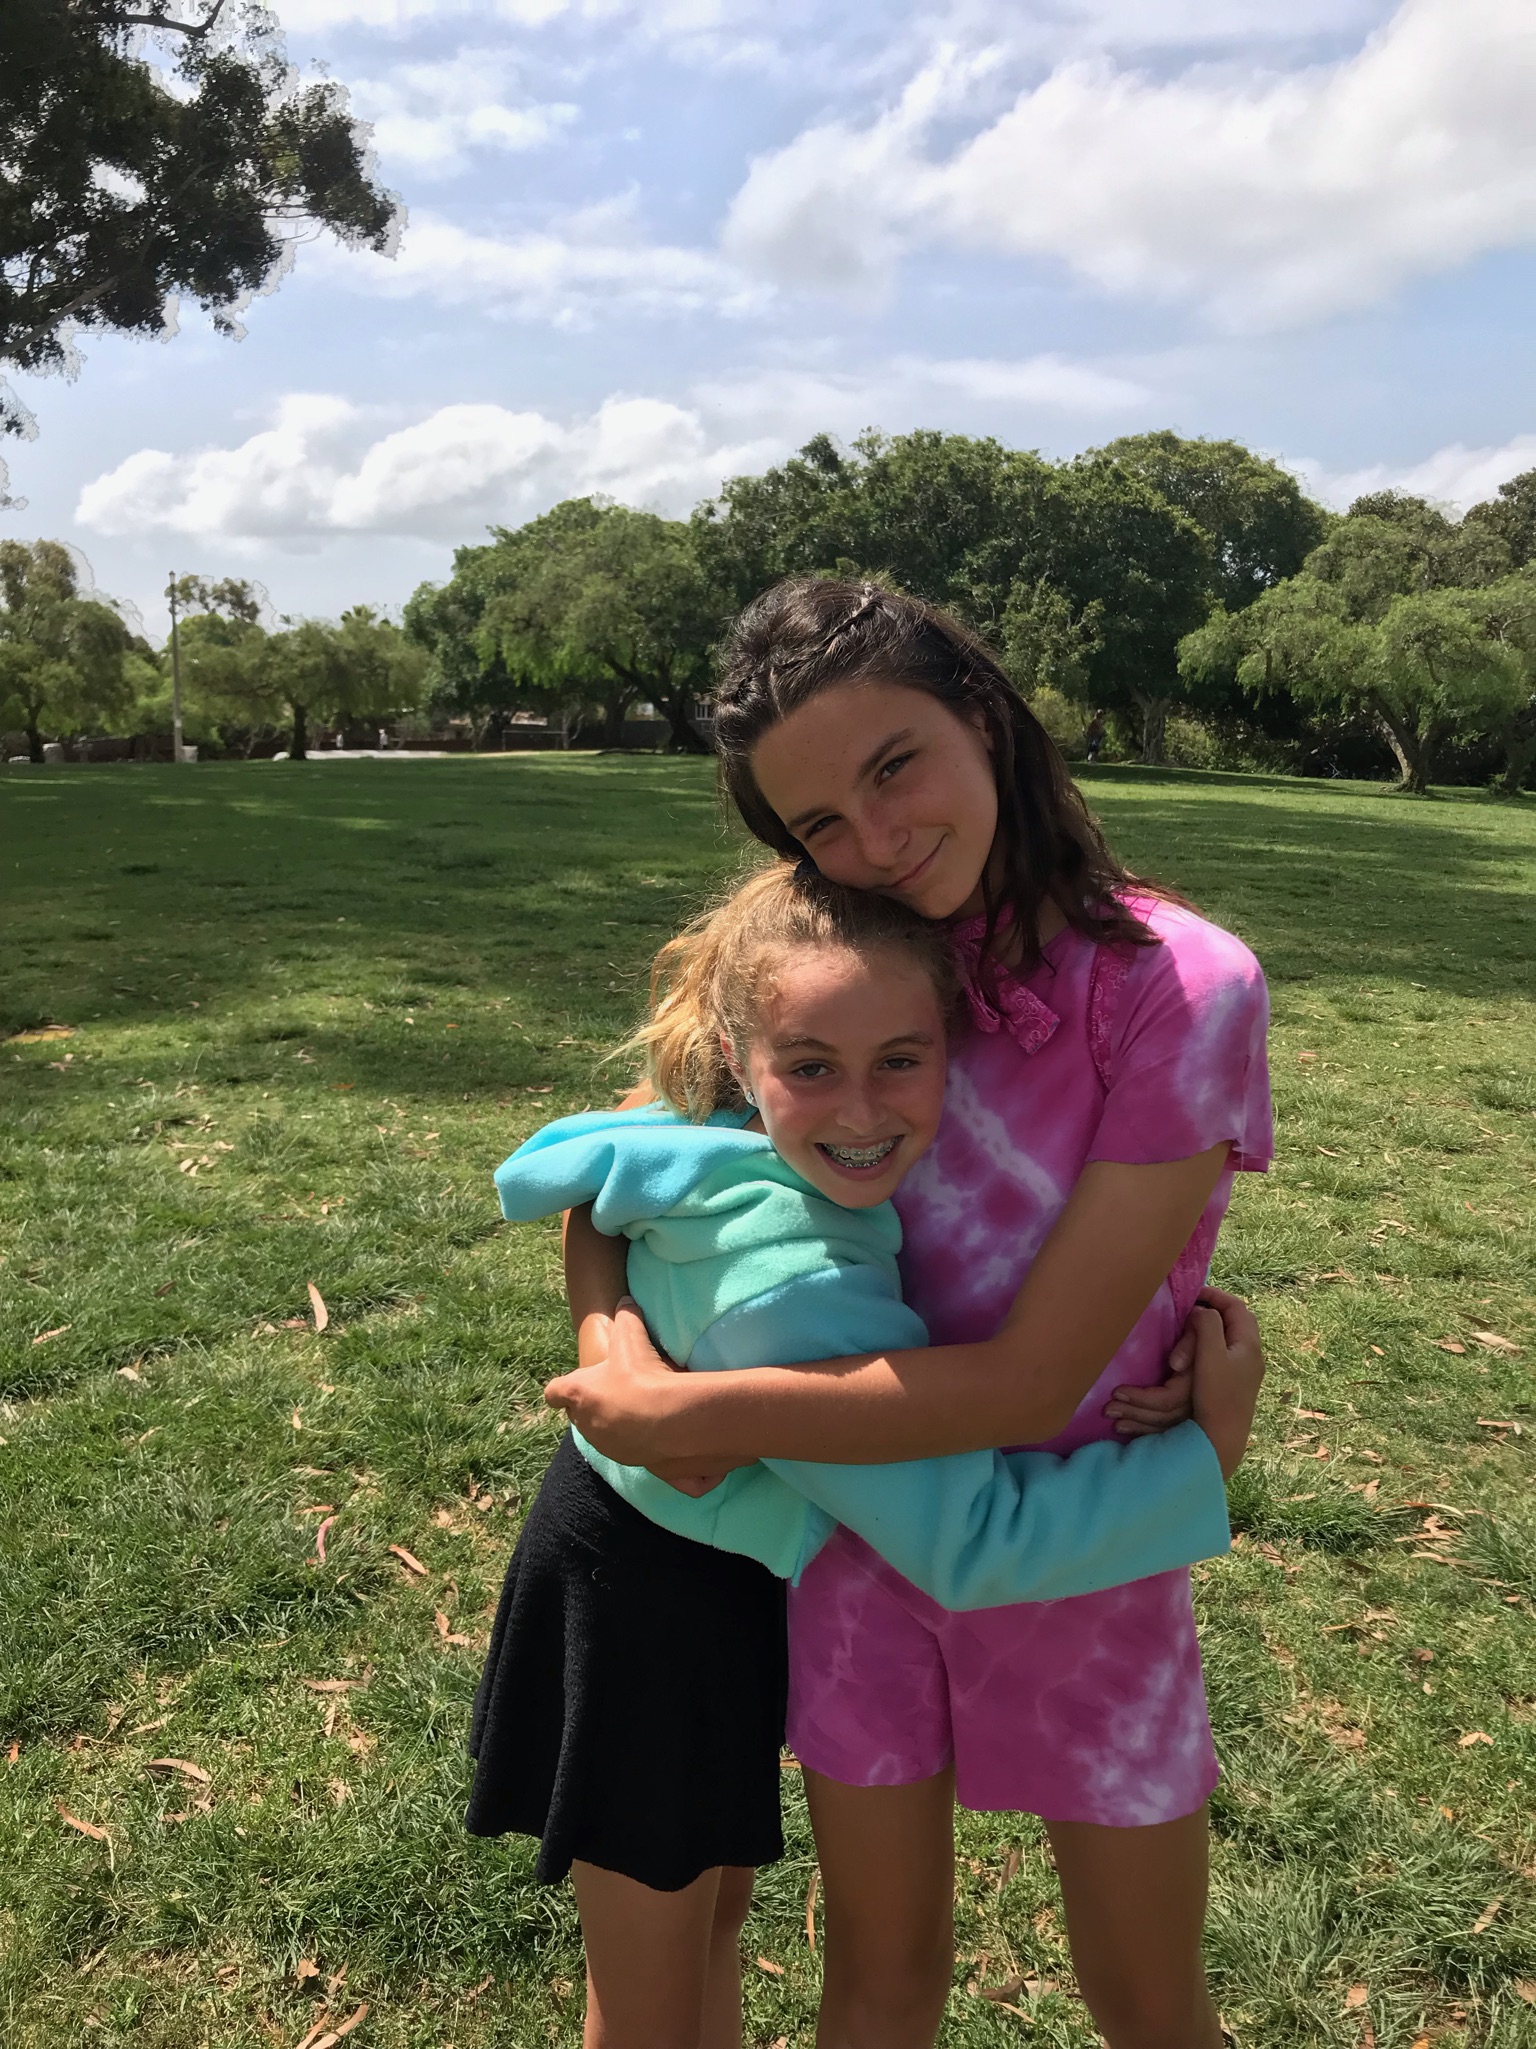
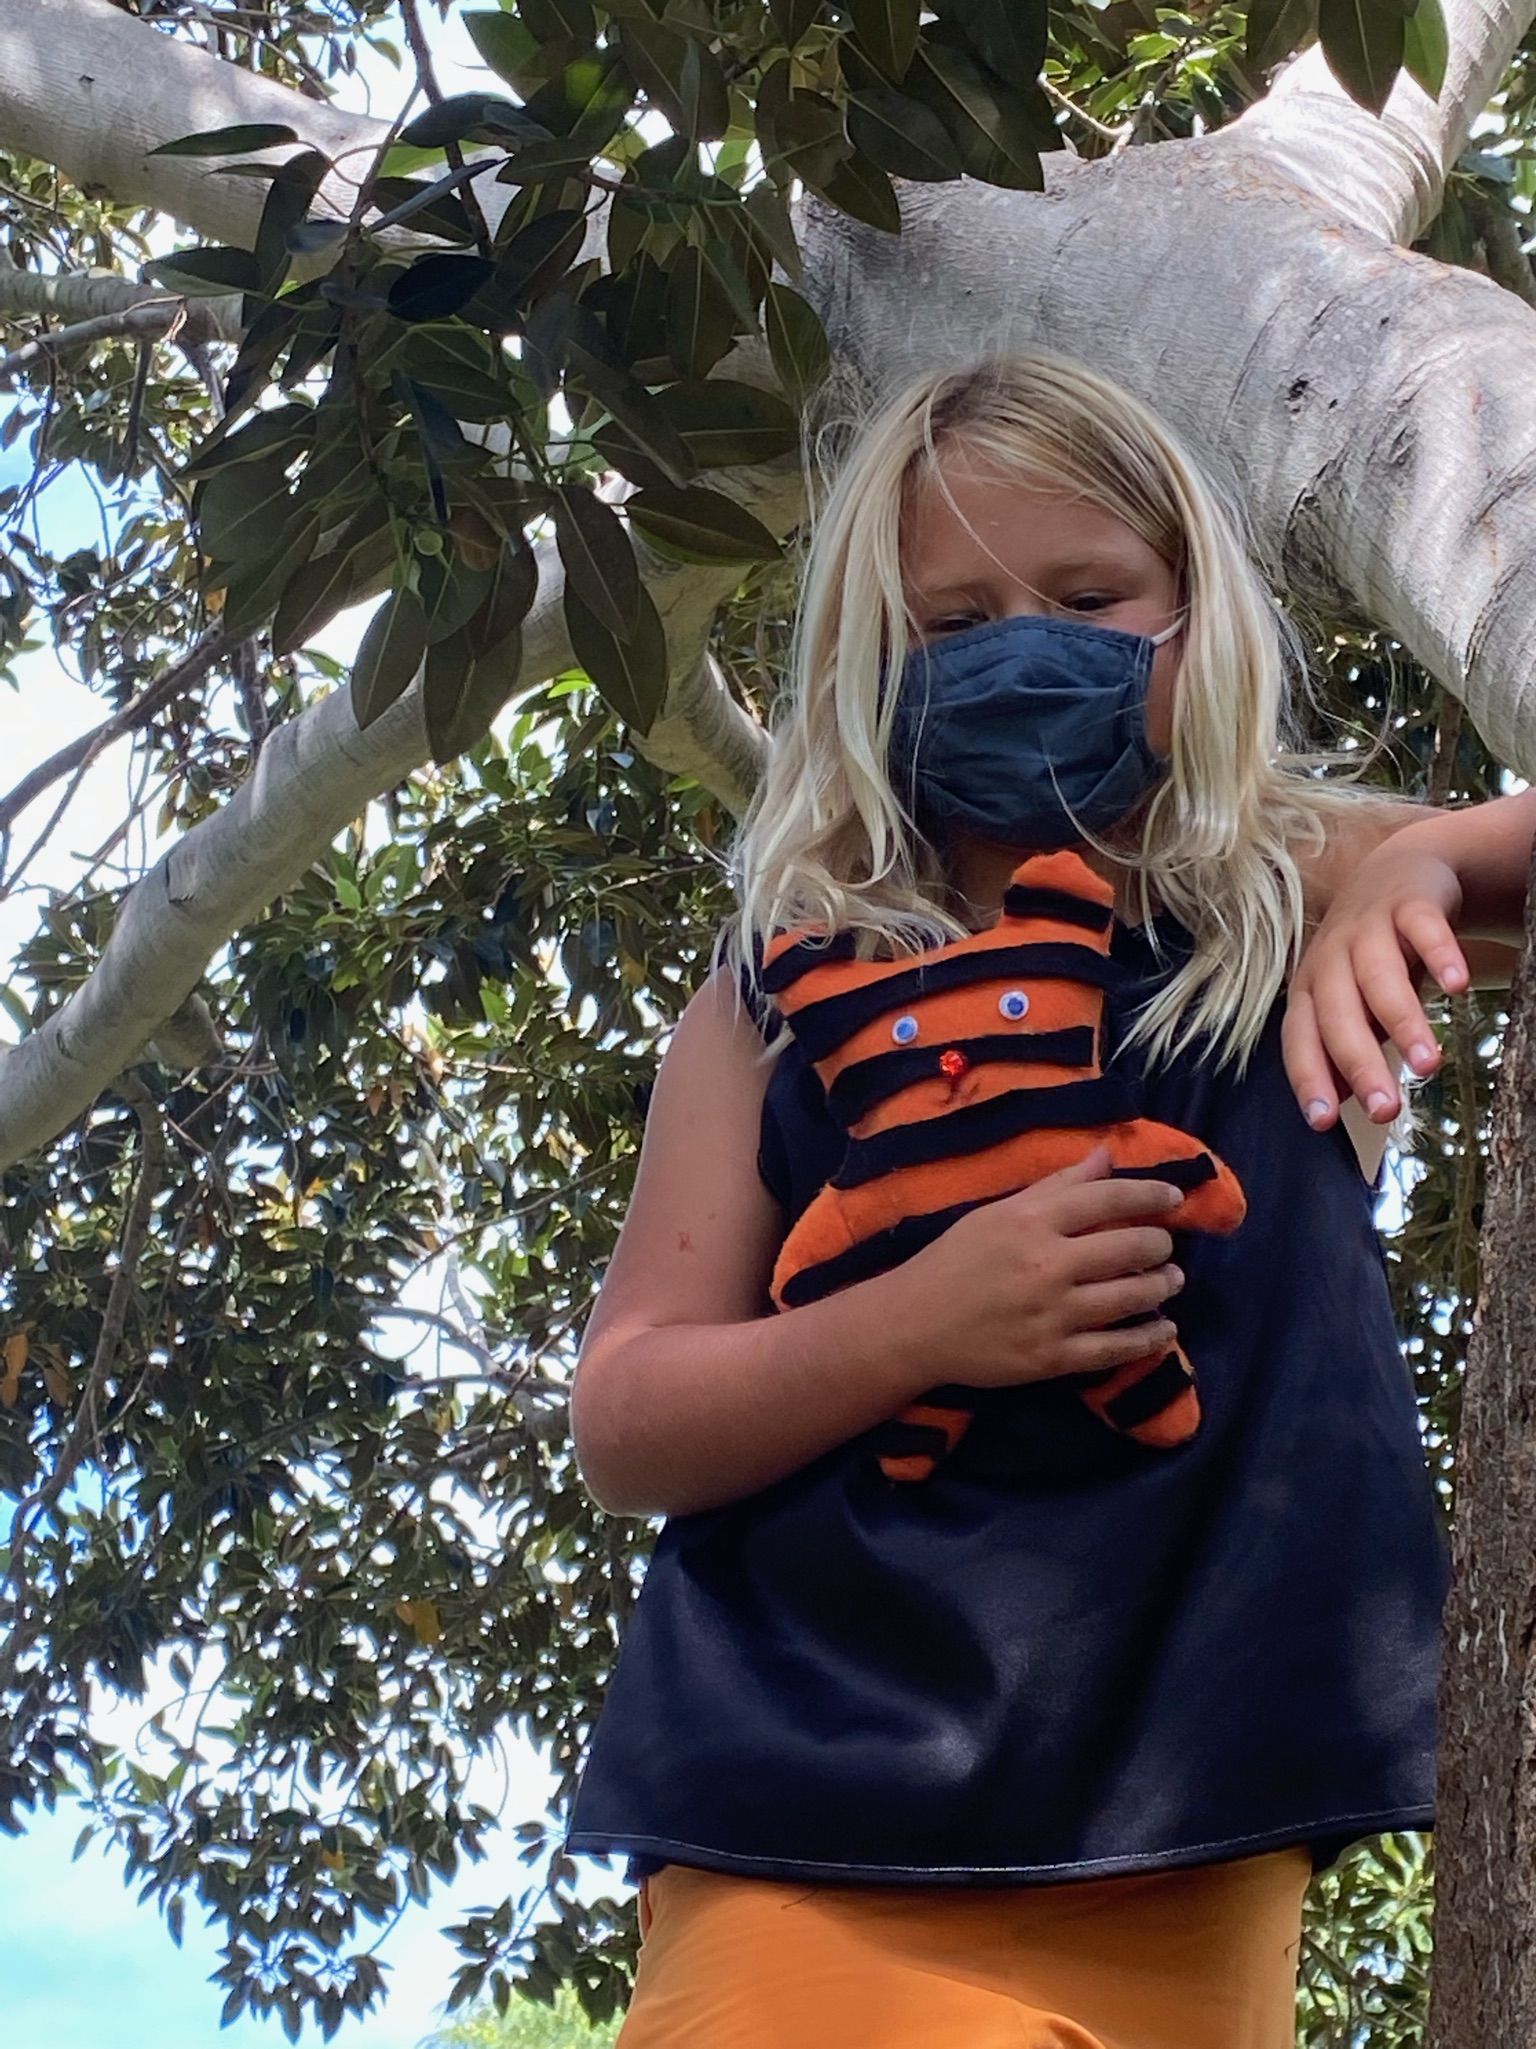
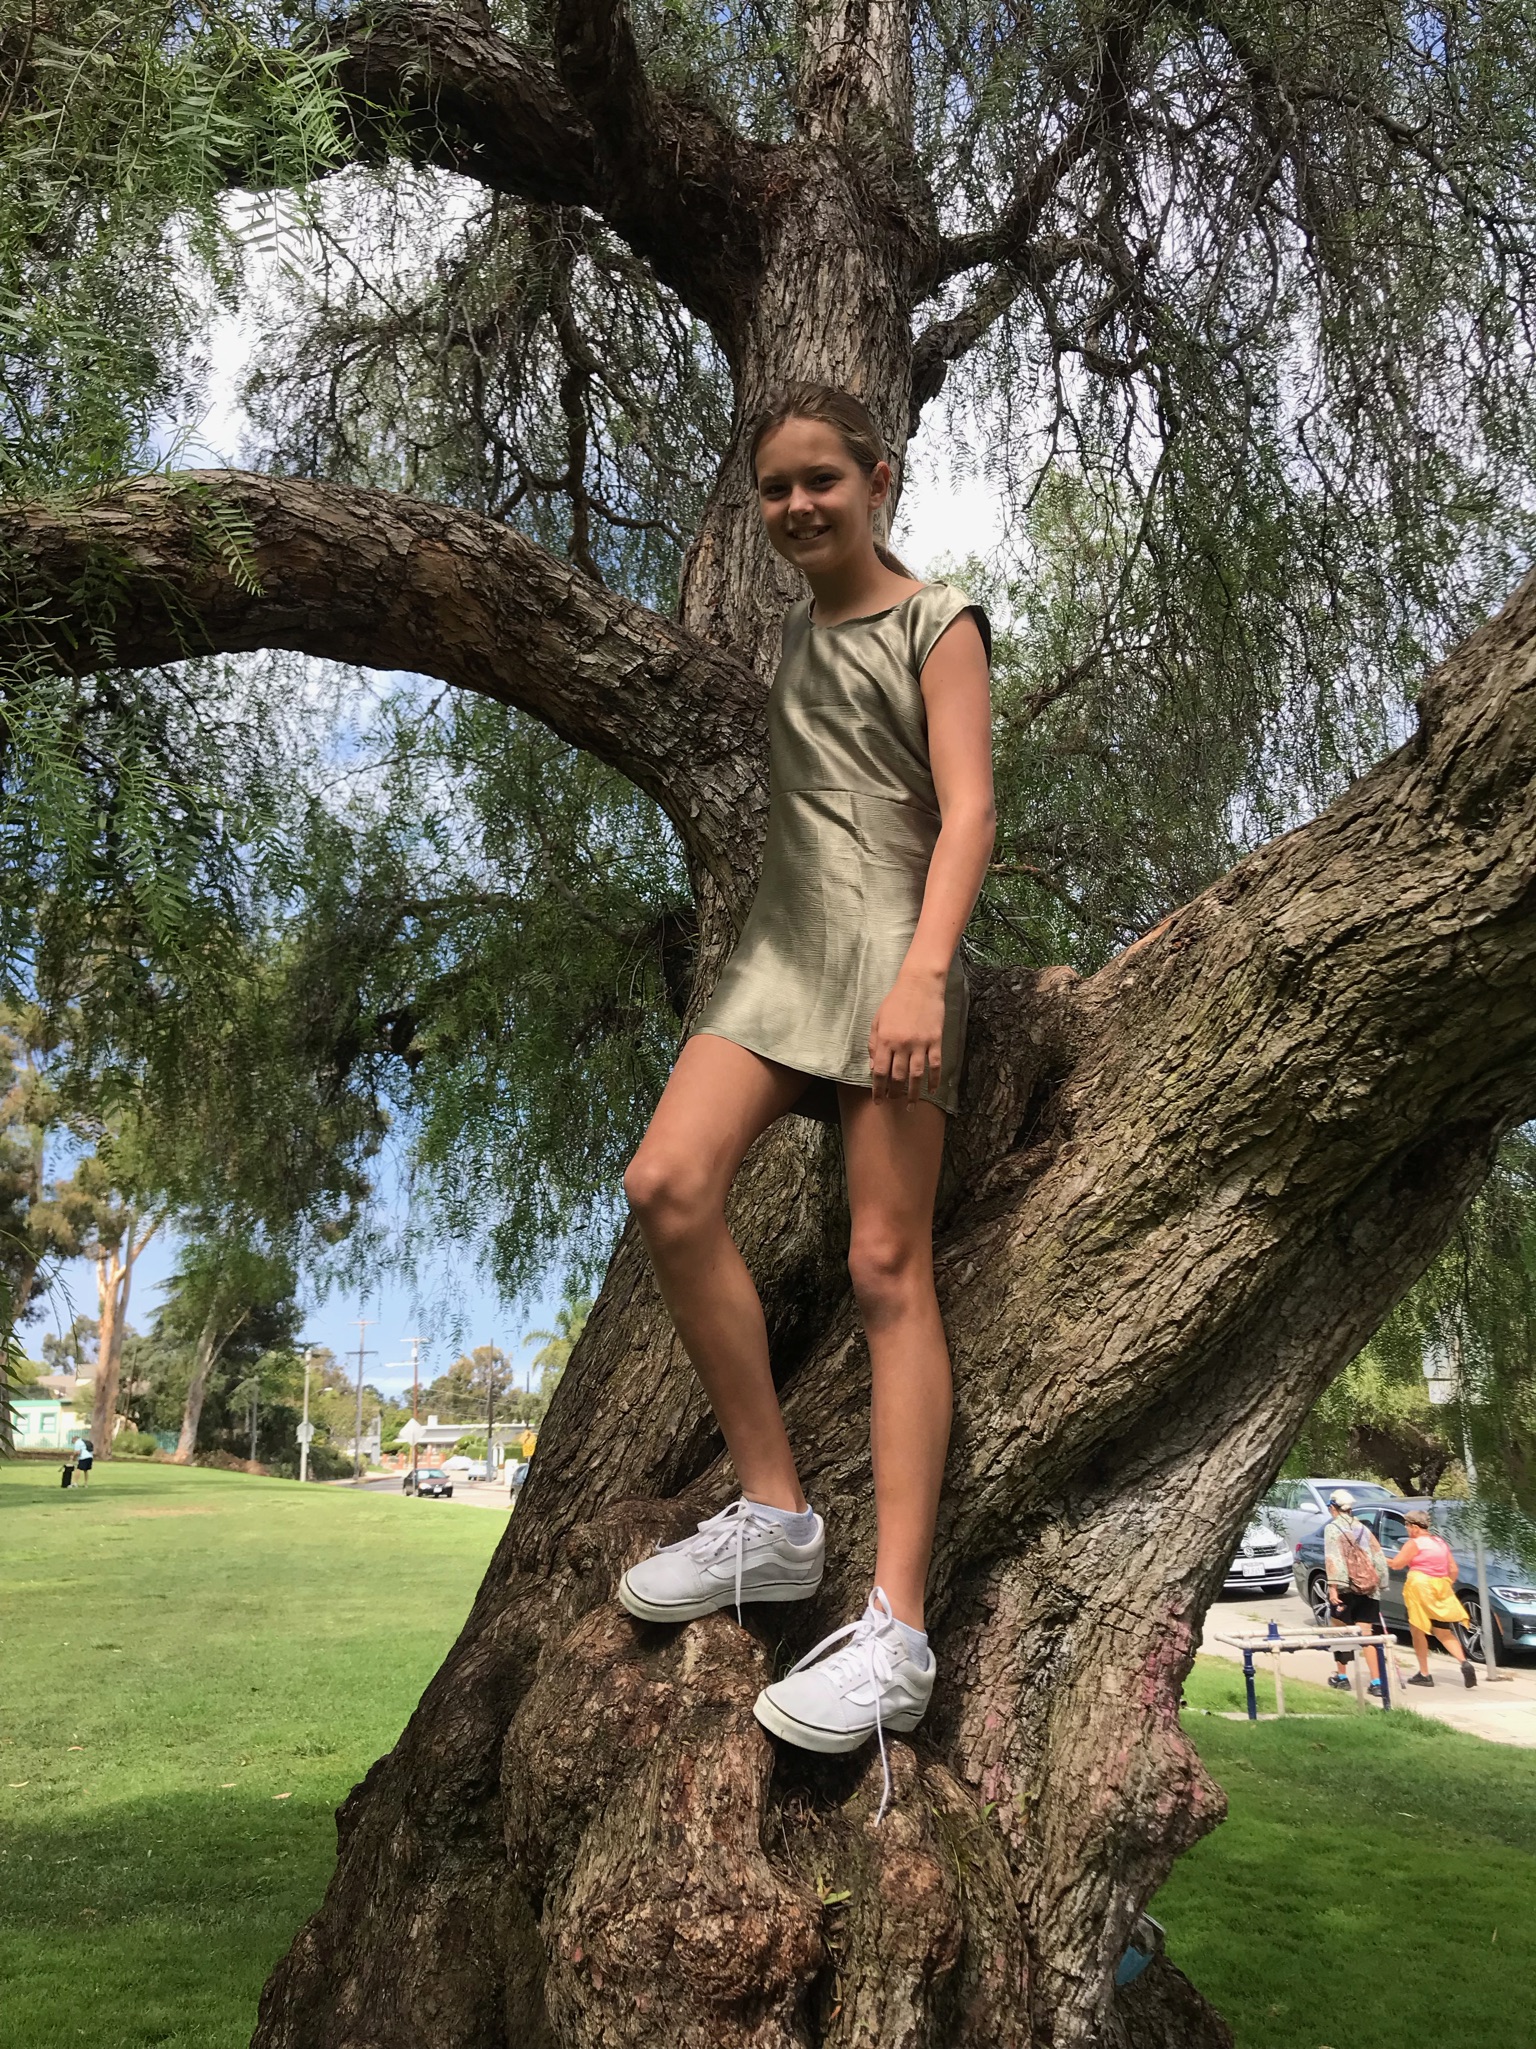
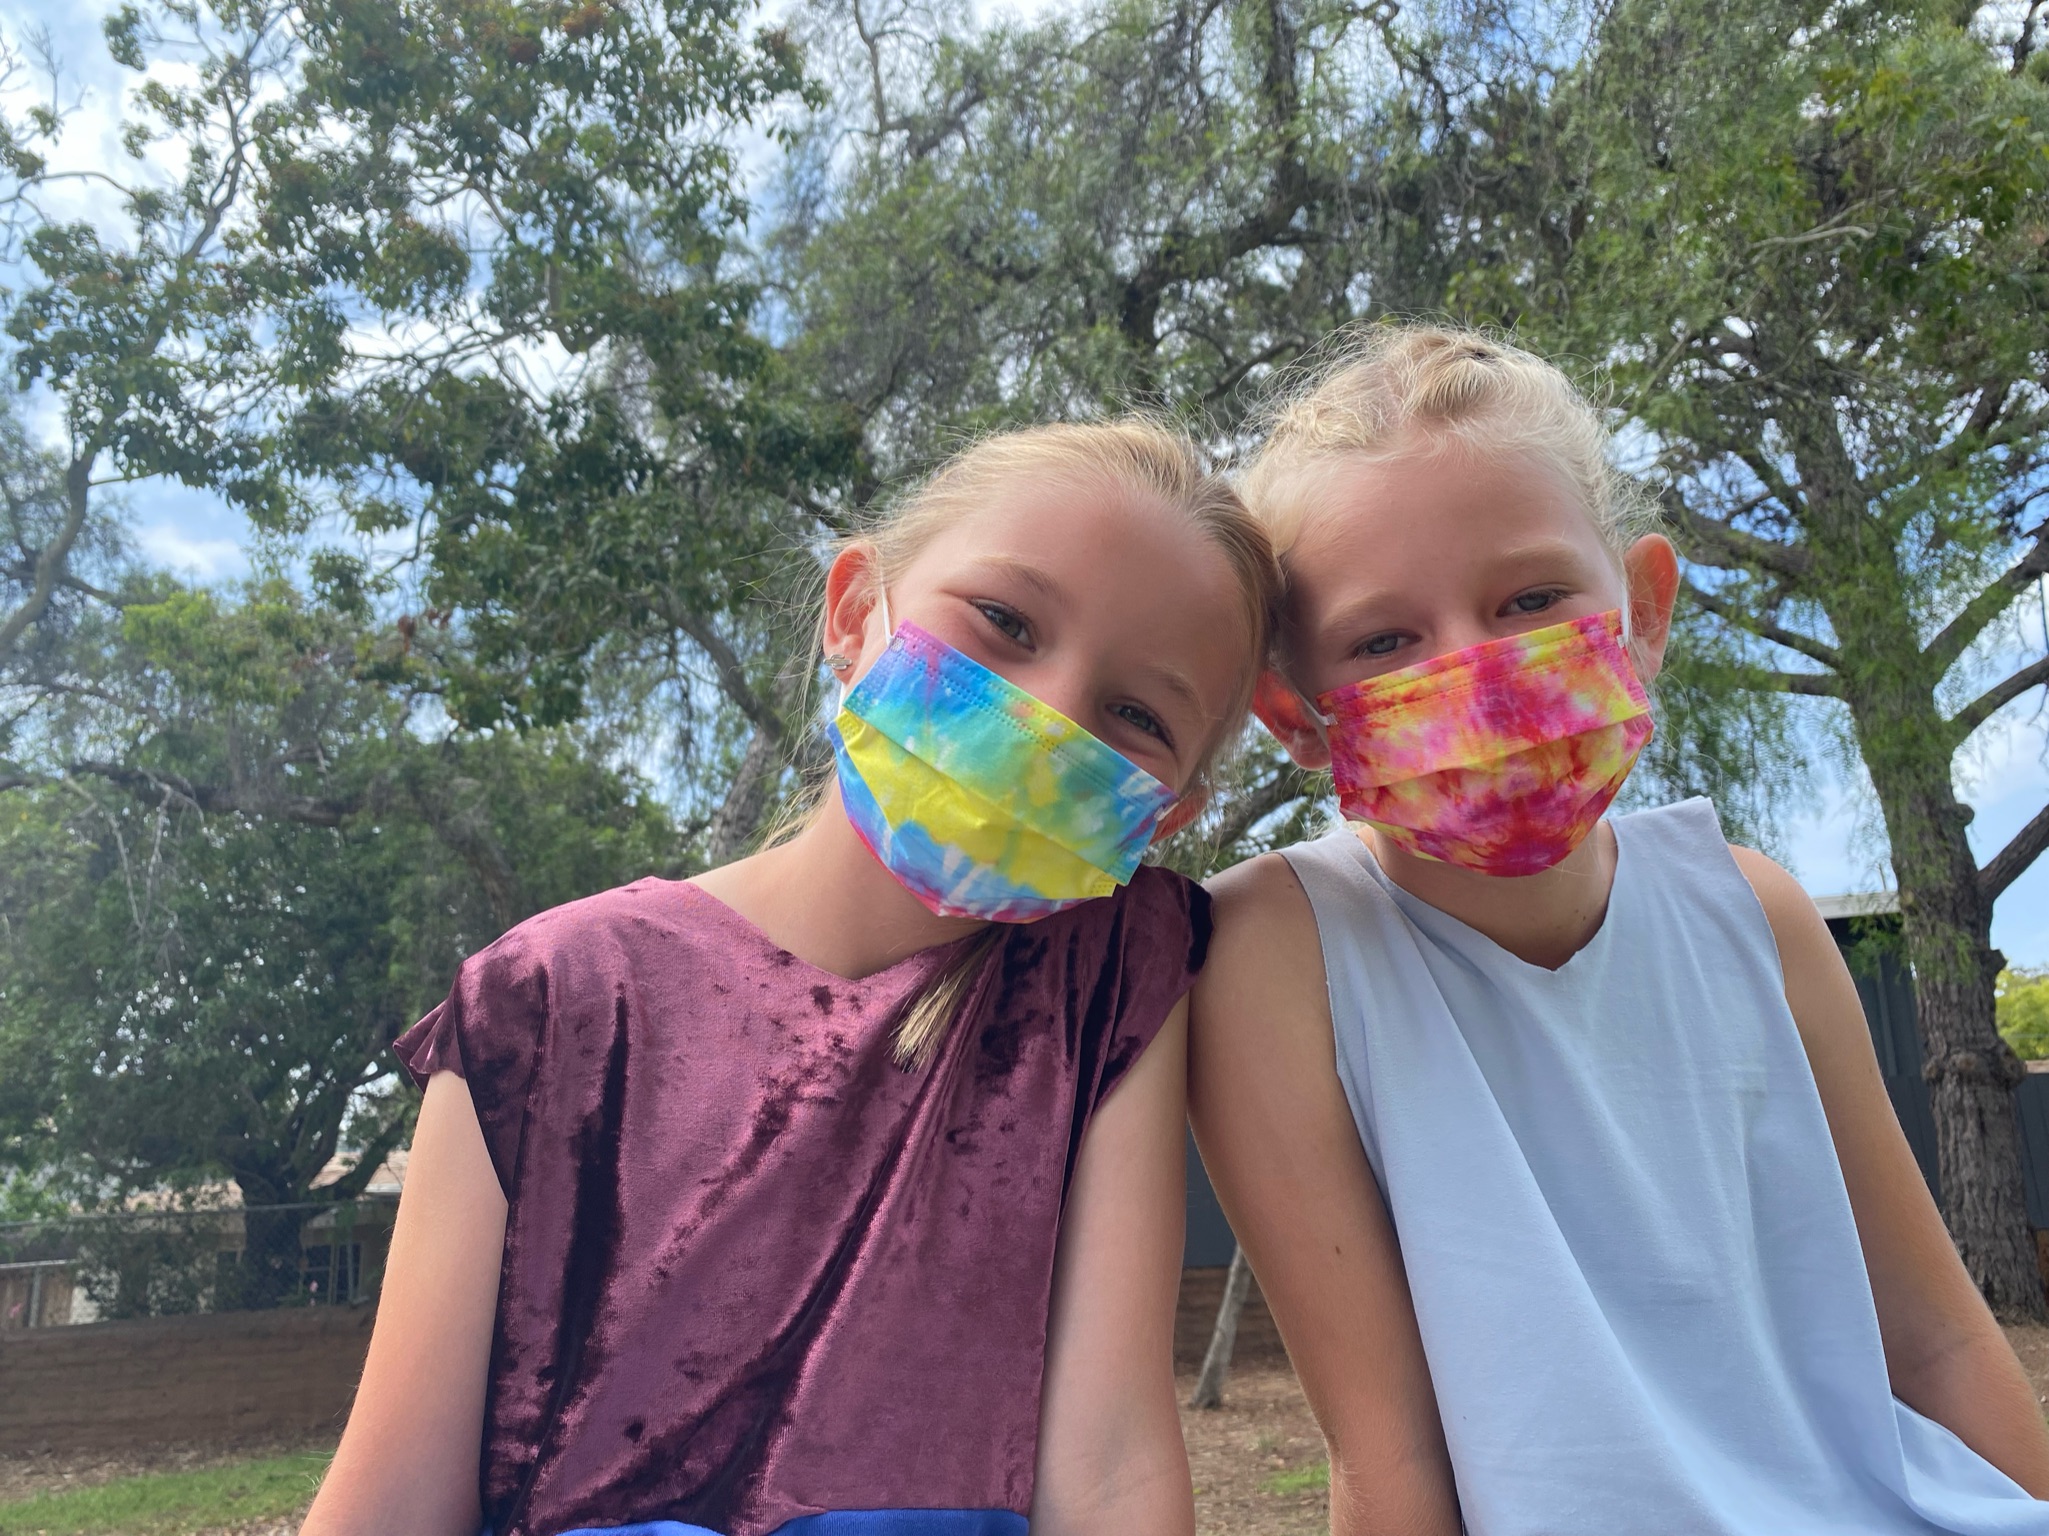
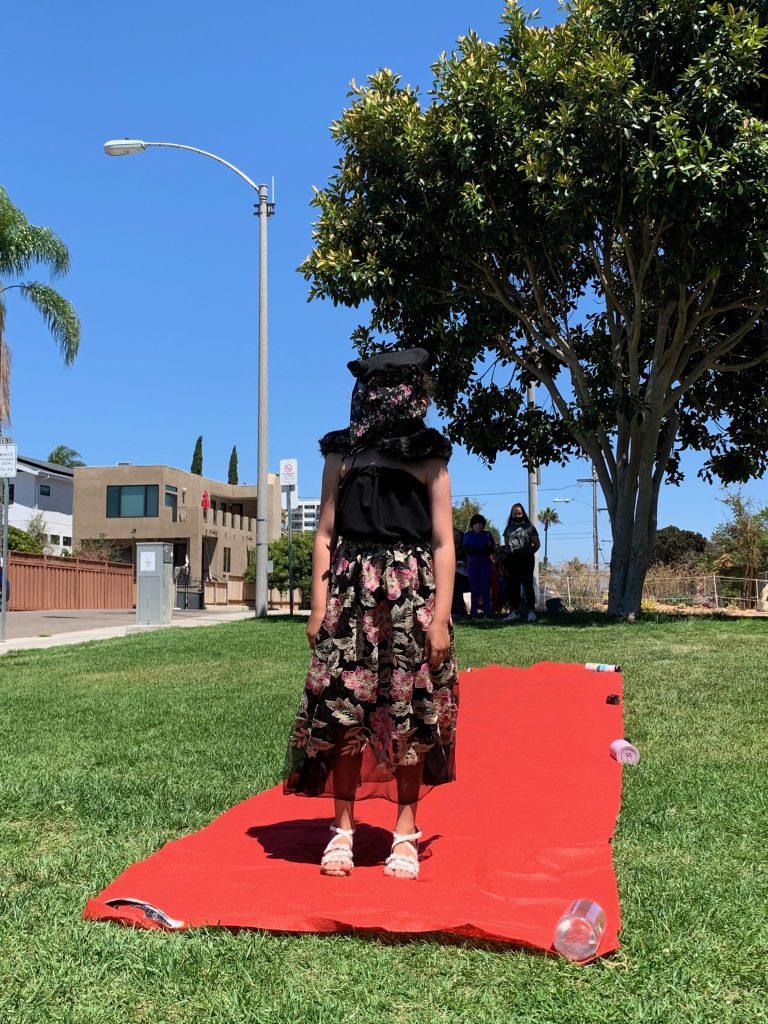
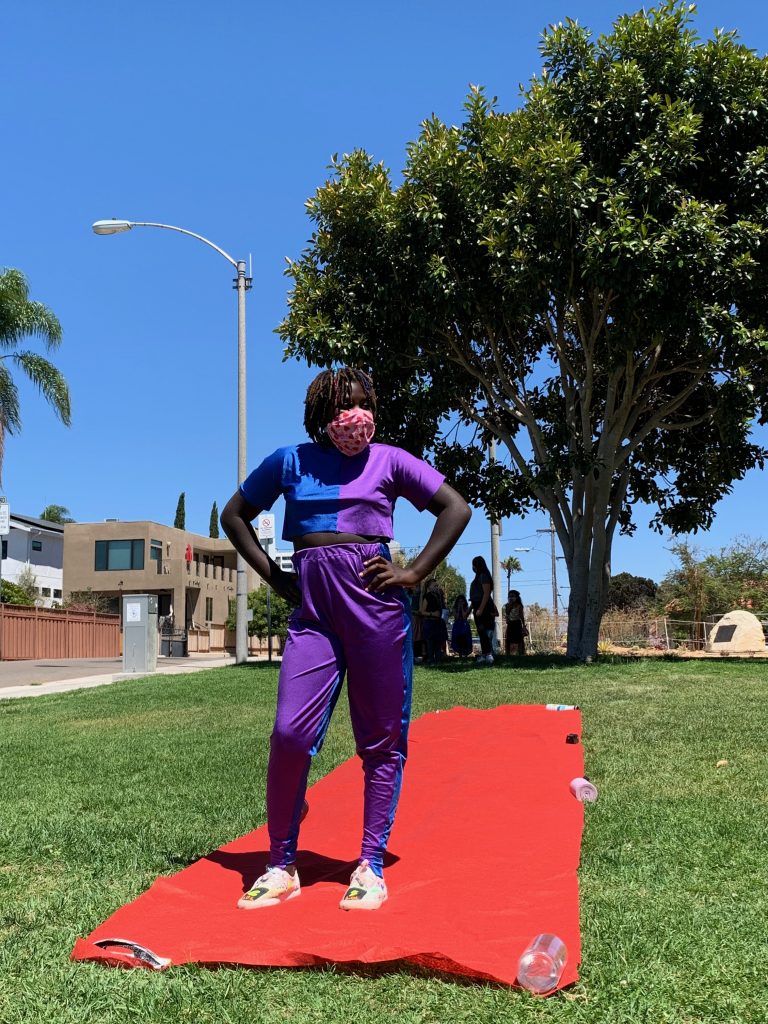
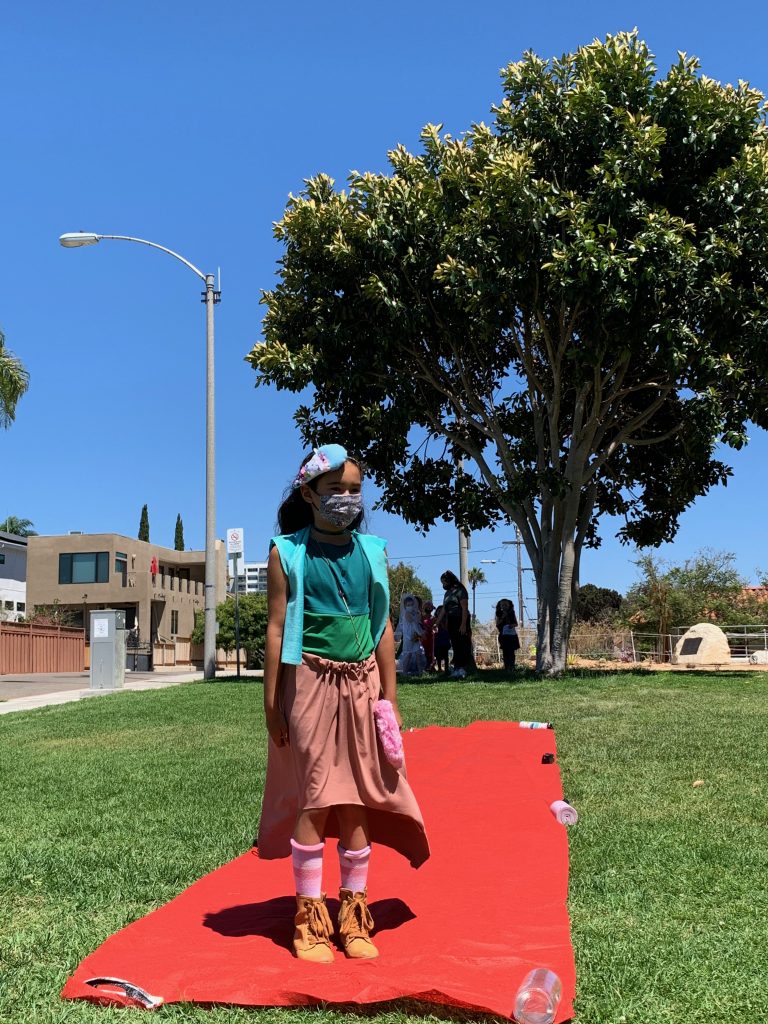
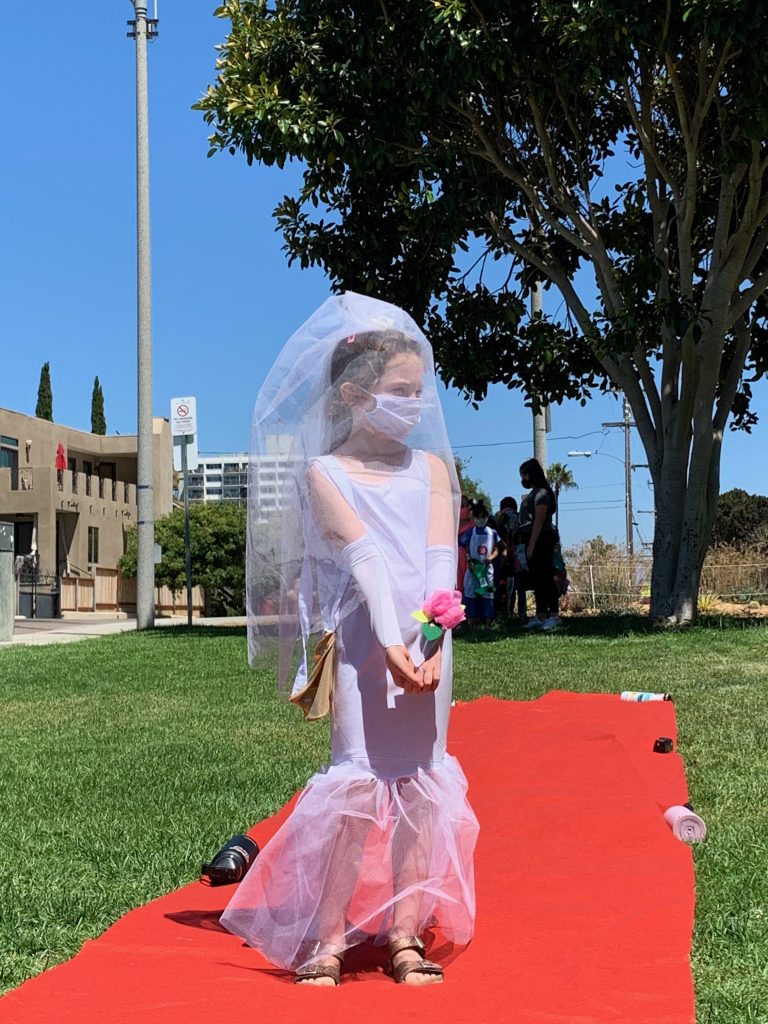
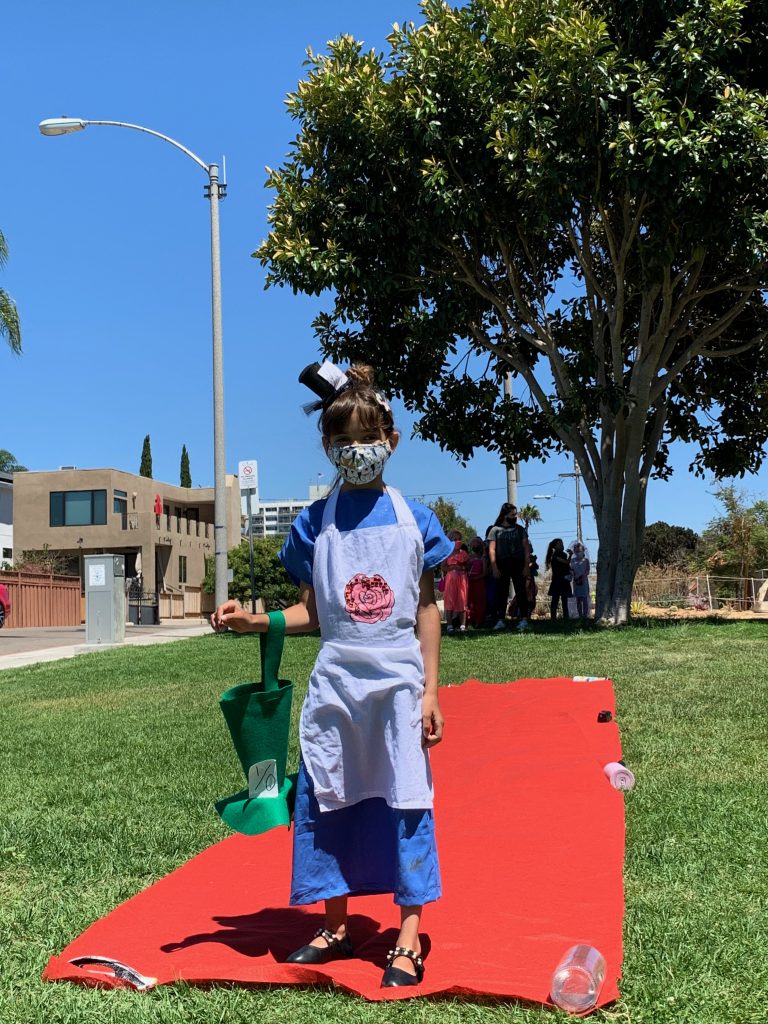
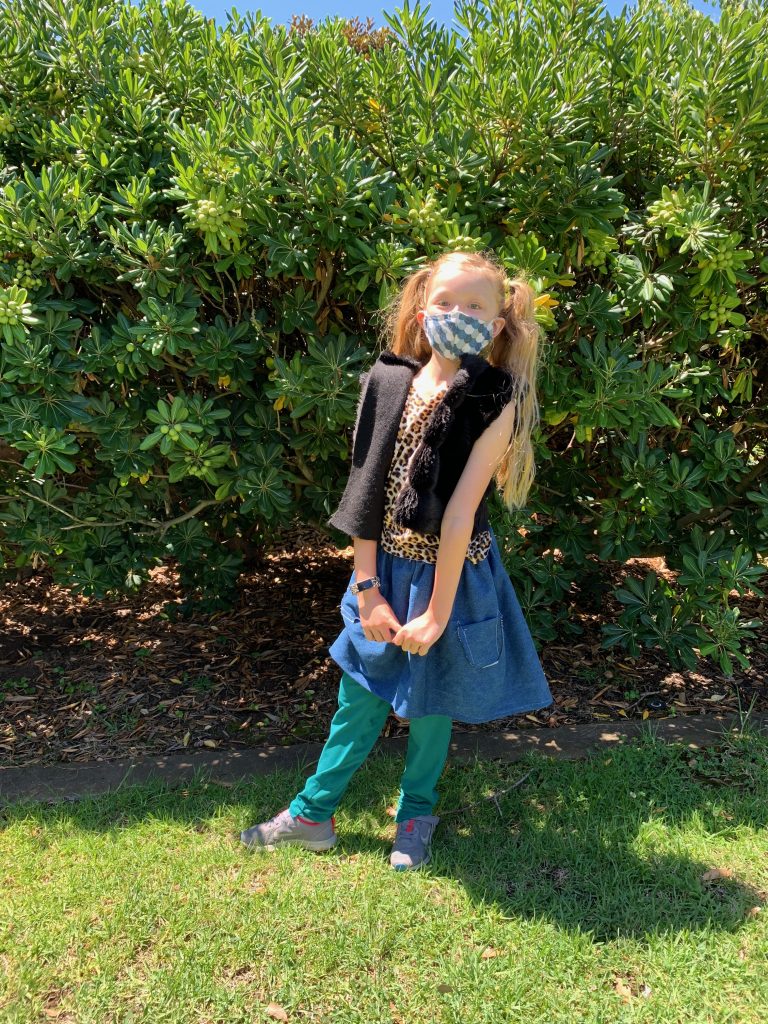
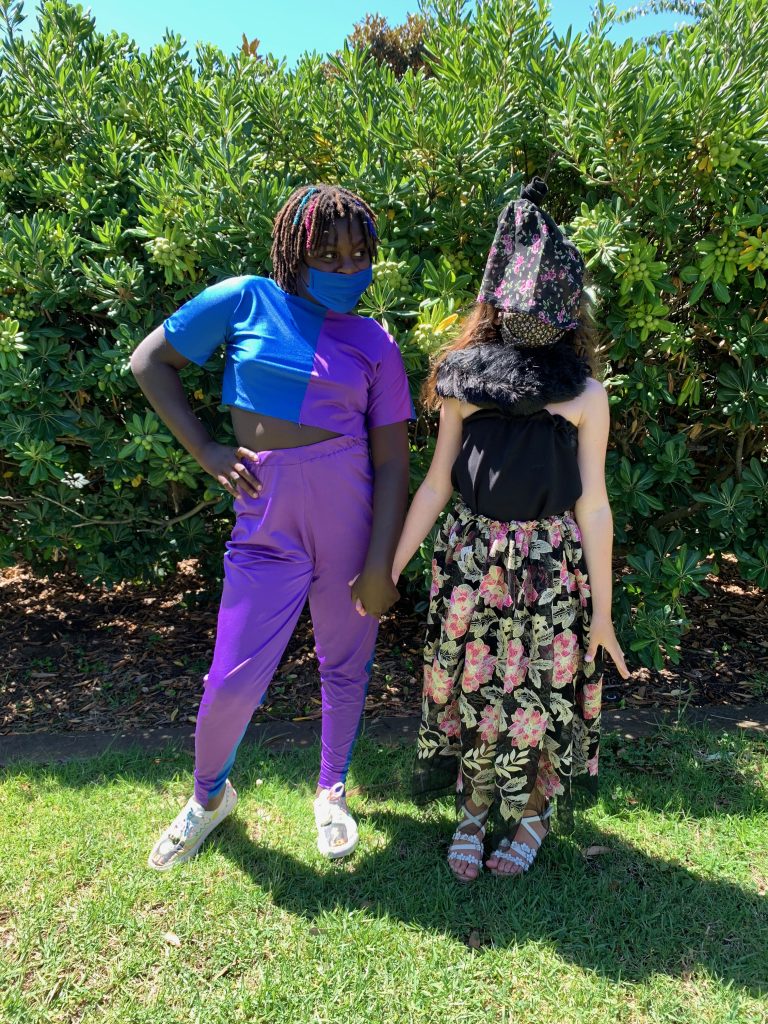
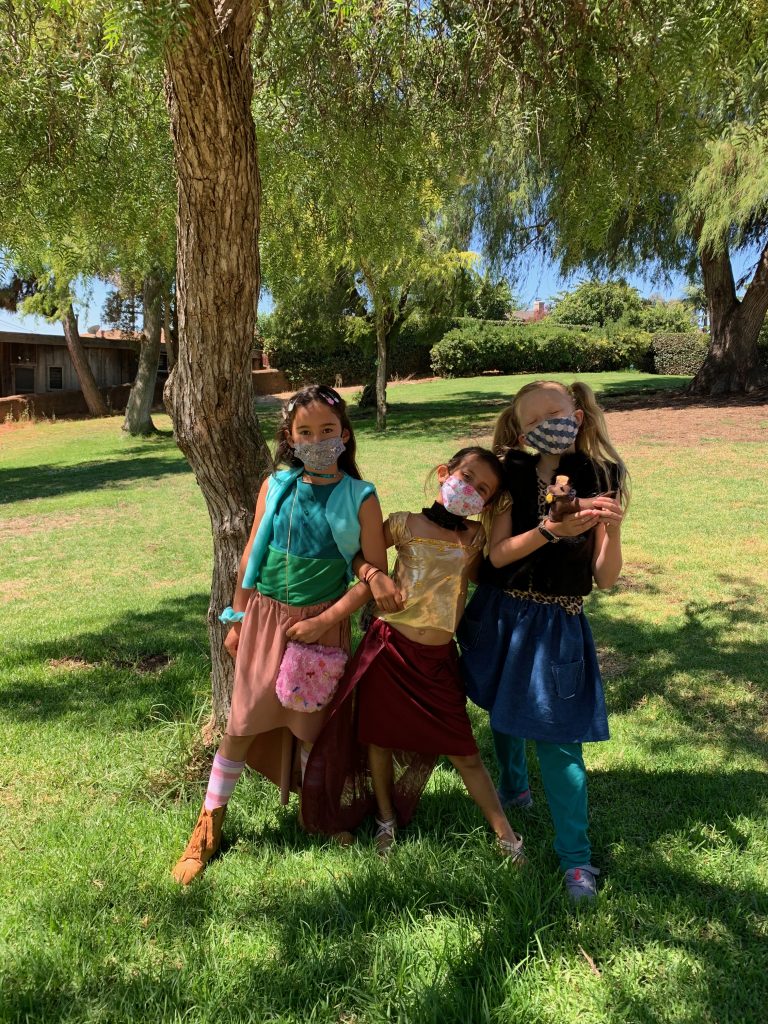
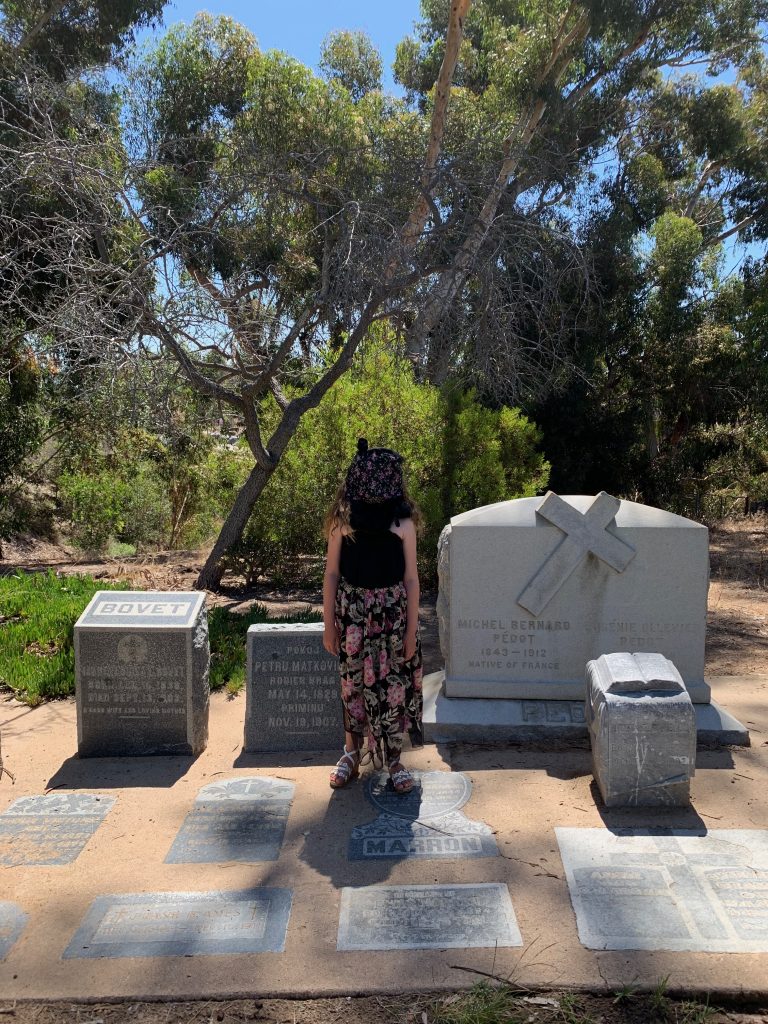
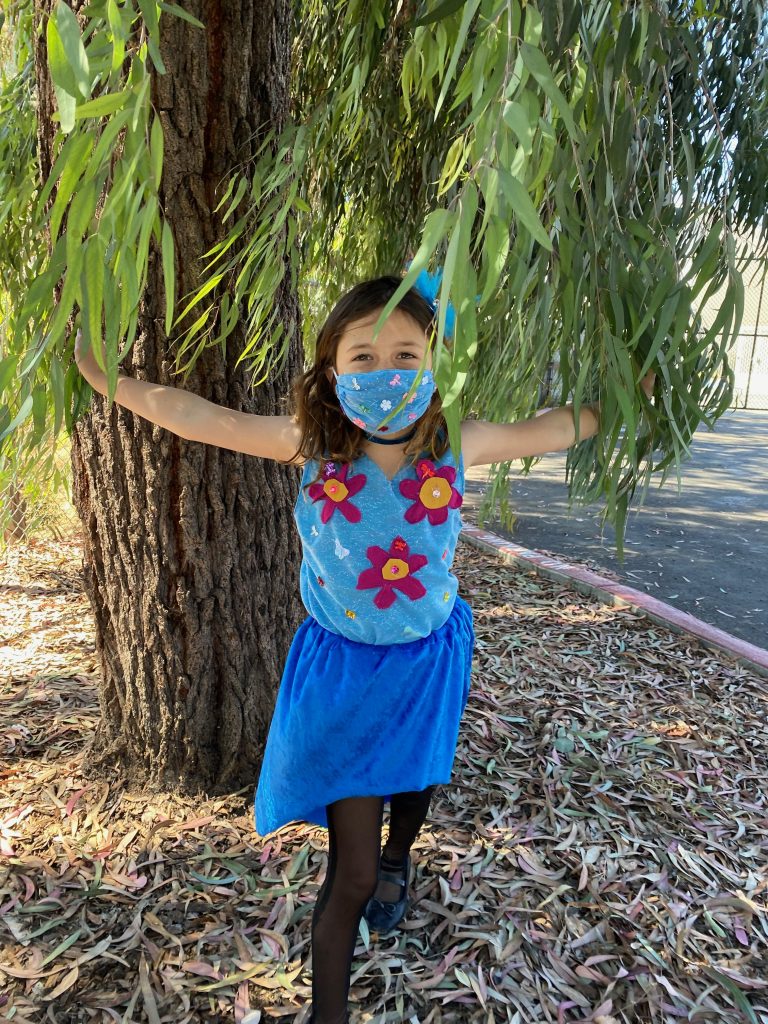
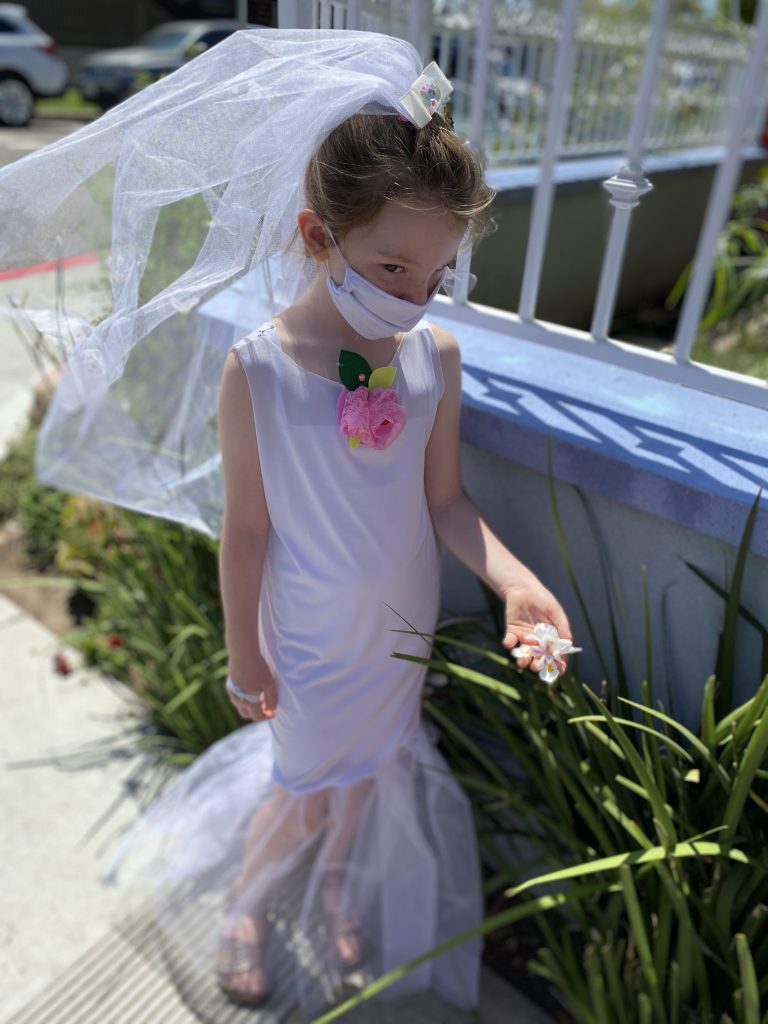
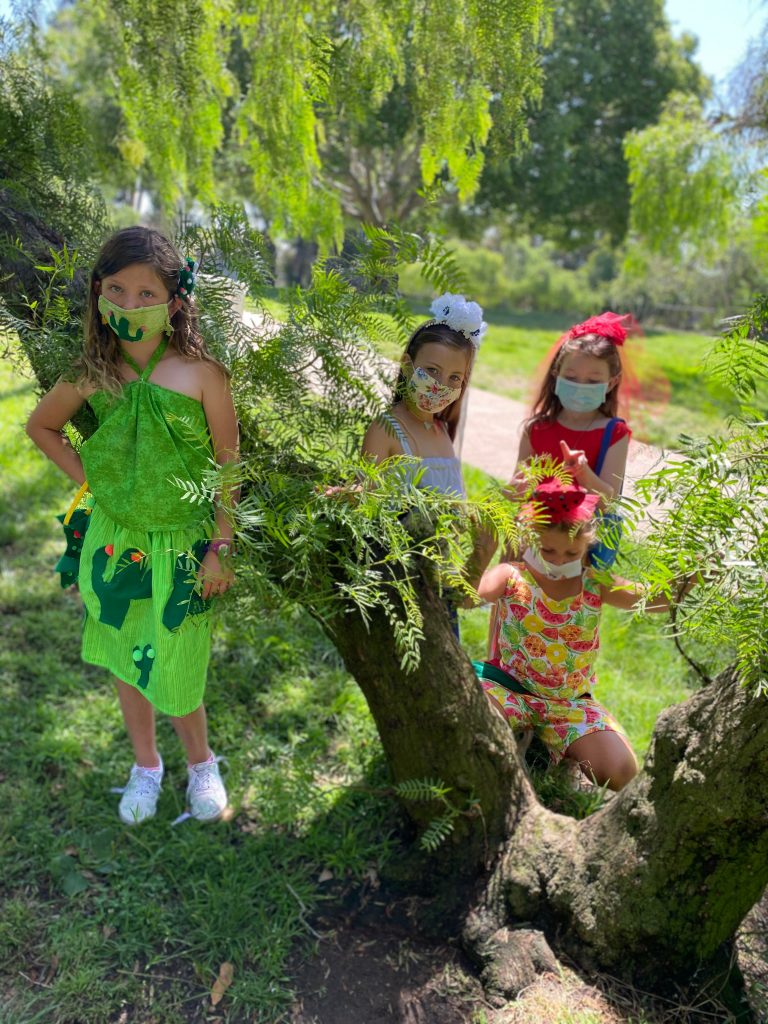
Next, let’s check out some photos from our park photo shoot, shall we?
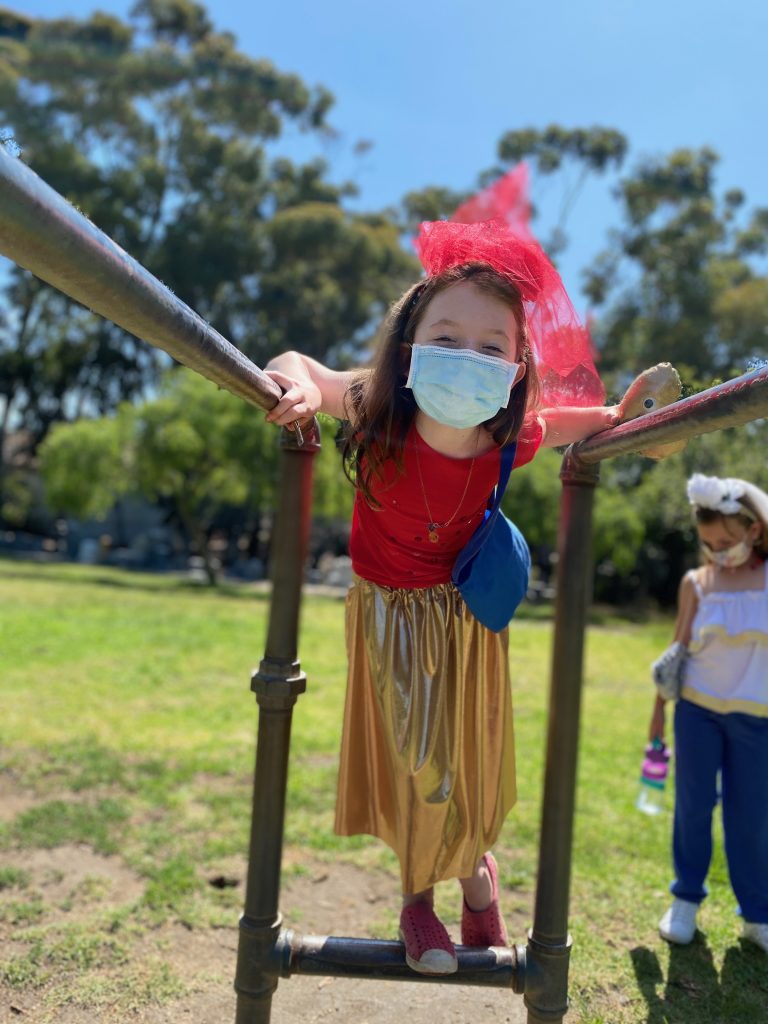

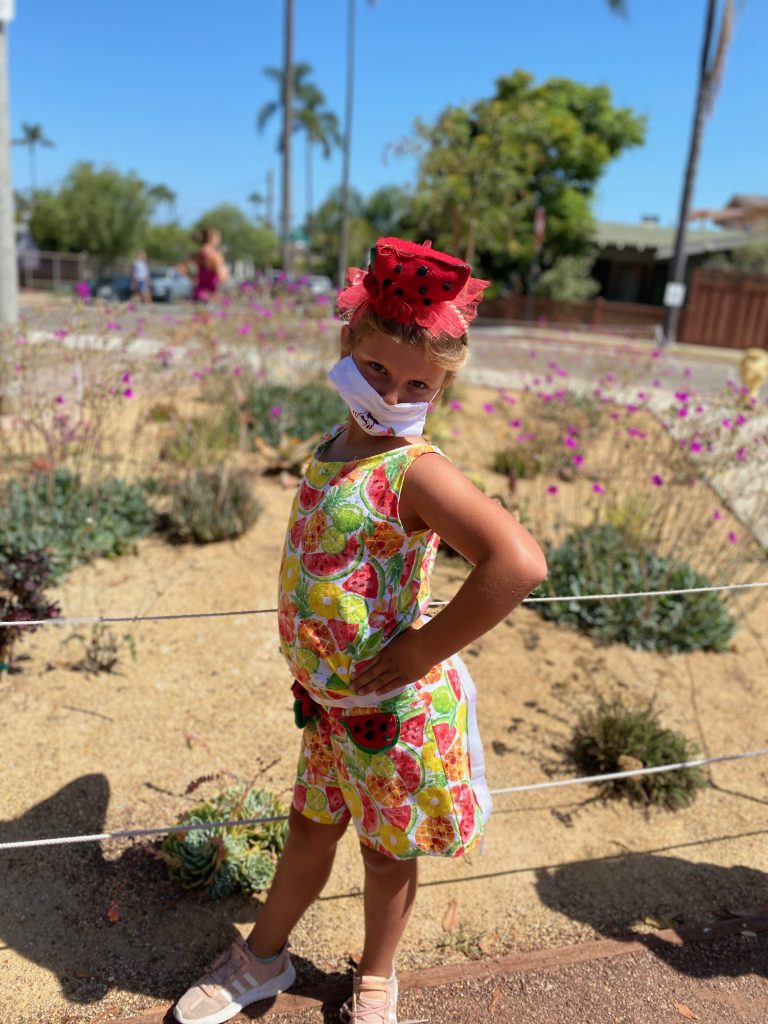
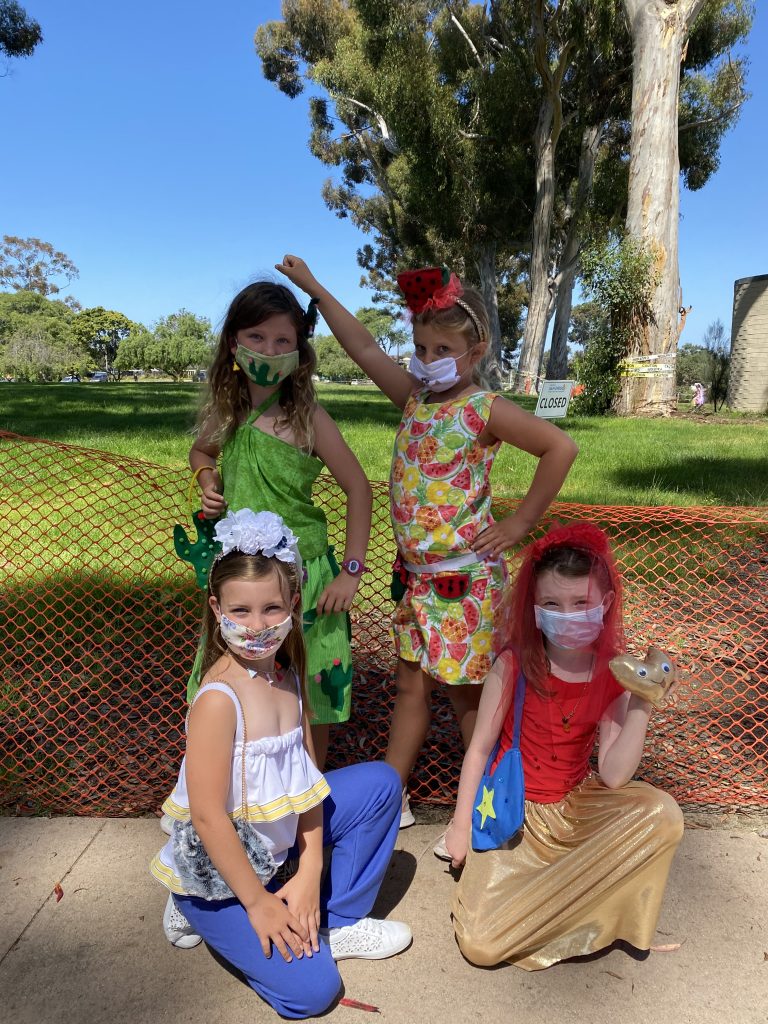
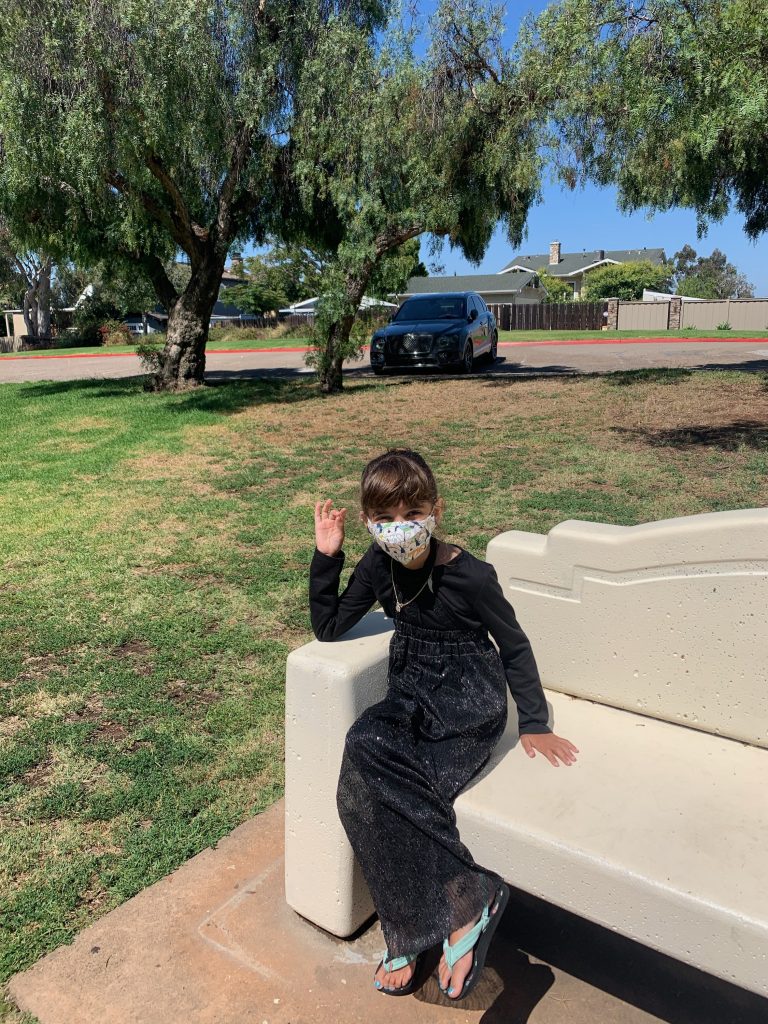
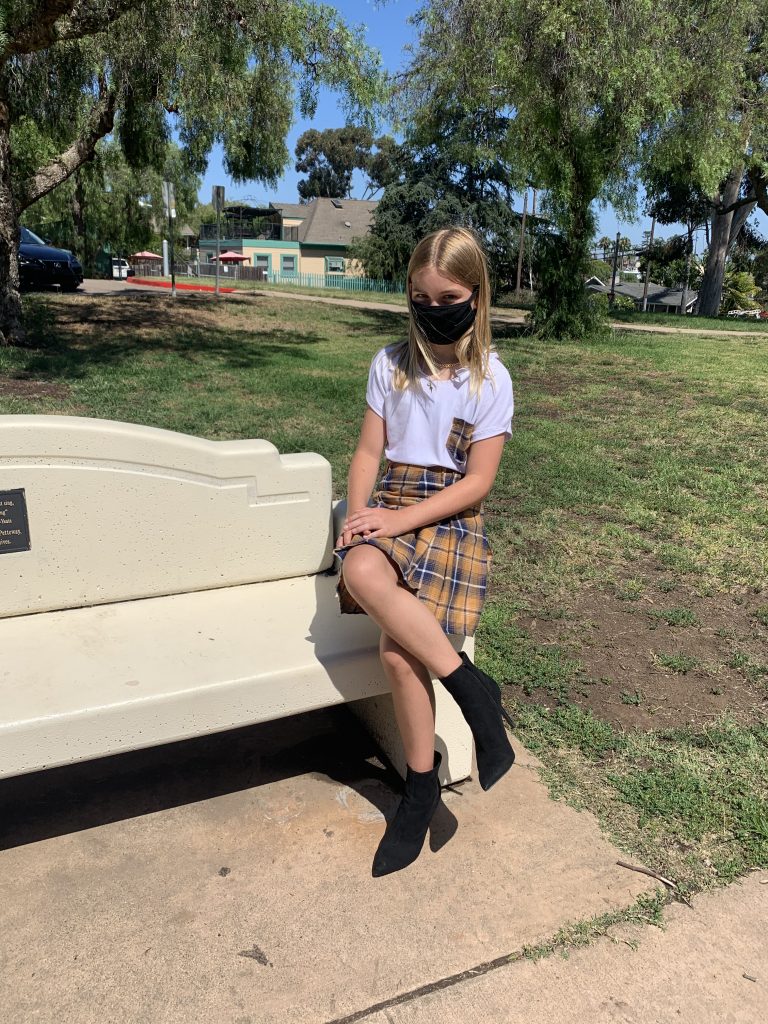
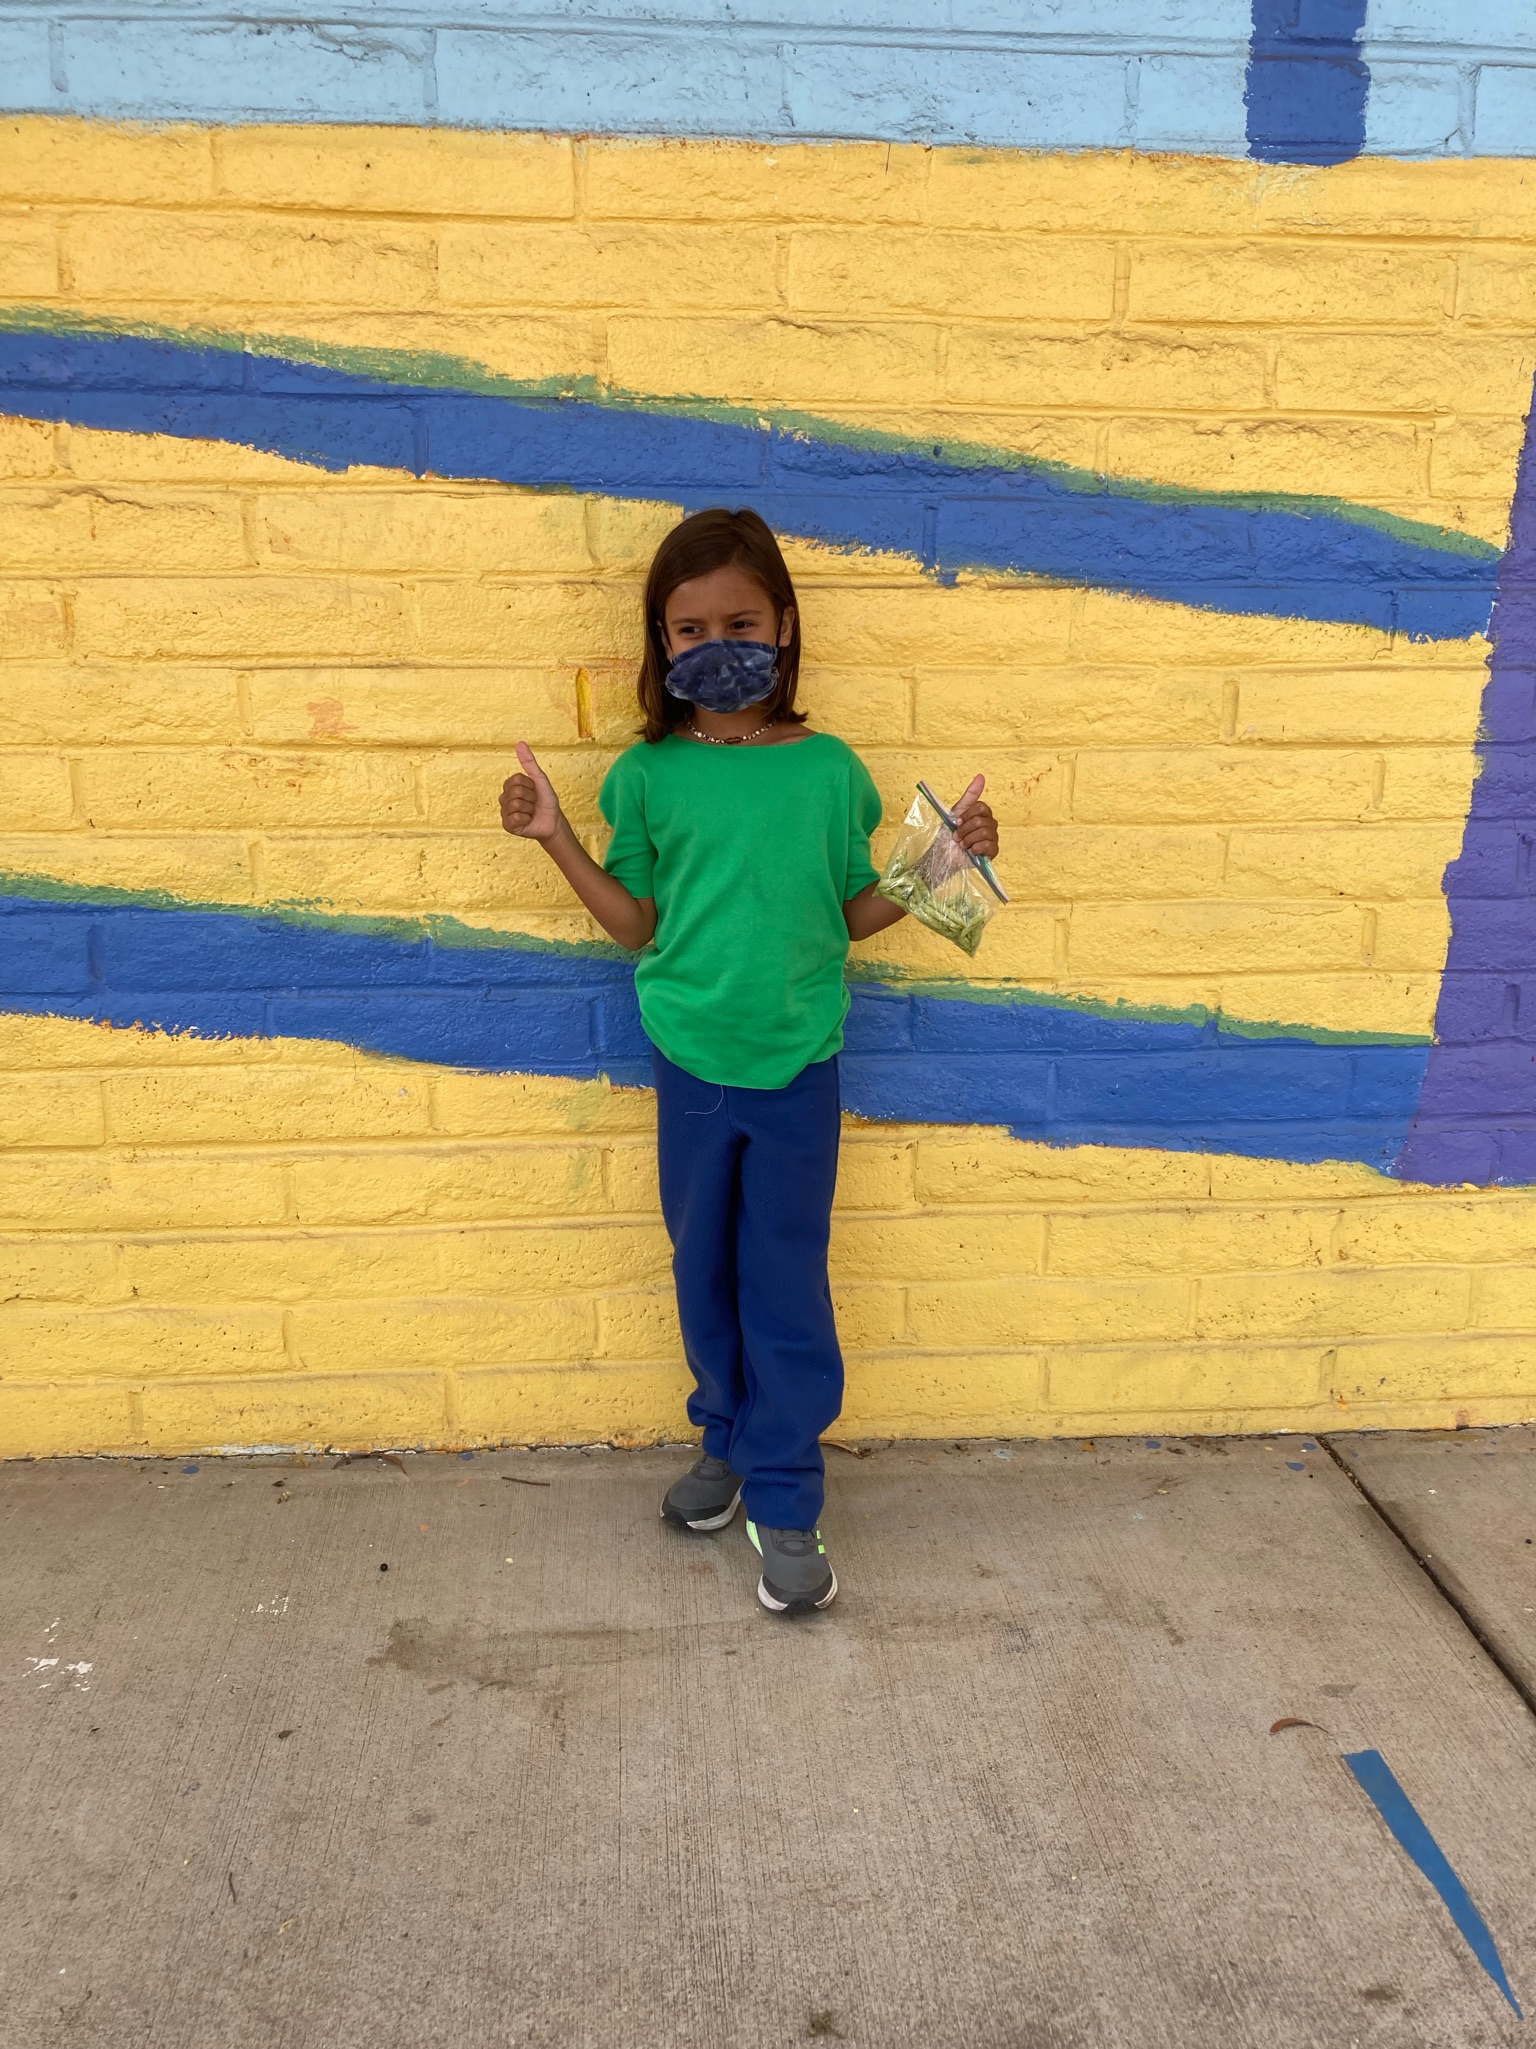
Finally – Red Carpet Ready!


Thanks for checking out all of our photos, goodbye for now!
Cup and Cake for @sewasoftie
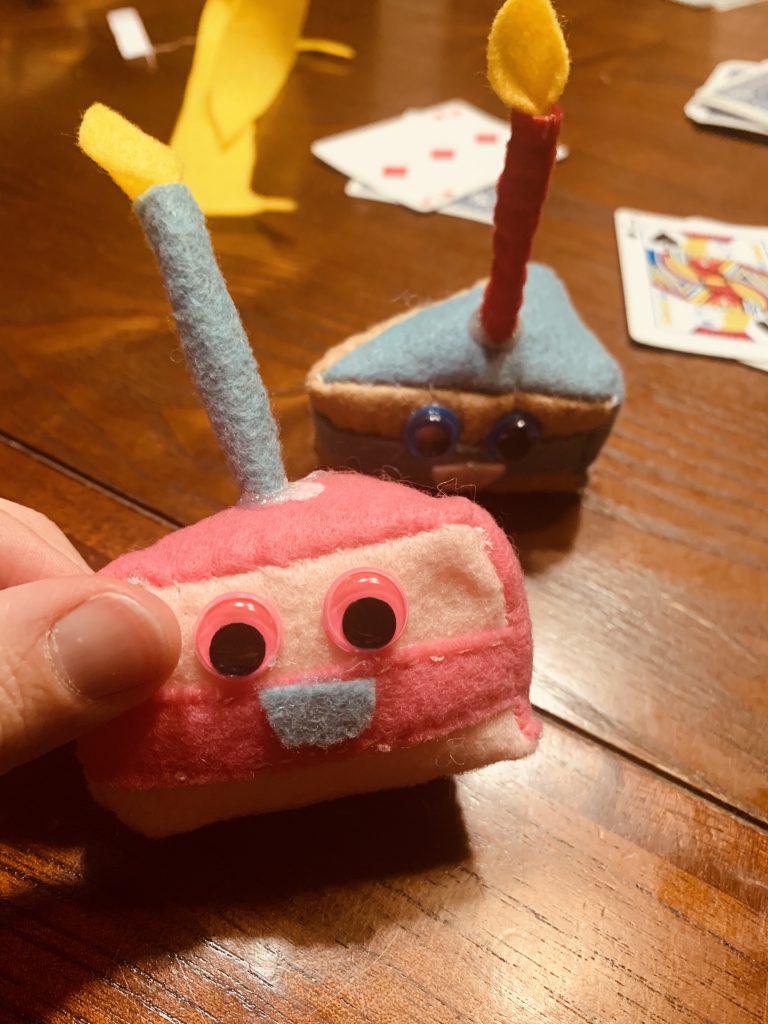

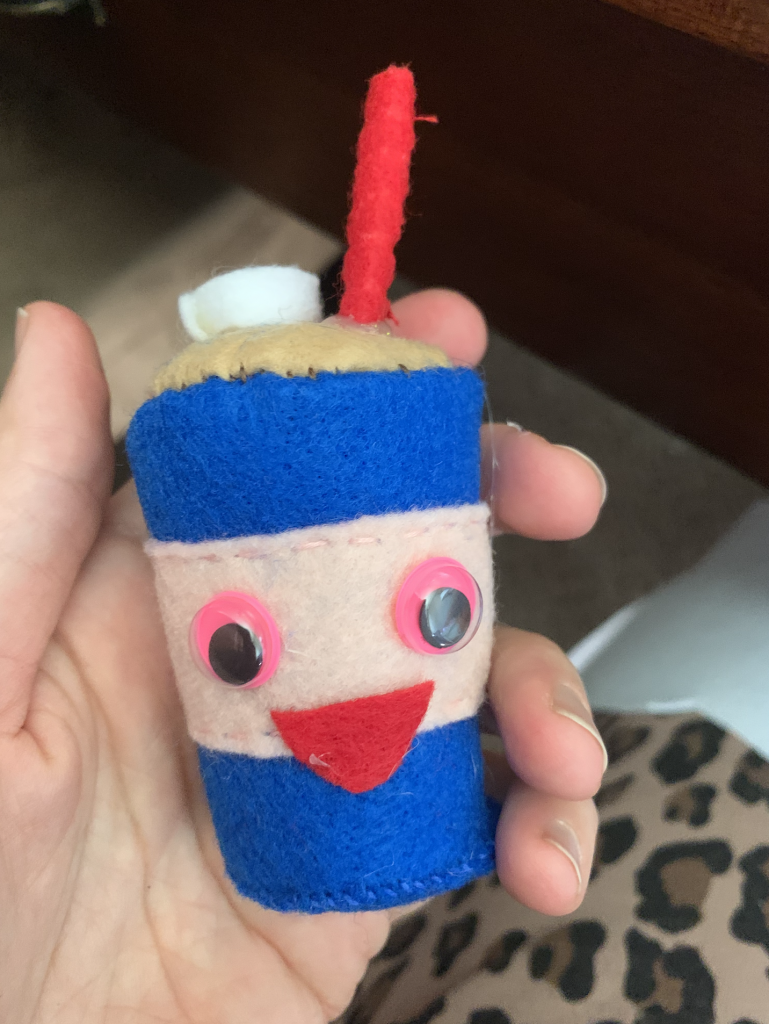
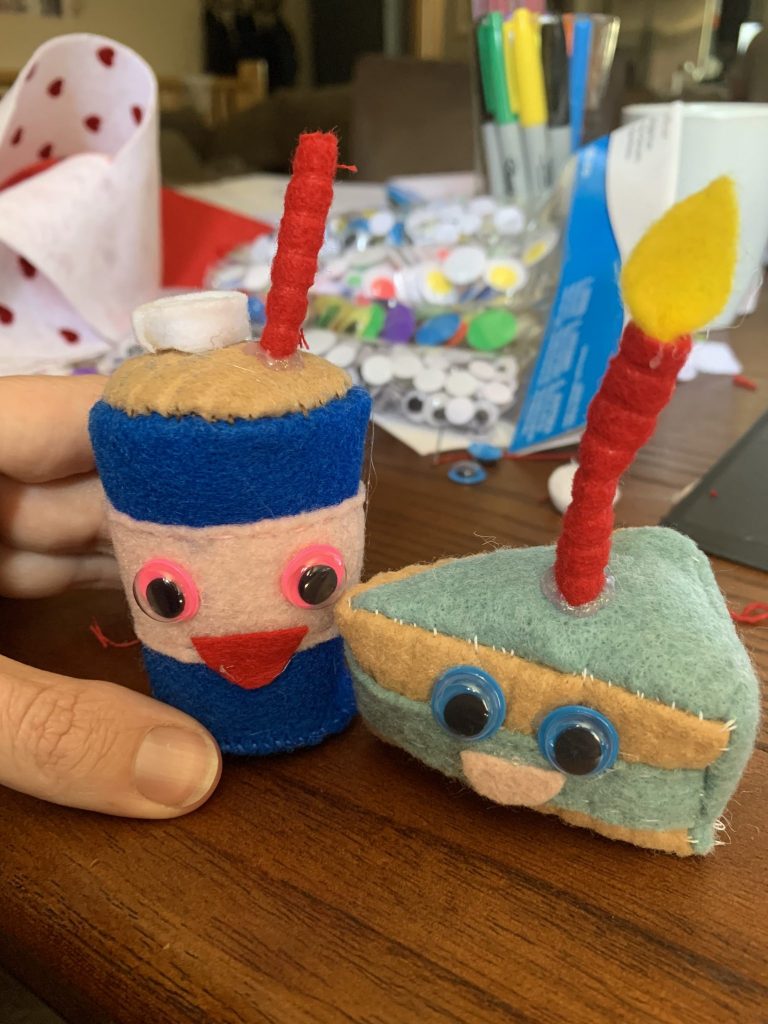
The best.. our cup and cake!
Happy Friday! We are back on the blog promoting #sewasoftie for Mrs. Trixi of @sewasoftie! Each day of the month of July there is a fabulous teacher showing our at-home hand sewers a different adorable stuffy to sew. We are super lucky to share our day today with Julia of Old Spool Sewing! Check her out on insta at @Julia_oldspoolsewing. She made a narwhal pattern for you to make!
Make sure to head over to @sewasoftie to see all of the neat projects that are available!
So, of course we had to think of our favorite softie patterns that we would want to share with the hand sewers of the globe and of course, we had to include our signature CUP and CAKE!! These are our most famous stuffies that we have been making for the last five years that bring the big time love from all of our sewers.
Links to the tutorials:
cup: http://paintboxartstudio.com/mini-hand-sew-cup/
cake: http://paintboxartstudio.com/mini-cake-stuffie-hand-sew/
And, I can personally attest to the fact that babies and dogs love these also!!
Have fun and please tag us with your work on insta so we can see!! @paintboxartstudio.
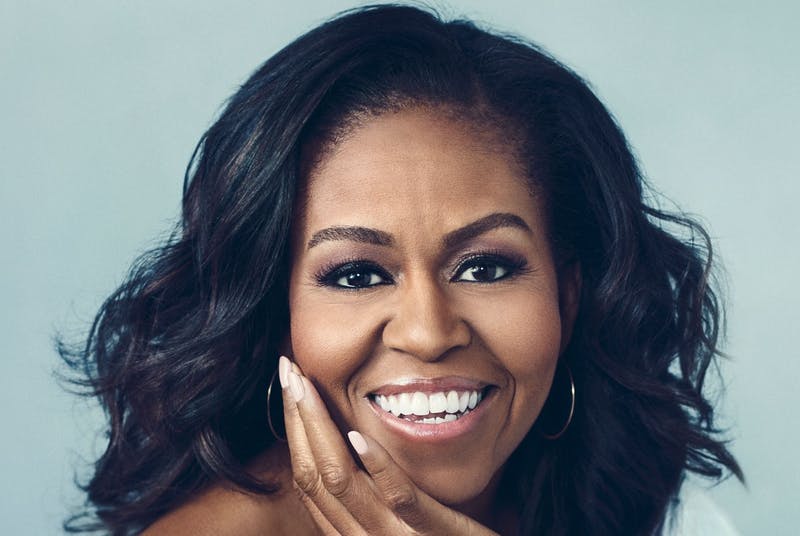
Michelle Obama Coloring Page
The first African-American First Lady of the United States! A lawyer, author, and a true role model for women. As First Lady, she worked as an advocate for poverty awareness, education, nutrition, physical activity, and healthy eating.