Mini Hand Sew Cup

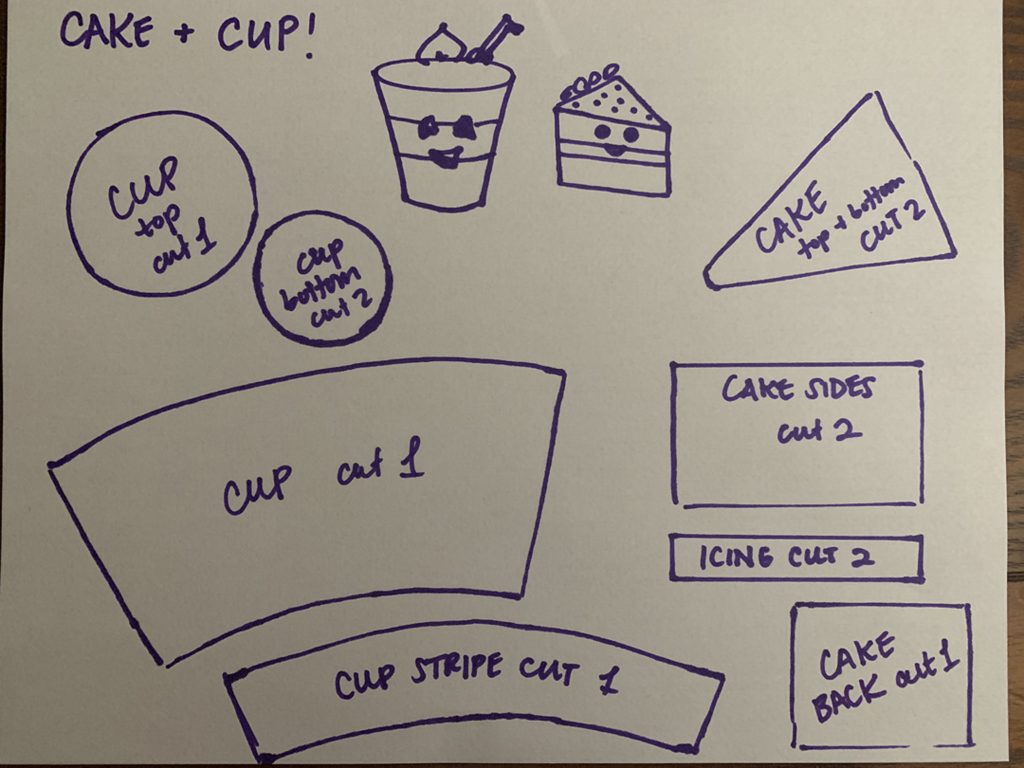
As promised, we have a matching mini cup to go with mini cake! We made a revised pattern for the cup, so please print this sheet below:

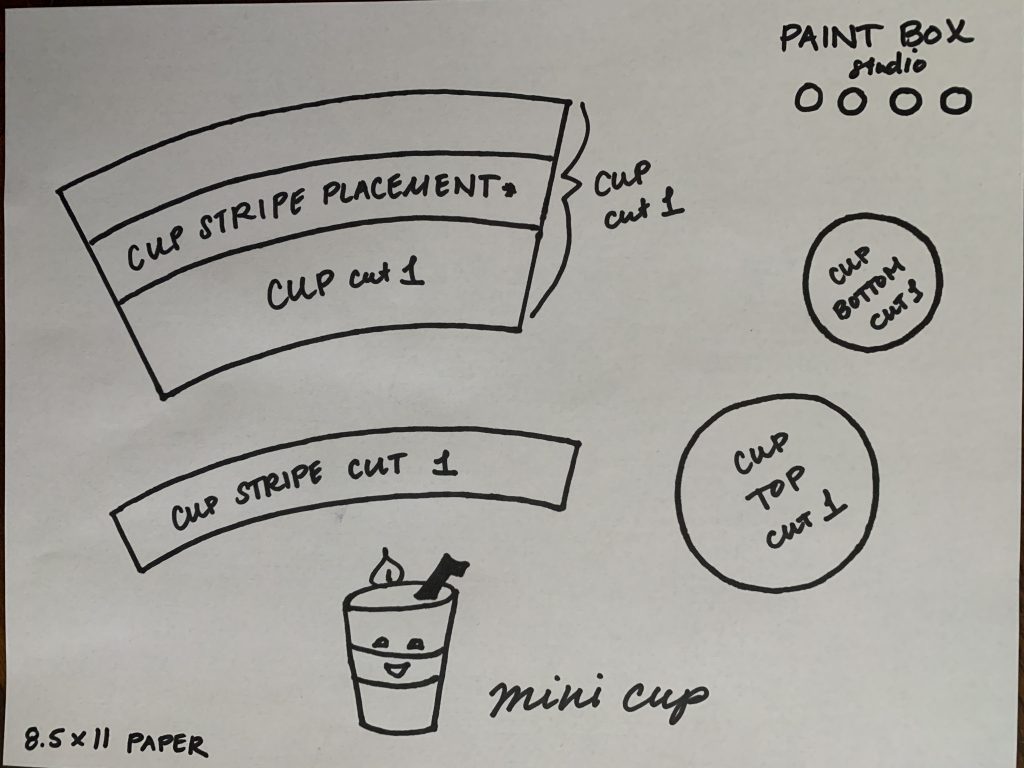
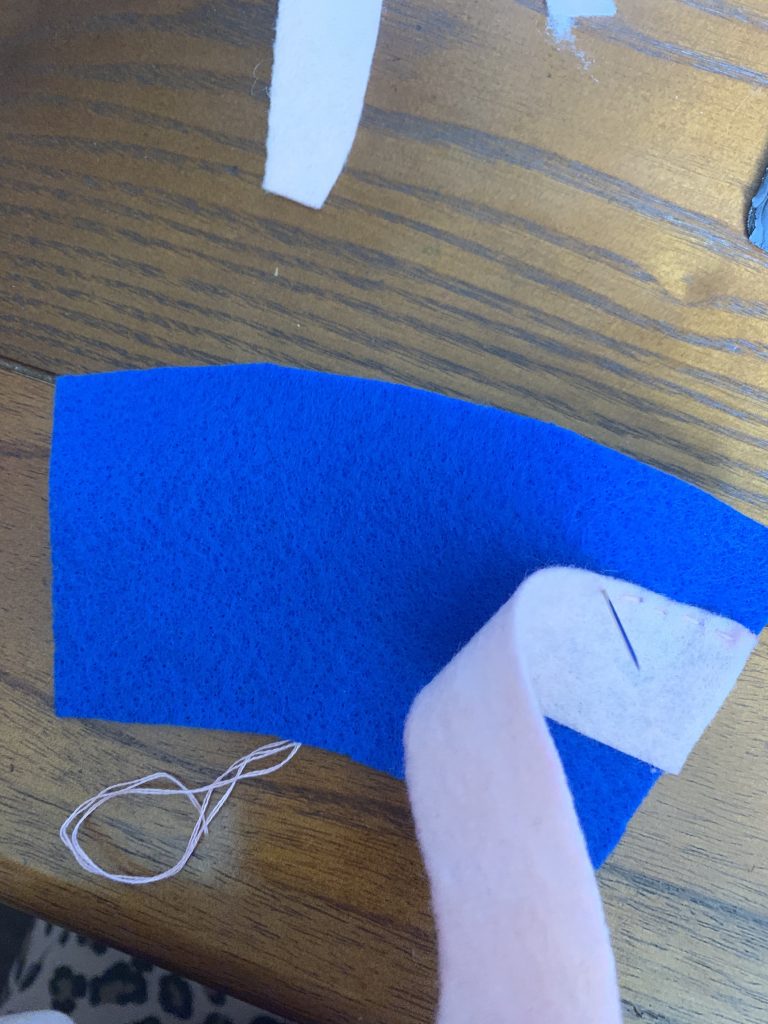
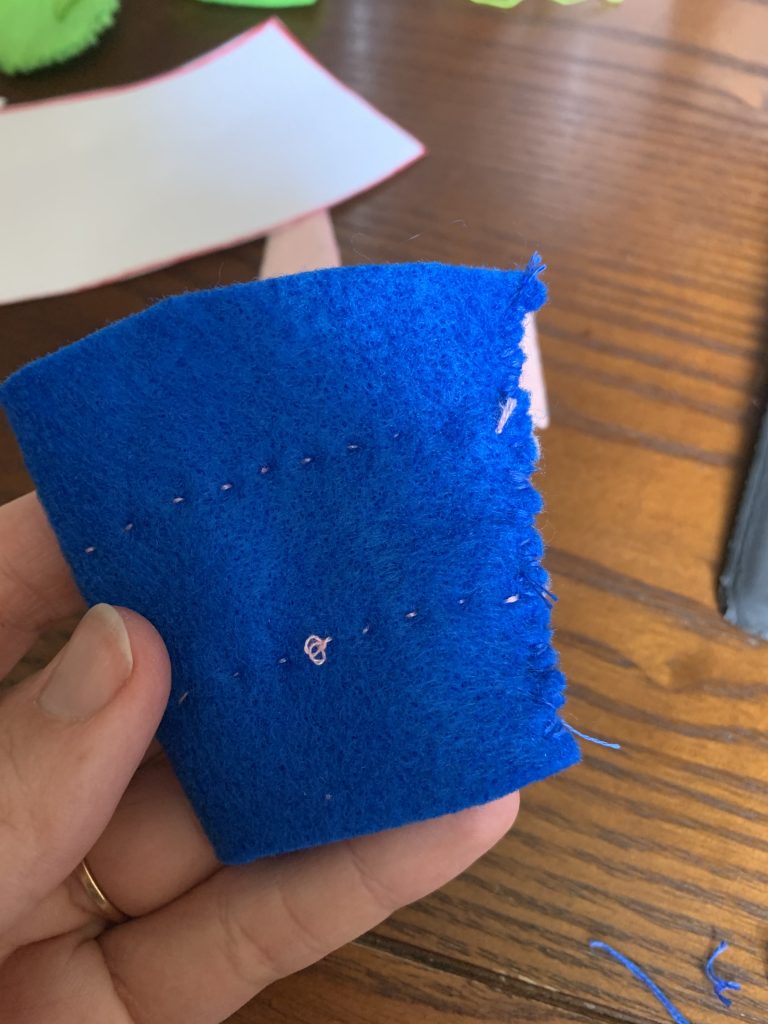
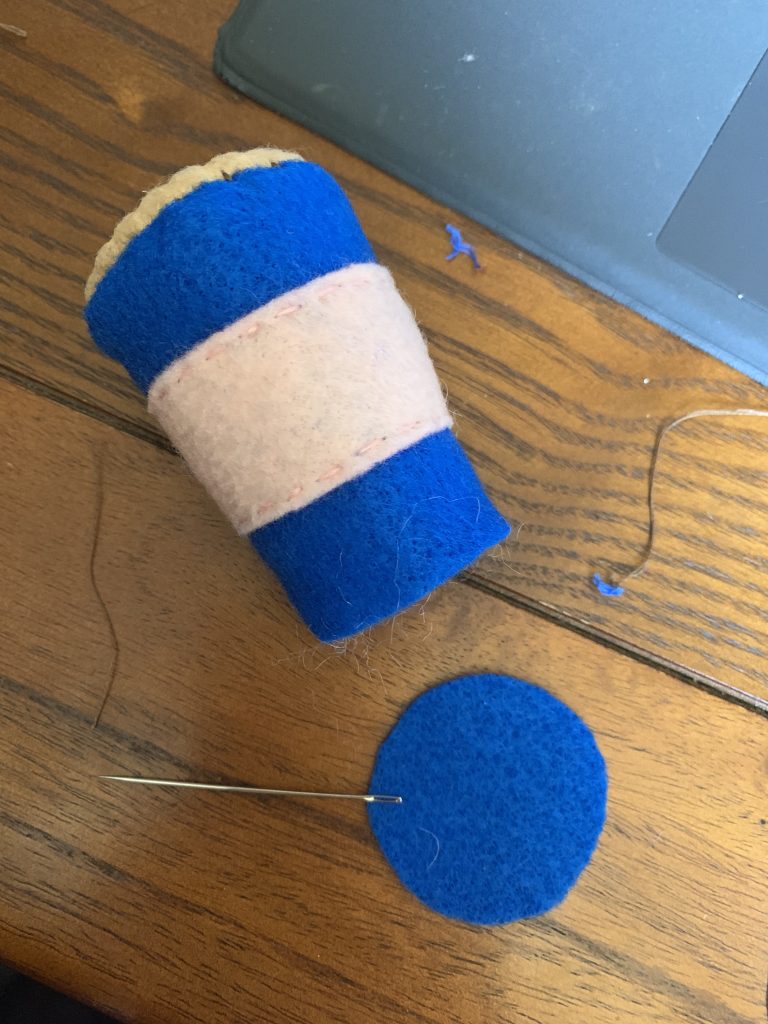
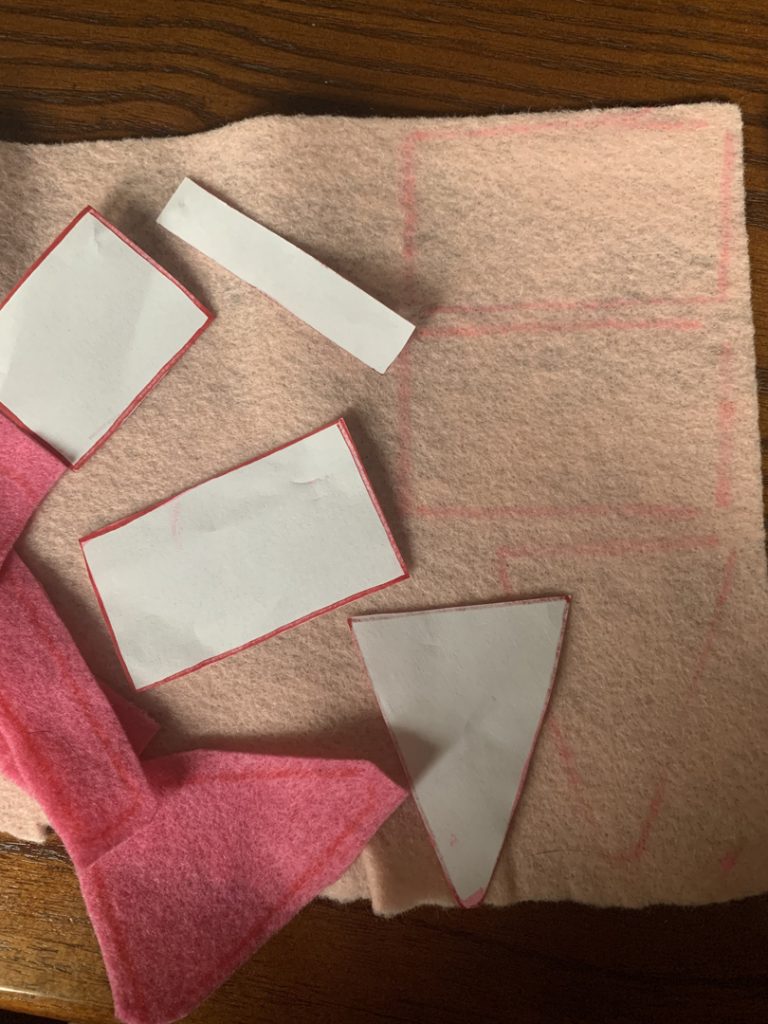
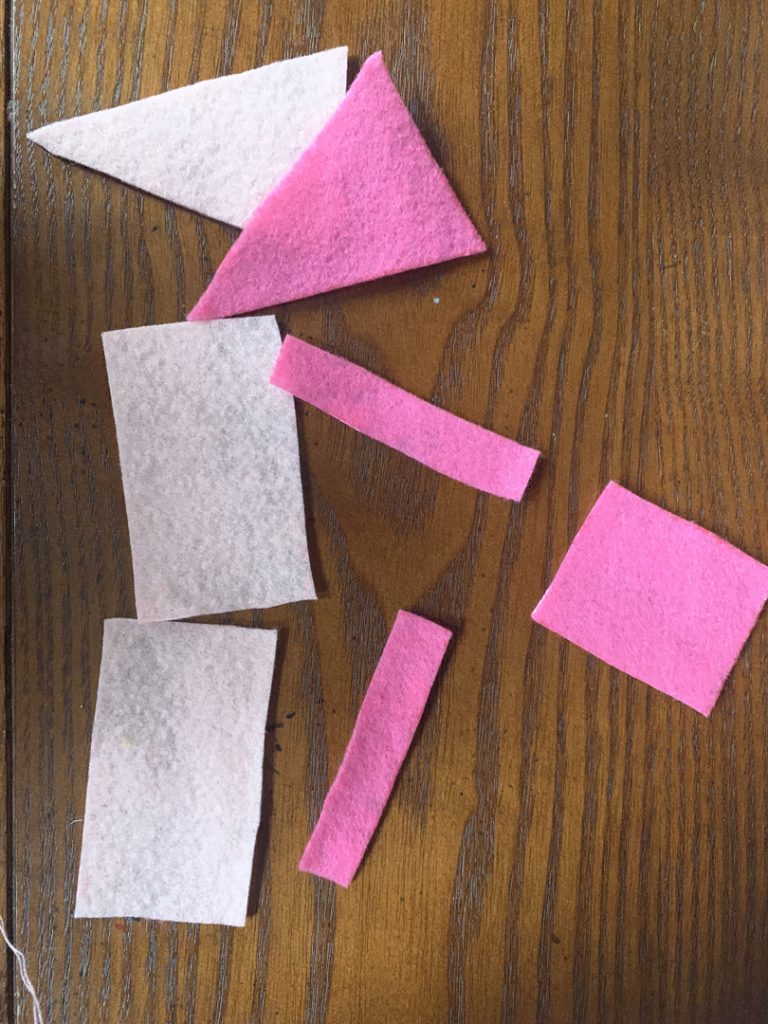
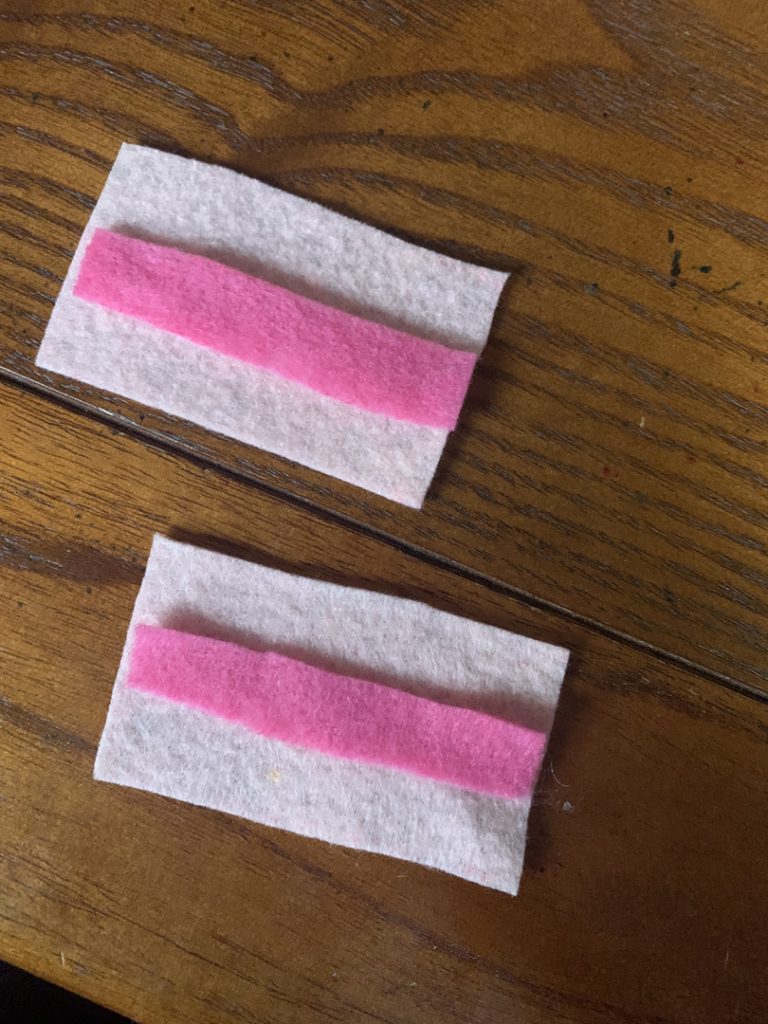
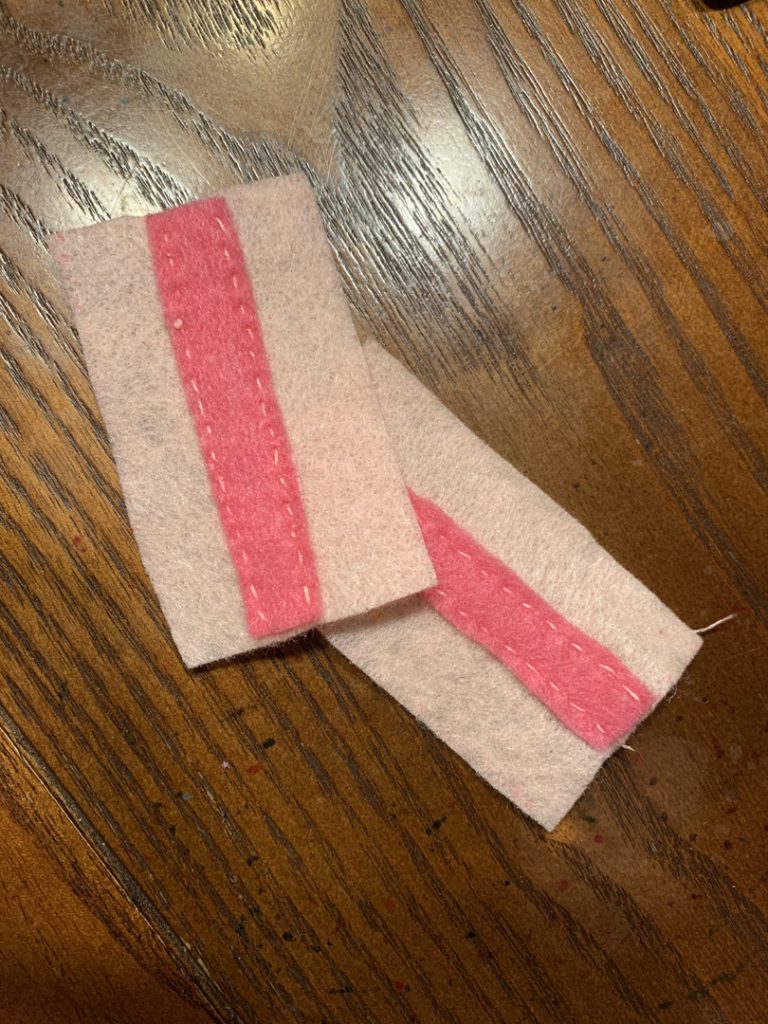
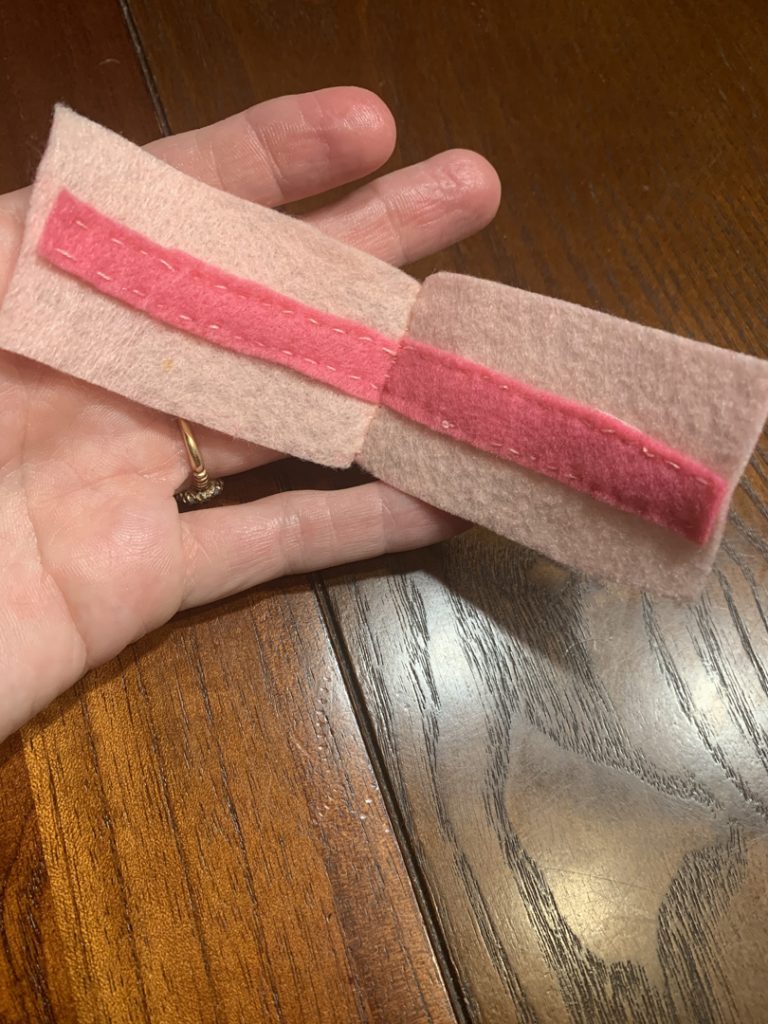
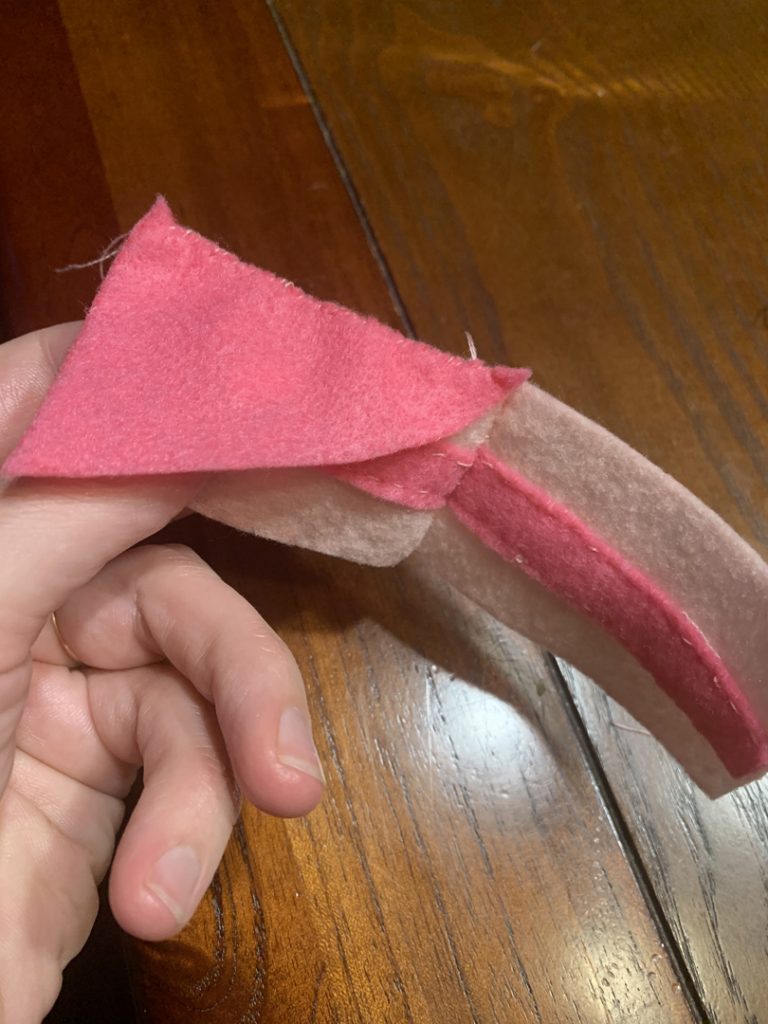
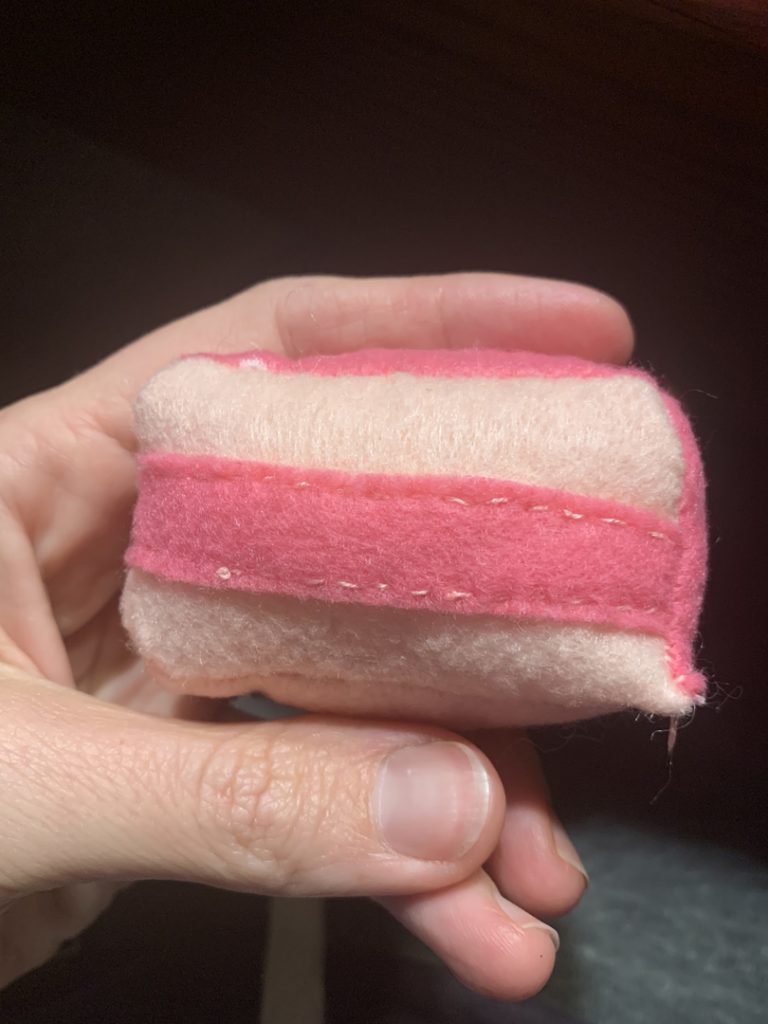
Start by prepping all of your felt pieces. Cut out the pattern, trace them on your felt and cut one of each piece. Then, pin down the long strip across the large piece of the cup, and using a running stitch, sew it down.

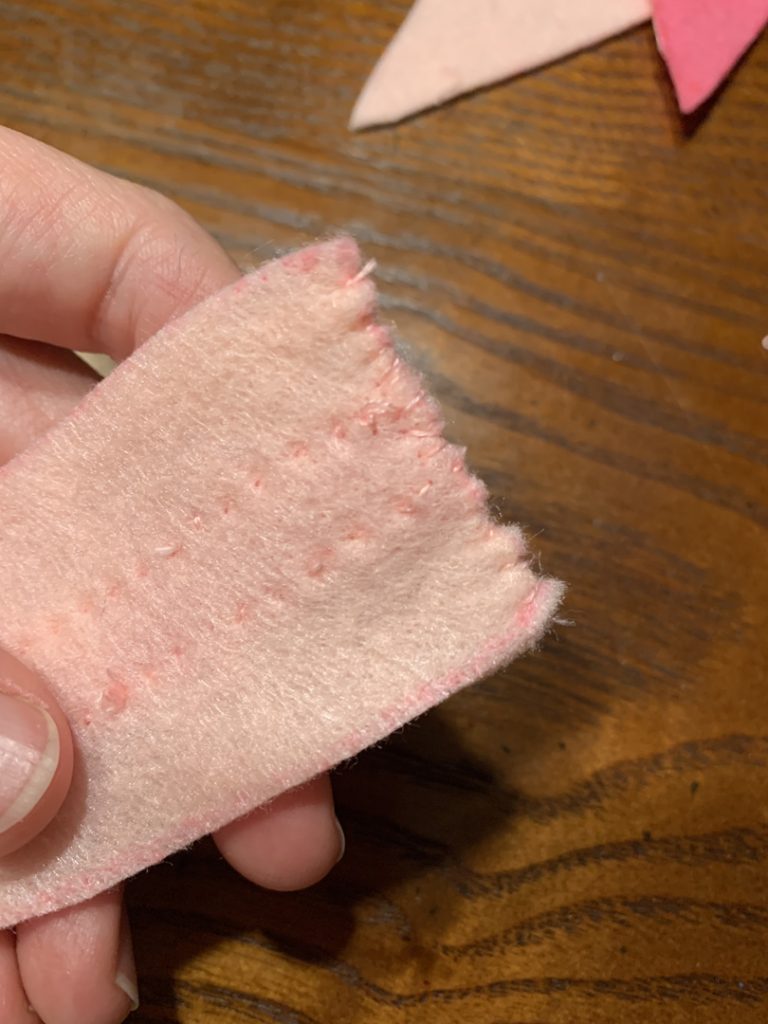
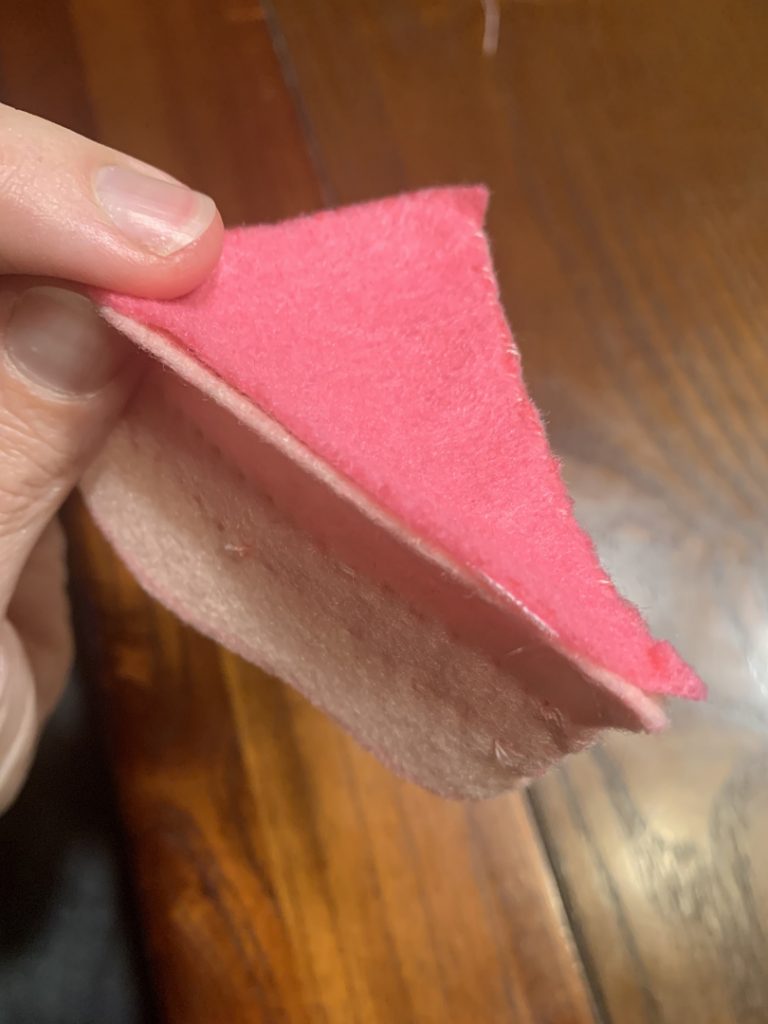
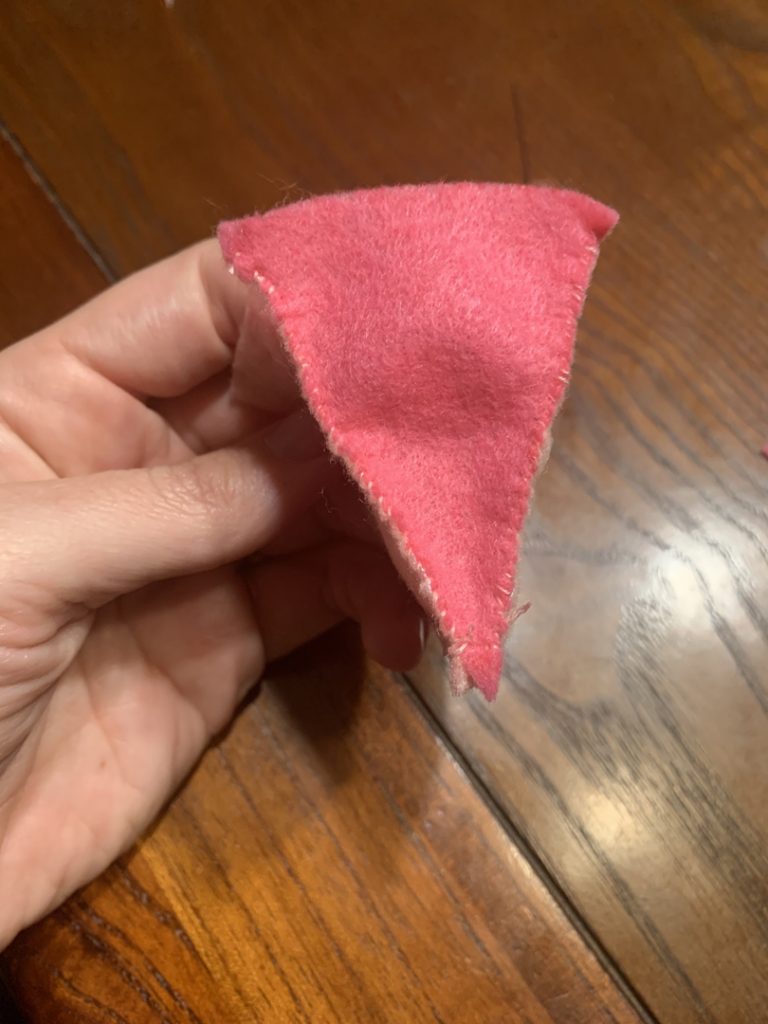
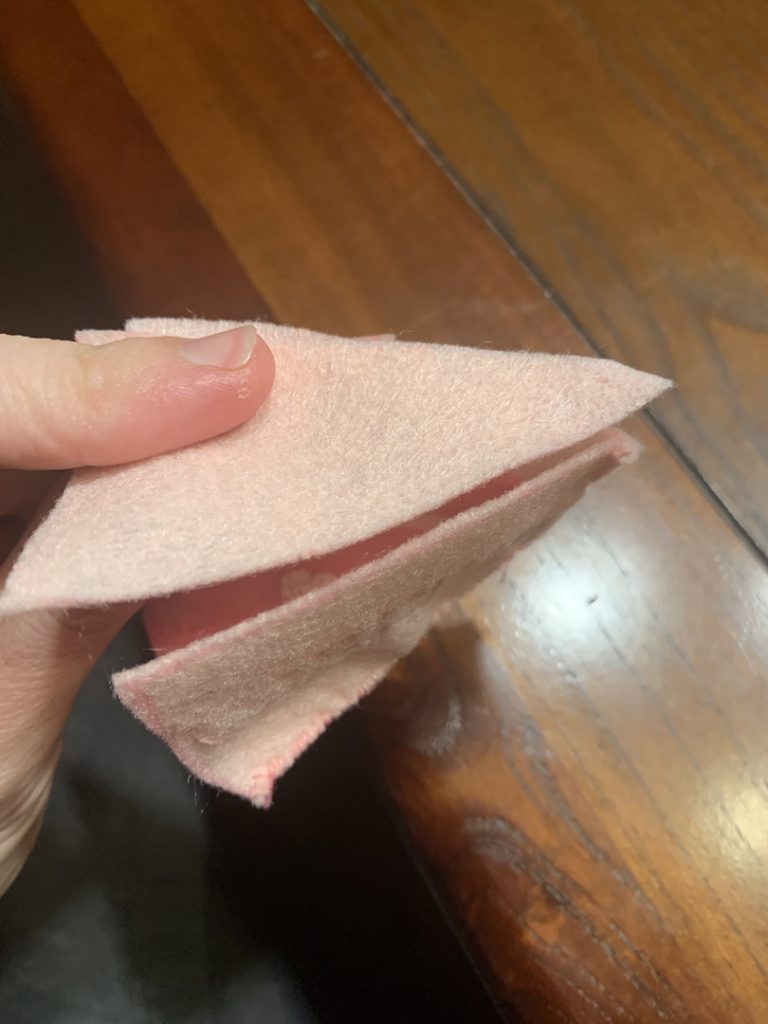
Then, fold the cup right sides together and whip stitch the open side shut.

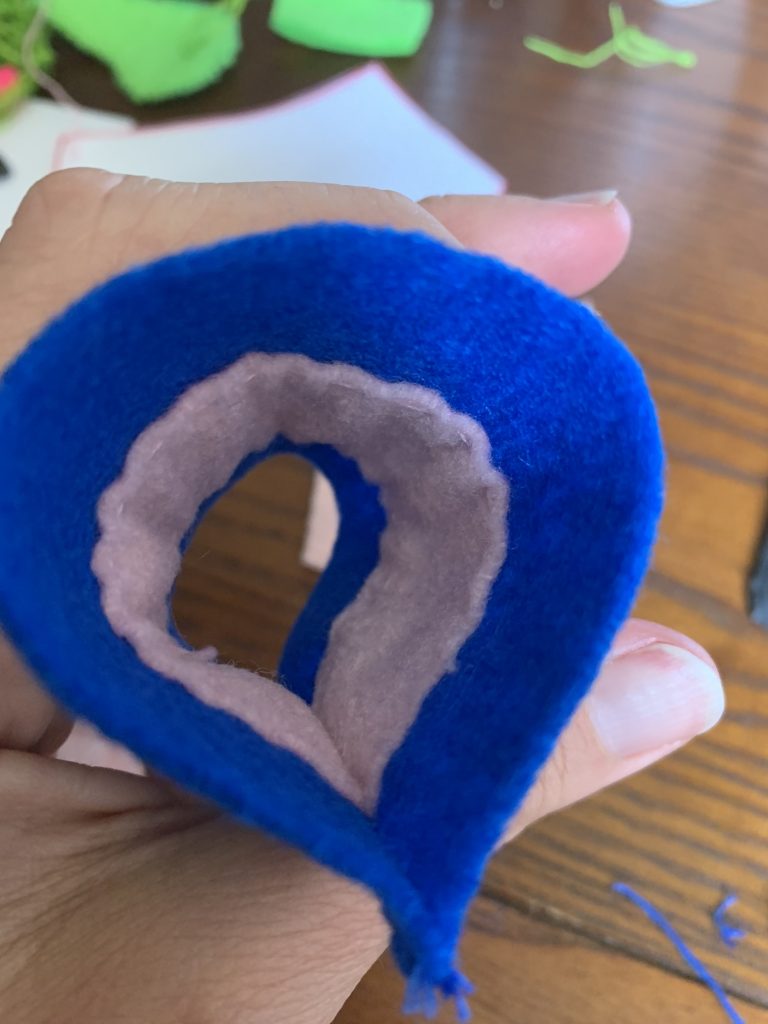
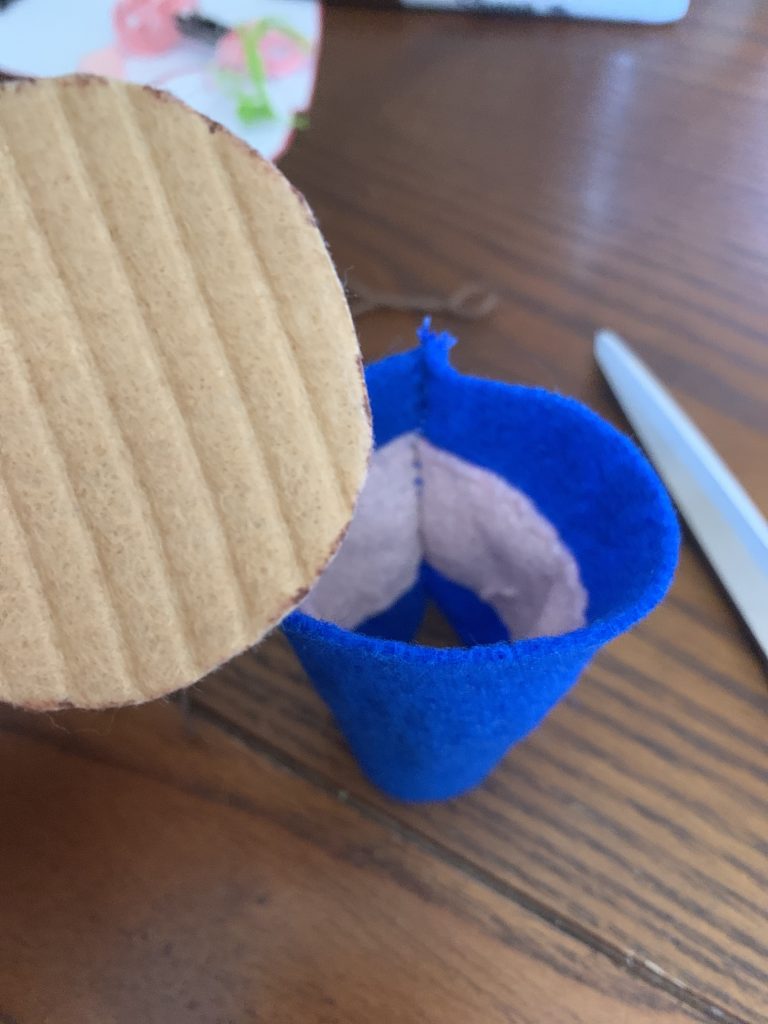
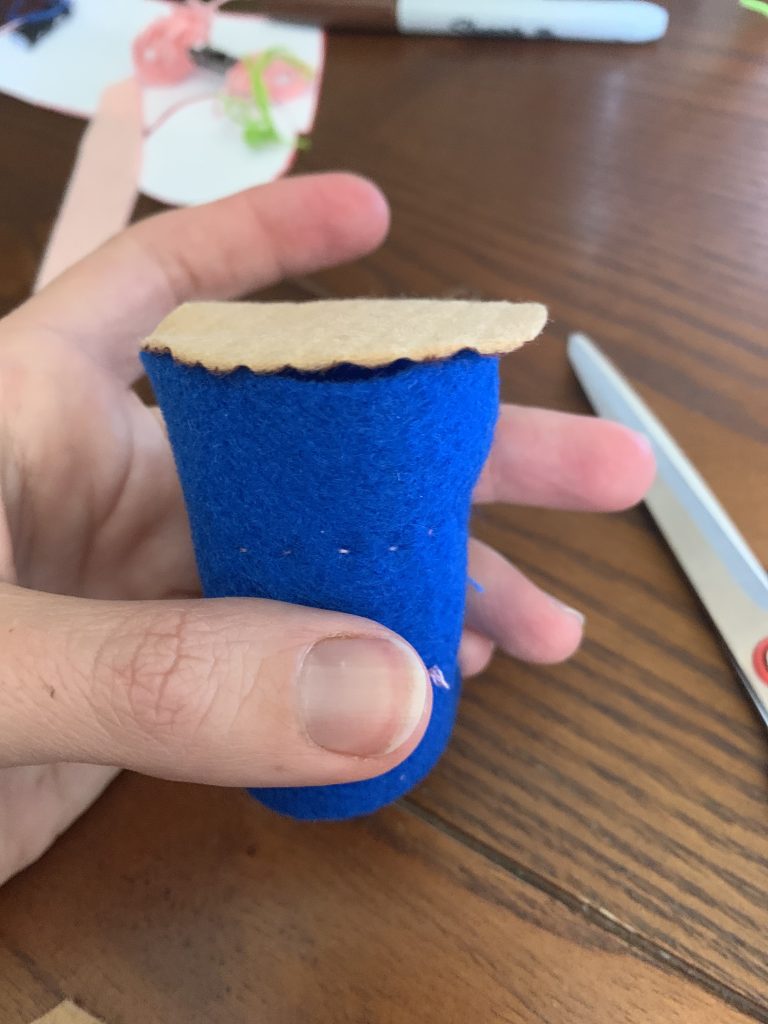
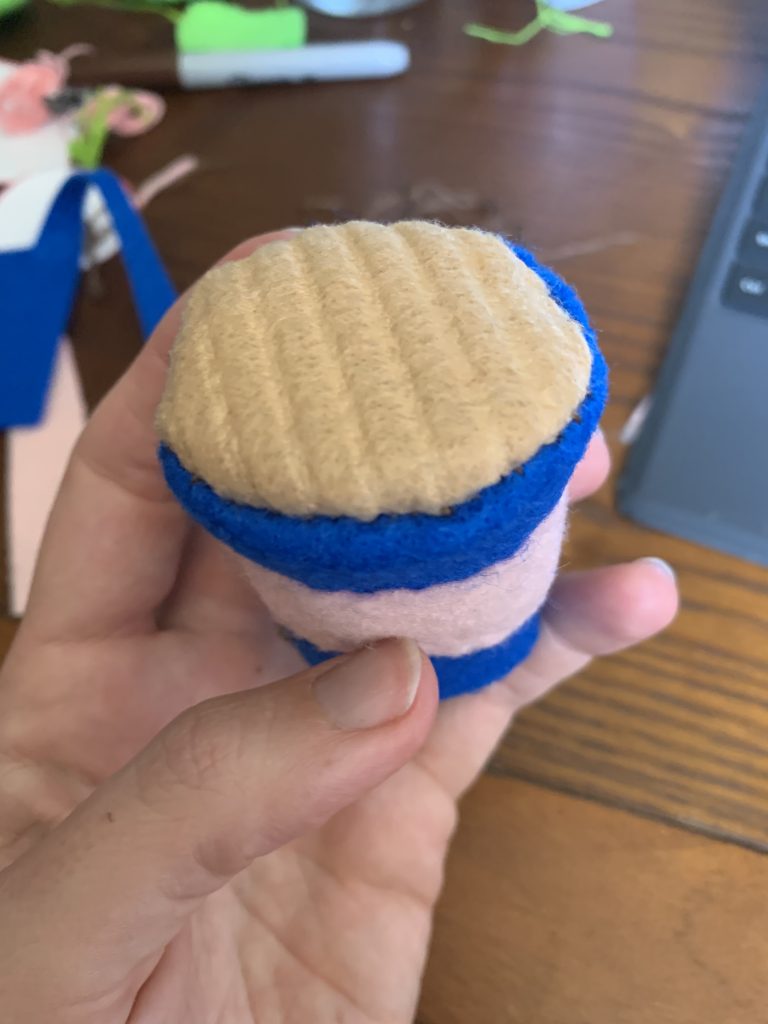
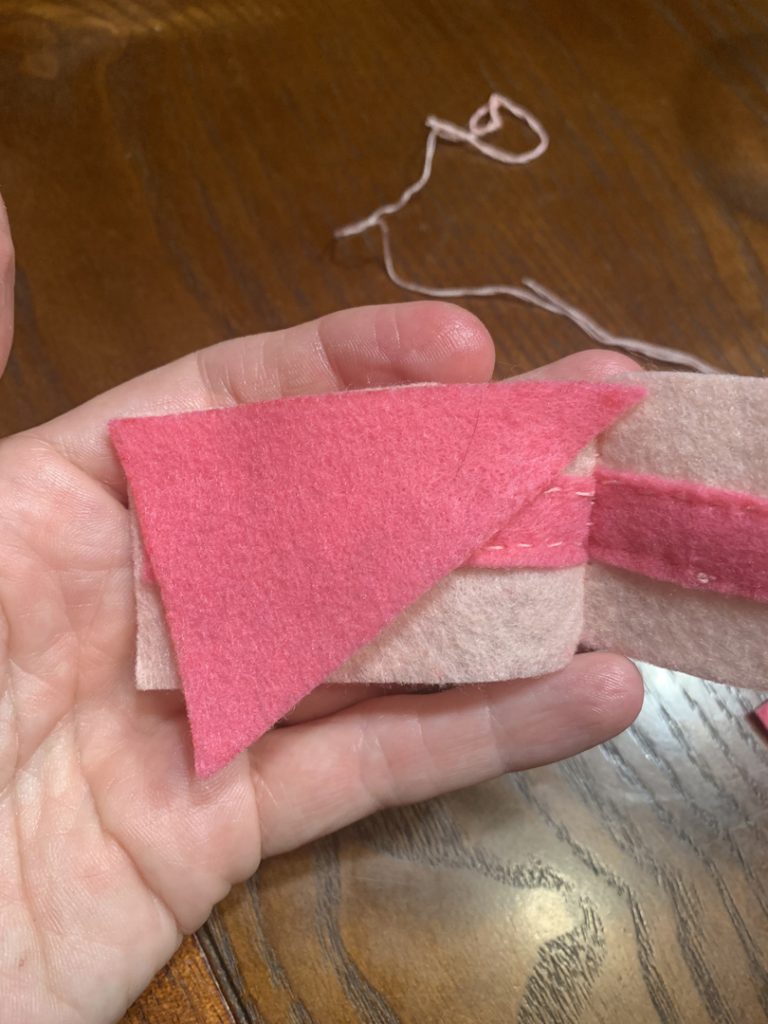
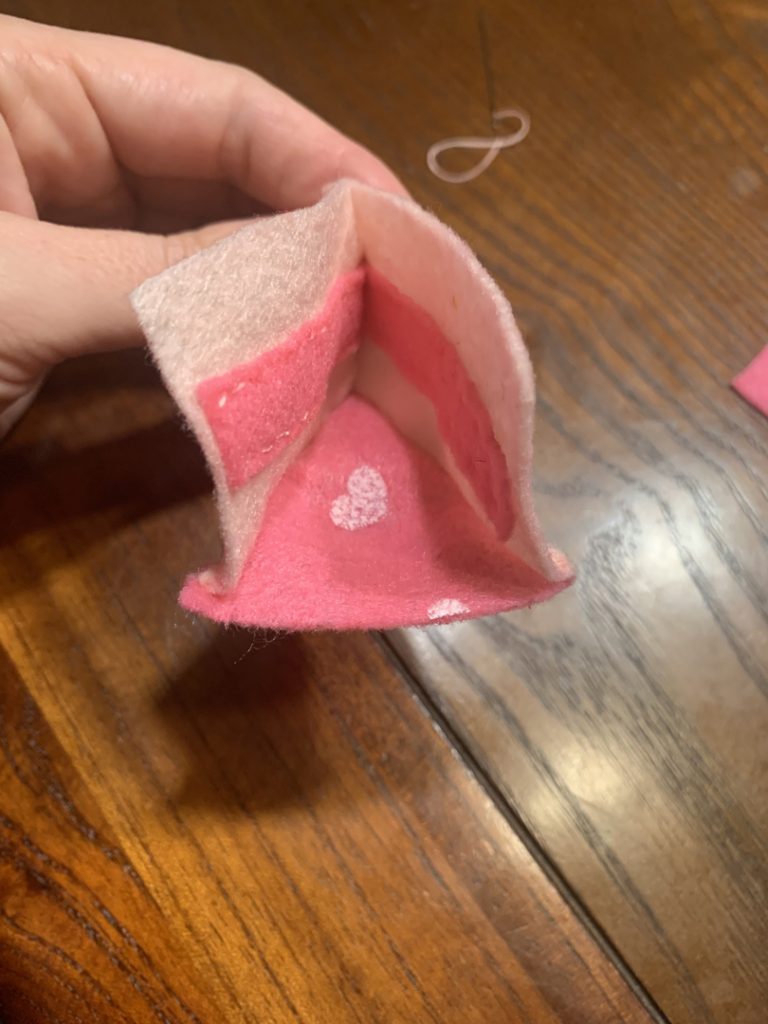
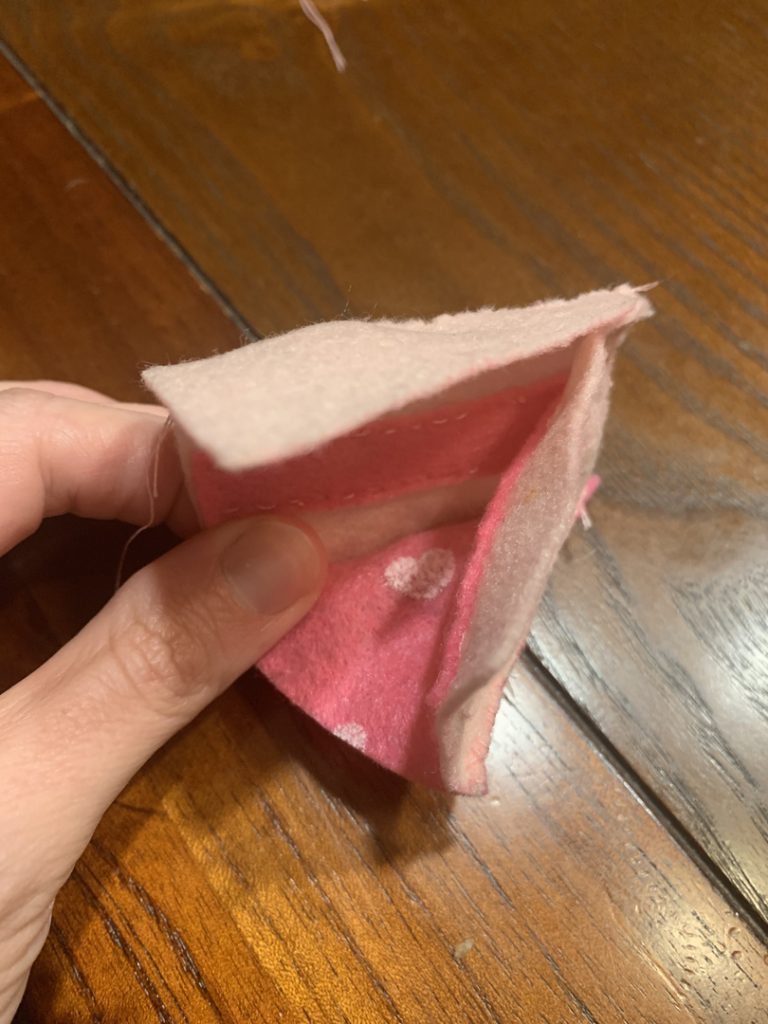
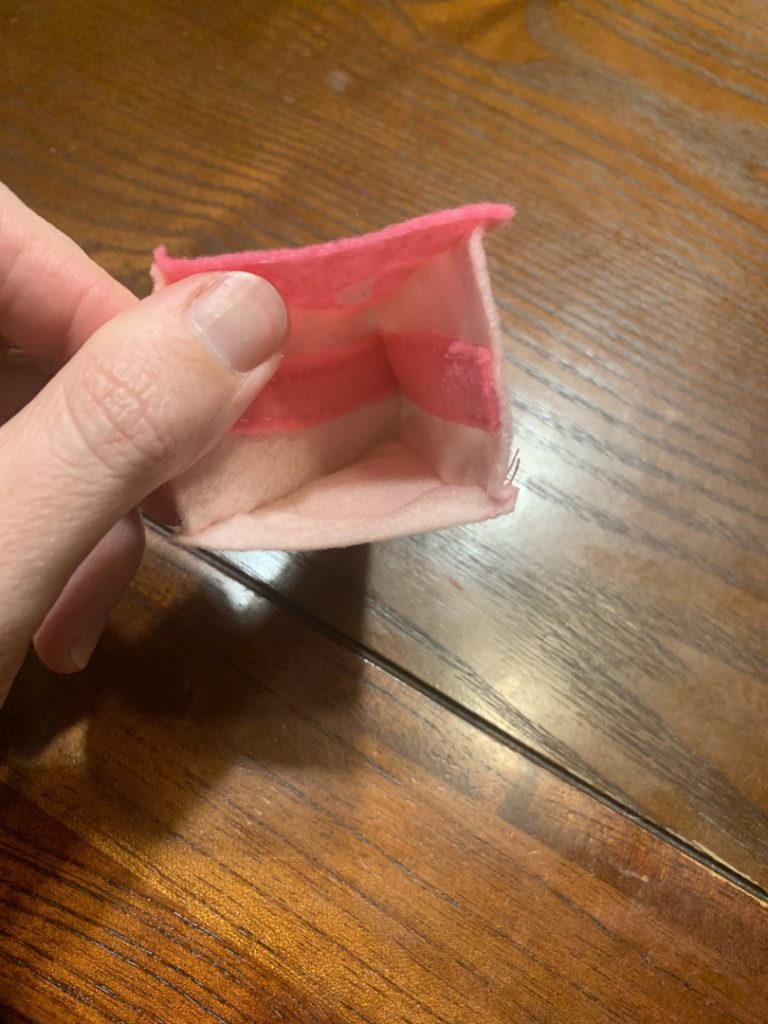
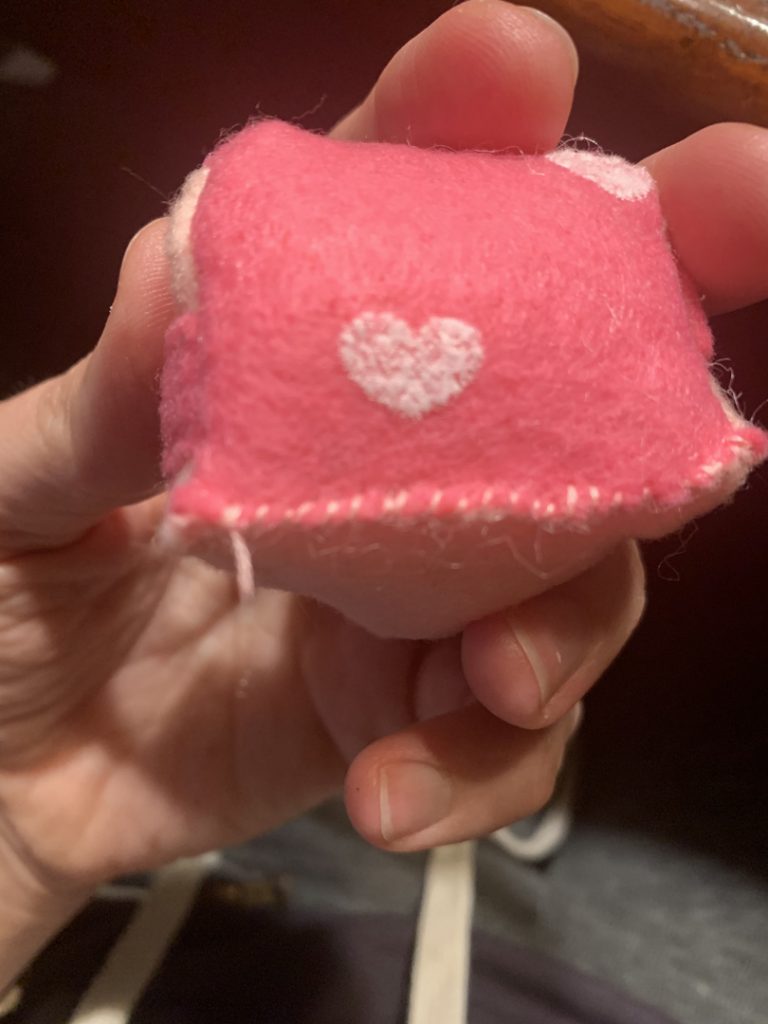
Next, place the top of the cup right side down along the top opening of the cup. Whip stitch all the way around. Then, turn it right sides out.

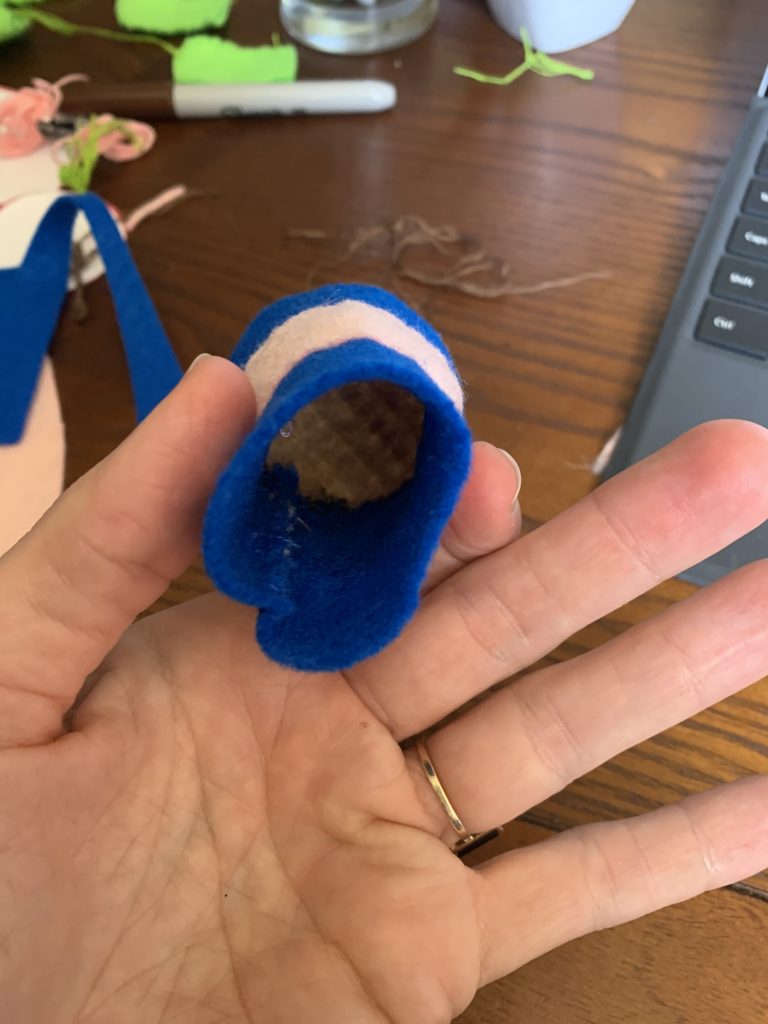
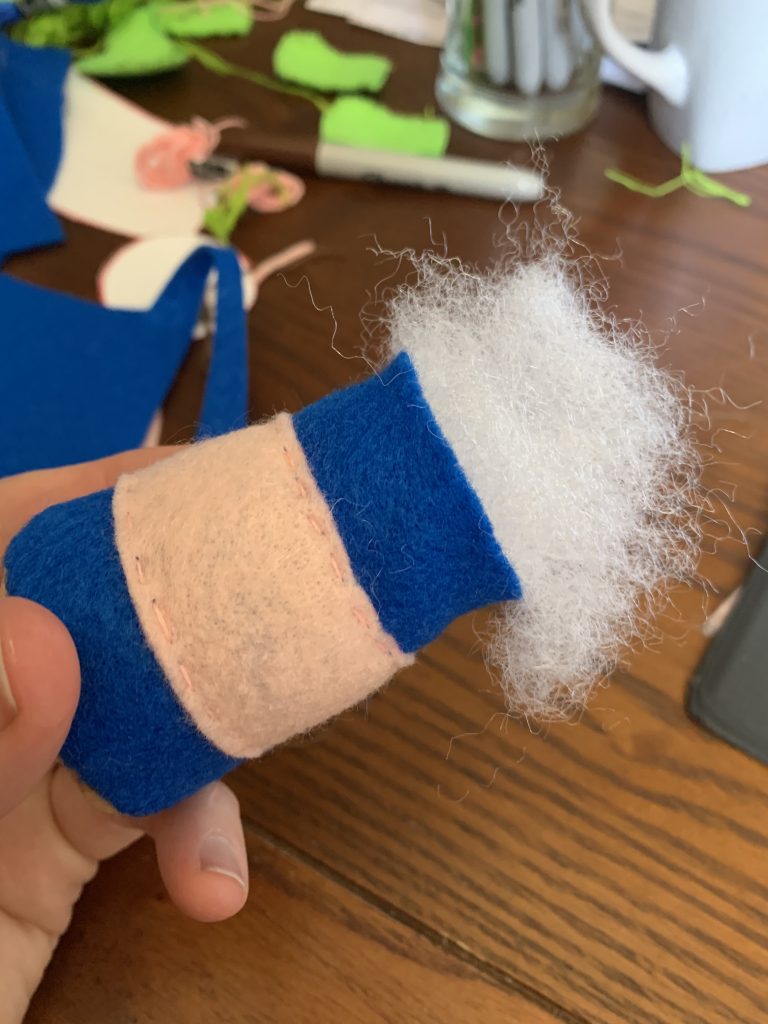
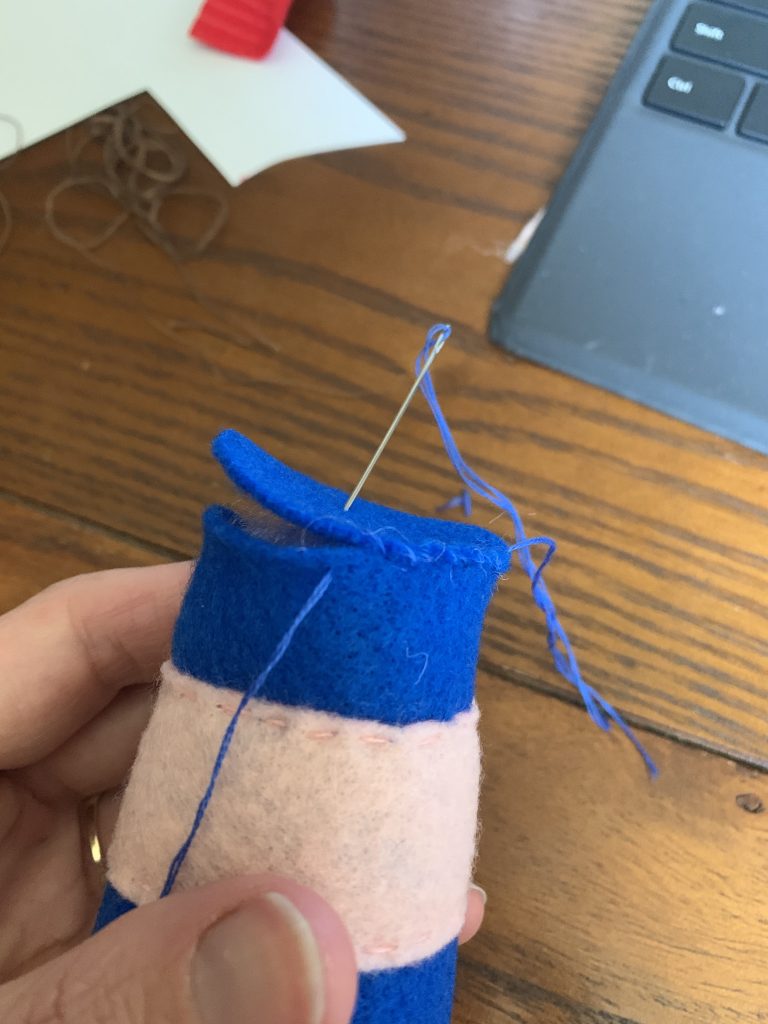
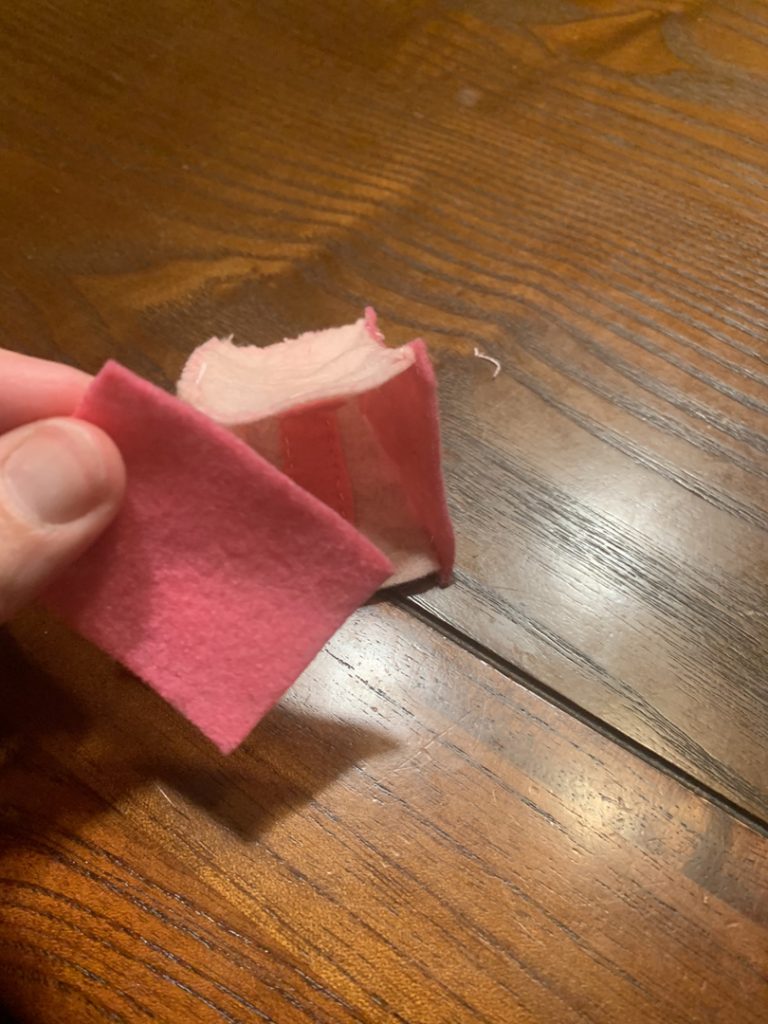
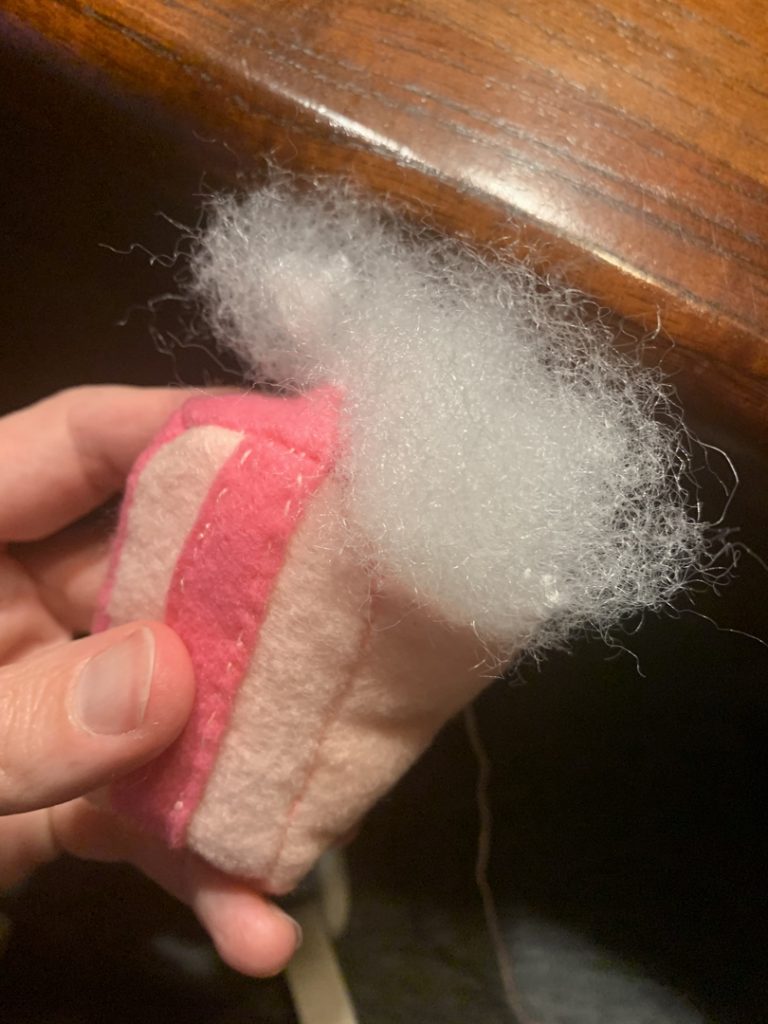
Time to stuff! Fill the cup with stuffing and whip stitch the bottom of the cup all the way around.

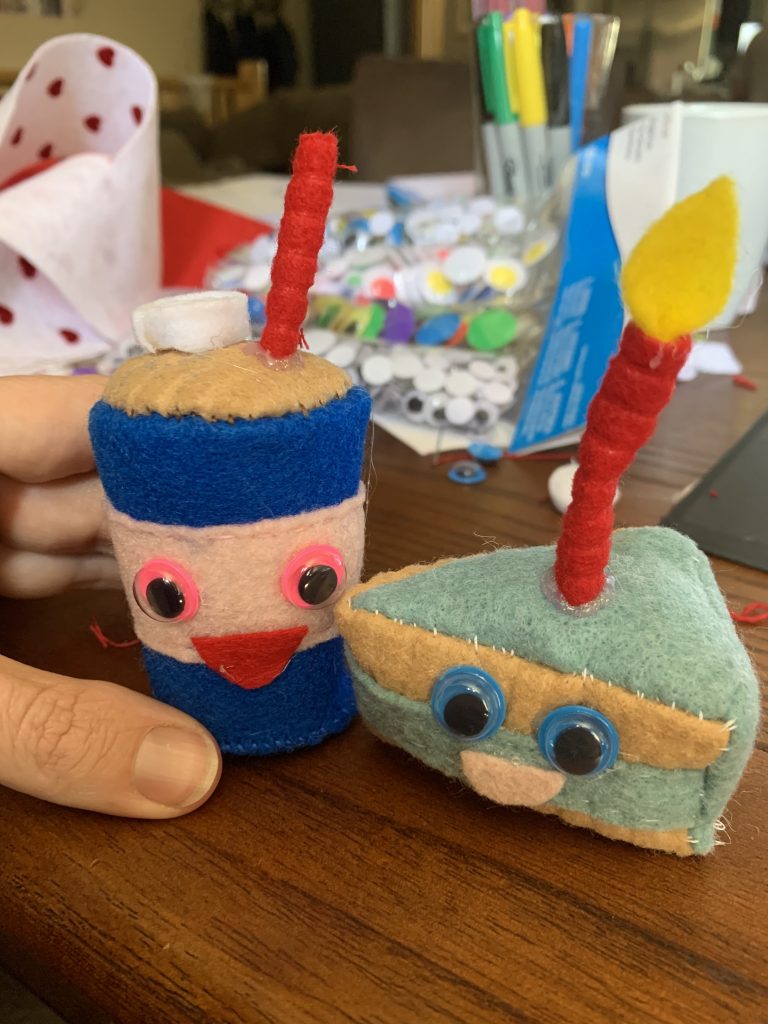
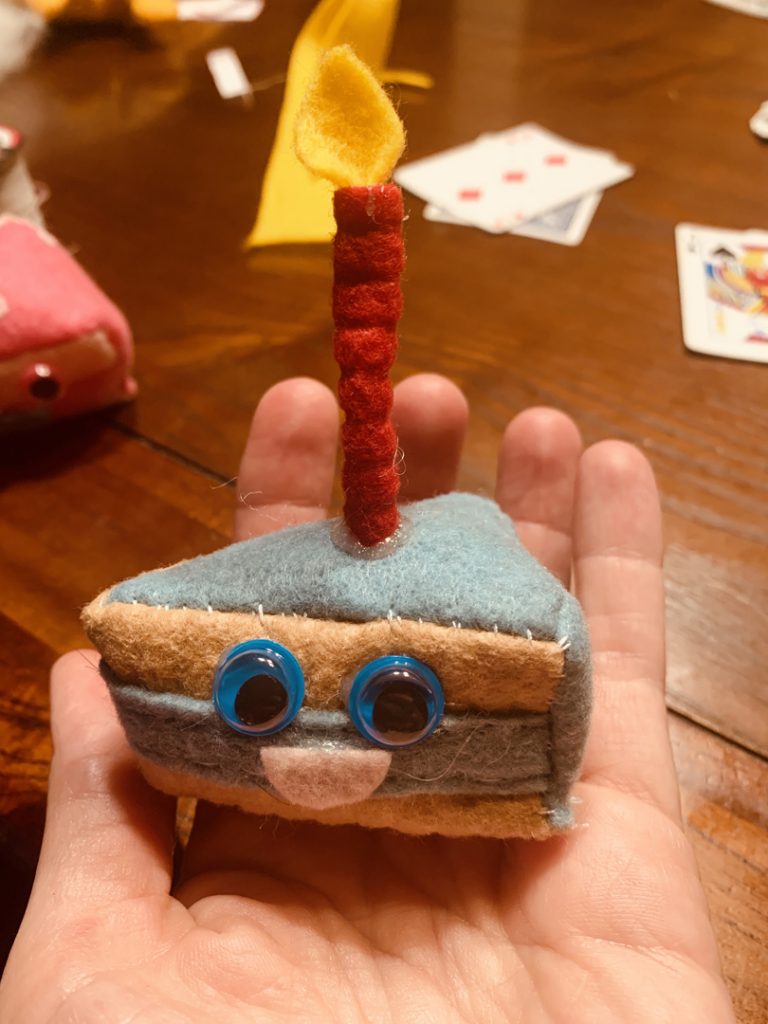
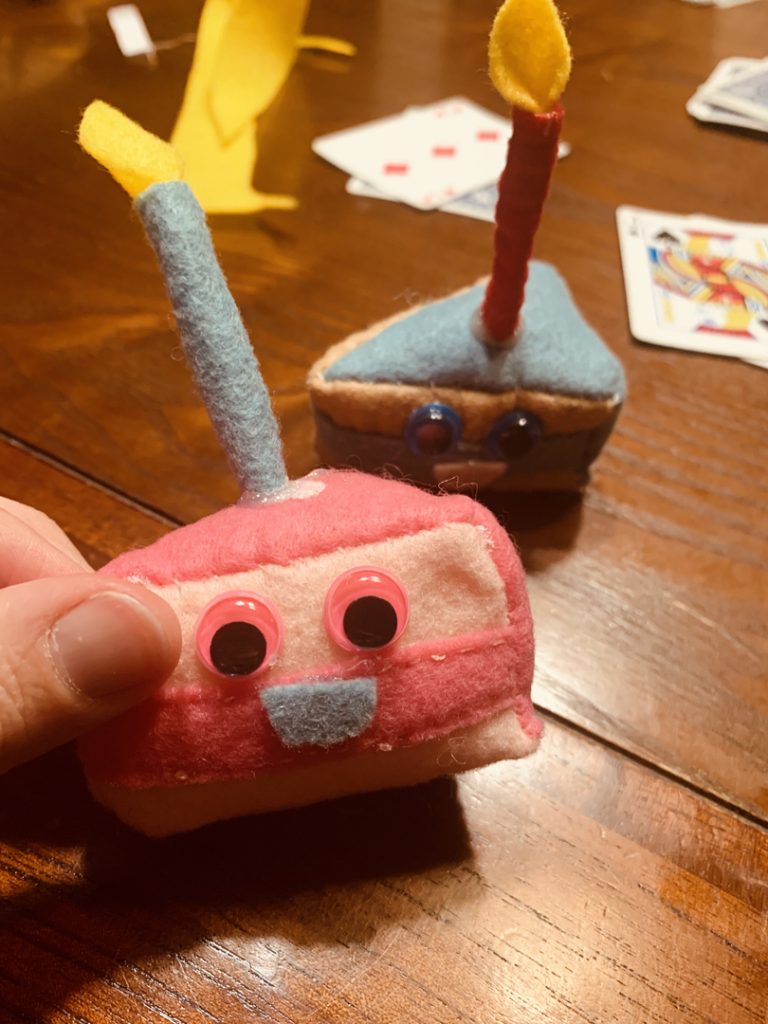
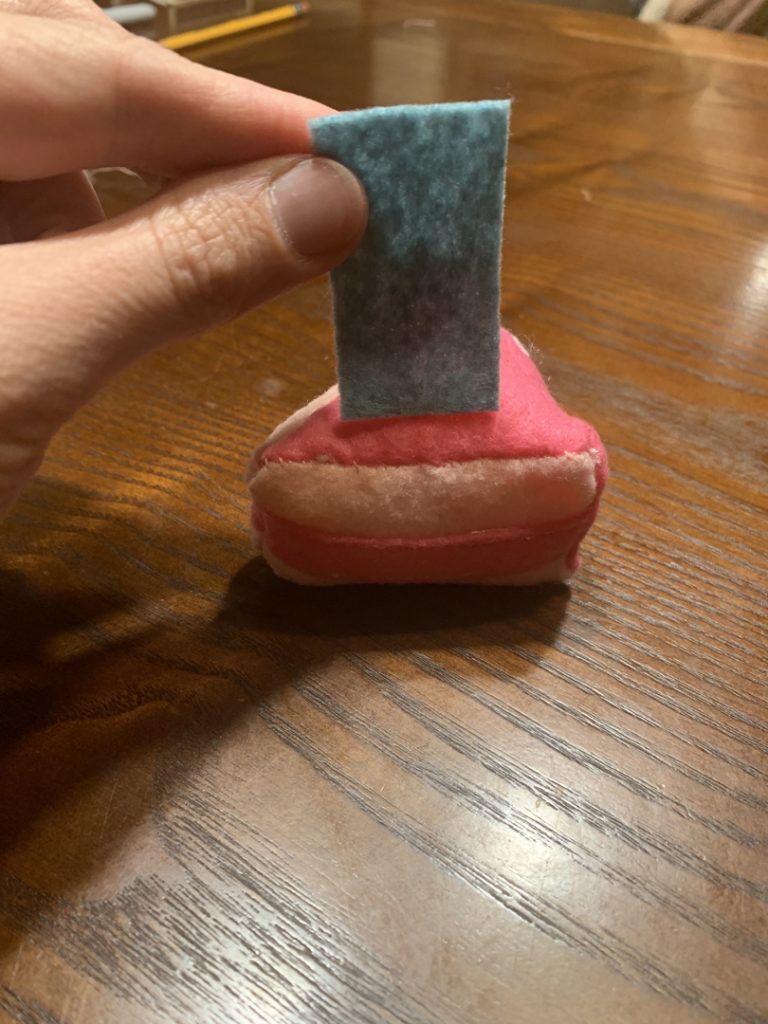
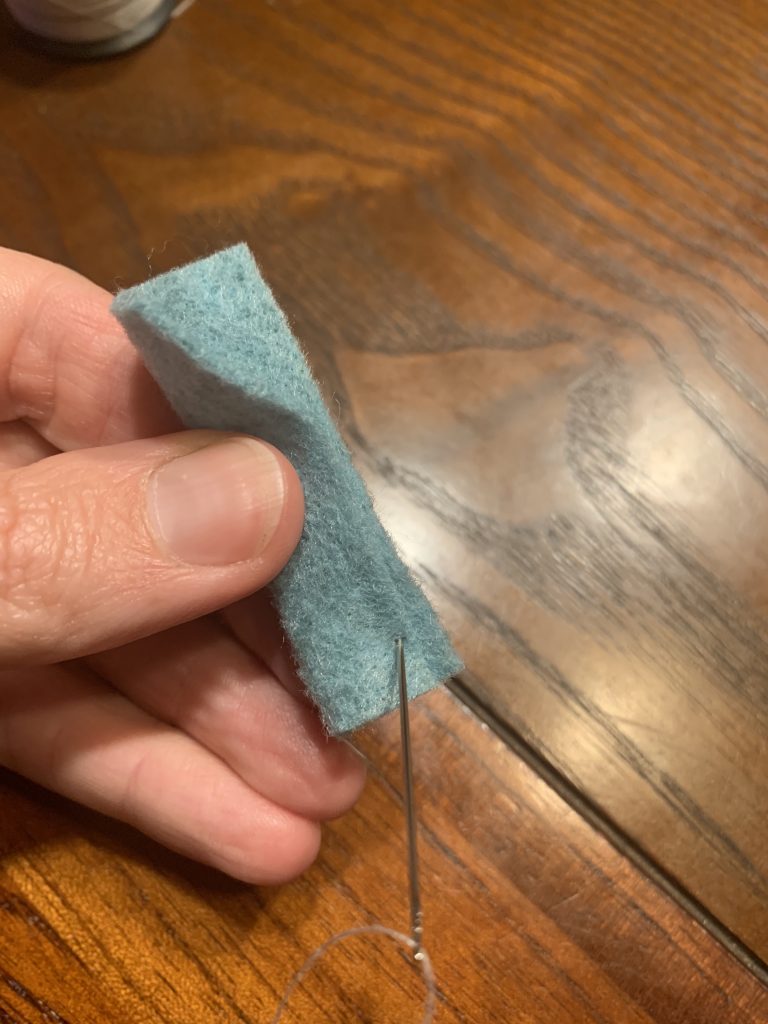
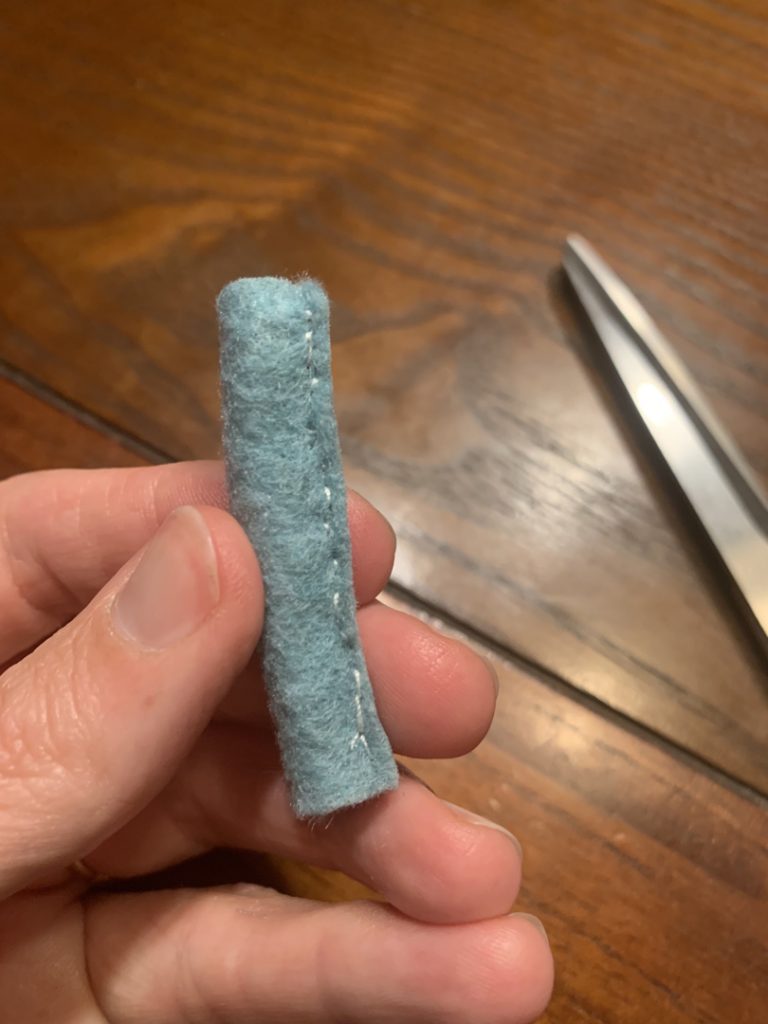
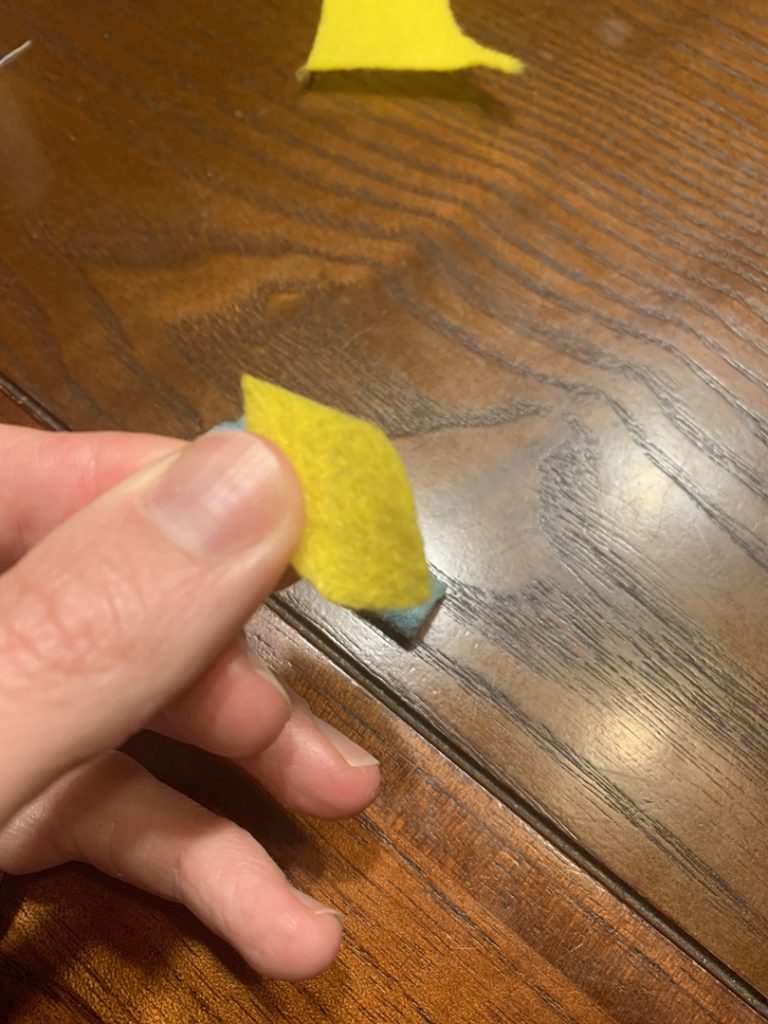
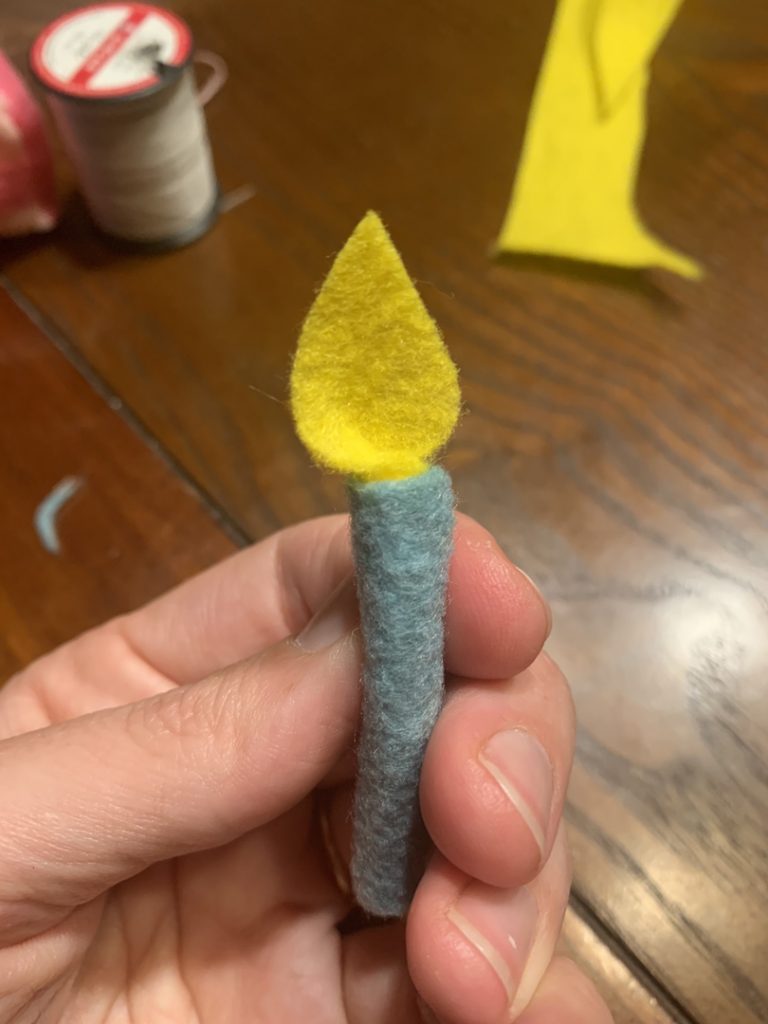
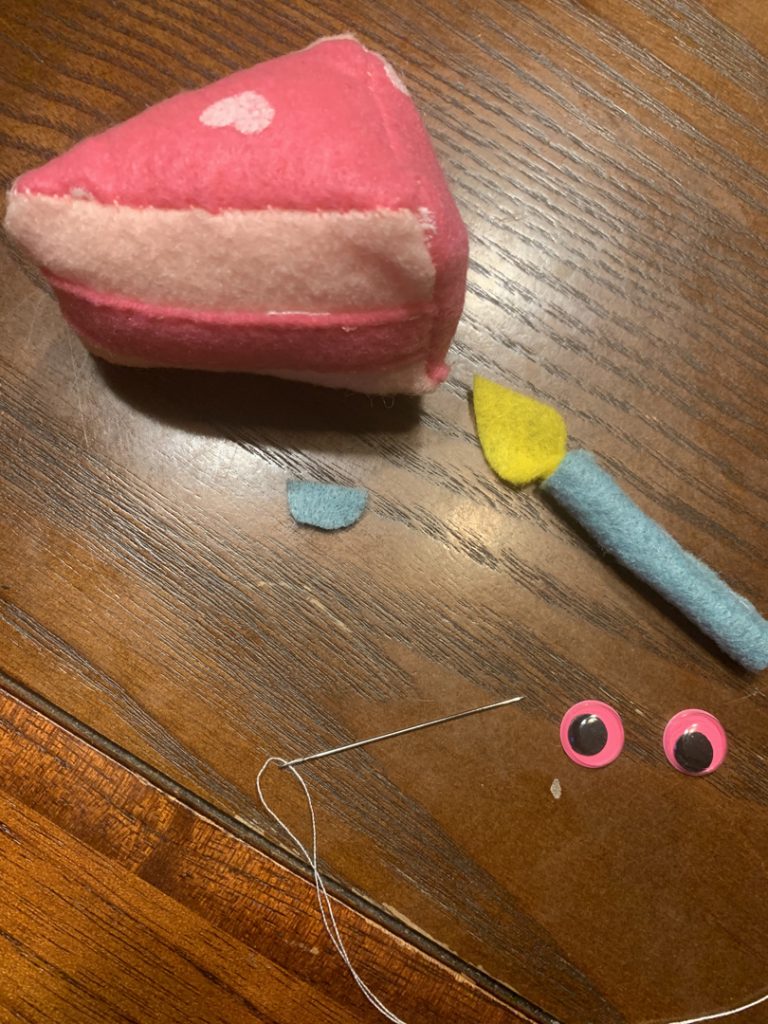
Cut out a mini straw, fold it lengthwise and stitch the opening shut. Make a little whipped cream with some white felt if you’d like, cut out a mouth, add some googly eyes and glue everything down!

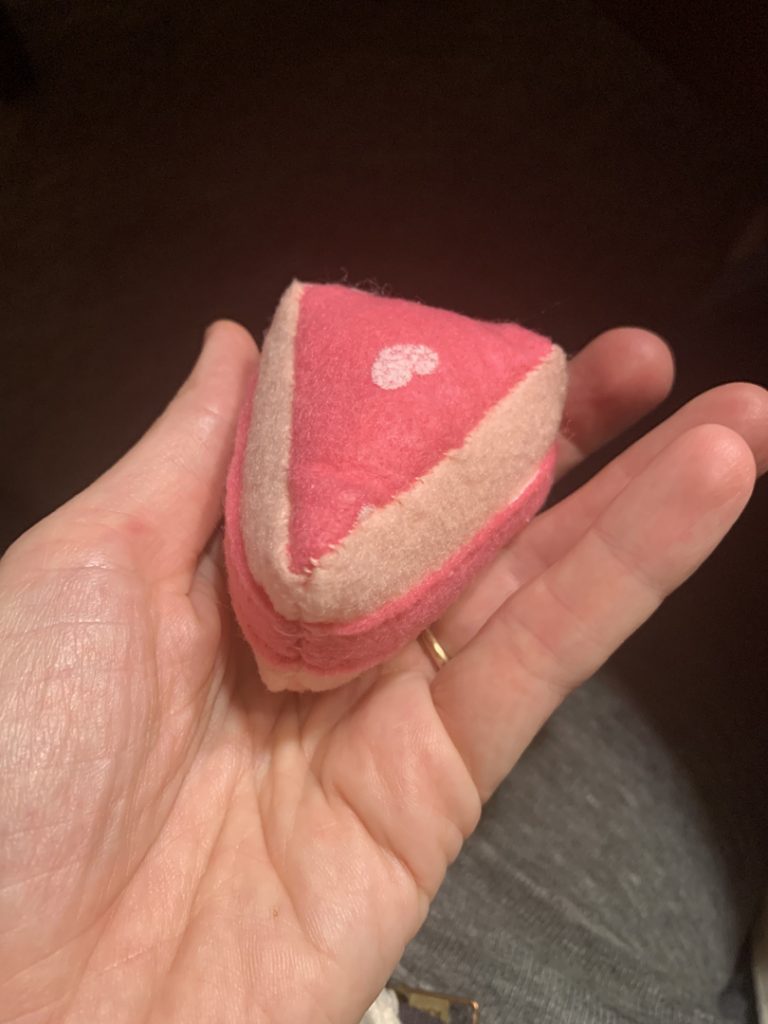
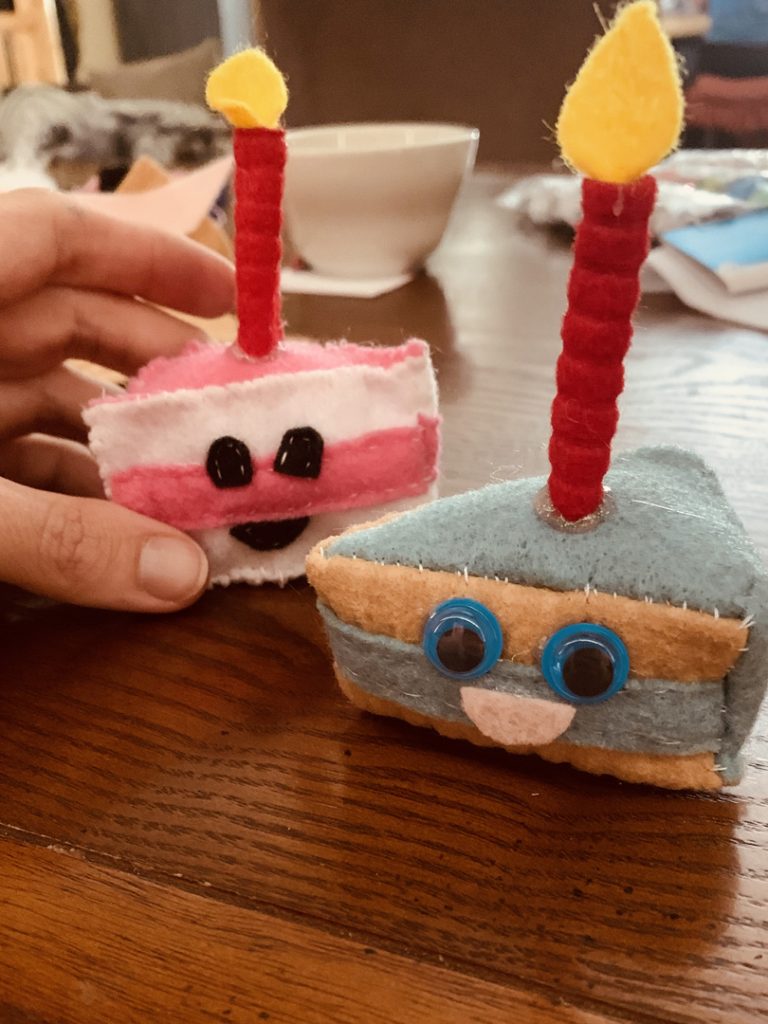
Cutest cup ever? I think so. Let us see your mini cups and mini cakes and let us know what other mini hand sew tutorials you’d like to see. Let’s start a whole collection!

My Mini Shop!

Hi Everyone! We wanted to share this week’s grab bag theme with everyone because we are loving this project and it can easily be done at home with whatever materials you have. If you don’t know, each week we create a grab bag for curbside pick up full of materials and supplies to get creative with. Each bag revolves around a different theme. For example, we’ve done “magical fairy lands,” “Easter worlds,” and “paper dolls!” Plus, we have many more exciting ones to come! I have been taking this time to do some SERIOUS studio organizing and have found some real gems for our upcoming bags! 🙂

So, this week’s theme: My Mini Shop!

We created a worksheet to fill out and get ideas flowing. Just print this sheet to begin!

I’m a little too obsessed with my pet lizards as many of you know (yes, lizards plural, I’ve adopted a second during quarantine). I made a mini lizard coffee stand inspired by Meshugguh Shack in Mission Hills to put the new baby in. Here’s my worksheet along with photos of the finished “Lazy Lizards” cafe!

We hope this gives you a little inspiration and that you create your own mini shops at home! Make sure to share what you make with us! We can’t wait to see!

Miss you all! -Ms. Amy

Grab Bag 4 – Magical Fairy Lands

My favorite grab bag yet! You guys are so awesome and creative. These fairy lands turned out truly beautiful and I would live in any one of them!

Our winner of this grab bag is a first time grab bag challenge contestant, Nora Stallone! Congratulations Nora! We love how you incorporated so many natural materials from the garden to create such a well organized land for your fairies. The seashell butterflies were also very creative! Free bag for next week, woohoo!!

Let’s check out all of the work!

Billie:

Cat:

Emily:

Lila:

Lisey:

Nora:

Olivia:

Mini Cake Stuffie – Hand Sew

Hi everyone! We have a SUPER cute miniature cake stuffie tutorial for you. All done with hand sewing material, no machine required!

Step 1: Pattern Time!

We’ve made a pattern for you to print. Just make sure you’ve selected “fill the page” when printing so that the pattern prints at the accurate size. The cake is on the right hand side and the cup will be for a future lesson.

Step 2: Cut Your Pieces

Cut out the pattern and trace them onto your fabric of choice. Make sure you trace two of each piece that says “cut 2” on the pattern. Then, cut all of your cake pieces out of your fabric.

Step 3: Sew Your Frosting

Place the frosting strips in the center of each cake side and do a running stitch along the edges of the frosting.

Step 4: Close The Front of the Cake

Right side the two pieces with the frosting together and sew one of the short edges closed using a whip stitch.

Step 5: Insert Your Triangles

Insert the top of the cake (keeping everything right sided together) and whip stitch one long side of the triangle to the long side of one of the rectangles making sure the point of the triangle meets the front of the cake (the side you have already sewn shut). Then, sew the other side of the triangle to the other side of the cake so that the triangle has created a top for your cake.

Then, repeat this same step for the bottom of the cake. You should only have the back of the cake open at this point. Make sure that everything is still right sided together!

Step 6: Insert Your Back

Keep everything right sided together, insert the back of your cake and whip stitch 3 sides of the back so that you can flip it around and stuff it. Leave the bottom side open.

Step 7: Flip and Stuff

Flip your mini cake right sides out and fill with stuffing. Then, whip stitch your final side closed and you’ve got your cake!

Step 8: Make a Candle

You can decorate your cake any way you’d like! We love candles and googly eyes so that’s what we’re going to use. Some yarn frosting over the top would also be cute!

For a candle, cut out a rectangle that you can fold over and sew shut that will be a decent size compared to your mini cake. Using a running stitch, sew the side of the candle shut.

Cut out a flame shape, give it a little pinch and a twist and then insert it into the top of the candle. A small stitch will hold it in place, or some hot glue will easily do the trick too!

Step 9: Attach Your Decorations

Glue or stitch everything on that you would like to add! We are adding some googly eyes, and small mouth that we cut out of fabric and the candle on top. We used glue to attach all the pieces.

Voila! Mini cake complete! 🙂 Show us all you mini cakes please! Matchy cup coming soon. Miss you all!