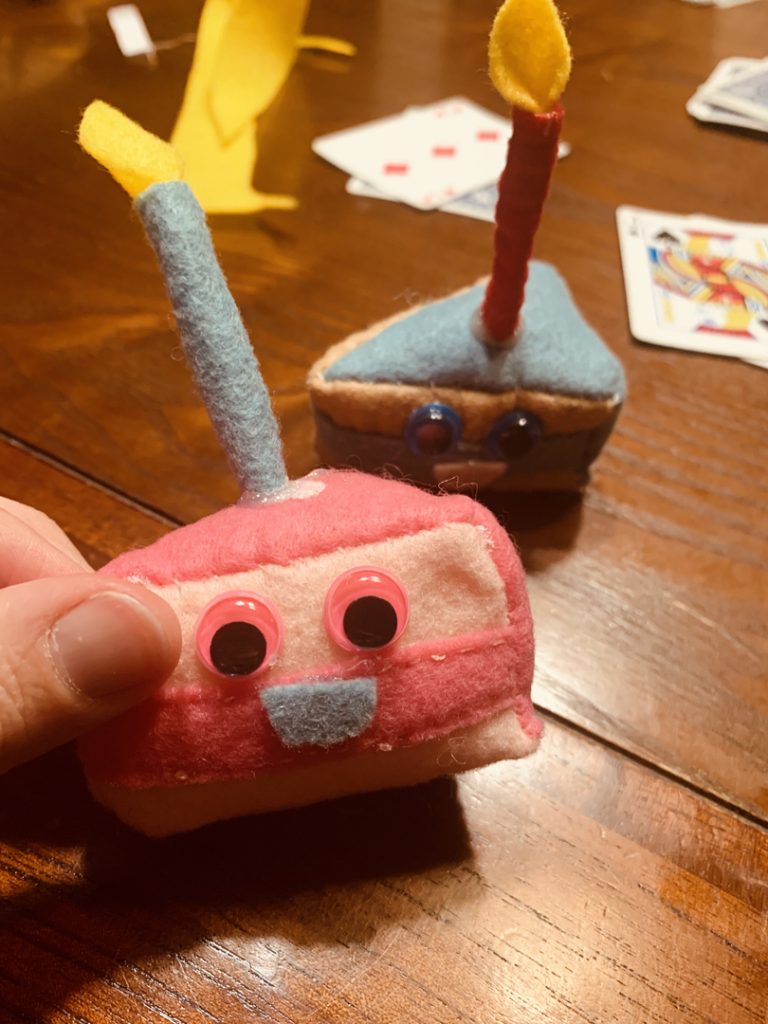
Hi everyone! We have a SUPER cute miniature cake stuffie tutorial for you. All done with hand sewing material, no machine required!
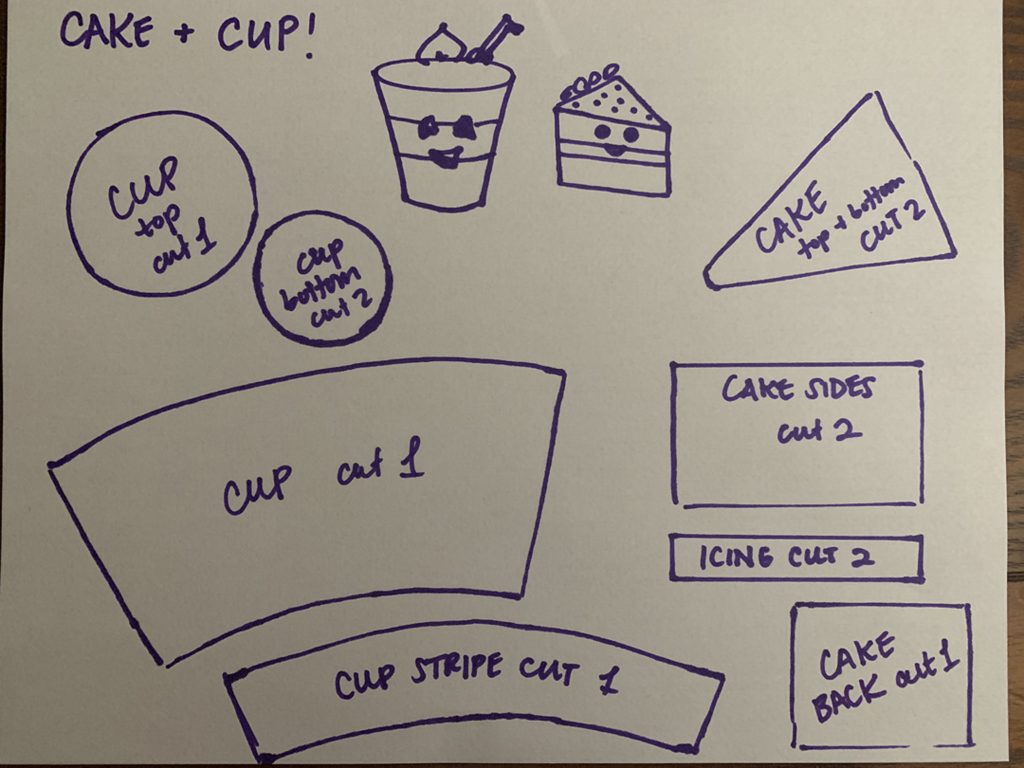
Step 1: Pattern Time!
We’ve made a pattern for you to print. Just make sure you’ve selected “fill the page” when printing so that the pattern prints at the accurate size. The cake is on the right hand side and the cup will be for a future lesson.
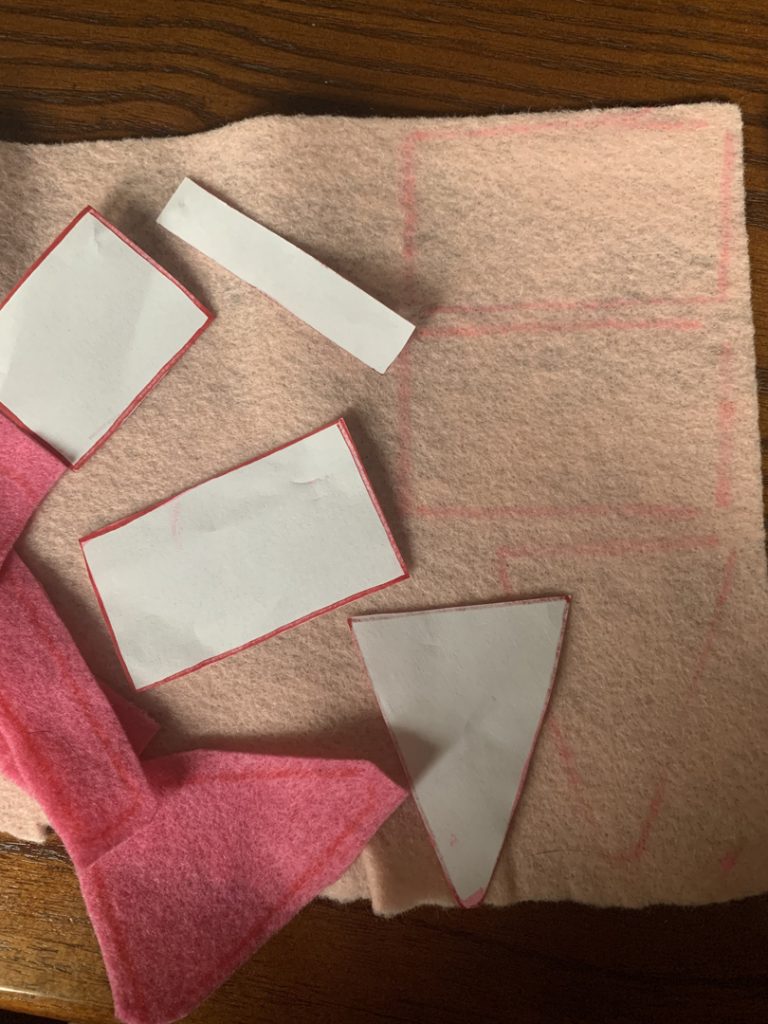
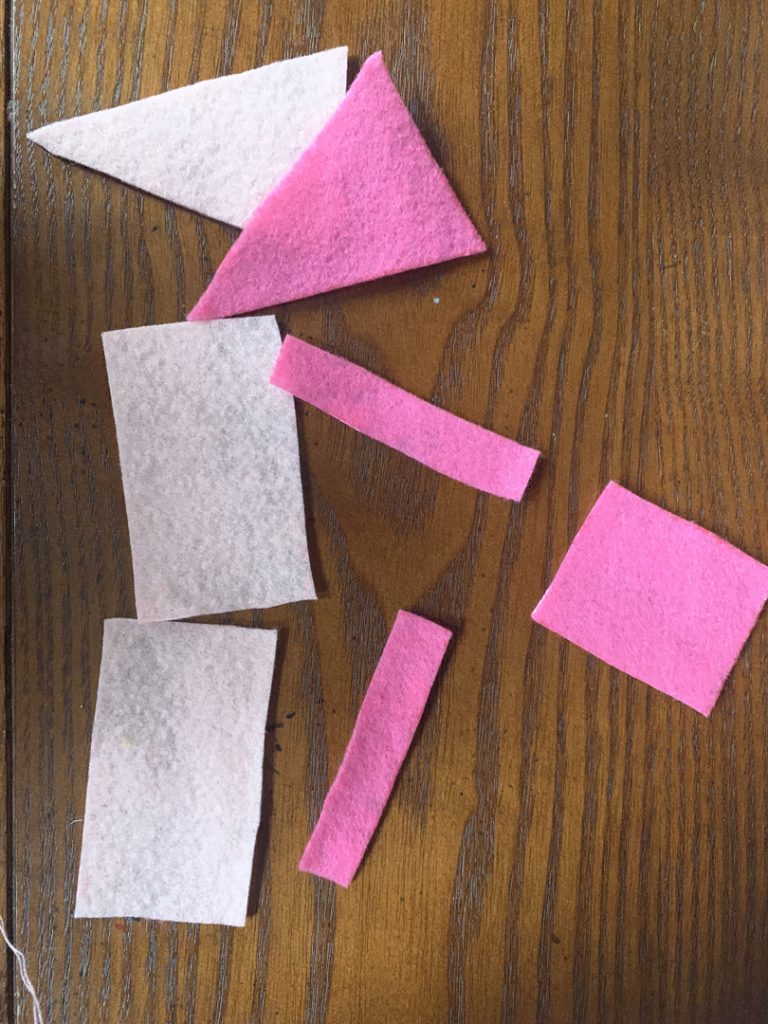
Step 2: Cut Your Pieces
Cut out the pattern and trace them onto your fabric of choice. Make sure you trace two of each piece that says “cut 2” on the pattern. Then, cut all of your cake pieces out of your fabric.
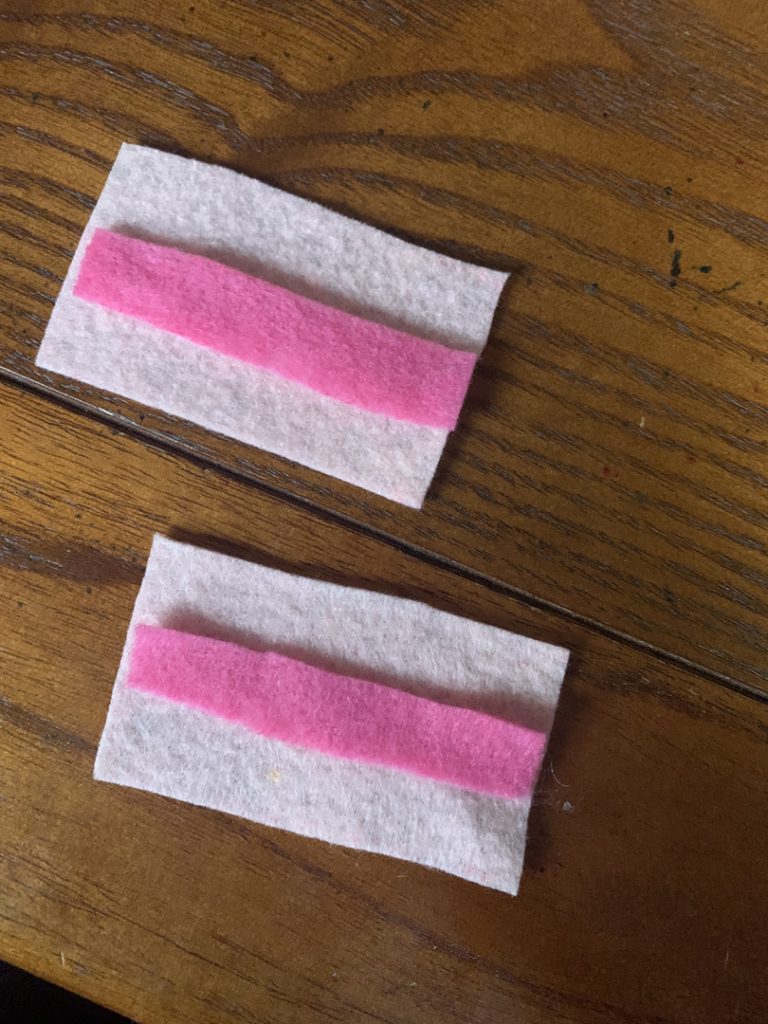
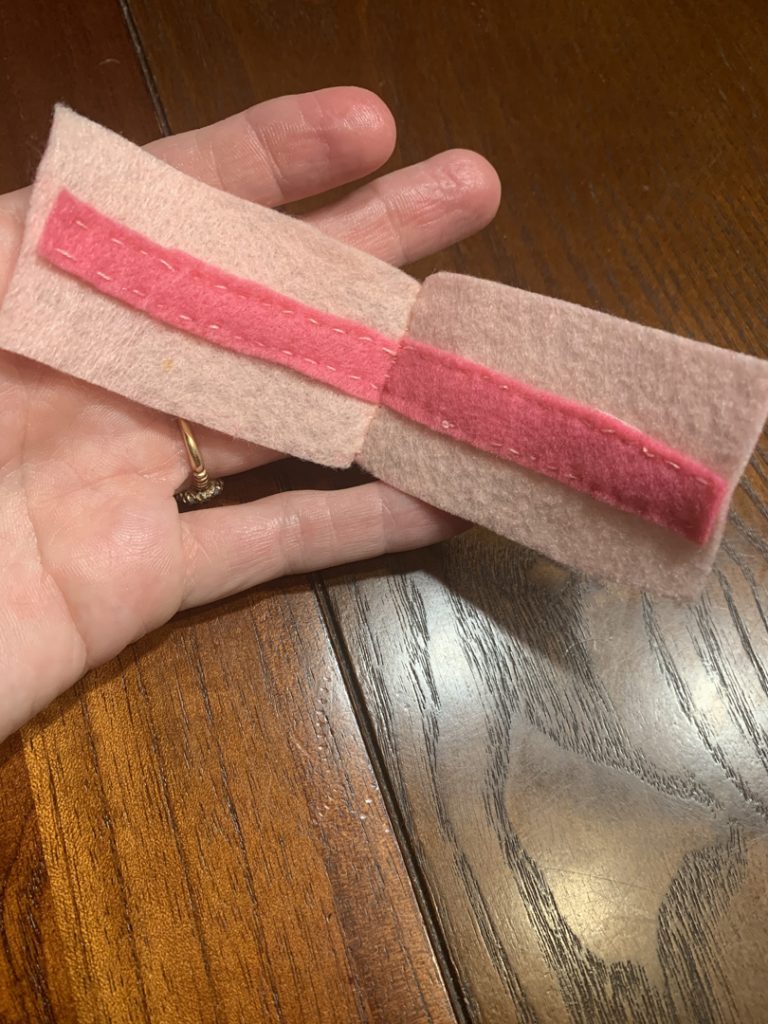
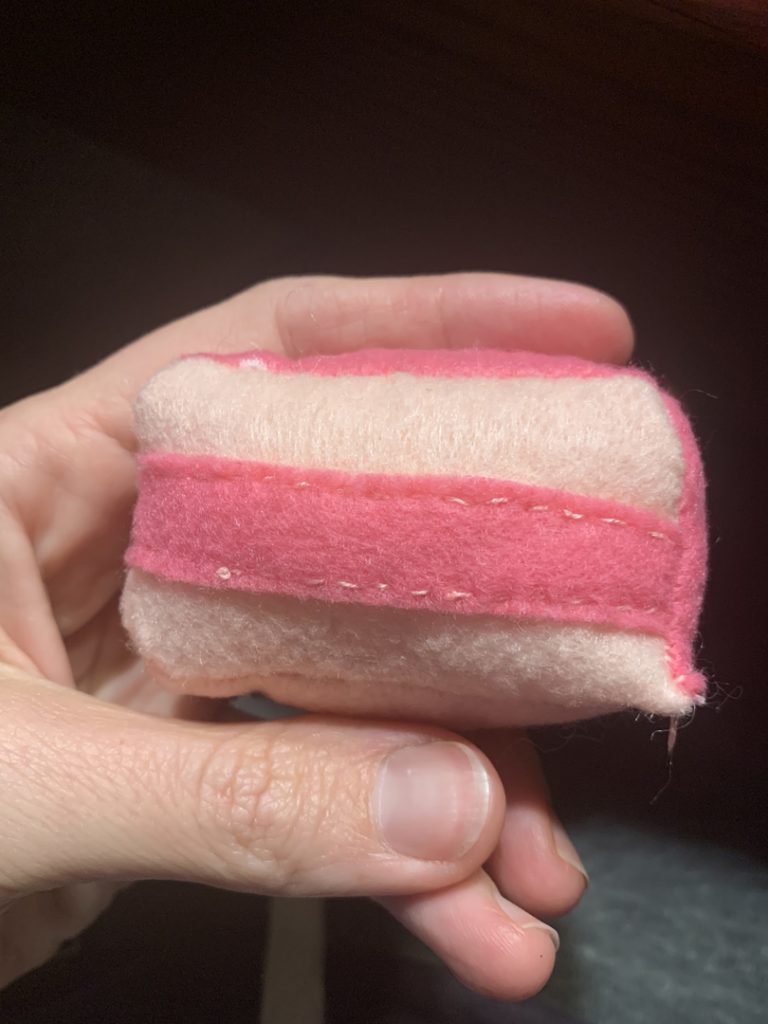
Step 3: Sew Your Frosting
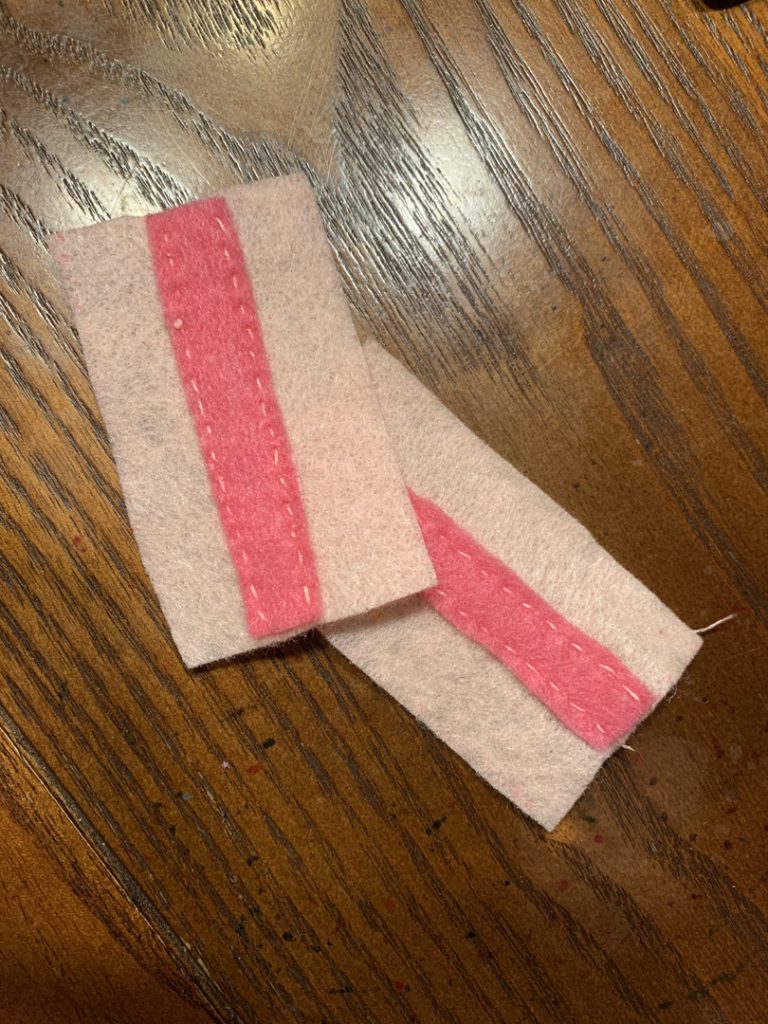
Place the frosting strips in the center of each cake side and do a running stitch along the edges of the frosting.
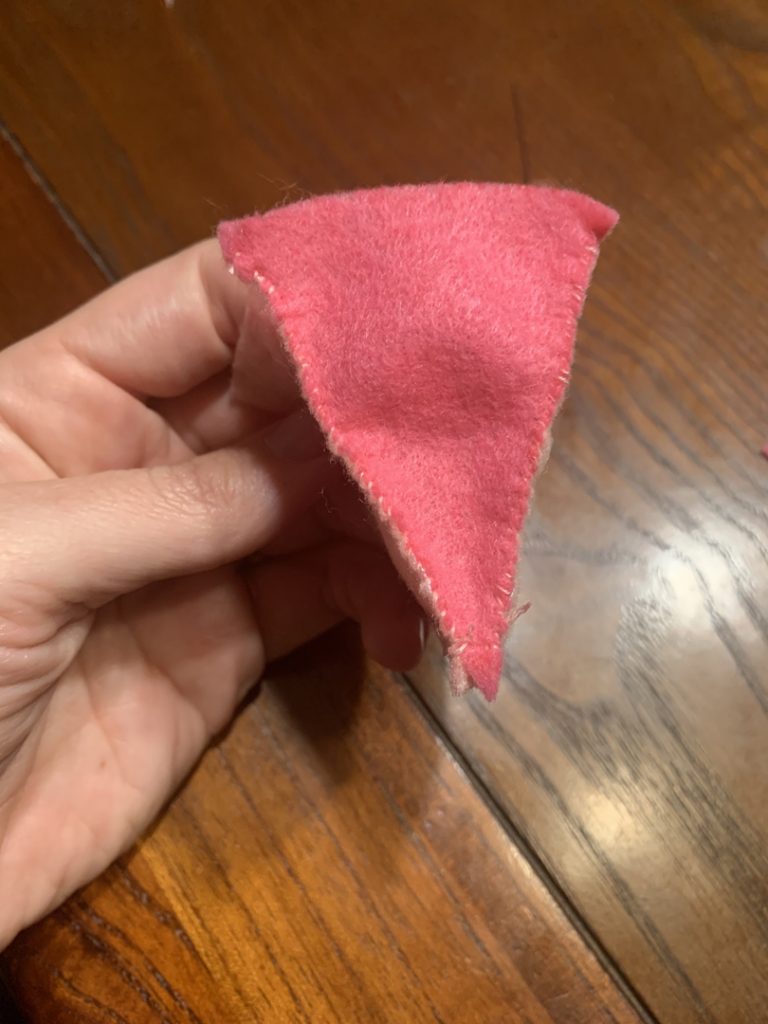
Step 4: Close The Front of the Cake
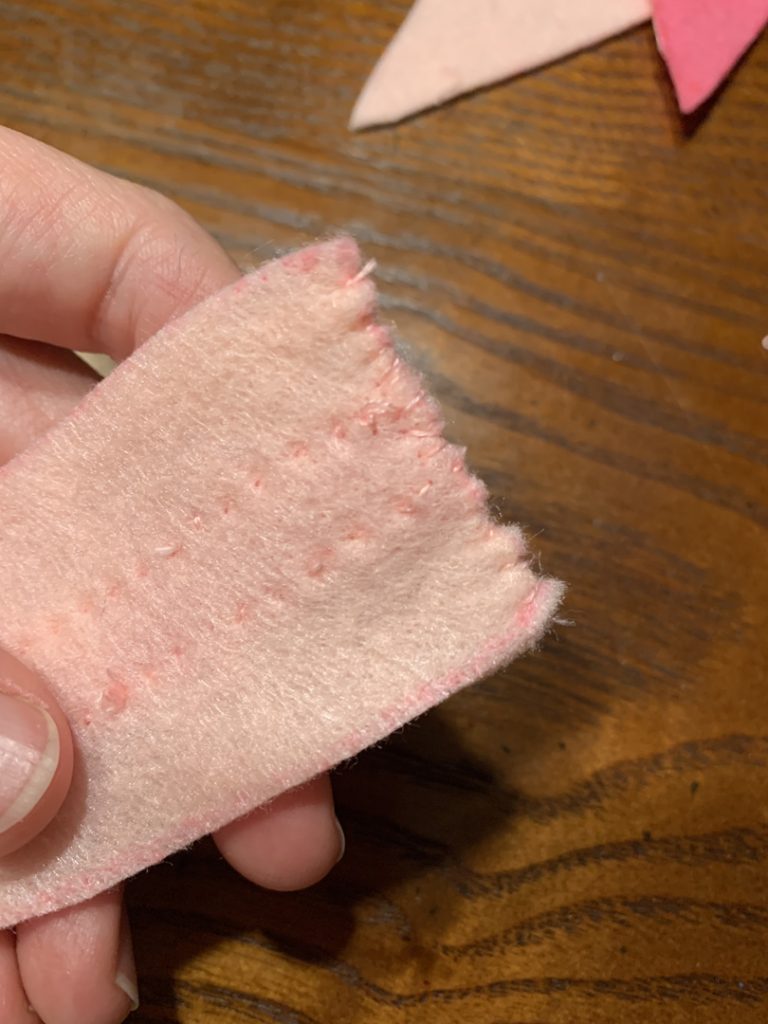
Right side the two pieces with the frosting together and sew one of the short edges closed using a whip stitch.
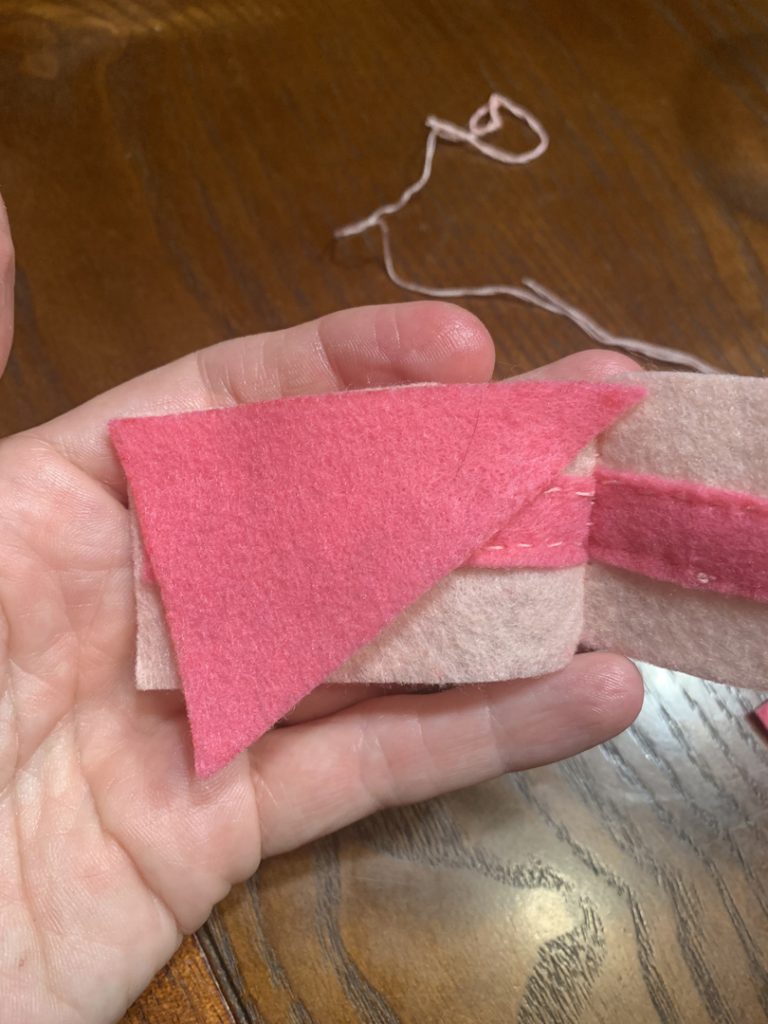
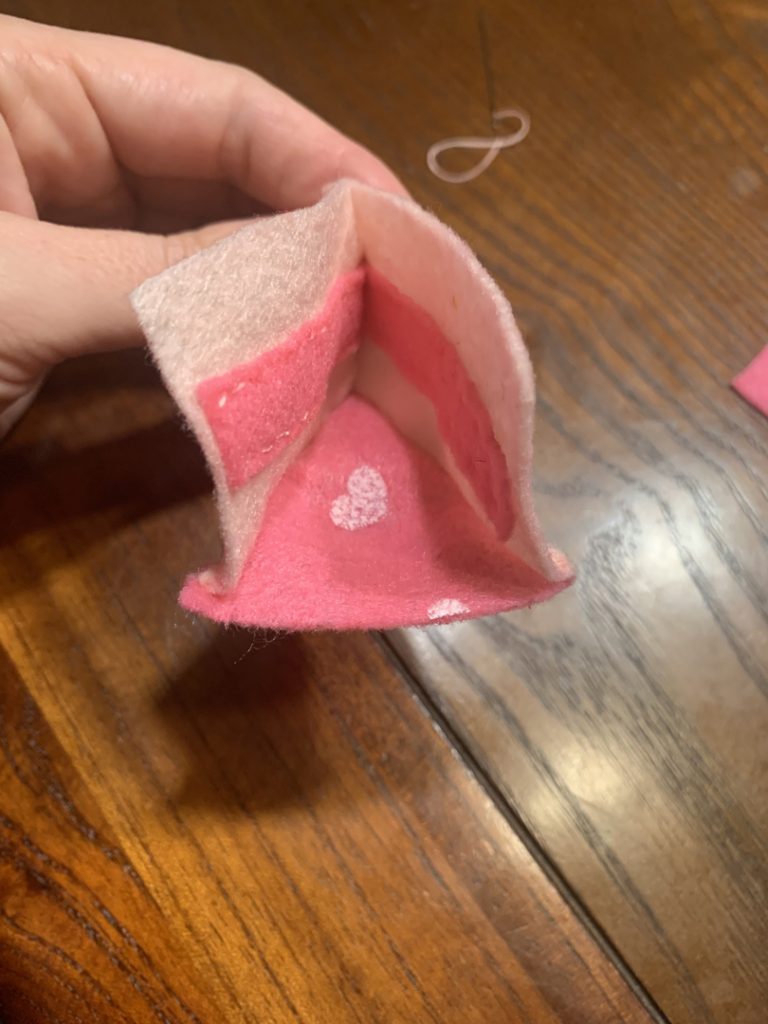
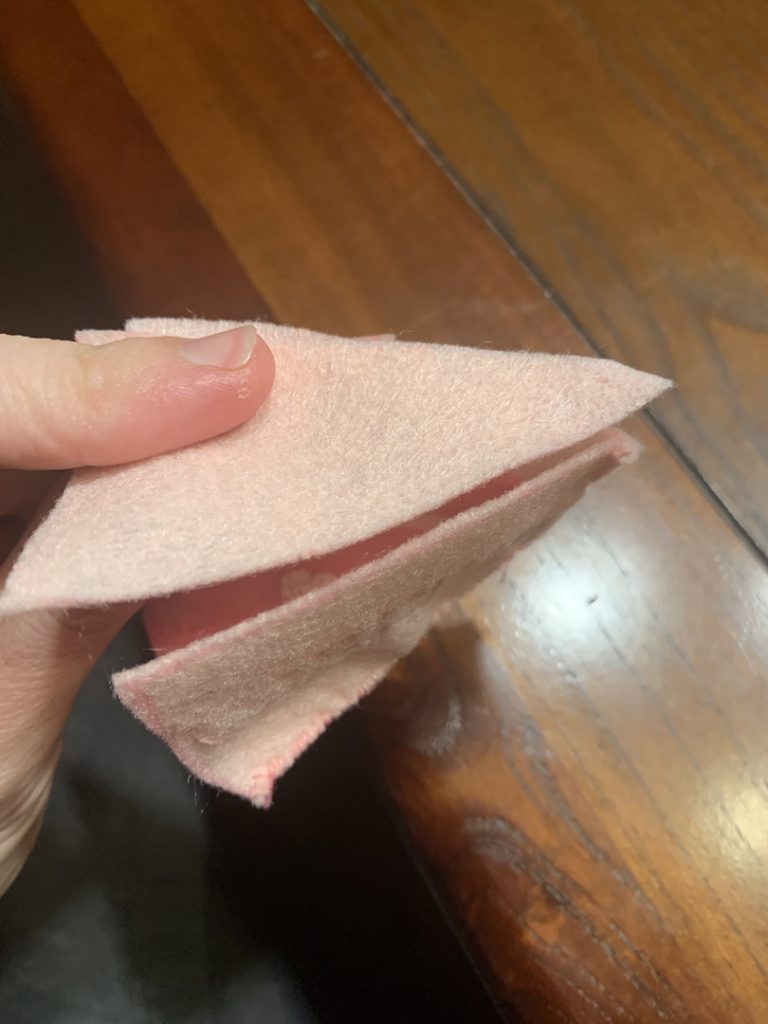
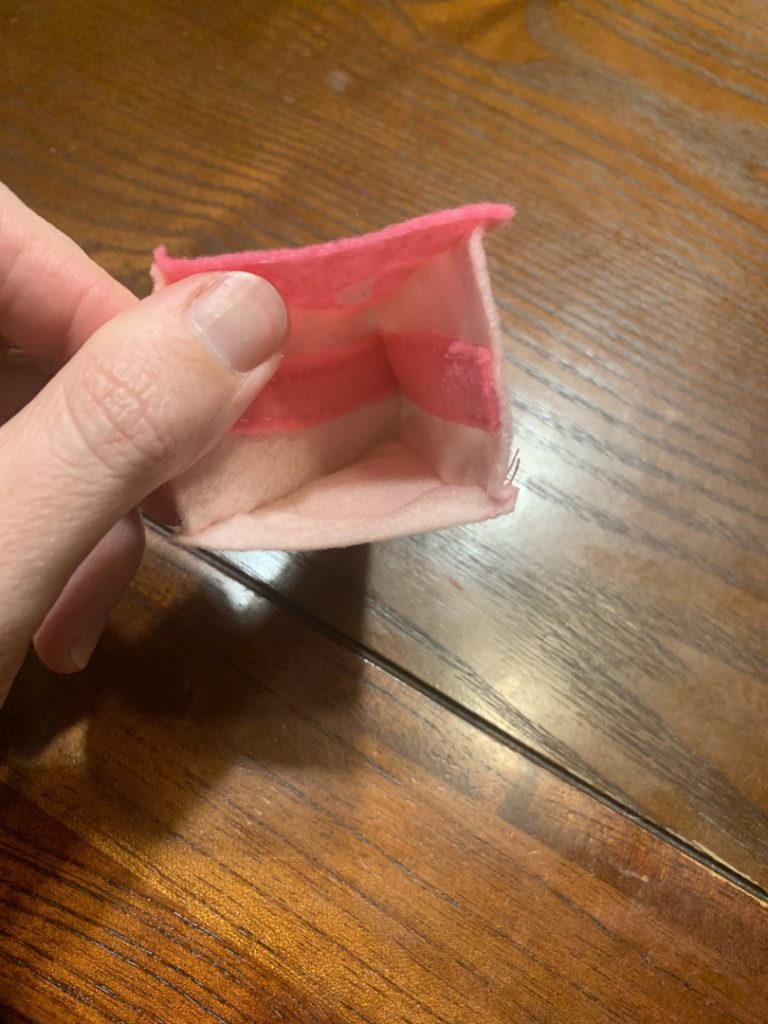
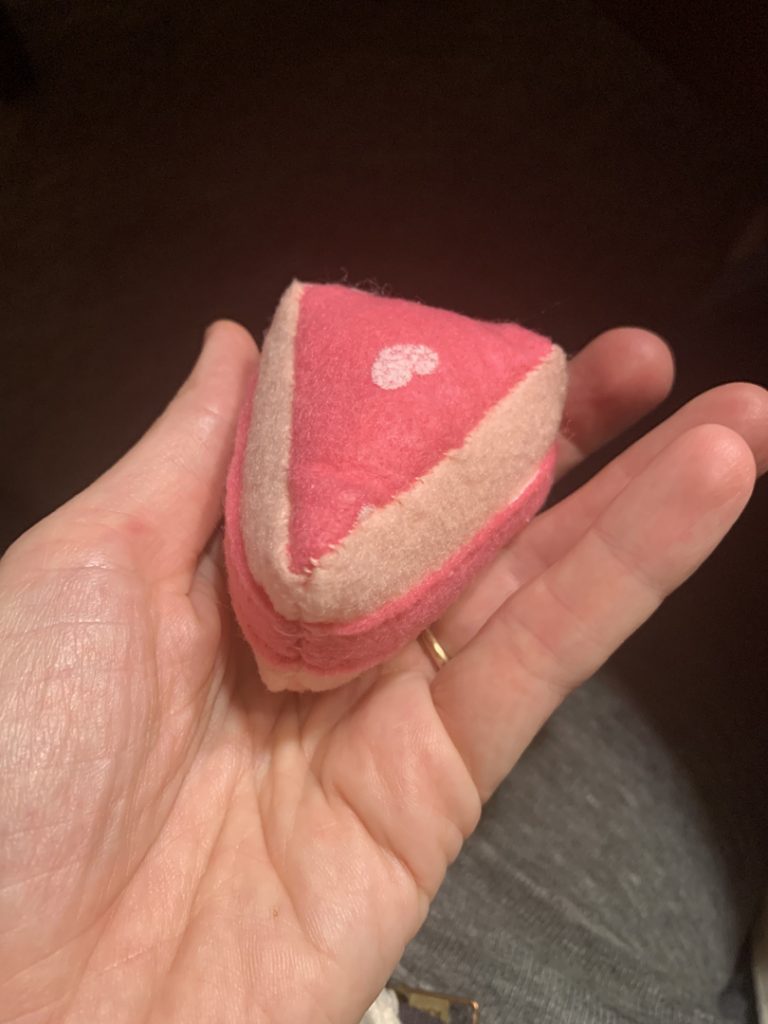
Step 5: Insert Your Triangles
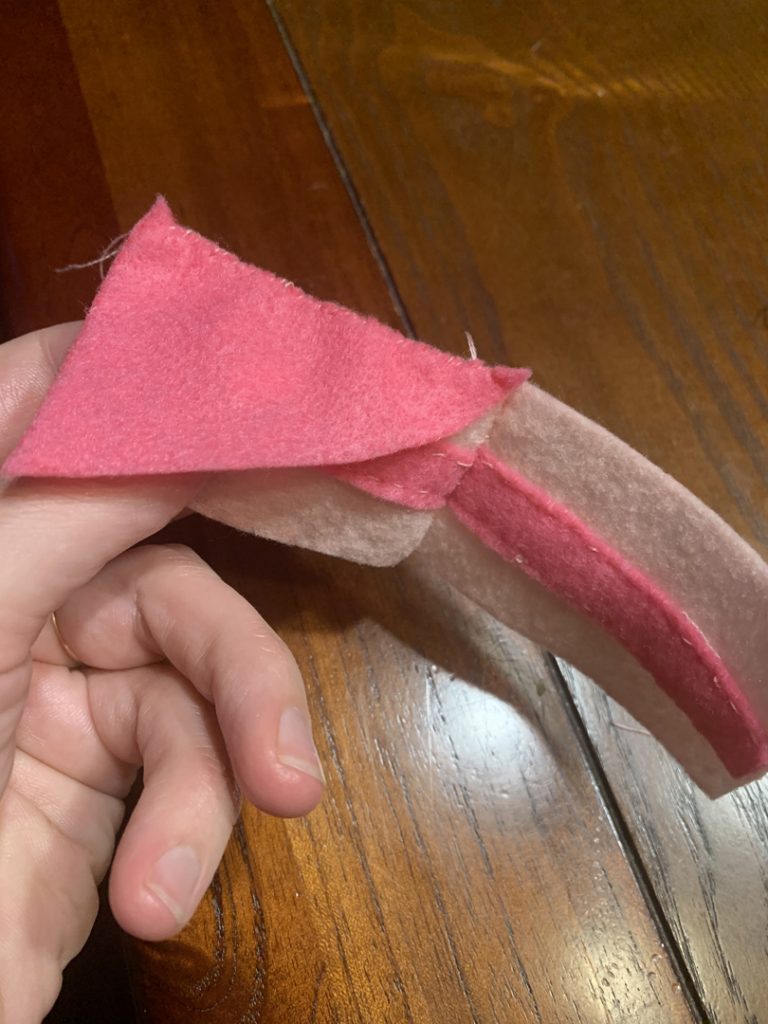
Insert the top of the cake (keeping everything right sided together) and whip stitch one long side of the triangle to the long side of one of the rectangles making sure the point of the triangle meets the front of the cake (the side you have already sewn shut). Then, sew the other side of the triangle to the other side of the cake so that the triangle has created a top for your cake.
Then, repeat this same step for the bottom of the cake. You should only have the back of the cake open at this point. Make sure that everything is still right sided together!
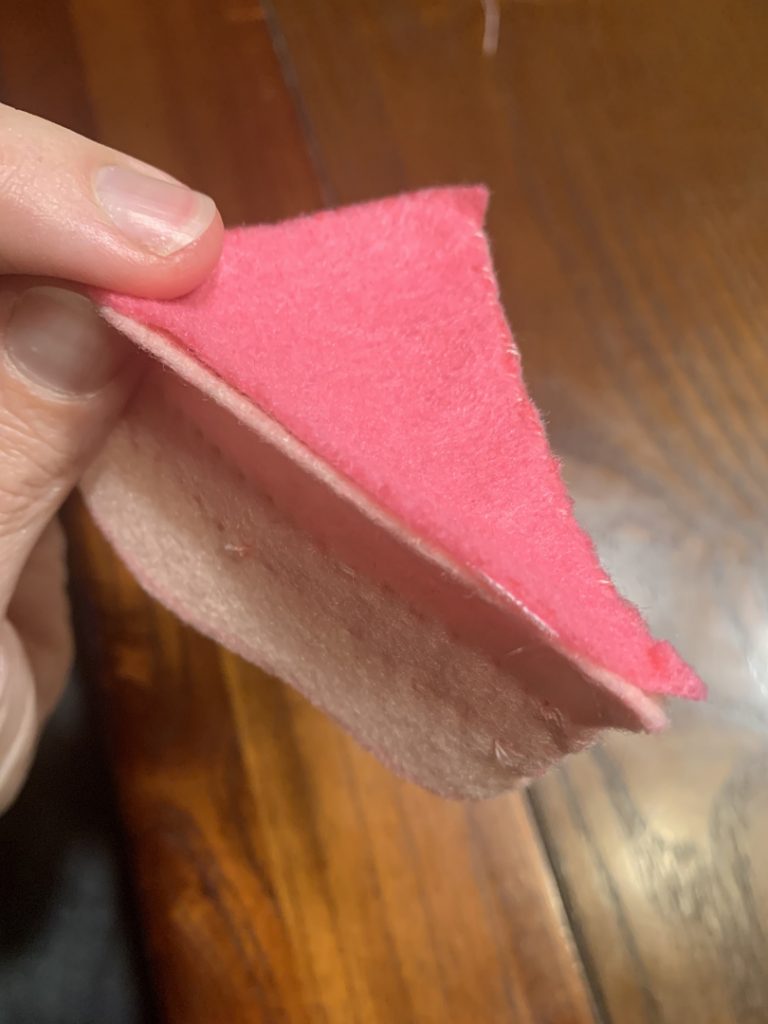
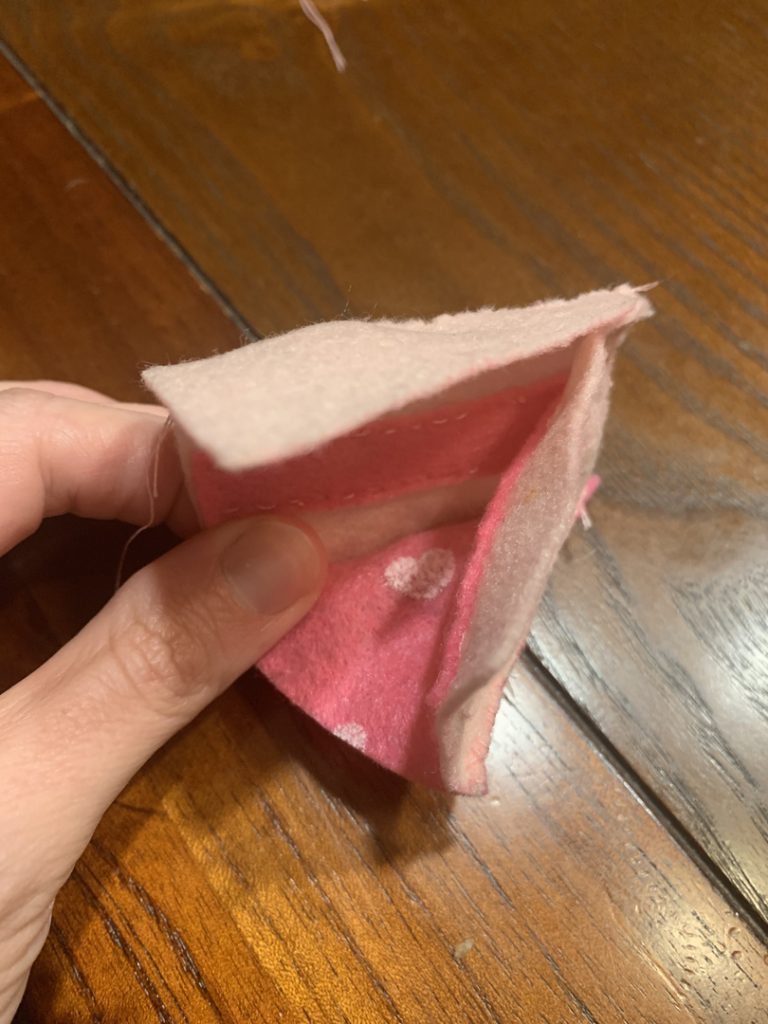
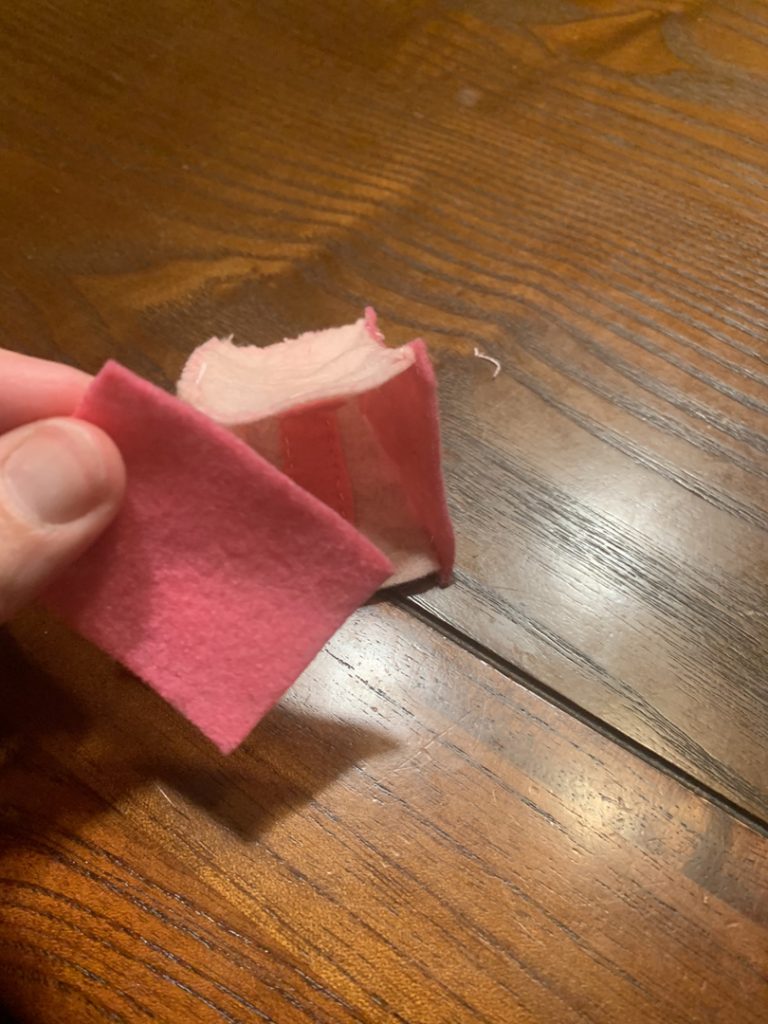
Step 6: Insert Your Back
Keep everything right sided together, insert the back of your cake and whip stitch 3 sides of the back so that you can flip it around and stuff it. Leave the bottom side open.

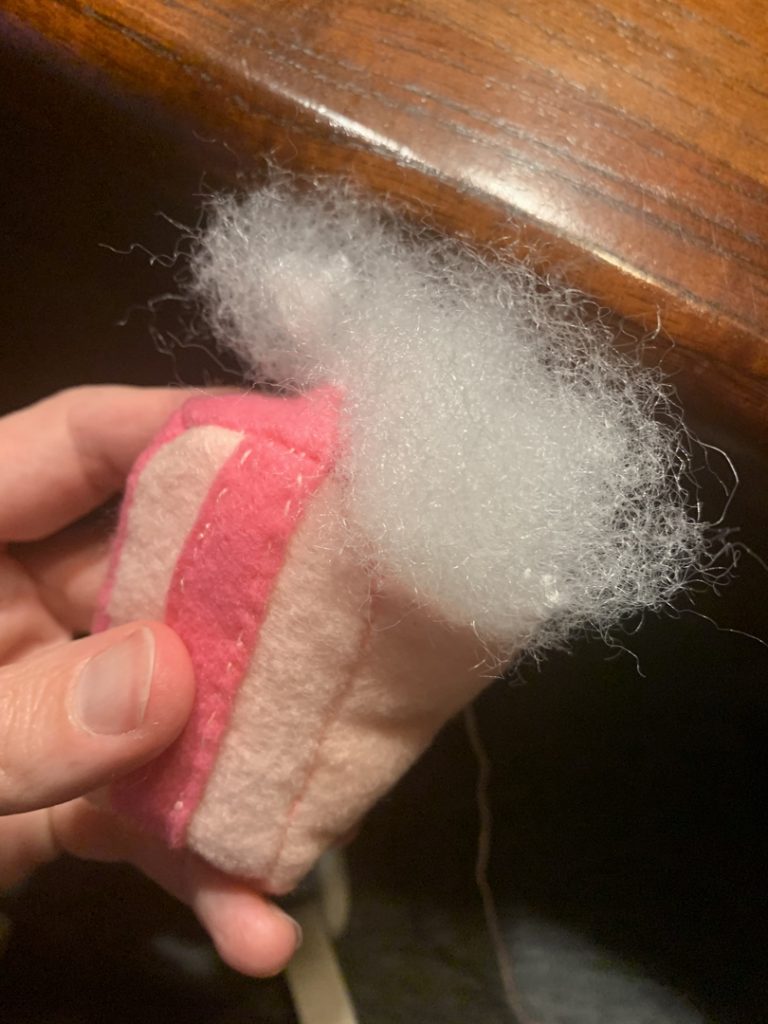
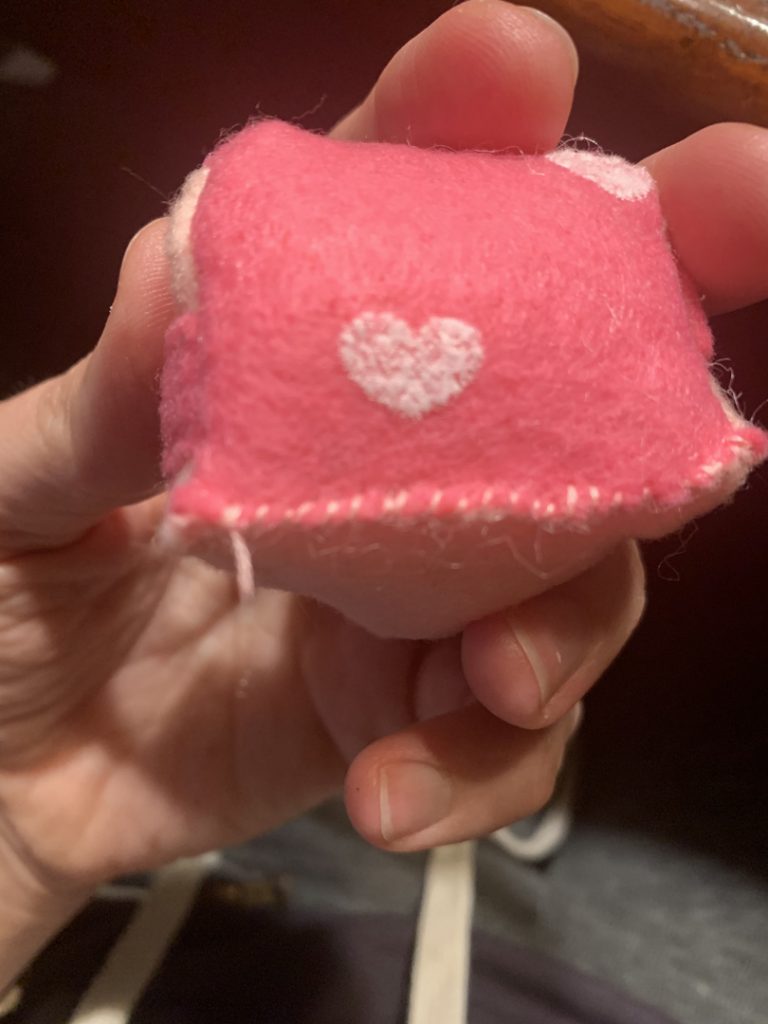
Step 7: Flip and Stuff
Flip your mini cake right sides out and fill with stuffing. Then, whip stitch your final side closed and you’ve got your cake!
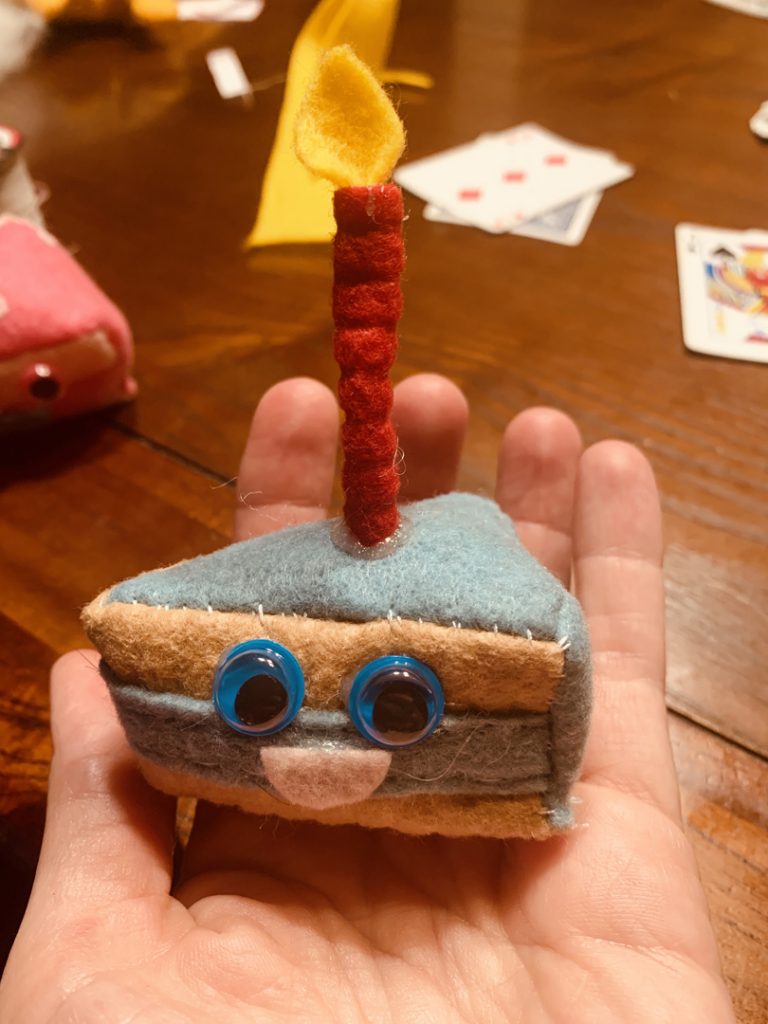
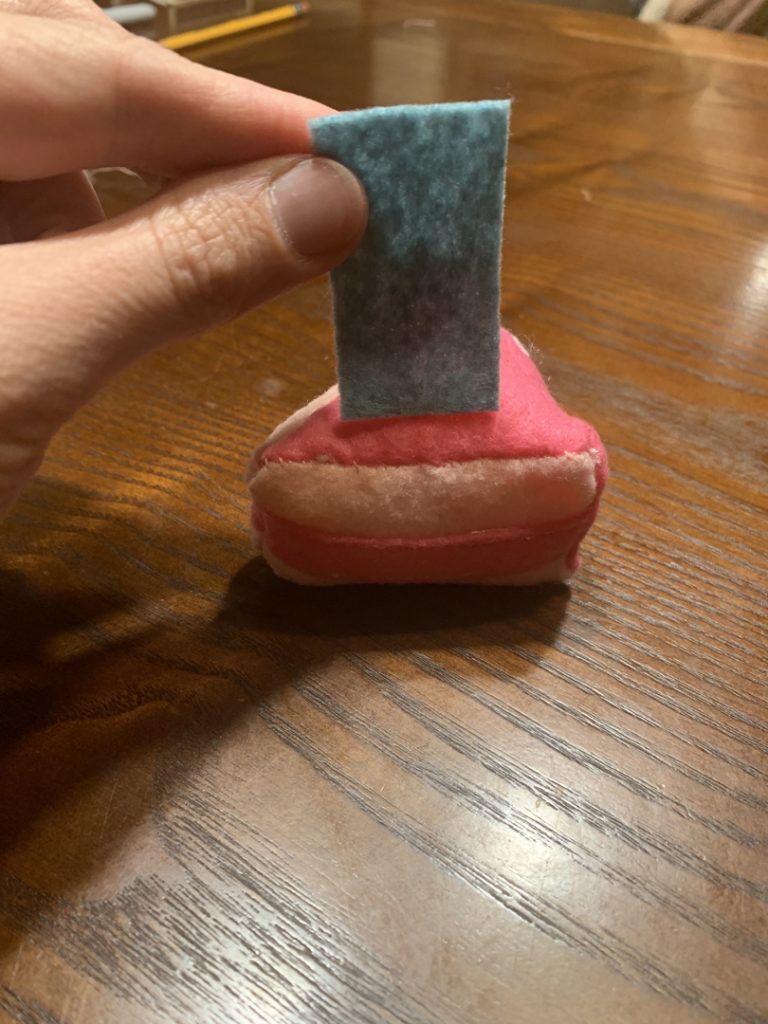
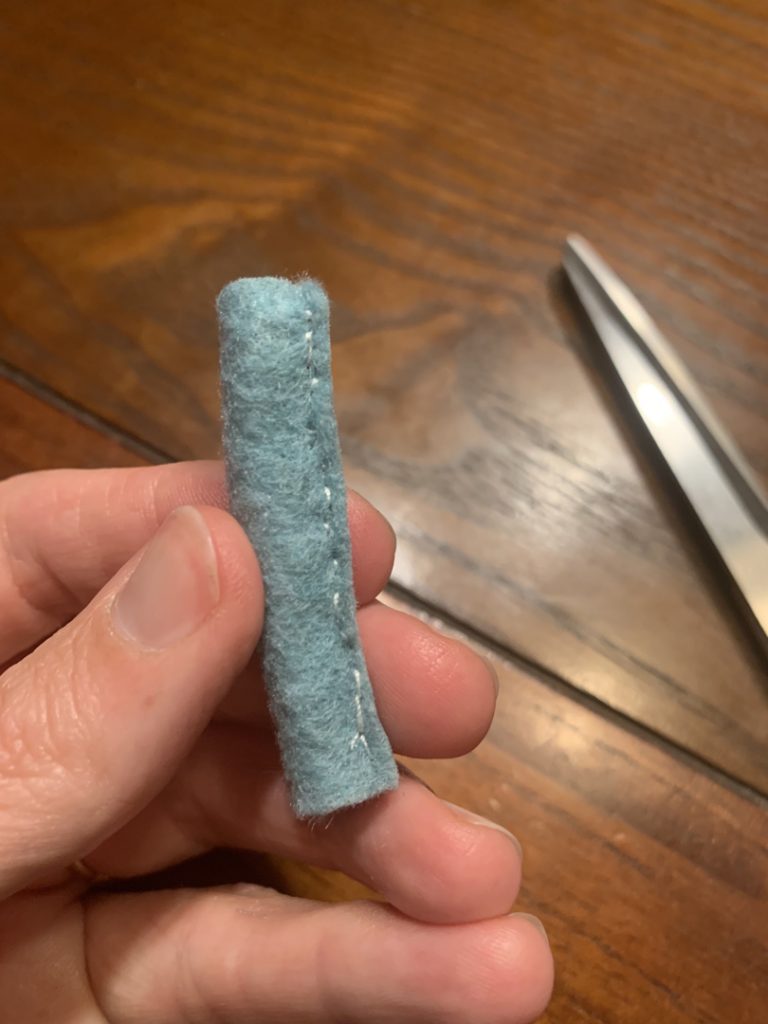
Step 8: Make a Candle
You can decorate your cake any way you’d like! We love candles and googly eyes so that’s what we’re going to use. Some yarn frosting over the top would also be cute!
For a candle, cut out a rectangle that you can fold over and sew shut that will be a decent size compared to your mini cake. Using a running stitch, sew the side of the candle shut.

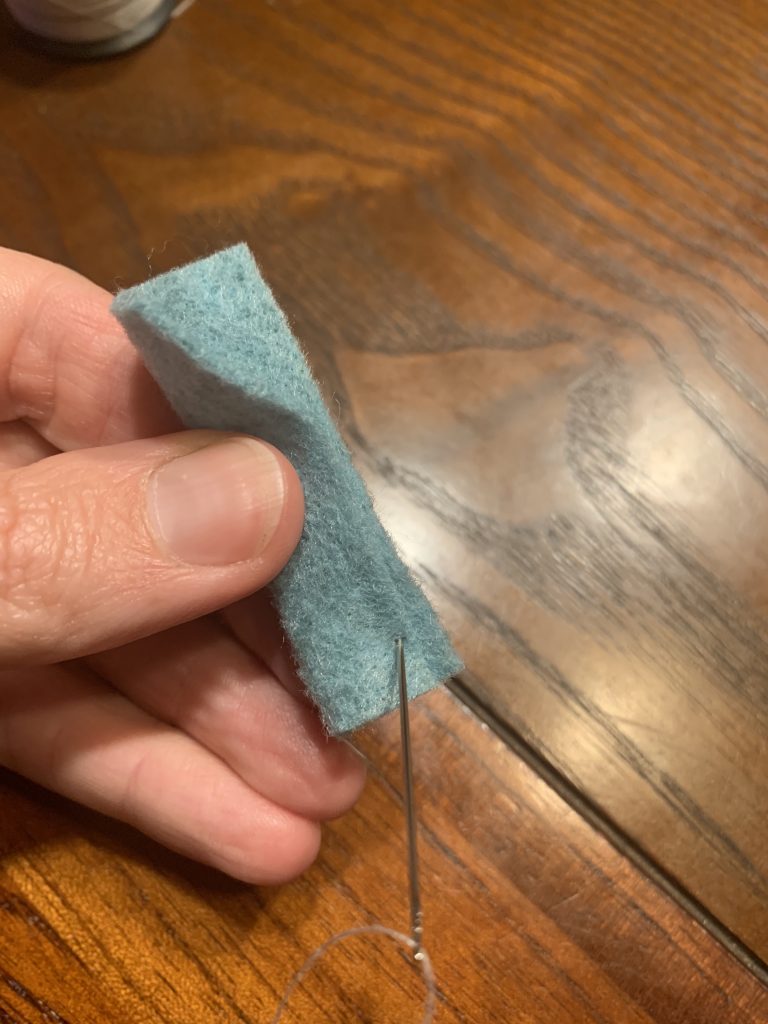
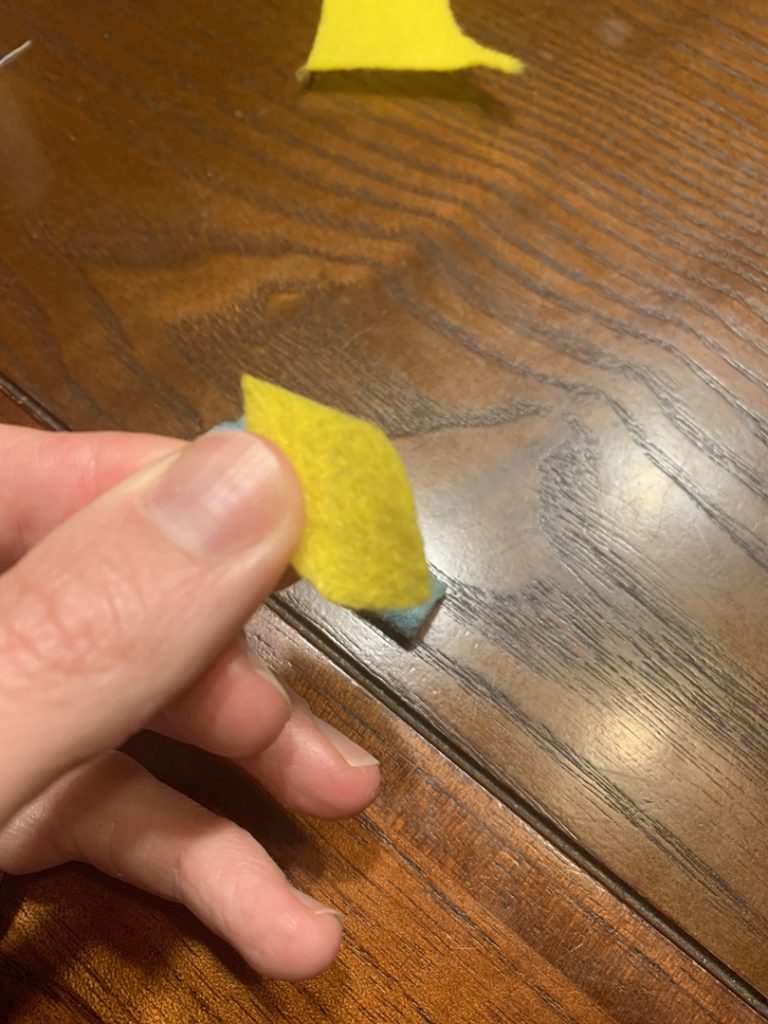
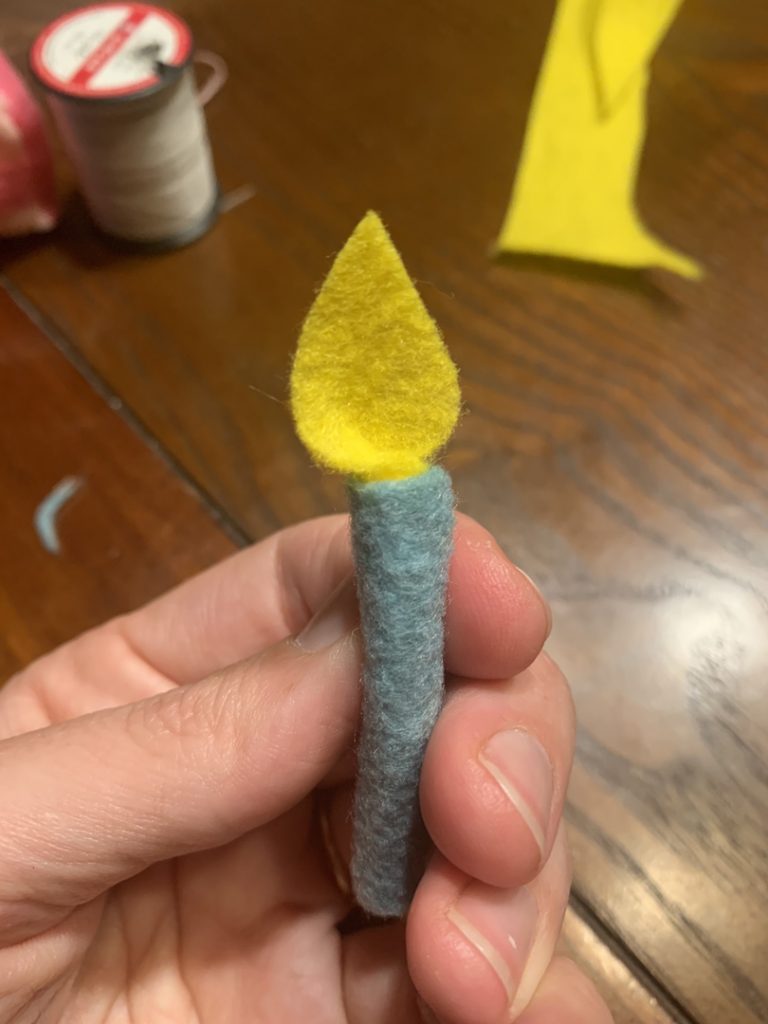
Cut out a flame shape, give it a little pinch and a twist and then insert it into the top of the candle. A small stitch will hold it in place, or some hot glue will easily do the trick too!


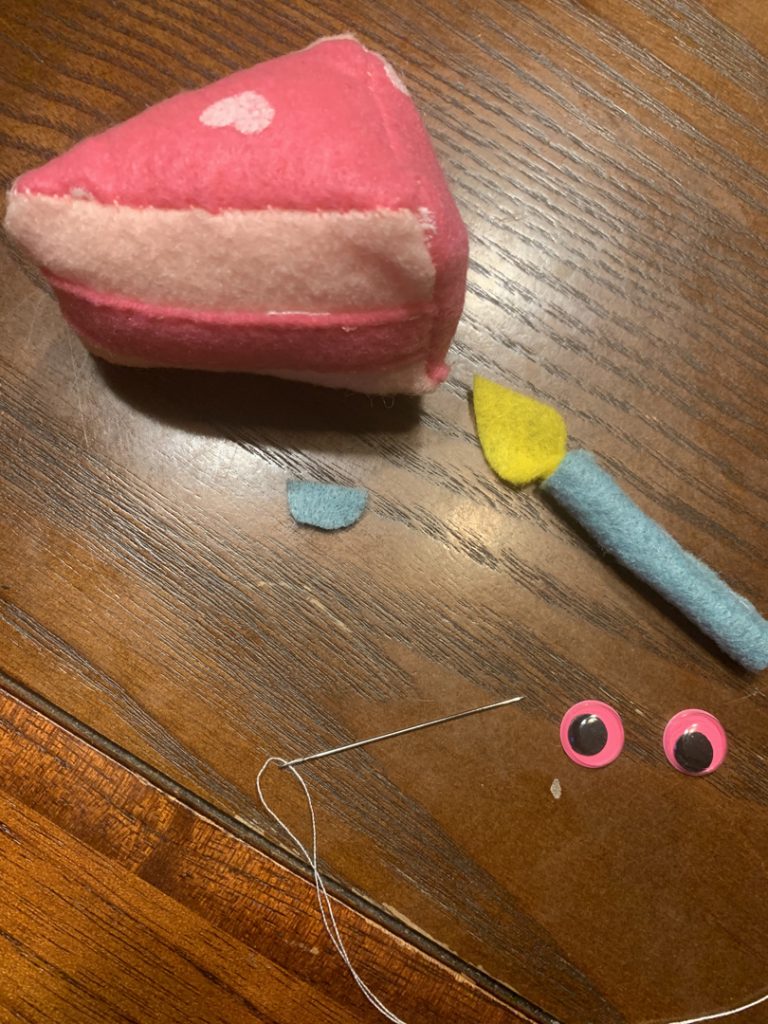
Step 9: Attach Your Decorations
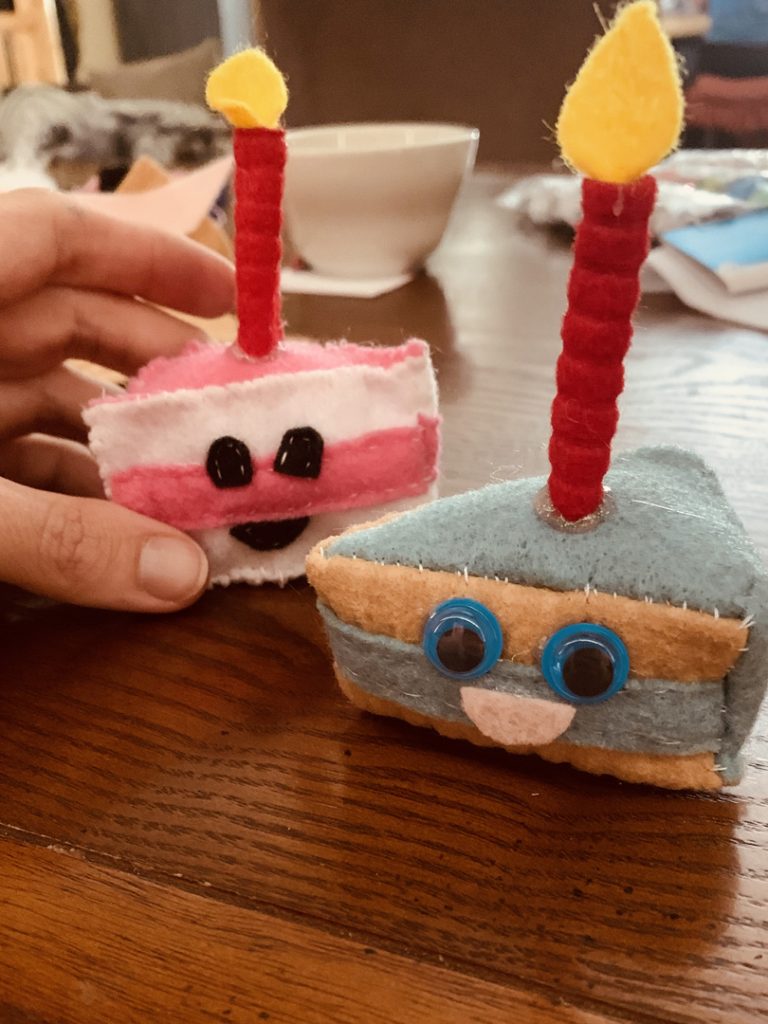
Glue or stitch everything on that you would like to add! We are adding some googly eyes, and small mouth that we cut out of fabric and the candle on top. We used glue to attach all the pieces.
Voila! Mini cake complete! 🙂 Show us all you mini cakes please! Matchy cup coming soon. Miss you all!