Grab Bag 5 – My Mini Shop!

We’ve really got some fantastic mini shops here! SO good that we had to choose TWO winners for this week. Congratulations to Billie and Julia with “Billie’s Bedazzled Bakery and Desserts,” and “Ziggy’s Pet Paradise!” Can I come shop now??

Let’s check out everyones great work:

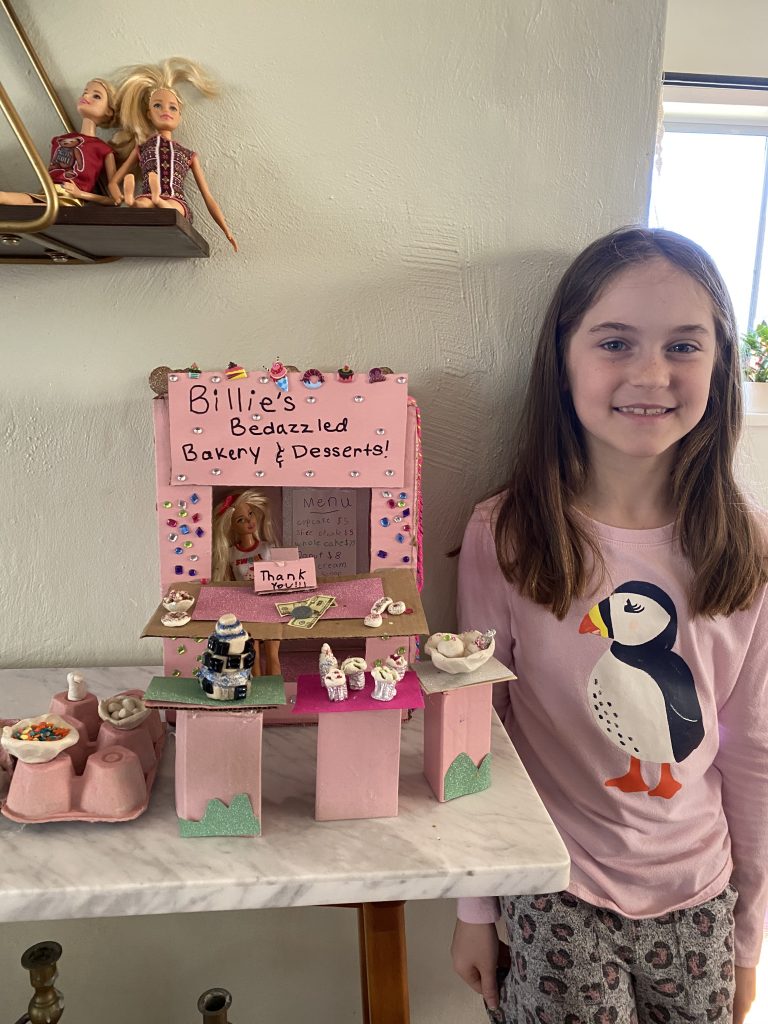
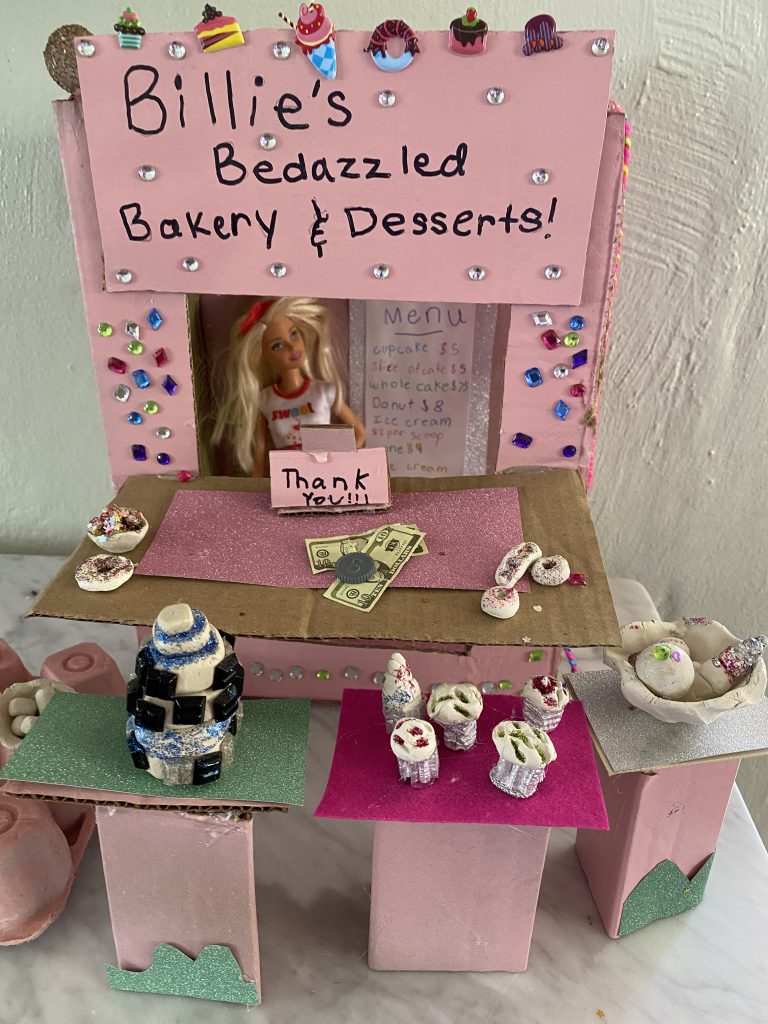
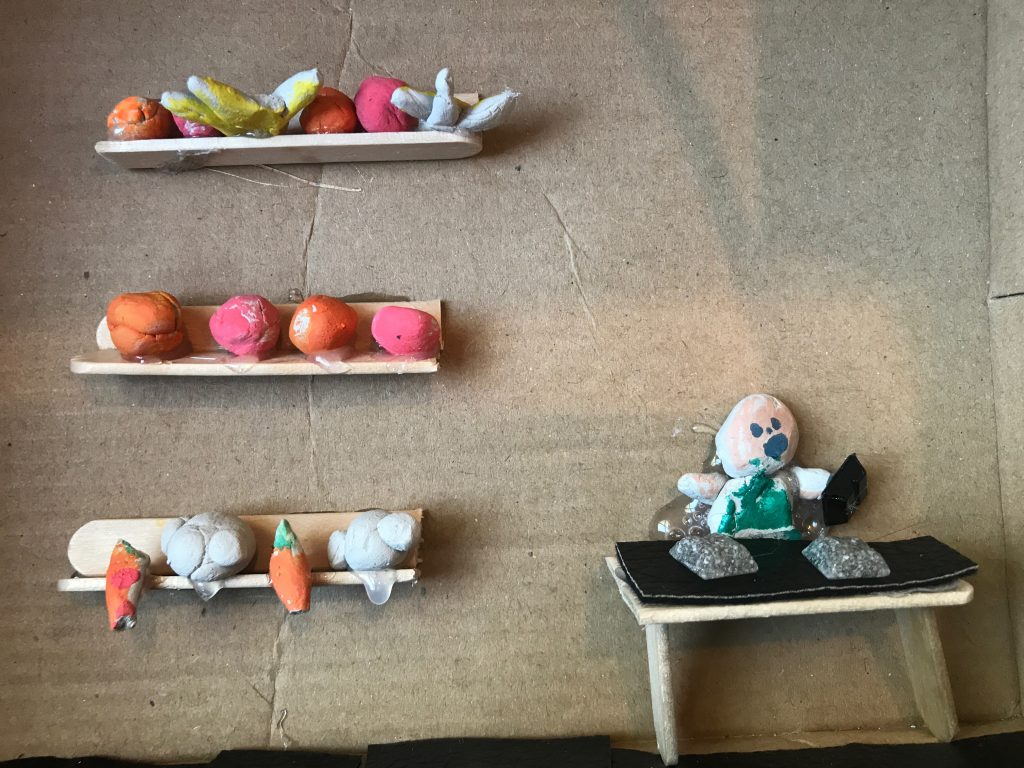
Billie with “Billie’s Bedazzled Bakery and Desserts!”

Emily with “The Super Super Market!”

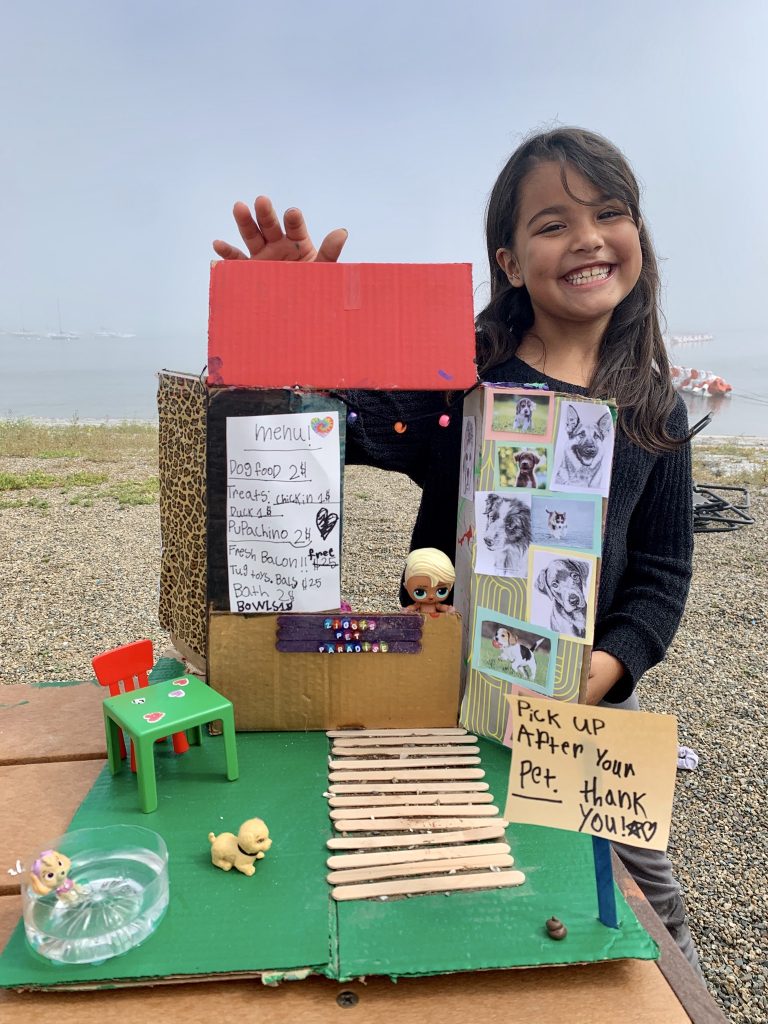
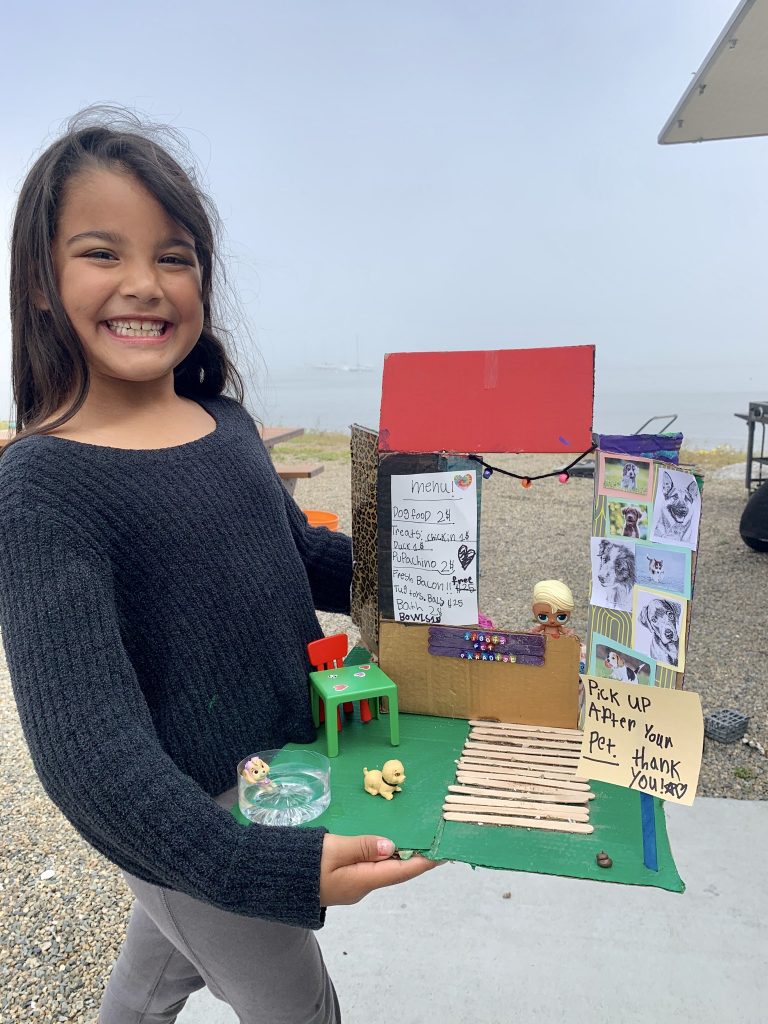
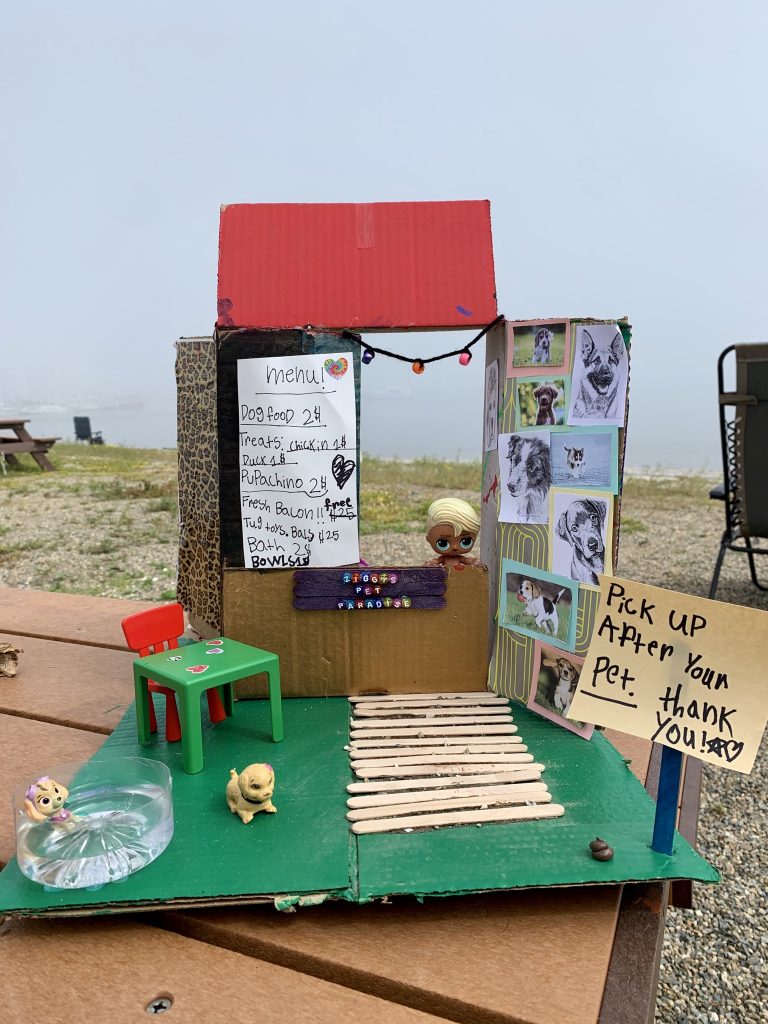
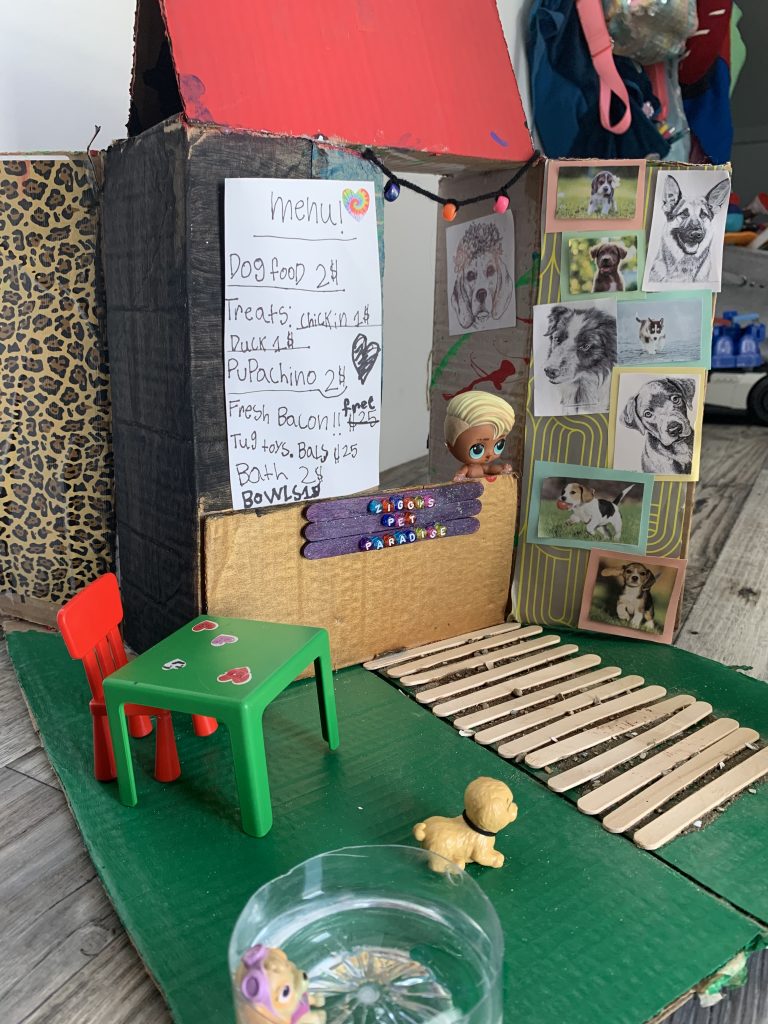
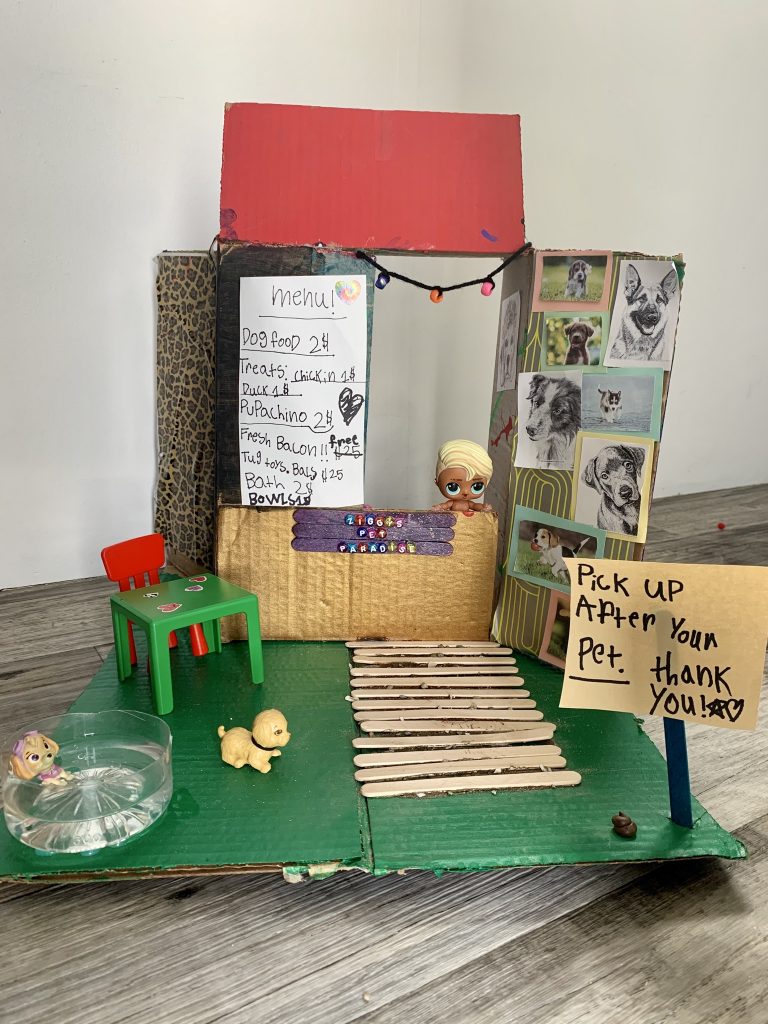
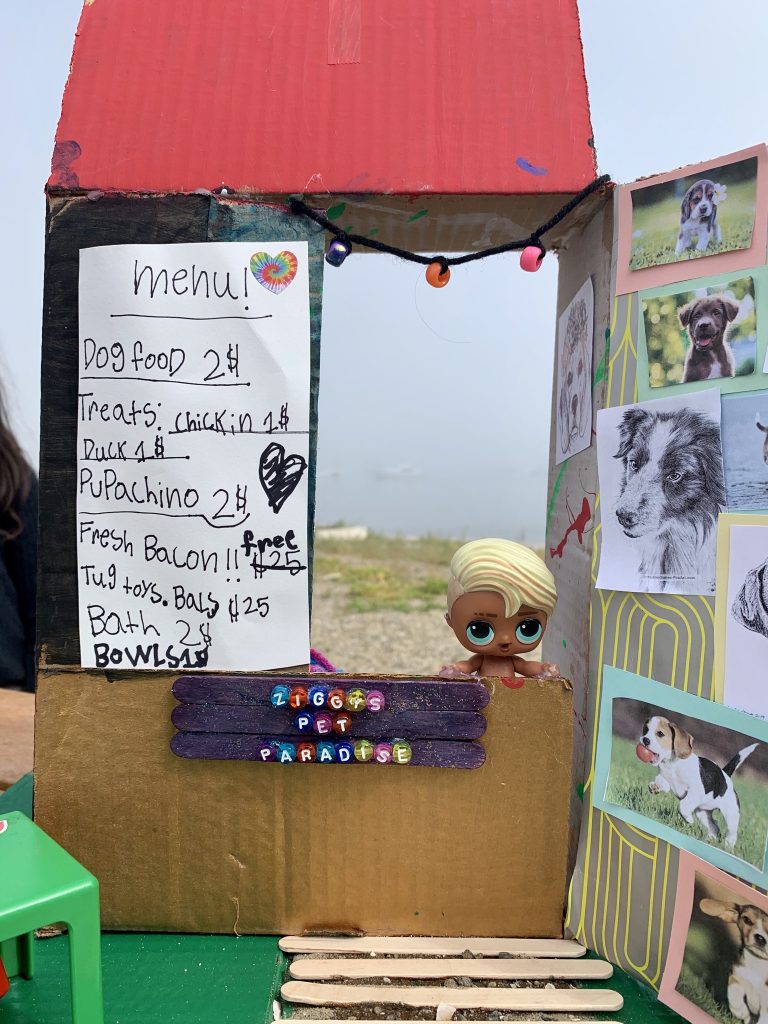
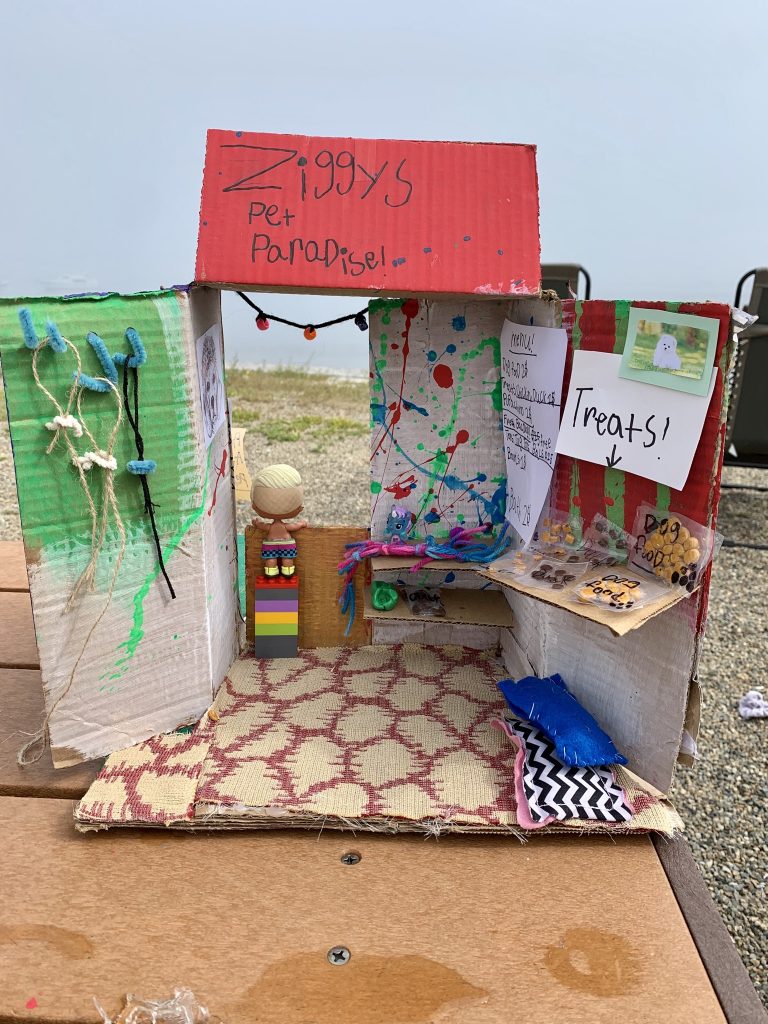
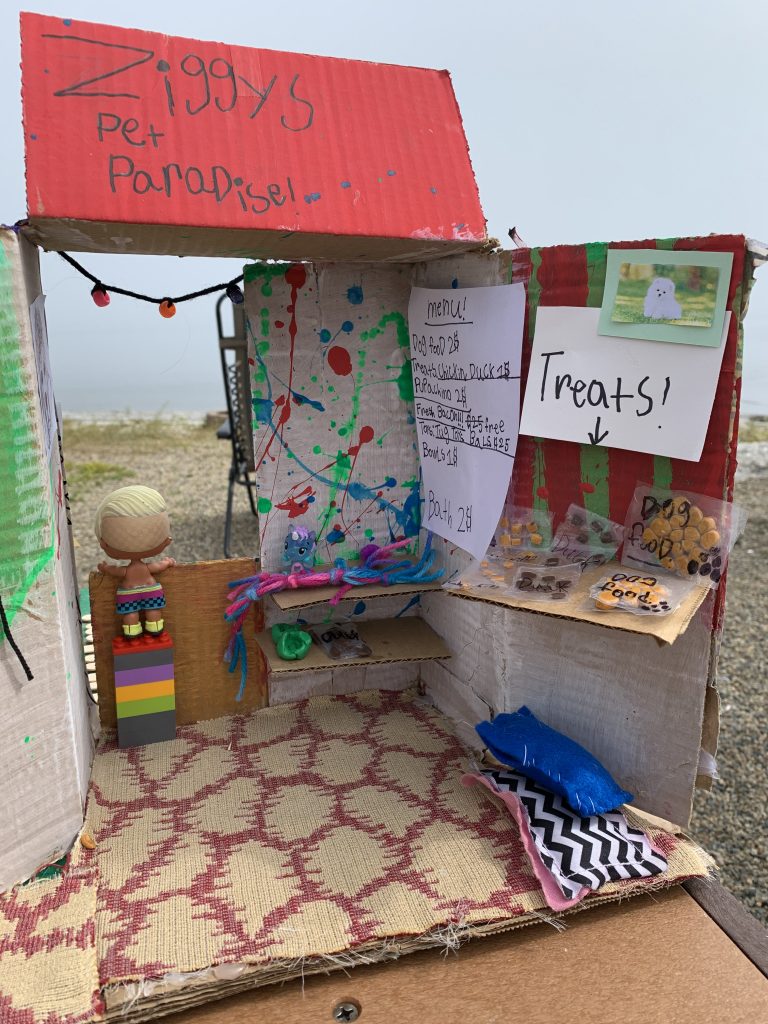
Julia with “Ziggy’s Pet Paradise!”

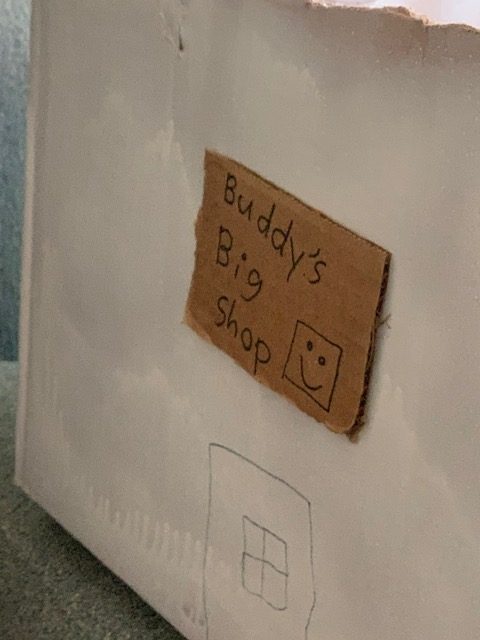
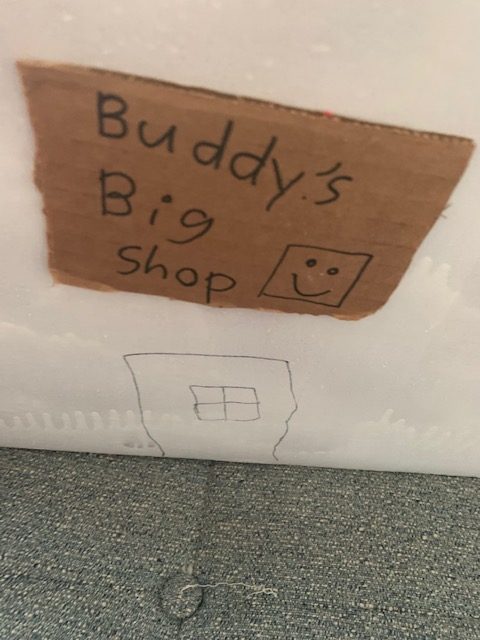
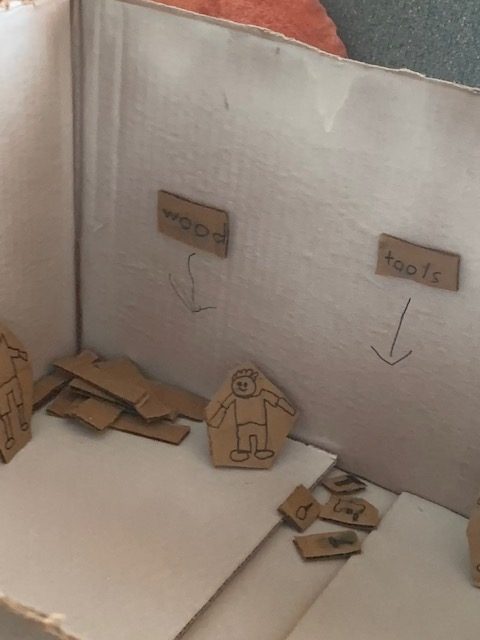
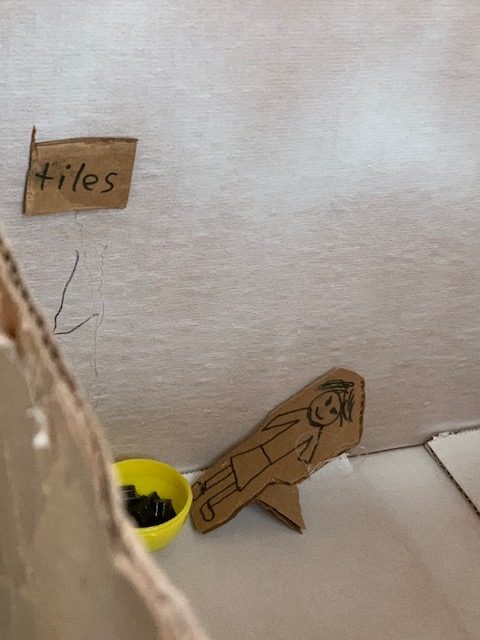
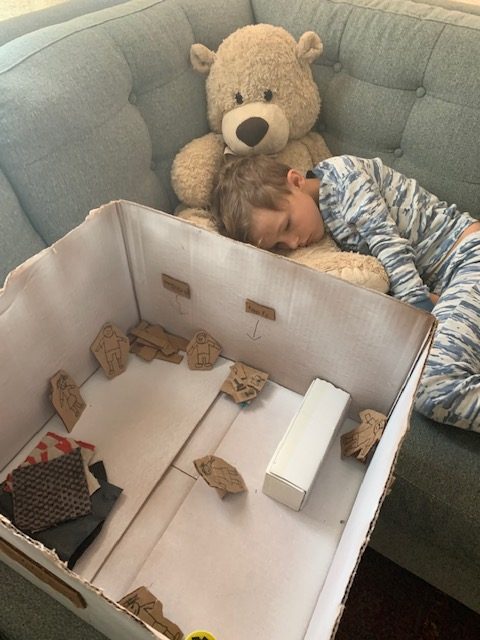
Leo with “Buddy’s Big Shop!”

Maddie with “Nooks & Cranny!”

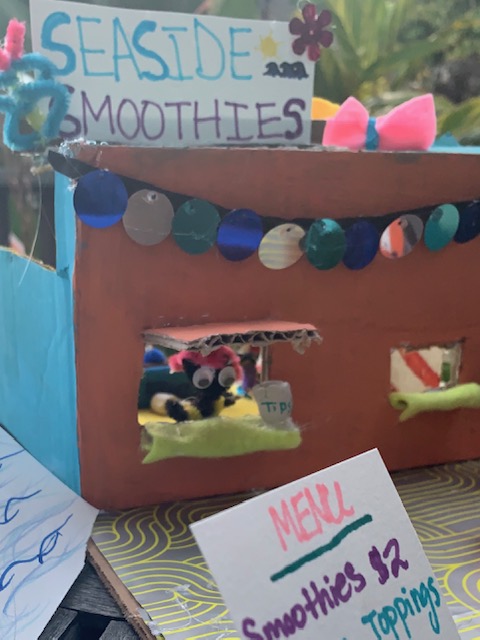
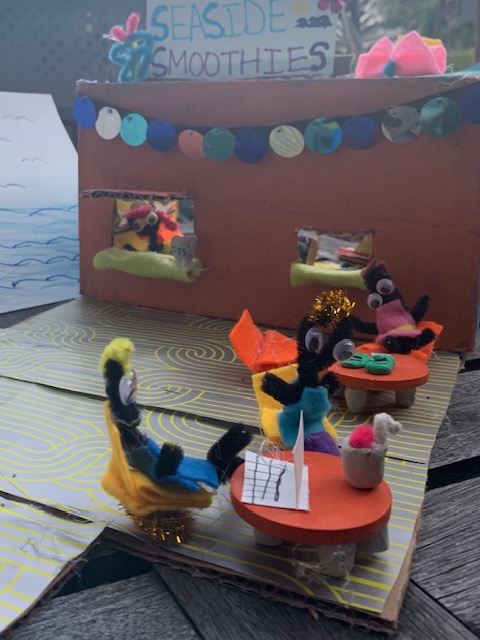
Nora with “Seaside Smoothies!”

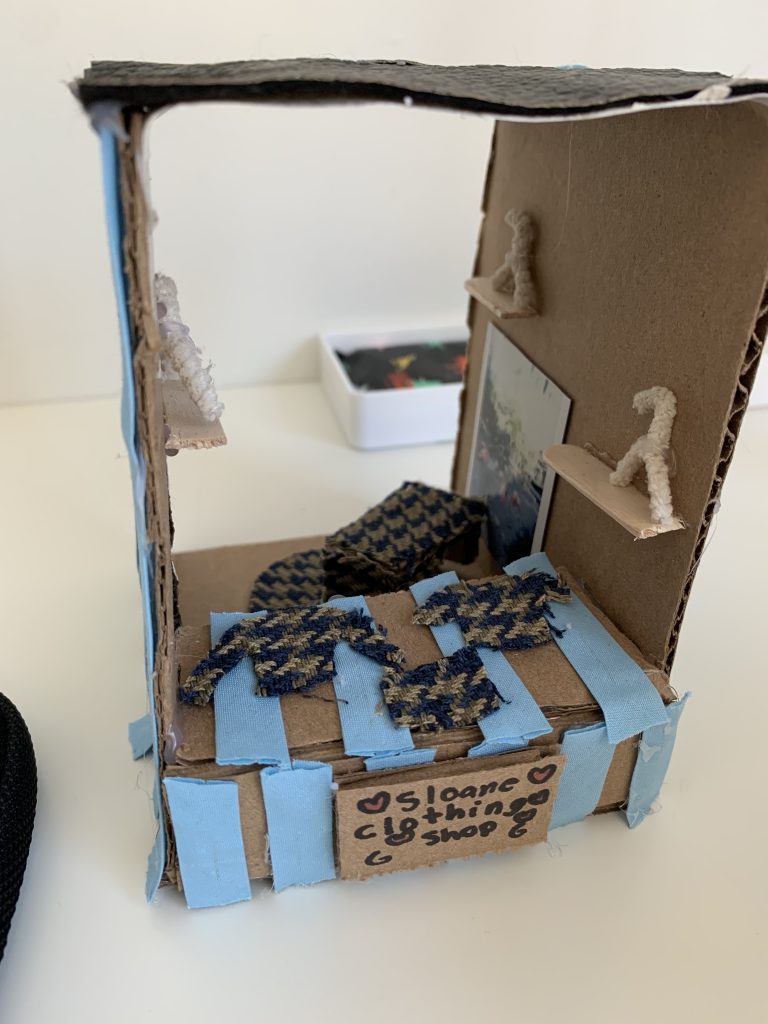
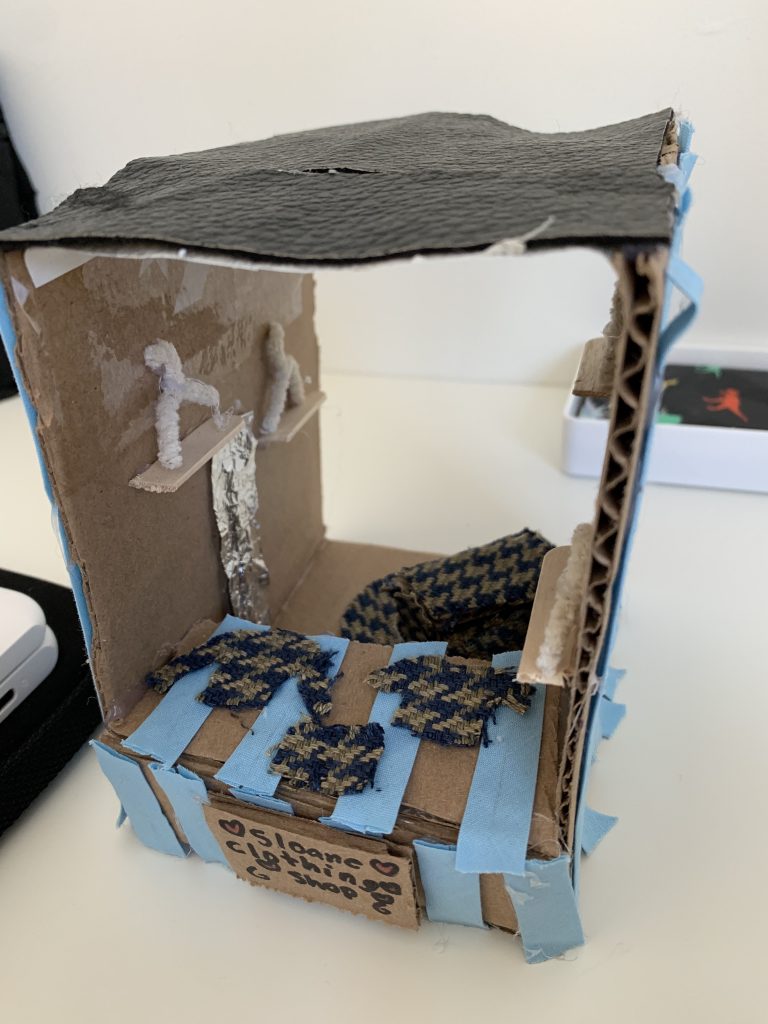
Sloane with “Sloane’s Clothing Shop!”

Grab Bag 4 – Magical Fairy Lands

My favorite grab bag yet! You guys are so awesome and creative. These fairy lands turned out truly beautiful and I would live in any one of them!

Our winner of this grab bag is a first time grab bag challenge contestant, Nora Stallone! Congratulations Nora! We love how you incorporated so many natural materials from the garden to create such a well organized land for your fairies. The seashell butterflies were also very creative! Free bag for next week, woohoo!!

Let’s check out all of the work!

Billie:

Cat:

Emily:

Lila:

Lisey:

Nora:

Olivia:

Silly Face Flip Books!

Hi everyone, Amy here! Who wants to make some hilarious flip books with me? These are super fun and easy to make with materials around the house. Let’s get started!

Step 1: Cut Your Paper

Start by cutting down some watercolor paper or card stock–something a bit heavier than computer paper. I chose for my book to be 4.5″x6″, so I cut two pieces to that size for the front and back covers, and then I cut all of my inserts to 4.5″x2″. I chose to do 5 sets of eyes, noses and mouths, but you can make as many as you want!

Step 2: Draw Some Silly Eyes

Grab as many inserts as you are using for your eyes, and start with a pencil. Using a very light hand, draw some eyes on each of your papers. It’s a good idea to mess around on some scratch paper ahead of time and choose your favorites from there! Once you’ve nicely drawn your eyes on, color them in and use a permanent marker to outline them. After that’s done, you can erase any pencil marks so they look nice and clean! Set aside.

I added in the “cutie eyes” for all of our studio kids. They’re a big hit!

Step 3: Draw Some Silly Noses

Repeat step 2, but with noses. Animal noses are always fun to incorporate! I love clown noses.

Fun fact: For those of you who don’t know, I was in a circus growing up!

Step 4: Draw Some Silly Mouths

Again, repeat the previous two steps to make your mouths! Facial hair anyone?

Step 5: Punch Your Holes

Using a hole punch, punch holes on the left hand side of all of your inserts. Make sure you get them in as close to the same spot as possible! Then, line up some insets over your cover, mark where your holes should be, and punch your three holes on the left hand side of your front and back cover.

Step 6: Draw Your Cover

I chose to write “Silly Face Flip Book” on my cover, but yours can be anything you’d like! If you want it to be a bunch of silly faces, great! Or, how about floating eyes, noses and mouths all over the front and back! Ooo, I like that idea. I might go back and make a second option.

Whatever you decide, start with a pencil and use a light hand once again. Then, color it in and go over it with marker so it looks nice and clean.

Step 7: Assemble Your Flip Book

Line up all of your eyes at the top, noses in the middle and mouths on the bottom. Put them in between your two covers and tie bows through the holes on the left hand side. You can use yarn, embroidery floss, jute string, anything you’ve got! I used kitchen twine because it was all I had at home, but it looks just fine to me!

Voila! Time to Play!

Flip through your book and see what silly combinations you can come up with. Have fun!

Grab Bag 3 – Mini Easter Worlds

We love all mini worlds, and these Easter ones are no exception!  We are super proud of the mini animals and egg baskets that were made out of the clay—really happy that was put to good use!  We were also VERY excited to see a real egg incorporated.  Good job everyone!

This week’s winner is….. CATHERINE HYSLOP!  “Bunny Beach” is too adorable, and so very San Diegan.  The mini surfing bunnies with eggs on their boards is so clever.  Also, really love the ladybug catching a ride on the chick.  Good job Cat!  Free bag for next week, woohoo!

Let’s check out everyones projects, shall we?

Amelia:

Billie:


Bria:

Cat:

Emmy:

Lila:

Olivia:

Willa:

Winston:

Weaving at Home

Cardboard Loom Weaving

Hi everyone!  It’s me, Amy. Trying to stay busy by making things in my home all day long and excited to share a ‘how to’ on this cardboard loom weaving I made! Not only is it awesome, but the actual weaving is quite relaxing and satisfying, I find. Hope you all enjoy!

Materials: 

  1. Cardboard
  2. Yarn
  3. Tape
  4. Scissors
  5. Yarn Needle (Optional)

Step 1 – Make Your Loom

Grab an old box and cut a piece of cardboard to a size and shape that you would like your weaving to be.  Cut slits in each end of the cardboard like so:

Then, starting on a far side of the loom, tape down a piece of yarn to start winding into the slits.  After you have wound the yarn through the entire piece of cardboard, tape down the other end of the yarn, and you’ll be good to go!

Step 2 – Starting Your Weaving

Choose a yarn you would like to start with, and if you have a yarn needle, thread the end of the yarn through the needle and weave through your first line by going under, over, under, over, and so on.  Leave a small amount of yarn hanging off the edge.  We will take care of that later. When you turn back the other direction, make sure you are going under and over the opposite pieces that you were the time before.

Lightly pull your weaving down as you go so that the yarn stays close together.

When you finish your first color, trim off the end of the yarn leaving just a bit hanging off the edge of the loom.  Again, we will take care of this later. Begin with your next color the same way. You will see in the pictures coming that I used two furry yarns together at one point to mix some colors together. (This mainly worked because of the texture of the yarn).

Step 3 – Cleaning the Edges

This is where a needle is useful, but if you don’t have one, you can simply tie the edge of the yarn in a tight knot around the outer loom yarn.  If you are using a needle, simply thread the edge of the yarn, and pull it through the outer loops of your weaving. It’s best to pull it through the section of it’s own color to hide it best. Once it’s through, just cut and trim the rest!

Step 4 – Removing the Weaving

Turn your loom over, and cut through the center of the yarn on the back.  Then, start by pulling off just one end of the loom.

Take the yarn pieces two by two, and double knot them together.  This will keep the bottom of the weaving in place. Then, do the same to the other side of your weaving.  

Voila!  Your weaving is now fully secure and removed from the loom!

Step 5 – Finishing Touches

Now, this part is really up to you!  Depending on what you want to do with your weaving, you can either trim the edges of the loom yarn to make them even if you are making, say, coasters or a miniature rug for a pet or something that will be sitting on a surface.  I’ve decided to attach mine to a found branch so that I can hang it on my wall.

I flipped my loom over, chose which side I wanted to be the top, and laid the branch across it.  I used my loom yarn, again two by two, and knotted it around the branch so that the knots would be hidden in the back. Then, I trimmed the excess.

For the bottom of the loom, I decided to add in some more of the yarn I used to create the loom so that it would look much more full.  I simply tied pieces of the yarn through the bottom of the weaving and in between each knotted piece that was already there. Then, I cut all the hanging yarn so that it was even across.  This could be a fun place to experiment with different length fringe at the ends, or even add in some hanging beads!

Lastly, I tied a piece of yarn to each end of the branch so I could hang it on a wall!  How adorable, right?  

Make sure to share what you guys come up with! ☺

KEITH HARING

In his first show in New York, he painted all the walls with his art, and then put up his paintings and his sculptures. Gaining more and more attention and success, Keith began to expand his creative horizons by painting major on-site murals all over the world 

In whatever part of the world Keith found himself and no matter what honors came to him, he would always insist that children be a part of his appearances. He set up workshops with them and always made sure that everyone had a lot of fun.

“What I like about children is their imagination,” he said. “It’s a combination of honesty and freedom they seem to have in expressing whatever is on their minds. So, whenever I could, I did projects with kids.

His paintings and sculptures became very expensive. He wanted everyone to be able to buy his work, so he opened a new store called the Pop Shop to sell his art on posters, buttons, T-shirts, and games.

What did we notice from taking a look at Keith Haring’s work?

  • His art involves a lot of colors and movement!! So let’s get movin’

You will need:

  • A pencil
  • A sharpie
  • An eraser
  • Coloring material: crayons OR oil pastels OR colored pencils

And someone to model for you! J

STEP 1:

Let’s learn how to draw a character in the style of Keith Haring. Ask your model to do a pose that involves MOVEMENT! Some examples:

Draw the pose as a stick figure drawing without adding any details, and do not press too hard with your pencil! Draw enough characters to fill the page, each with a different pose and make sure to turn your paper so that your drawings are spread all over the page and not all bunched up in the same spot. See the stick figure drawing of my poses below:

STEP 2:

Put your stick figure in a bubble! Draw a line all around your stick figure charater, like so:

STEP 3:

Outline your bubble with a sharpie. Only the bubble! Do not go over the stick figure, see example:

STEP 4:

Erase the pencil lines

STEP 5:

Color in the characters! Try using different colors for each one.

STEP 6:

Add movement lines to fill in the white space that is left: swirls, long lines, short lines, squiggles or simple designs are all great options. Use your imagination!

Make at Home – Printing Plates!

Materials:

  1. Foam sheet (Styrofoam take-out containers work great!) or “craft foam” from any art supply store.
  2. Sharp pencil
  3. Paint or Speedball Ink
  4. Breyer or paint brush
  5. Breyer, large marker or rolling pin
  6. Some sort of art paper – watercolor paper/cardstock for your print, and regular computer paper for your initial drawing. 

Step 1 – Make Your Initial Drawing

Decide what your print is going to be. You can print something out from the internet, or you can draw something you like. Some ideas we are into – landmarks, buildings, bridges, animals, mandalas, Indian block prints. If you plan to use words in your plate, make sure you write them backwards as the plate will print like a mirror! For our tutorial, I took a sample picture of our famous Siggy to draw from.  Here is the photo and the drawing done on regular computer paper:

**this is 2 lessons in one, luckily! Everyone gets to learn how to draw Siggy at the bottom of this tutorial. If you choose, you can use that drawing for your plate, and then choose where you want your Siggy to be when you create your background.  I have decided to make a picnicking Siggy wearing bunny ears, obviously.

Step 2 – Making Your Print Plate

If you have the supply, you could use soft cut and speedball carving tools.  However, to make this easily accessible for everyone at home, we are going to use foam sheets instead.

Take your drawing and lay it on top of the foam sheet. Pin, staple or tape down the drawing to the foam. Then, take your sharp pencil and make an outline of the drawing with deep dots. After you finish with the dots, remove your original drawing, and attach the dots with deep lines directly on the foam. You want the lines to be deep so that they will show up nicely after the transfer. Feel the lines with your fingers to make sure they are deep enough. Lastly, cut the plate out with 1/8” space around the entire image.

Let’s see if Siggy approves, shall we?

Oh, great.  Moving on.

Step 3 – Creating A Background for your Print

Watercolor a cool design or create a cool place to put your plate—this will depend on what you have actually created for your plate.  If you have decided to make a Siggy, perhaps she would like to be on a large couch or floating on a rainbow in the sky? It’s entirely up to you!  Also, the plate can be used multiple times, so you can easily create many different backgrounds and keep on stamping away!  I will start with some green grass for picnic time.

Here we go!

Step 4 – Inking Time!

At the studio we use a breyer and speedball screenprint ink, although since you probably have acrylic paint at home, that is what we will be using for the tutorial. Using a brush, evenly run the paint across the plate. You want a nice even coat of paint, and you don’t want it too thick because it will smoosh into the grooves you worked so hard to make.  Once you put the paint down, you want to make sure to print quickly while the paint is wet. Place the print face down onto the paper, and using a thick marker as we did (or a breyer if you have it), lightly roll over the surface of your plate evenly to make sure it is getting good contact with the paper.

And Voila! You now have your print!  We went ahead and made a few versions of ours.  We ran it by the big boss (Siggs), and she was definitely into them (especially outer space picnic time).

Siggy—Step By Step

And, always looking for approval: 

Success!  (She is a bit confused about the long tail, but other than that, A+)