
Hi everyone, Amy here! Who wants to make some hilarious flip books with me? These are super fun and easy to make with materials around the house. Let’s get started!
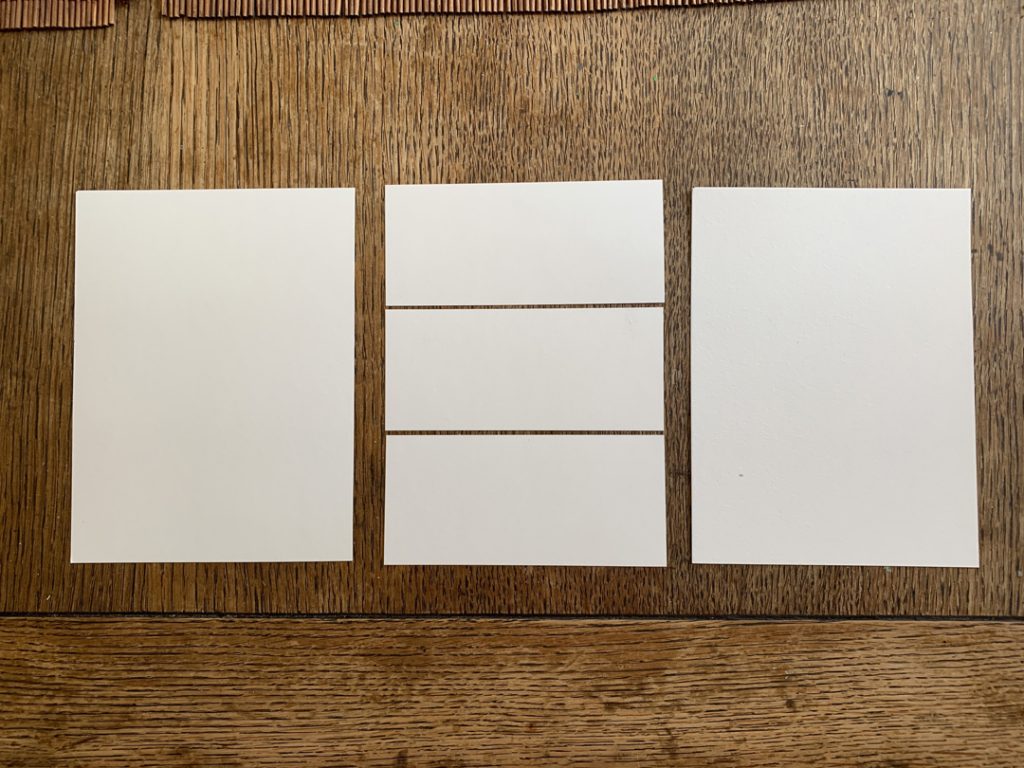
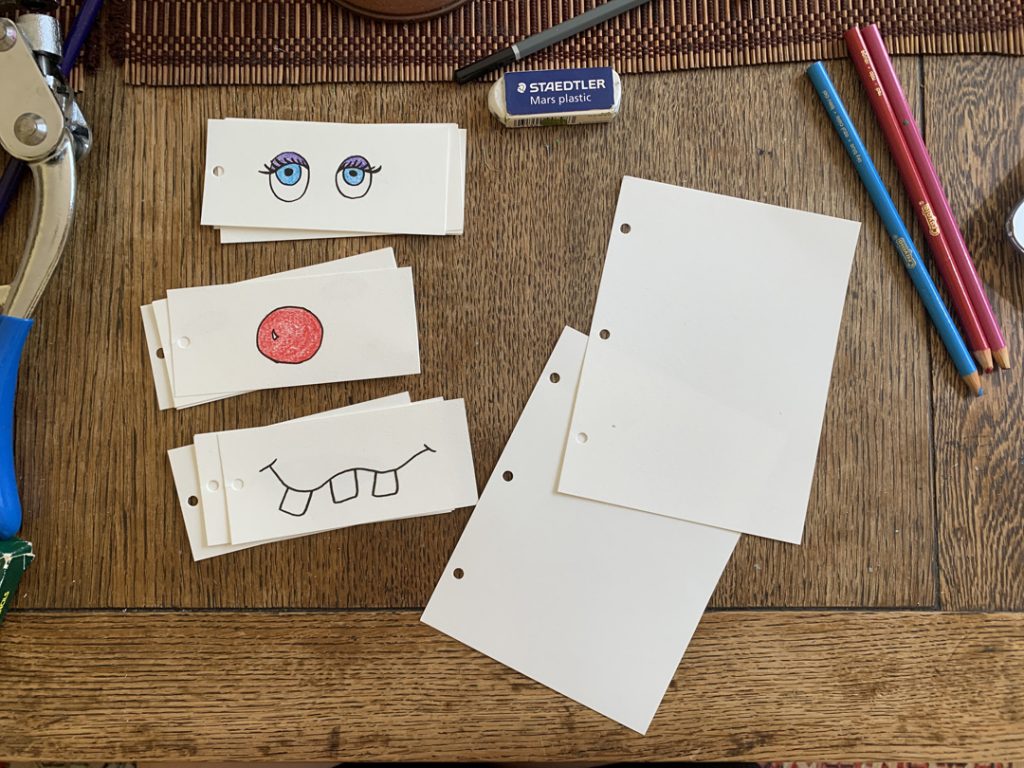
Step 1: Cut Your Paper
Start by cutting down some watercolor paper or card stock–something a bit heavier than computer paper. I chose for my book to be 4.5″x6″, so I cut two pieces to that size for the front and back covers, and then I cut all of my inserts to 4.5″x2″. I chose to do 5 sets of eyes, noses and mouths, but you can make as many as you want!
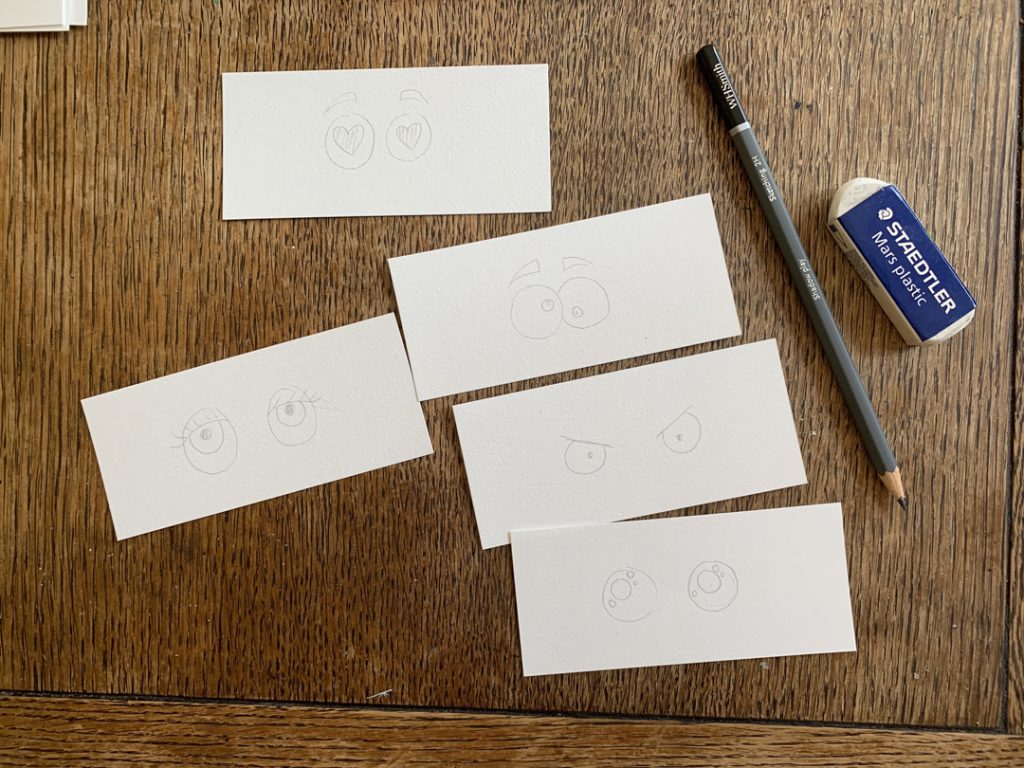
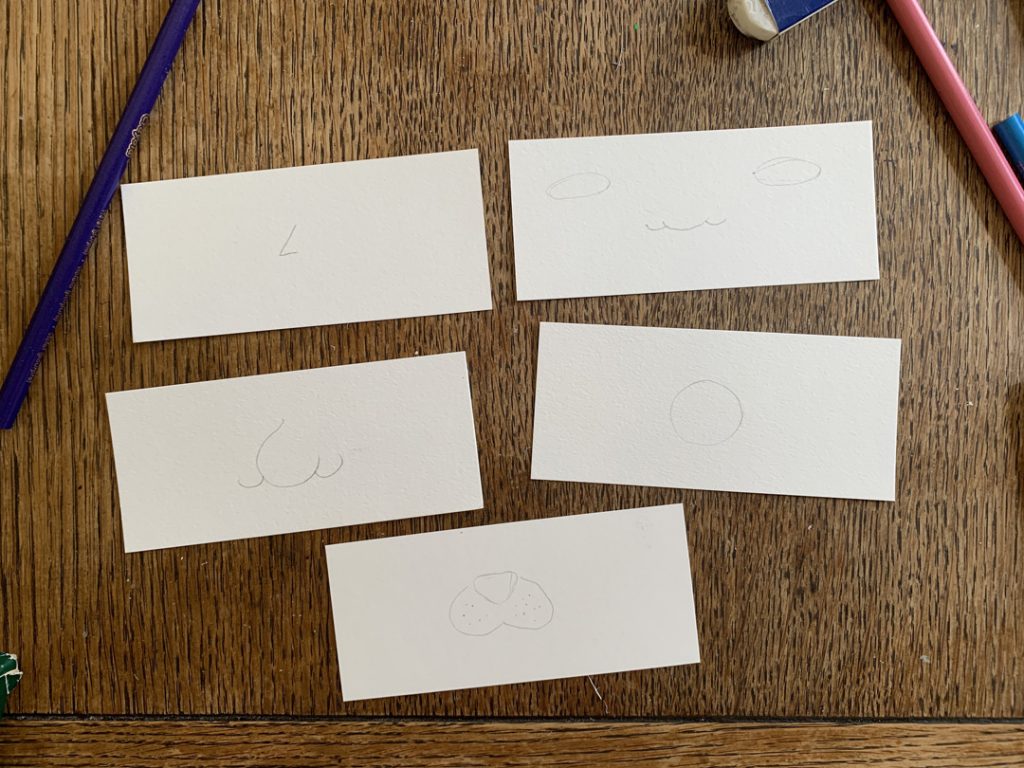
Step 2: Draw Some Silly Eyes
Grab as many inserts as you are using for your eyes, and start with a pencil. Using a very light hand, draw some eyes on each of your papers. It’s a good idea to mess around on some scratch paper ahead of time and choose your favorites from there! Once you’ve nicely drawn your eyes on, color them in and use a permanent marker to outline them. After that’s done, you can erase any pencil marks so they look nice and clean! Set aside.
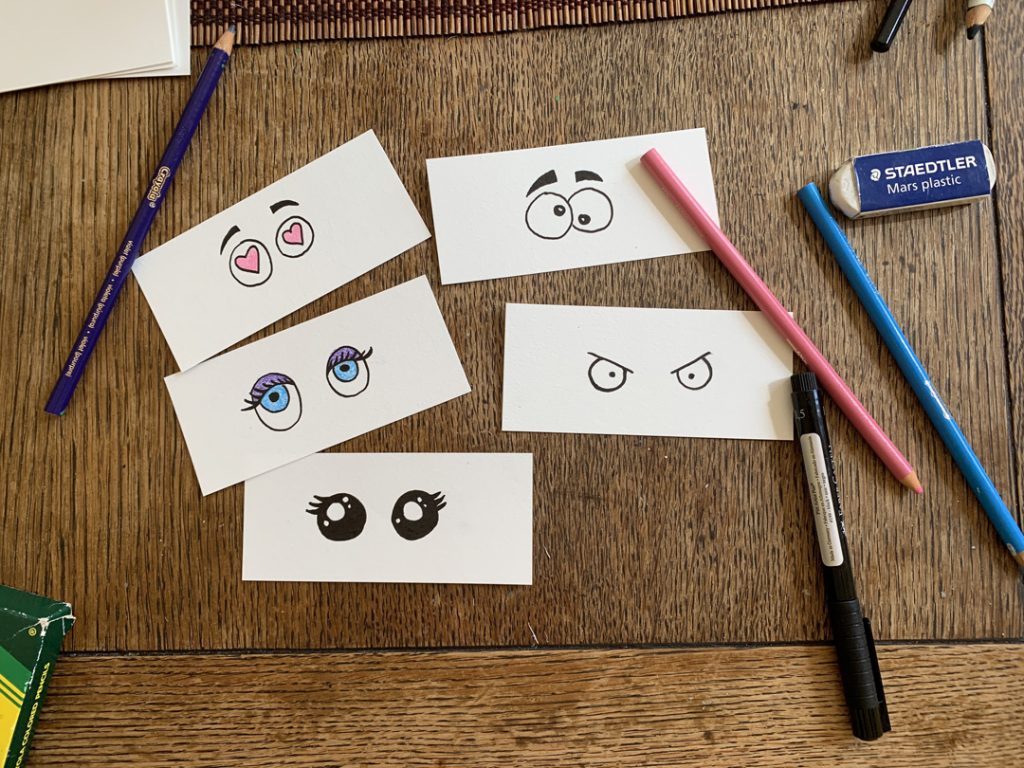
I added in the “cutie eyes” for all of our studio kids. They’re a big hit!
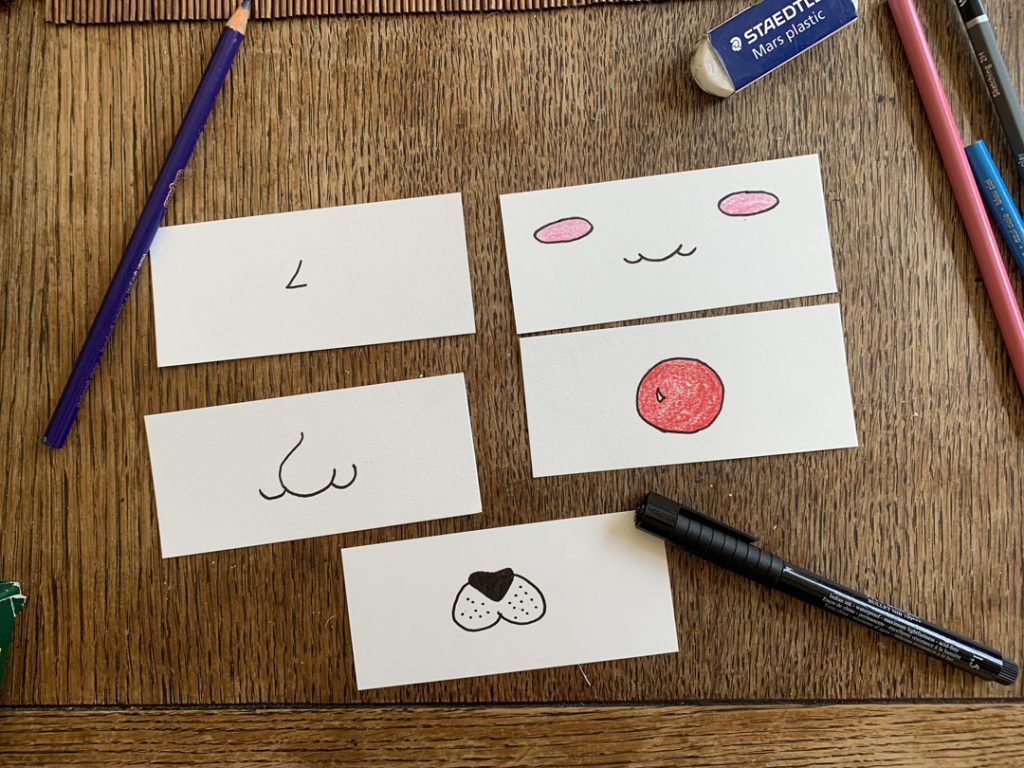
Step 3: Draw Some Silly Noses
Repeat step 2, but with noses. Animal noses are always fun to incorporate! I love clown noses.
Fun fact: For those of you who don’t know, I was in a circus growing up!
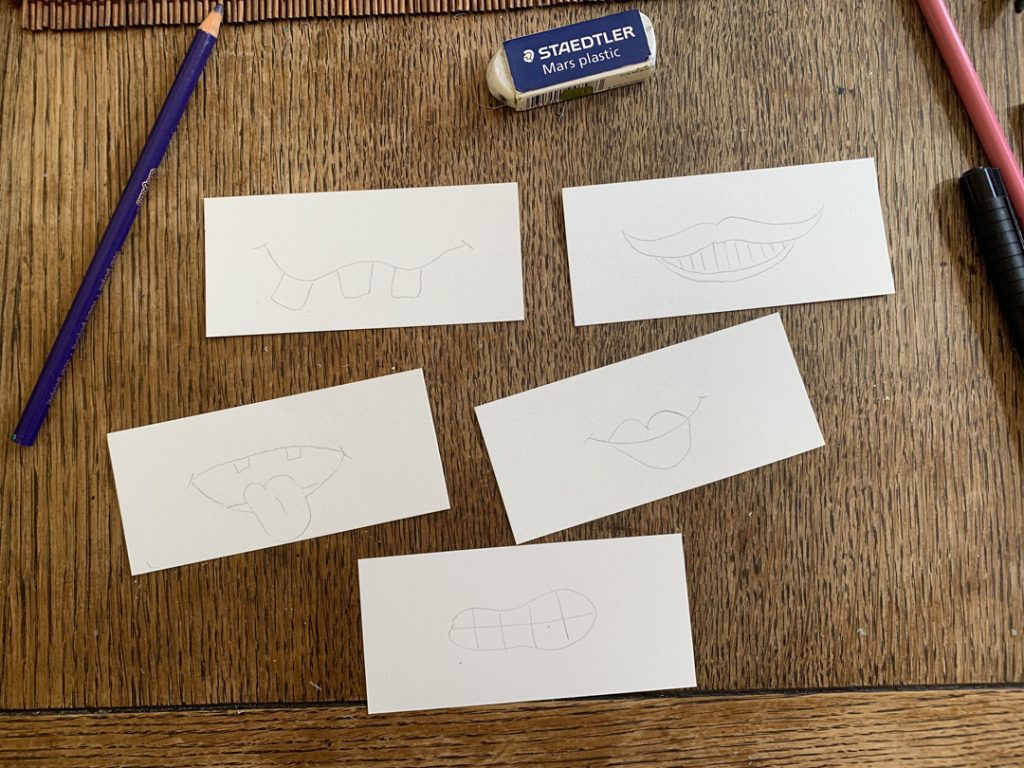
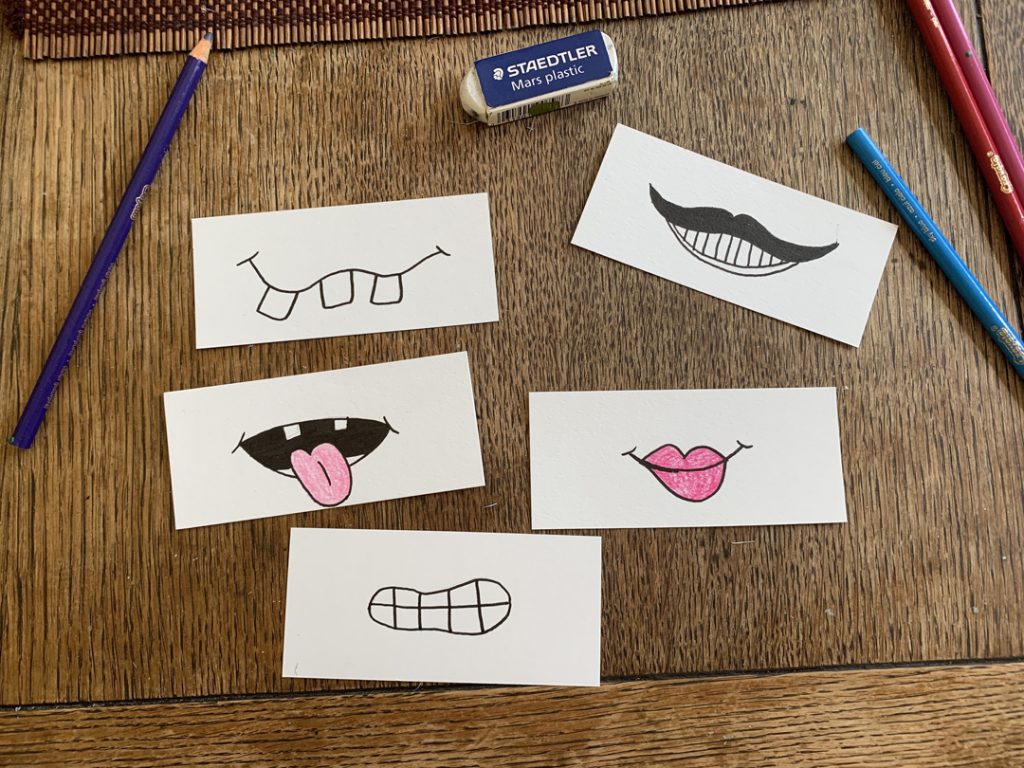
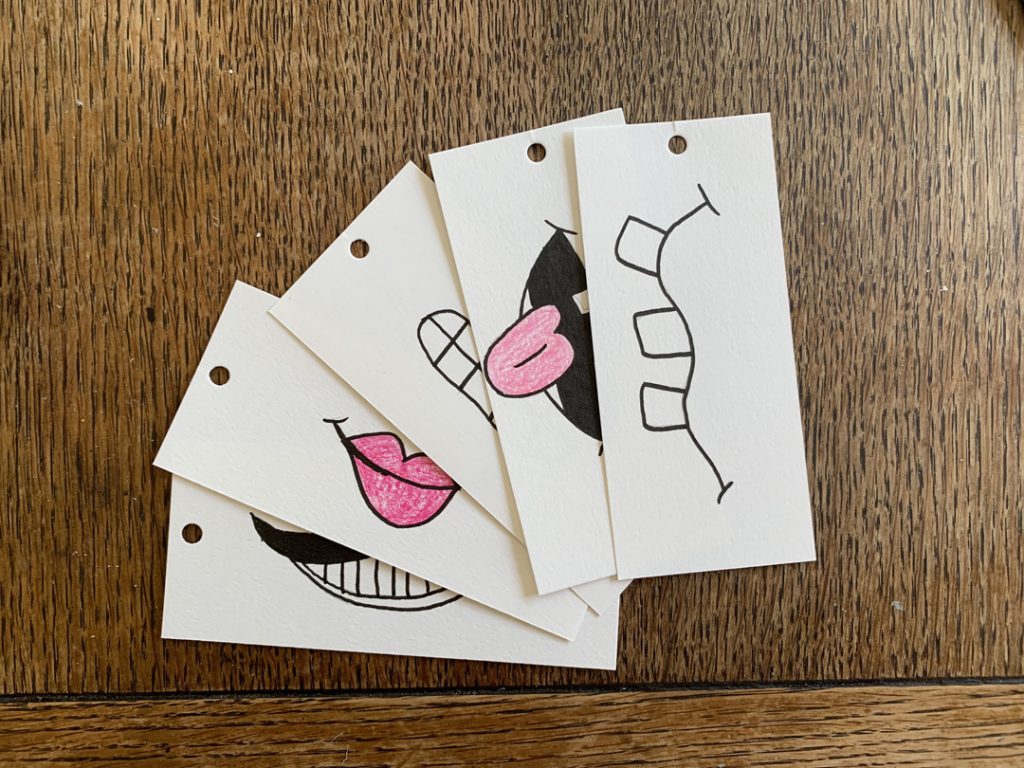
Step 4: Draw Some Silly Mouths
Again, repeat the previous two steps to make your mouths! Facial hair anyone?
Step 5: Punch Your Holes
Using a hole punch, punch holes on the left hand side of all of your inserts. Make sure you get them in as close to the same spot as possible! Then, line up some insets over your cover, mark where your holes should be, and punch your three holes on the left hand side of your front and back cover.
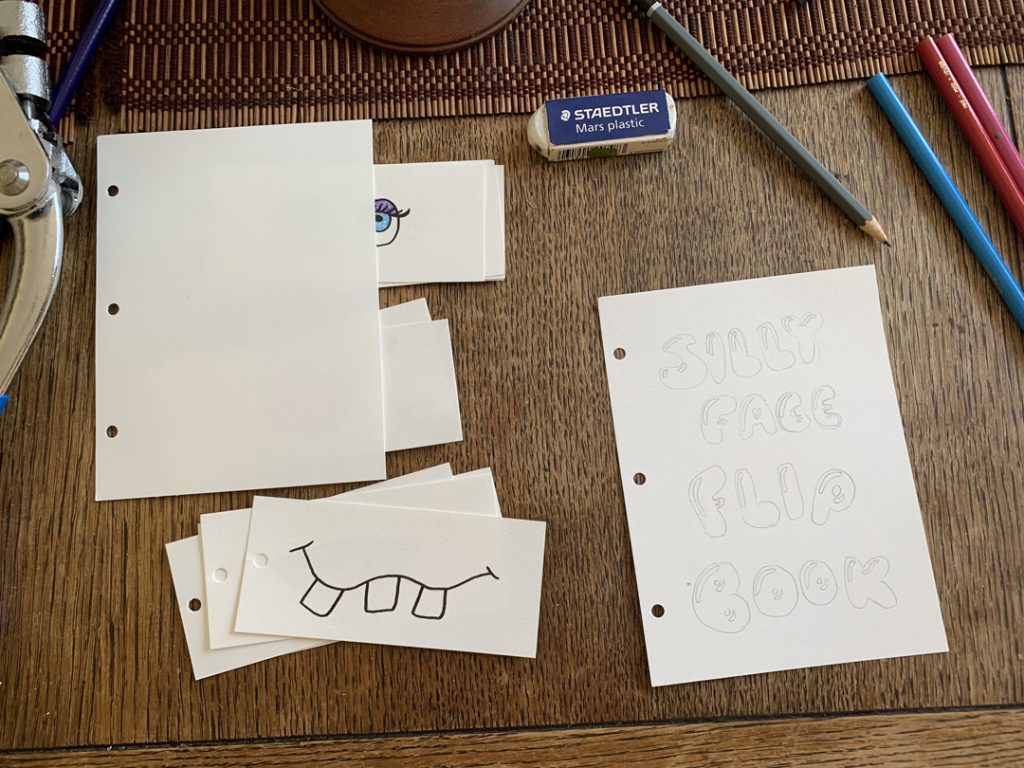
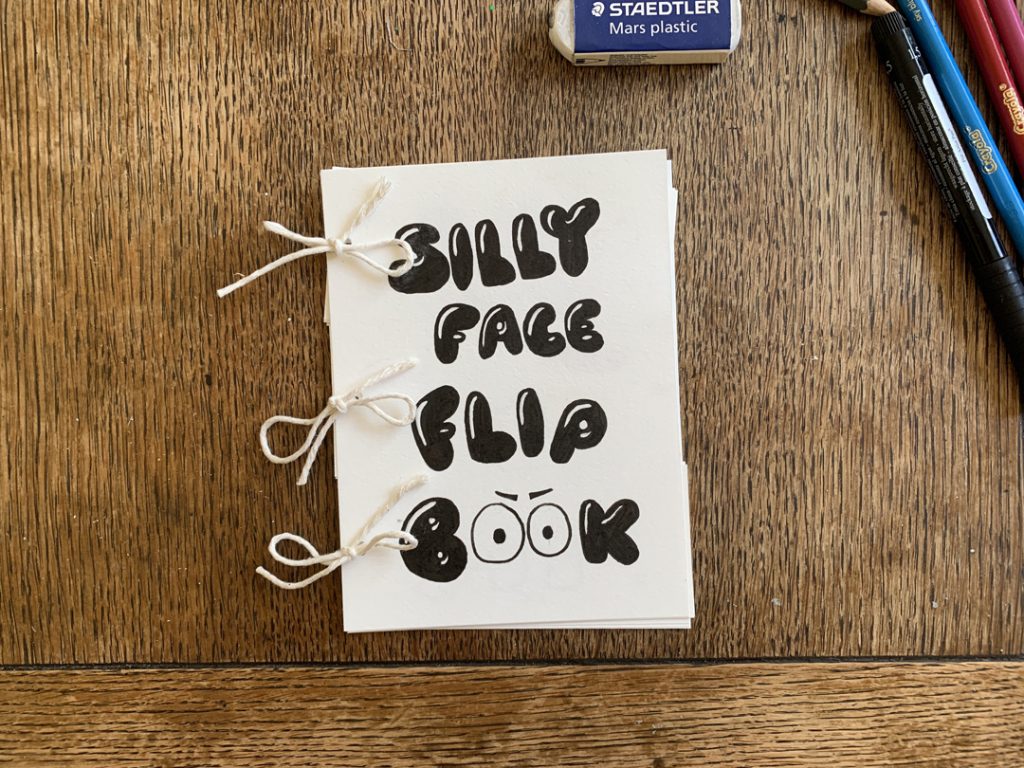
Step 6: Draw Your Cover
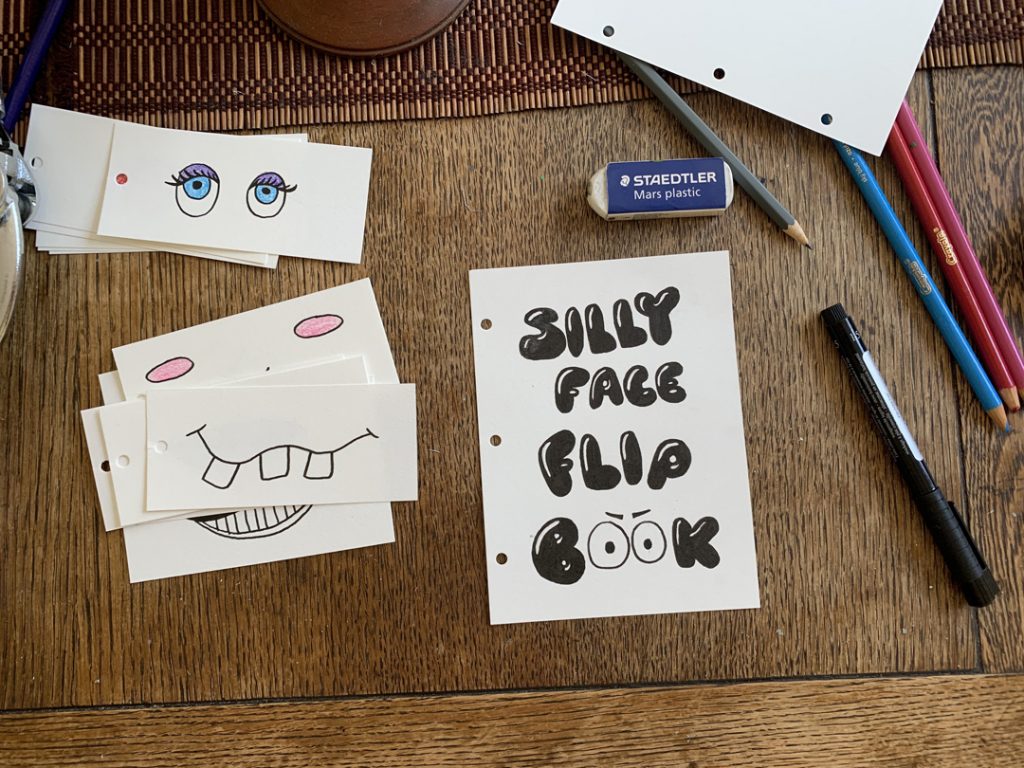
I chose to write “Silly Face Flip Book” on my cover, but yours can be anything you’d like! If you want it to be a bunch of silly faces, great! Or, how about floating eyes, noses and mouths all over the front and back! Ooo, I like that idea. I might go back and make a second option.
Whatever you decide, start with a pencil and use a light hand once again. Then, color it in and go over it with marker so it looks nice and clean.
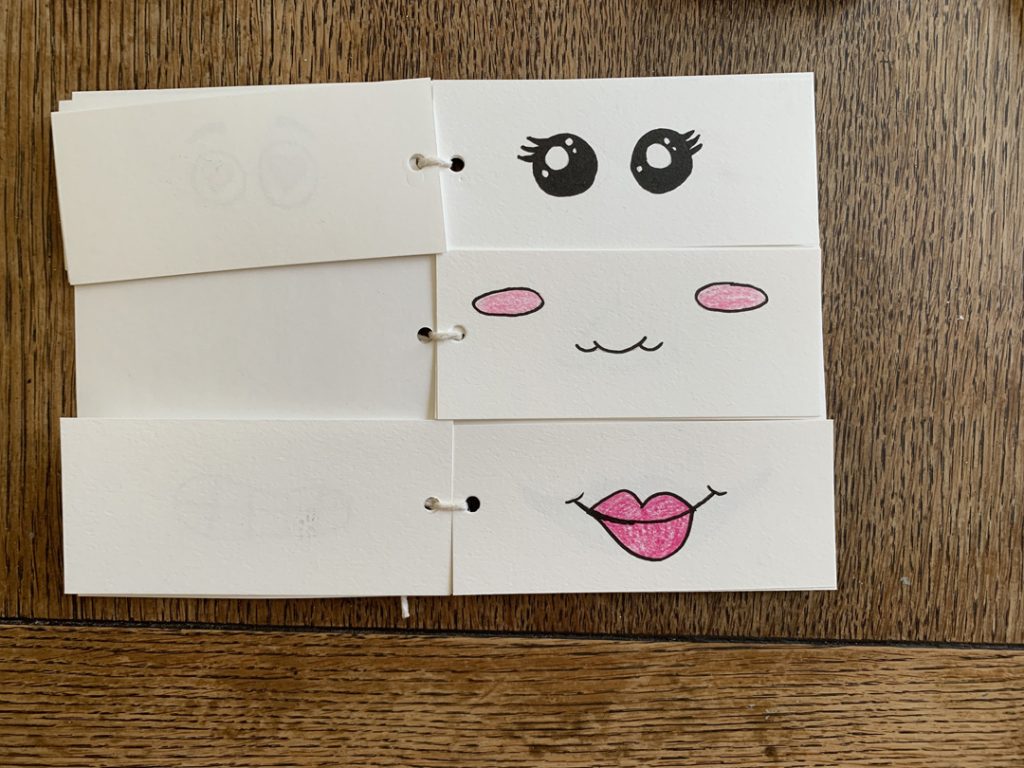
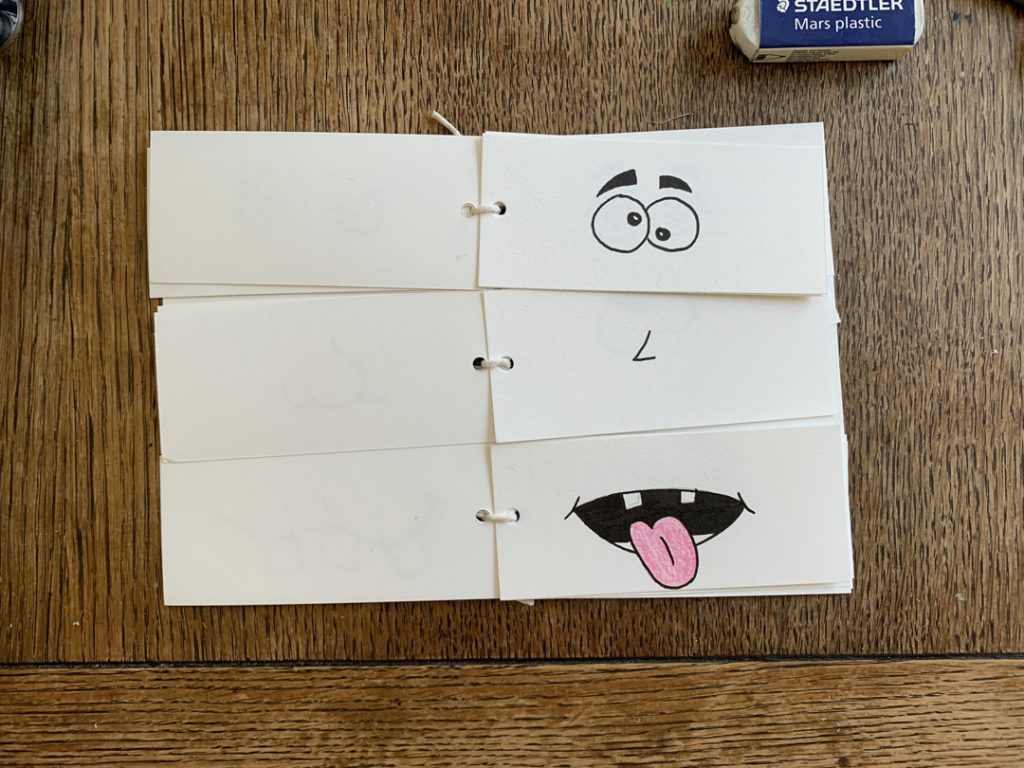
Step 7: Assemble Your Flip Book
Line up all of your eyes at the top, noses in the middle and mouths on the bottom. Put them in between your two covers and tie bows through the holes on the left hand side. You can use yarn, embroidery floss, jute string, anything you’ve got! I used kitchen twine because it was all I had at home, but it looks just fine to me!
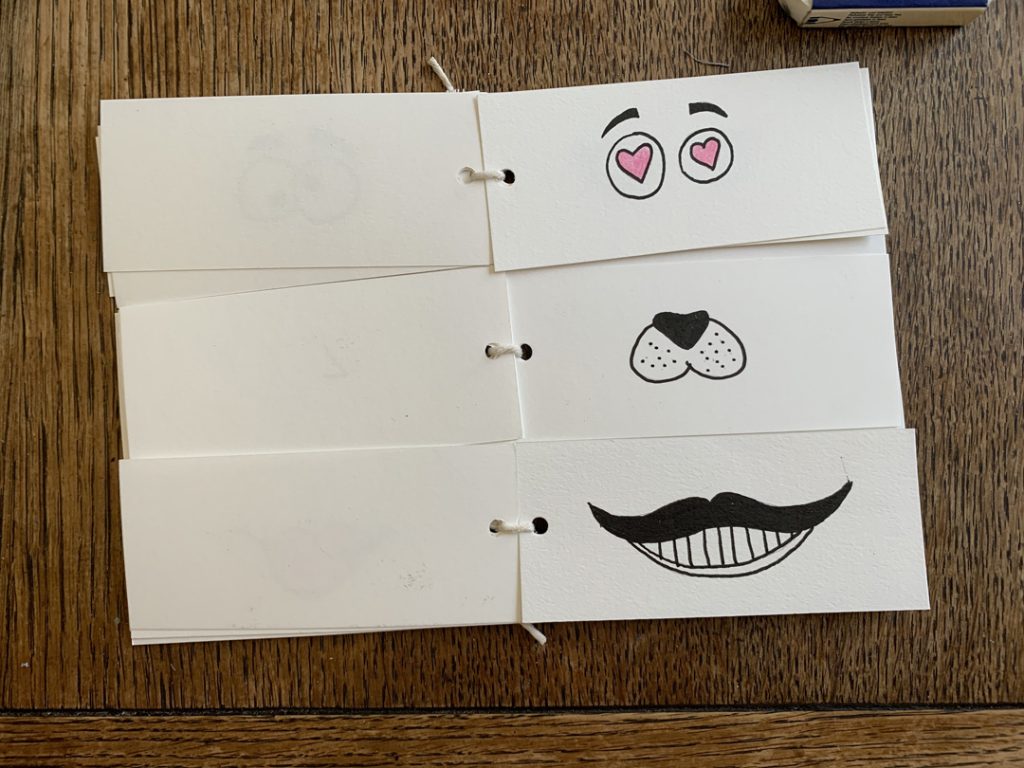
Voila! Time to Play!
Flip through your book and see what silly combinations you can come up with. Have fun!
