Hi all! I am so sorry this has taken so long for me to get up!! Figuring out zoom and zooming all day is my new passion. I hope everyone is staying creative at home. No? Well, let’s do some doll sewing together. This project is good for girls, boys, parents.. whoever. You can adjust the pattern to make it your own.
Background of Doll Making Madness
We started construction on our house on March 9 and so when the stay-at-home order came in we decided to come to our house that has a roof in Mammoth. So, I am surrounded by natural beauty but so far from all of you and so far from all of my crafty tools.
Since so many of you are home without any crafty tools of your own, I wanted to create a hand
The possibilities are endless..
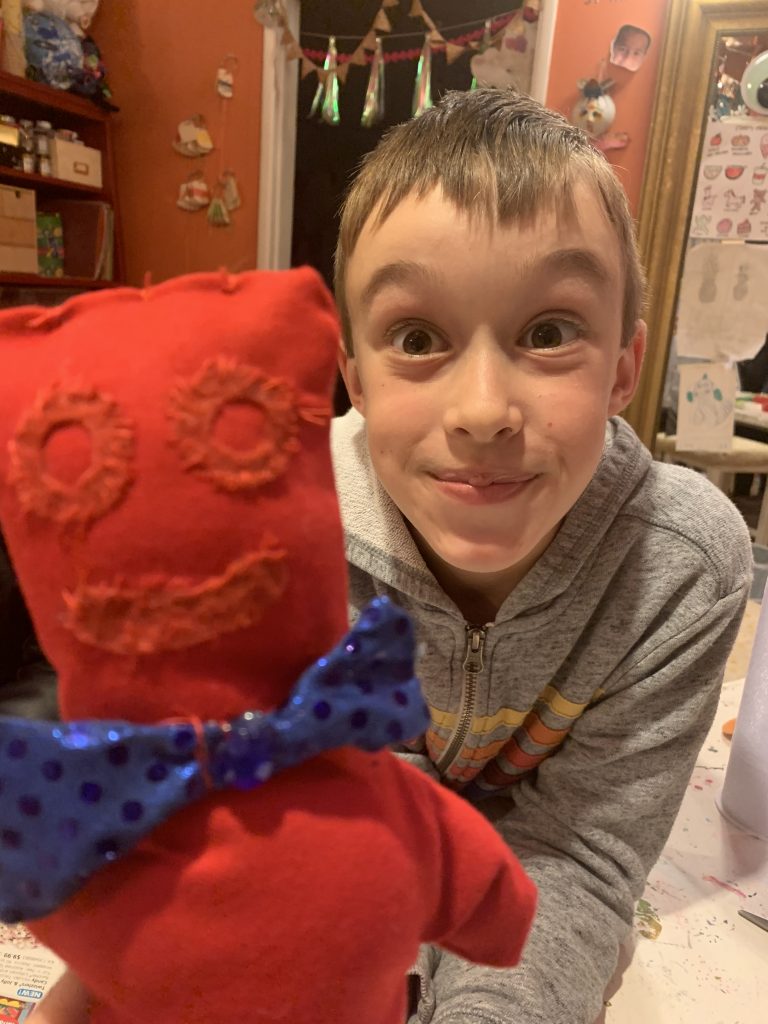
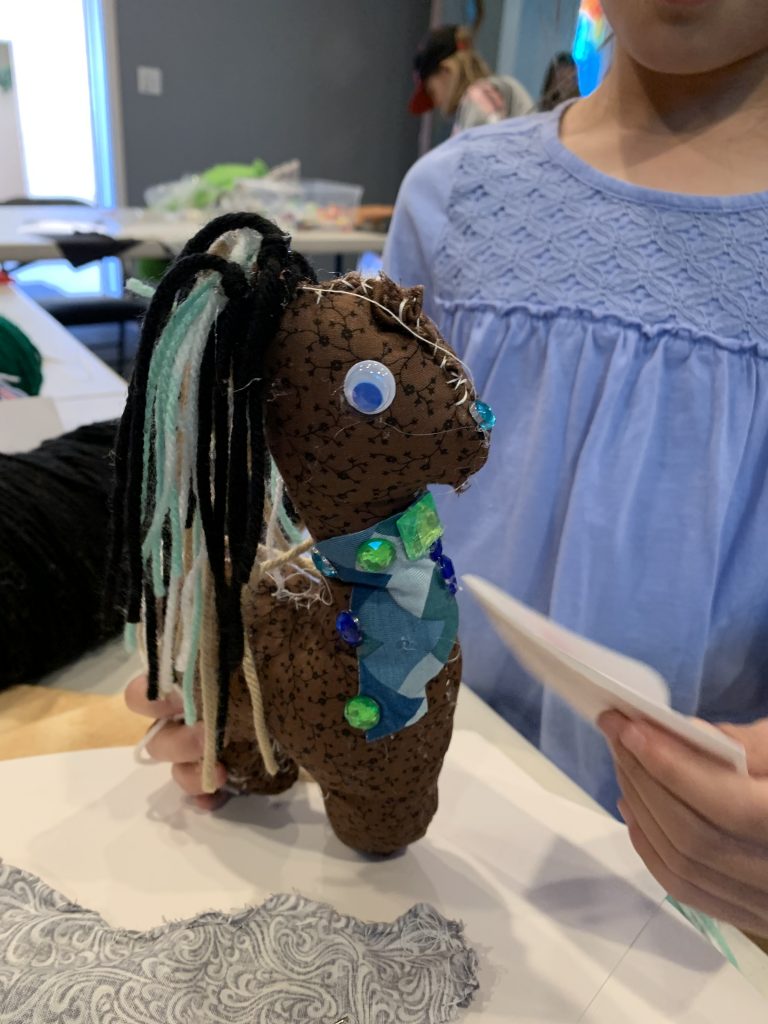
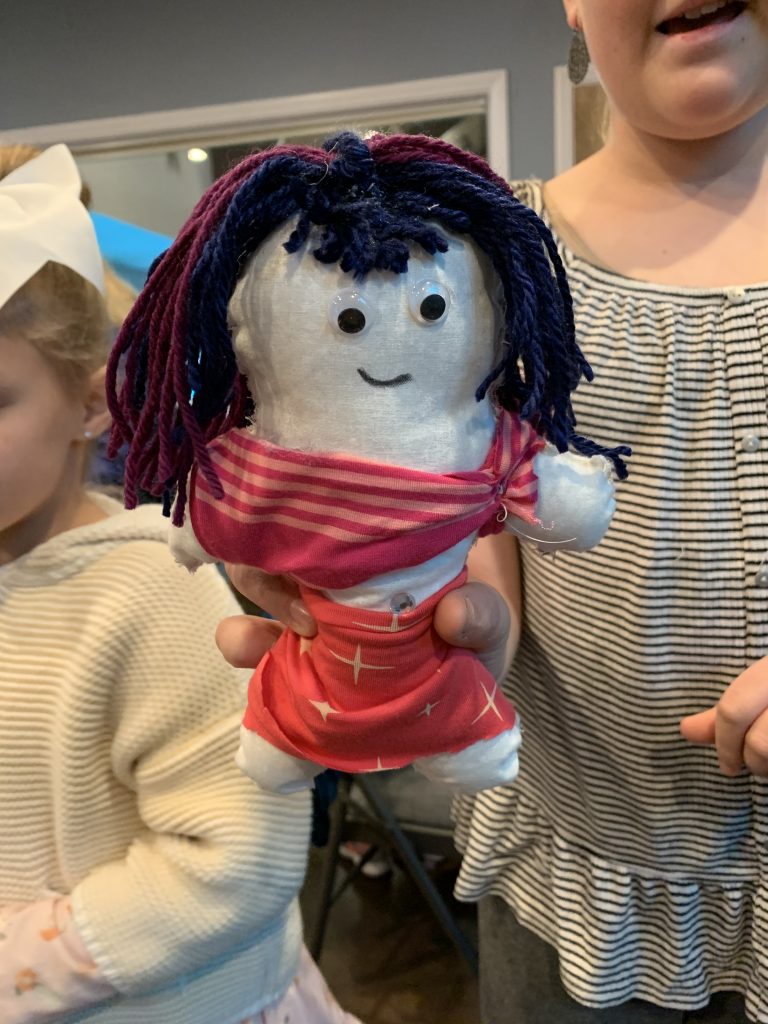
SUPPLIES AVAILABLE!** If you need supplies for your doll-making and are not able to dig them up out of a drawer or get them at Vons'(that’s where I got some of mine!) then I am happy to have a member of my team create a bag for you. We have more than enough fabrics, needles and thread, embroidery floss, hot glue sticks, eyes, yarn.. you name it. If you’d like to swing by and pick up a bag curbside please let me know and we can put together something special for you!
OK! Without
PATTERN
MAKE YOUR OWN: You don’t have to use mine. You can make your own (a la sourpatch kid or camelcorn above). If you are making your own just make sure you remember to leave at least a 1/4″ seam allowance around the outside. If you are making an adjustment using the basic pattern – perfect. Just fold it in half and trace it onto half of your paper. Then, make your adjustments. Hold that half up in front of a sunny window and trace the other side. I made an alien today for my zoom class and it was fab. More on that later.
Cut on the outside line – that is the seam allowance line. Why are the extremities(arms and legs) so big, you ask? Once we sew and turn inside out, we need the legs to be nice and big so we can turn them inside out and stuff them.
SUPPLIES FOR LESSON
I was able to find these things at Vons
FABRIC
STEPS1.) Cut out your pattern on the outside line. 2.)
3.) Once you cut these out, put the two shapes together with the *RIGHT* sides together. The ‘right’ side of the fabric is the printed side or the side that is meant to be facing out. If we put the right side of the fabric together, once we sew and turn right side out, the right side will be facing out.
4.) STITCH TIMEok – it’s stitch time! See the pen marks below that resemble the type of stitch we are using. It’s the blanket stitch, which we all already know from class. With your thread you enter from one side, go through both layers then over the top and enter again from the initial side. You are always starting from the same side. *Make sure to keep your stitches small and close together so that once we turn it inside out, no fluff comes through.
** Threading your needle – remember, you can start your stitches without tying a knot. Most of you I have taught this
5.) Stitch all around outside of
6.) Make sure you tie off the end of your thread the same way you started
7.) When you are done sewing, you can turn inside out and stuff! If you are stuffing with
This is enough of a task for all of our young sewists for this week
Here is my sweet rag doll that I have so far… decorating will come later this week!! Just so you know.. babies love this.
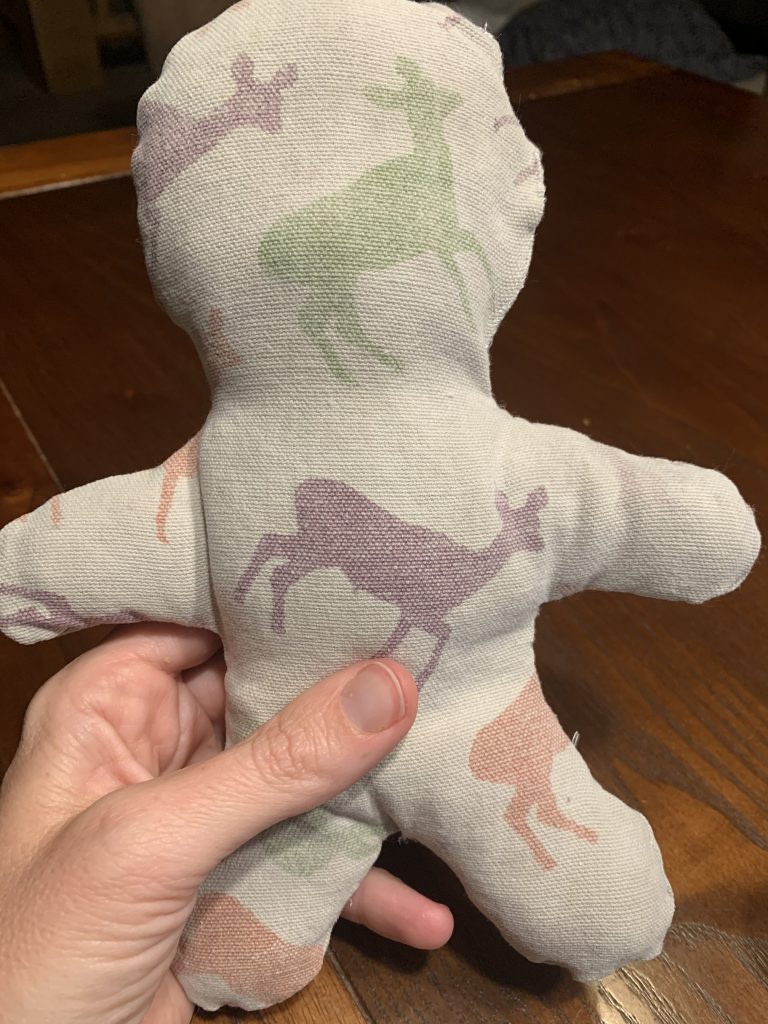
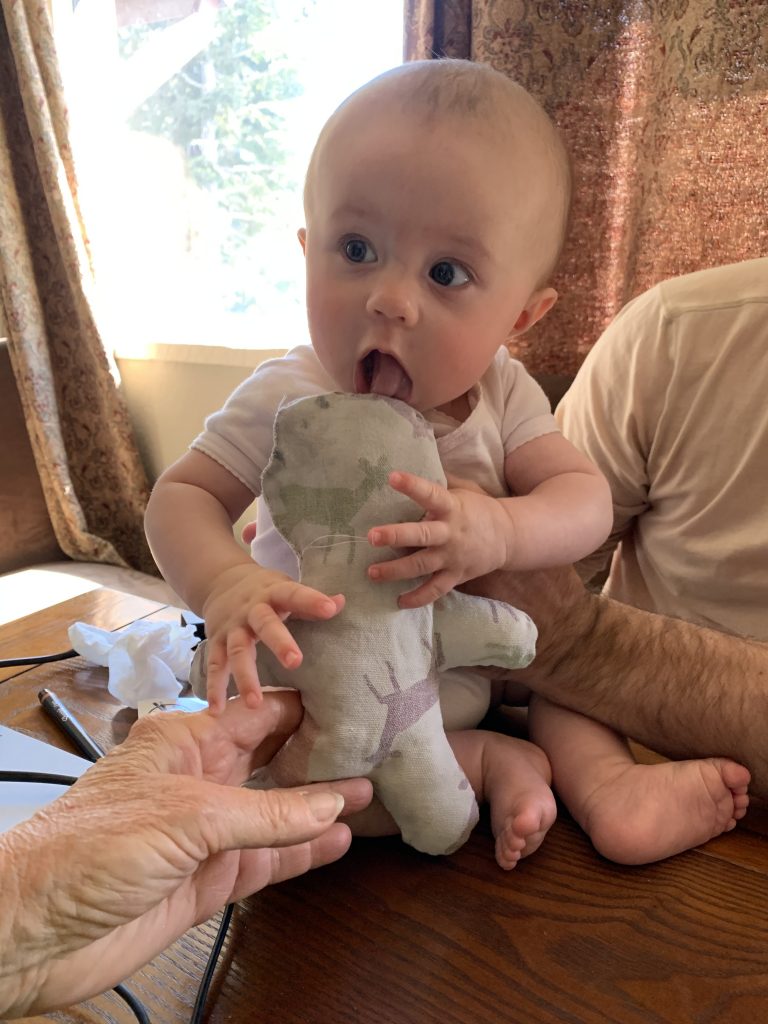
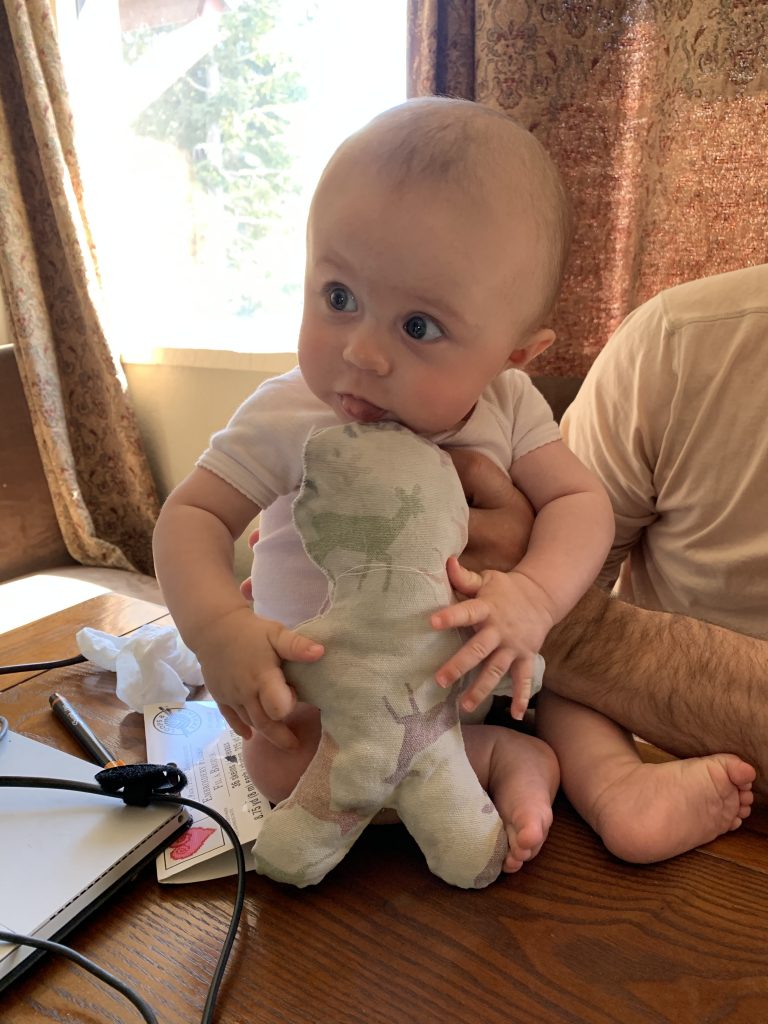
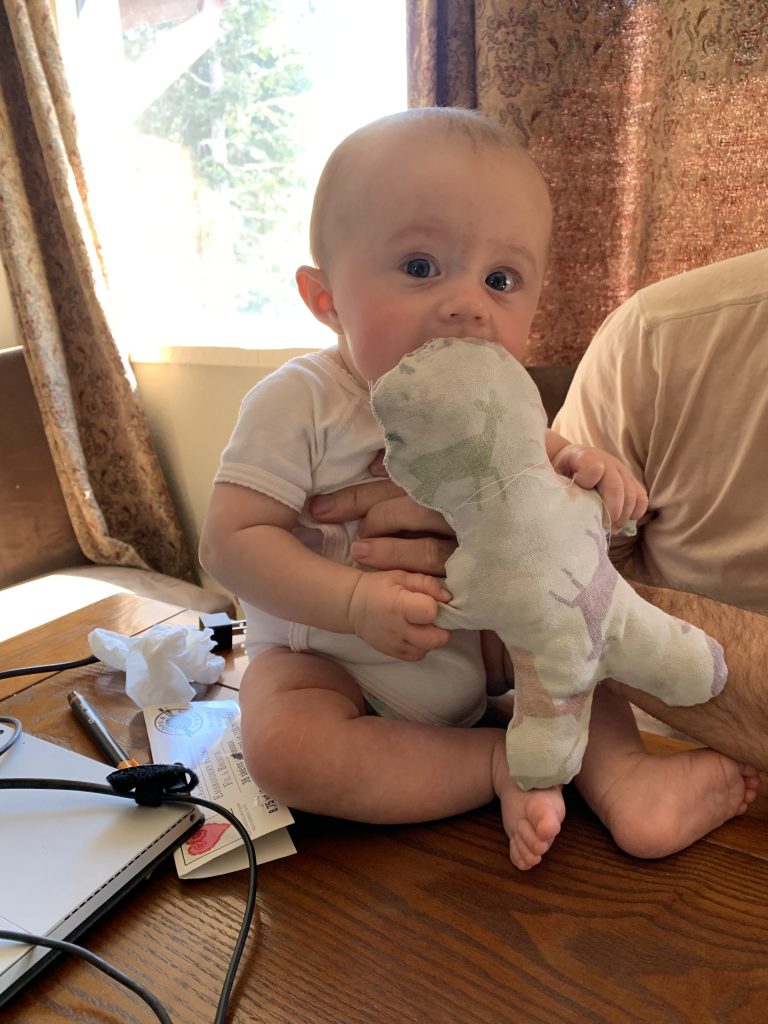
So get your needle and thread out and get your doll on! It would make my life right now to see random doll pics floating in!
If anyone is still reading.. I have a totally awesome hand sew class coming this friday! We will be taking our stuffy menu, making it mini and handsewing in a fabulous sewing circle over zoom. Get in on it! All supplies provided. Email me at jaimee@paintboxartstudio with questions.
Love to you all!!

