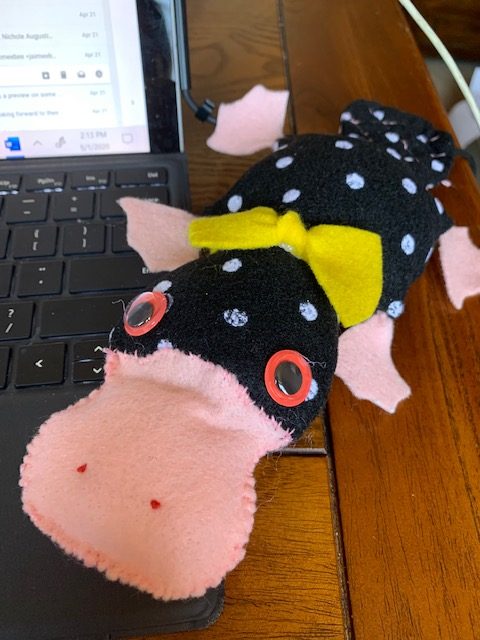
Cause why not?
Here’s our printable platypus pattern. Make sure the pattern prints to a full 8.5×11.
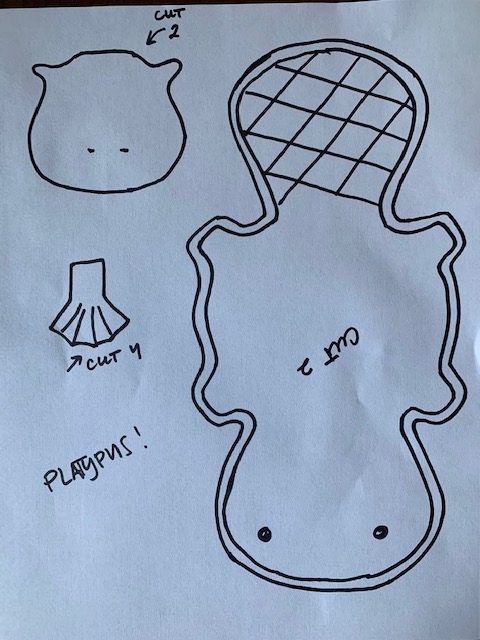
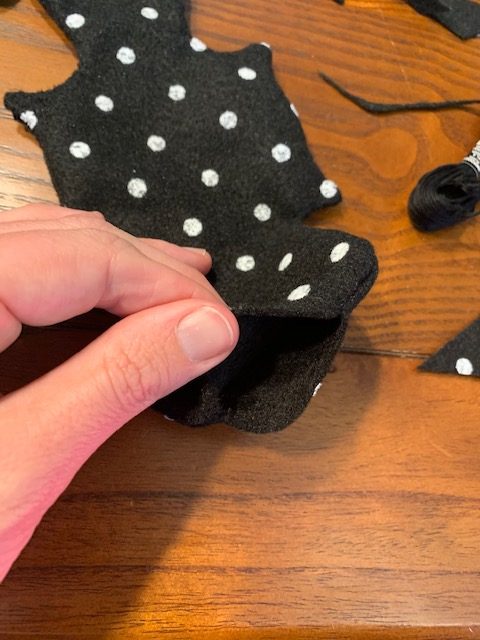
First, cut your pieces from your fabric and place the body pieces right sides together.
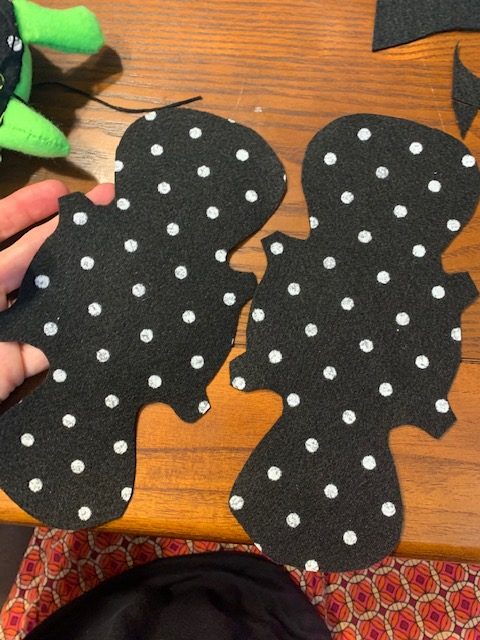
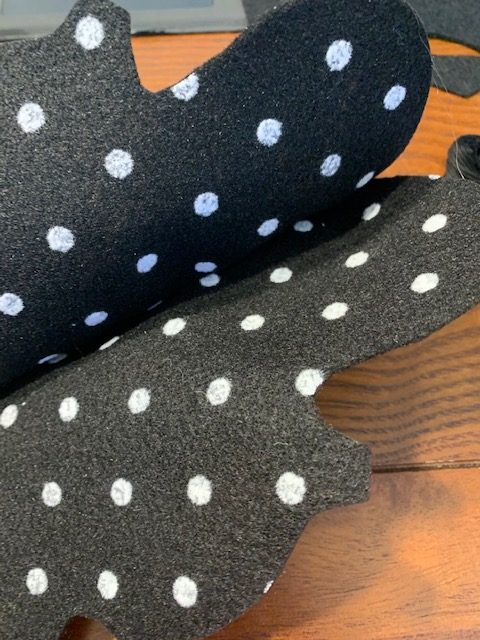
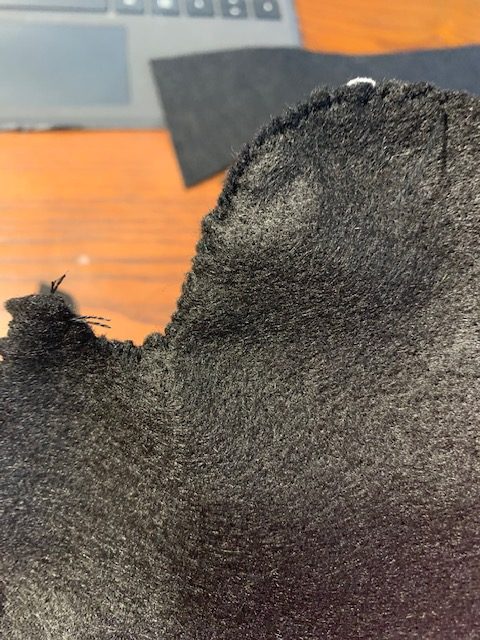
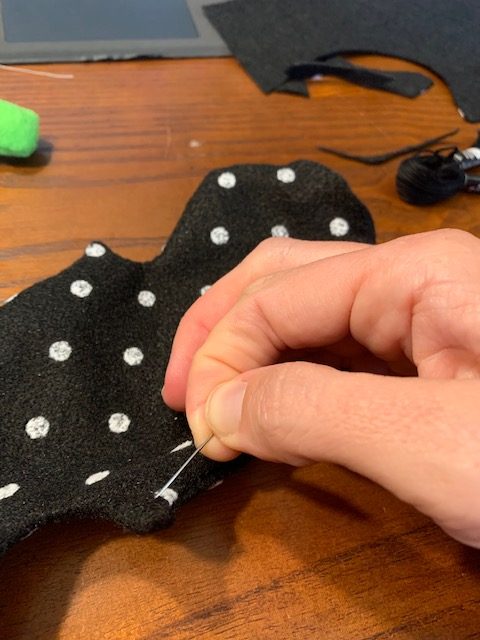
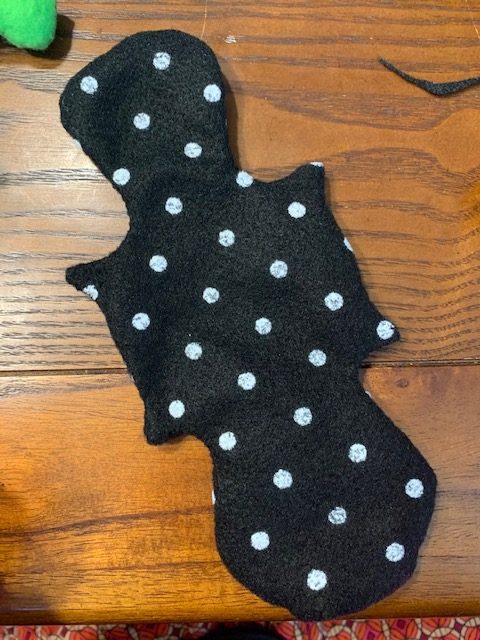
Whip stitch around the outer edge leaving the top of the head open. (The head is the wider end). Then, flip it right sides out. Use a pin or a needle to pull out the four leg points so they stick out nicely.
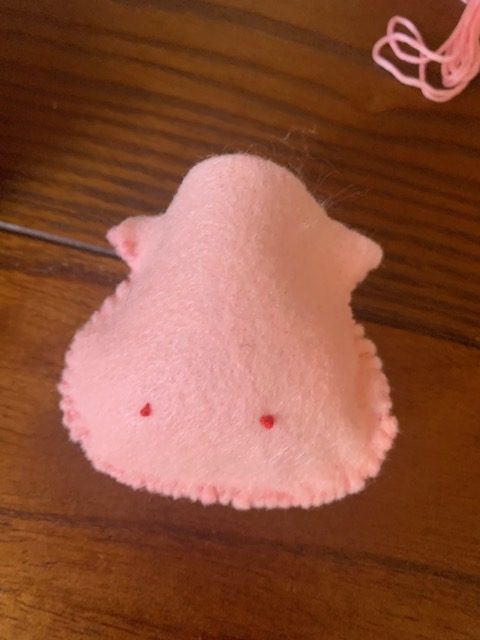
Now, on to the bill. We used embroidery floss to create the nostrils, although you can draw them on as well. Place them together and whip stitch around the entire bill, leaving the bottom open.
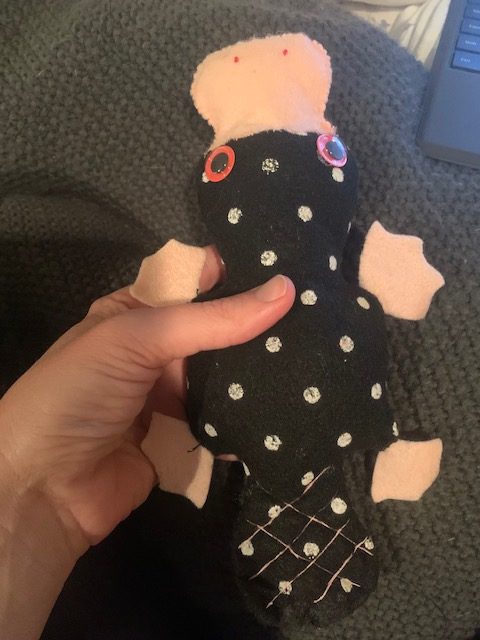
Then, stuff both the body and the bill. Don’t stuff the tail too tightly, because we will make some cross hatch stitches through the whole tail at the end.

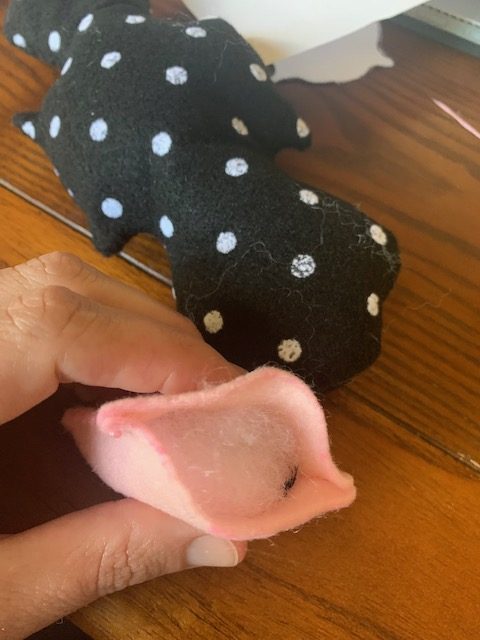
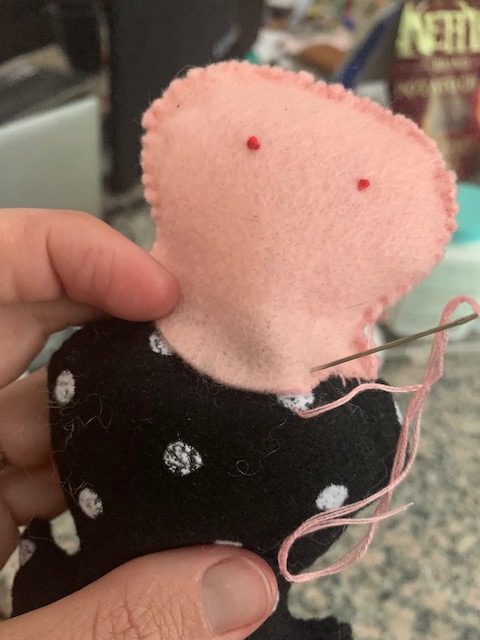
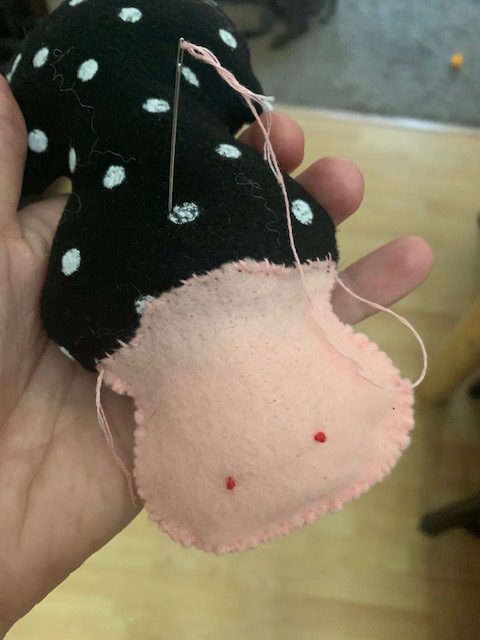
Now we want to attach the bill to the head. Put the head of the body into the open part of the bill, and whip stitch the bill to the body. Stitch across the top and then across the bottom, back to where you began.
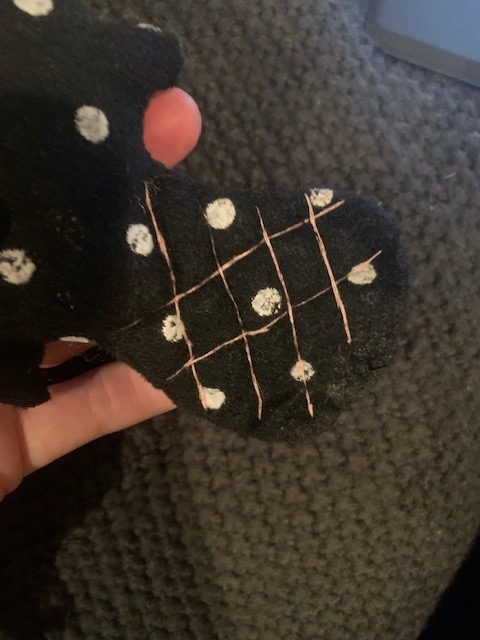
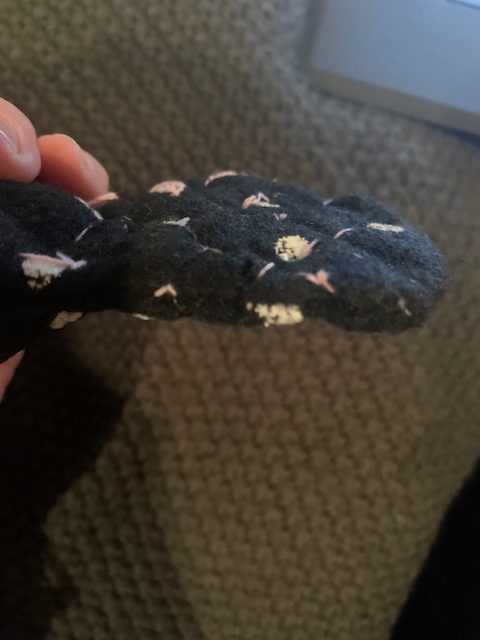
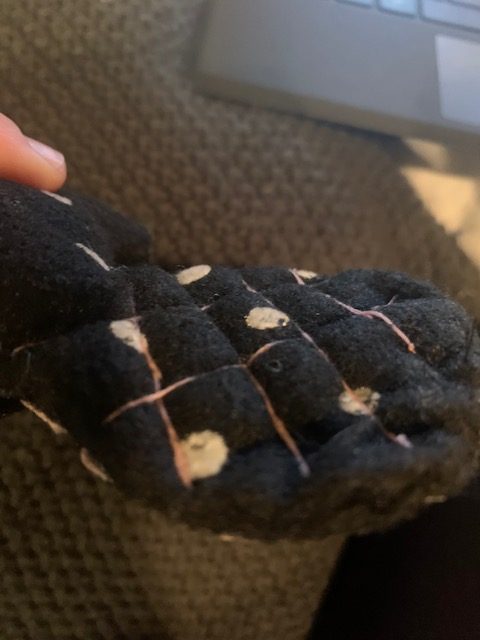
Using a thick thread like embroidery floss, make straight parallel lines through the tail, and then do the same facing the other direction to create a cross hatch look.
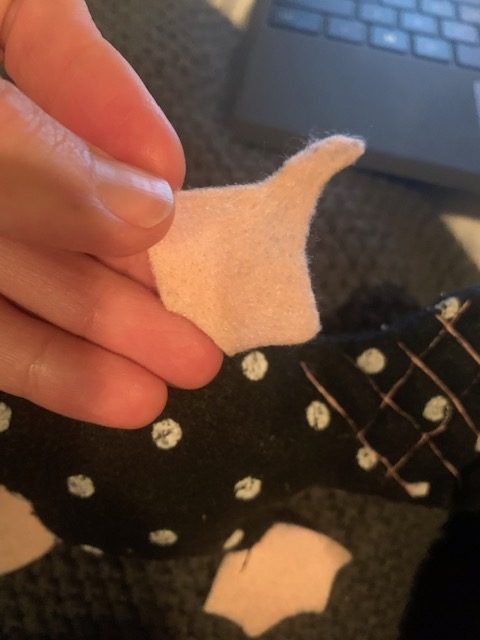
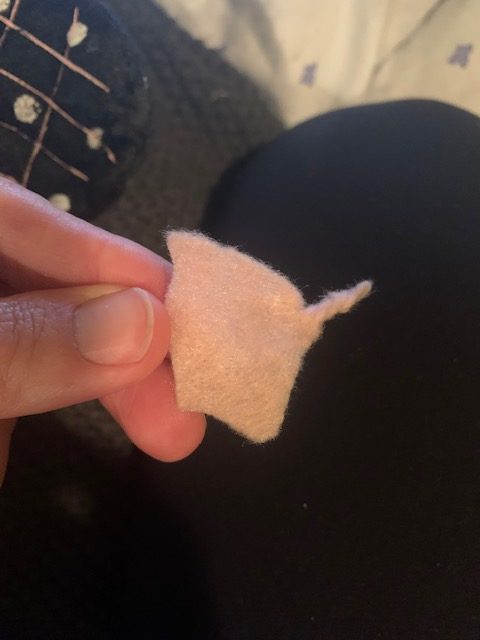
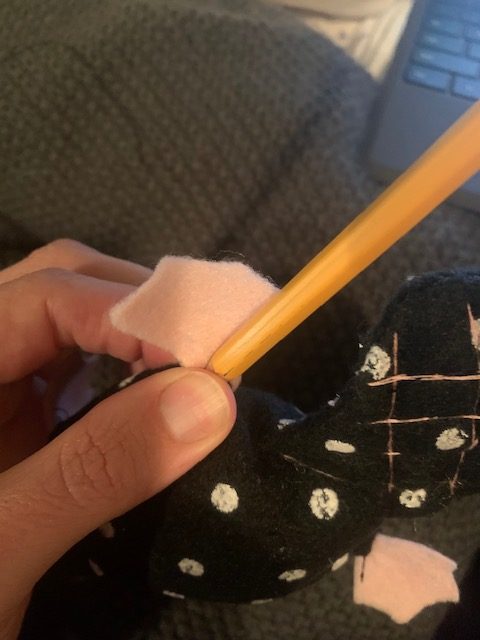
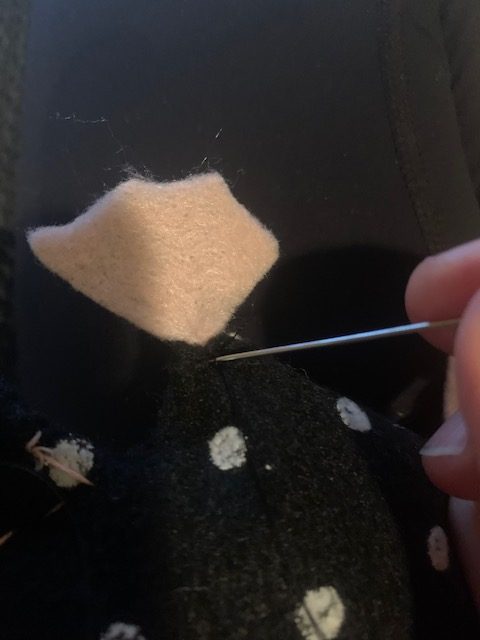
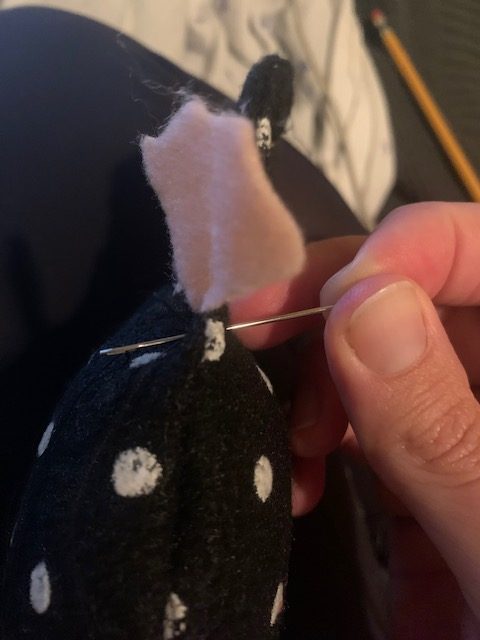
Now let’s add in the feet! One by one, twist the bottom part of the foot. Using a pencil, line it up with one of the points and push it into the body so that the bottom of the foot is sucked into the point. Then stitch it in place.

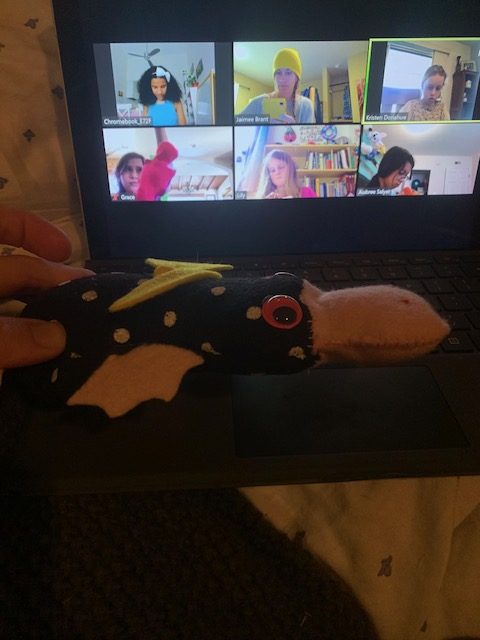
Very sweet!!!