KEITH HARING

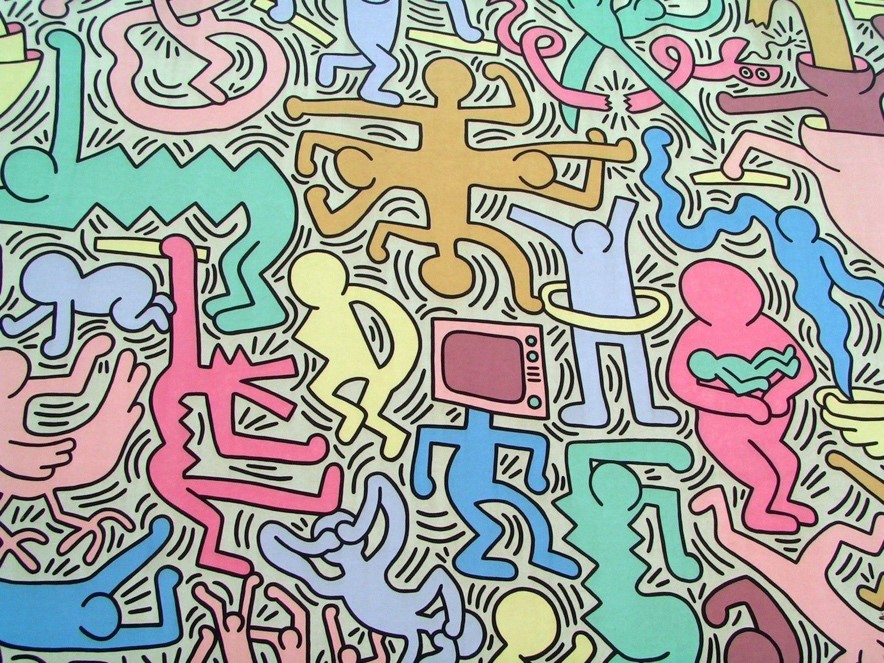
In his first show in New York, he painted all the walls with his art, and then put up his paintings and his sculptures. Gaining more and more attention and success, Keith began to expand his creative horizons by painting major on-site murals all over the world 

In whatever part of the world Keith found himself and no matter what honors came to him, he would always insist that children be a part of his appearances. He set up workshops with them and always made sure that everyone had a lot of fun.

“What I like about children is their imagination,” he said. “It’s a combination of honesty and freedom they seem to have in expressing whatever is on their minds. So, whenever I could, I did projects with kids.

His paintings and sculptures became very expensive. He wanted everyone to be able to buy his work, so he opened a new store called the Pop Shop to sell his art on posters, buttons, T-shirts, and games.

What did we notice from taking a look at Keith Haring’s work?

  • His art involves a lot of colors and movement!! So let’s get movin’

You will need:

  • A pencil
  • A sharpie
  • An eraser
  • Coloring material: crayons OR oil pastels OR colored pencils

And someone to model for you! J

STEP 1:

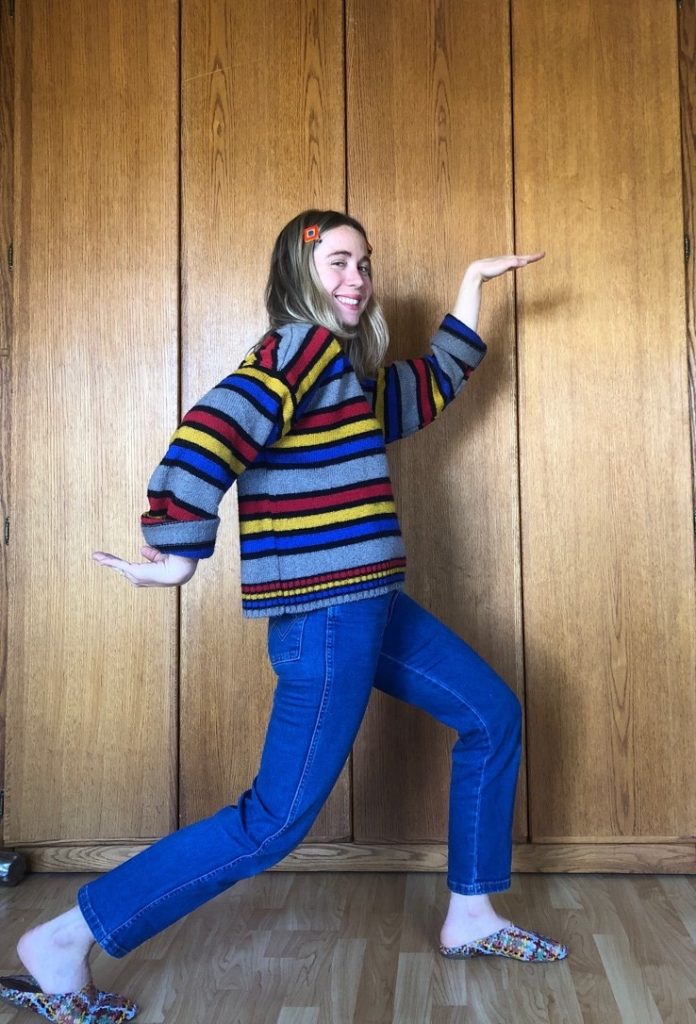
Let’s learn how to draw a character in the style of Keith Haring. Ask your model to do a pose that involves MOVEMENT! Some examples:

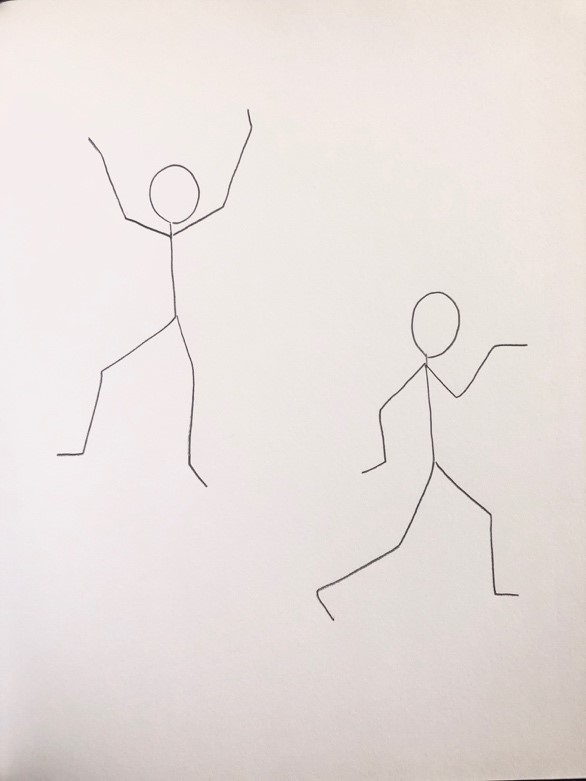
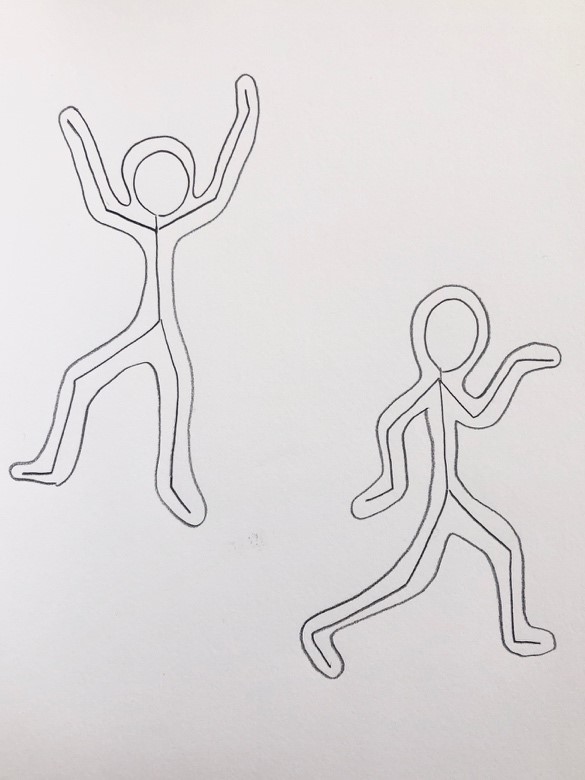
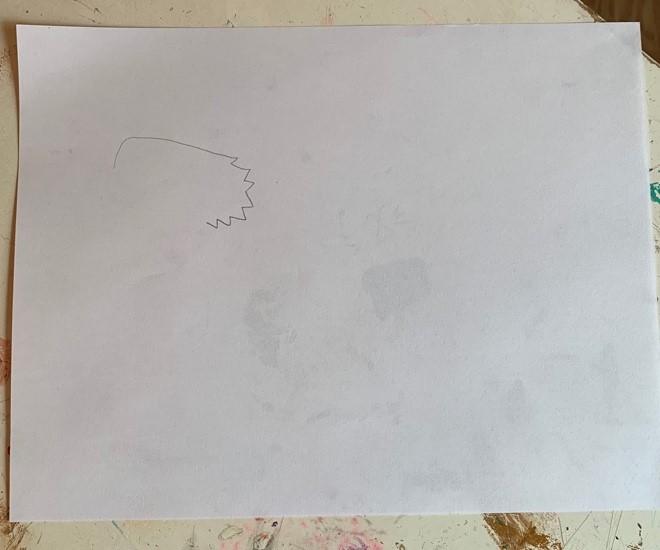
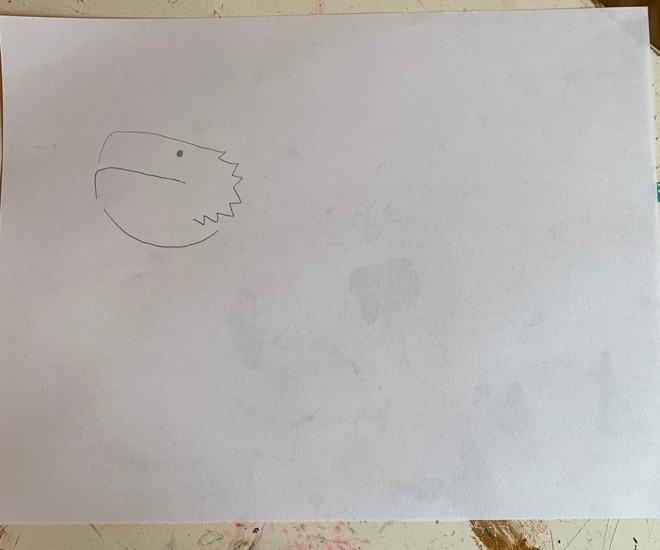
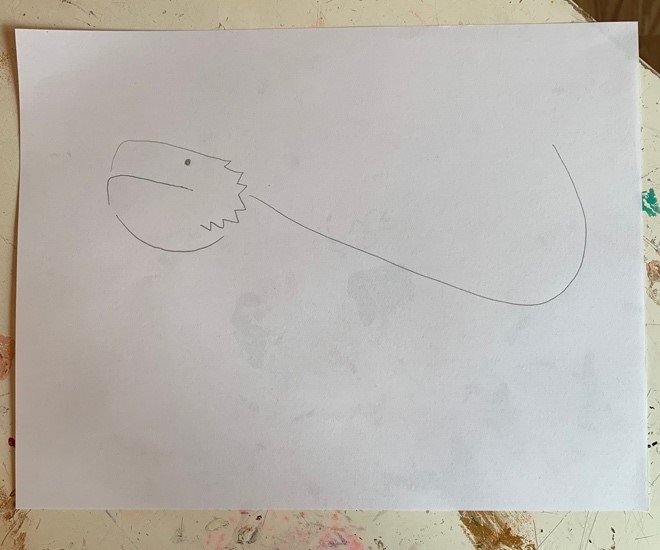
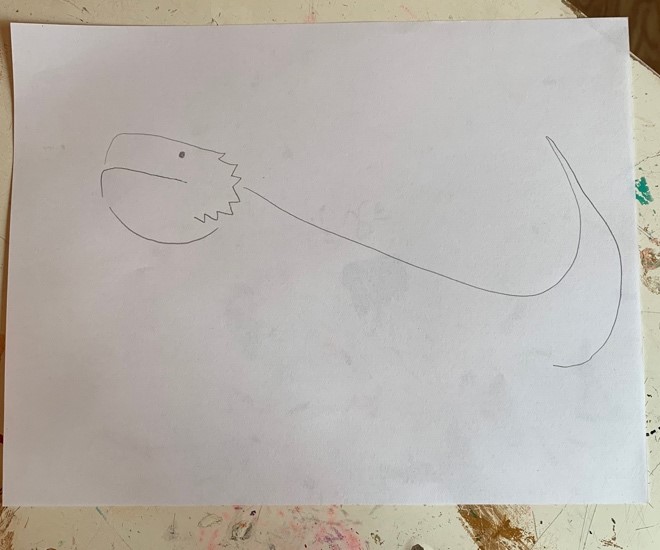
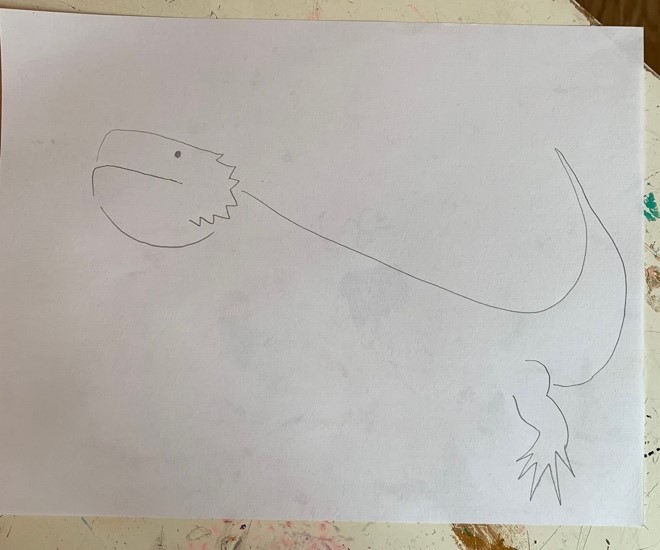
Draw the pose as a stick figure drawing without adding any details, and do not press too hard with your pencil! Draw enough characters to fill the page, each with a different pose and make sure to turn your paper so that your drawings are spread all over the page and not all bunched up in the same spot. See the stick figure drawing of my poses below:

STEP 2:

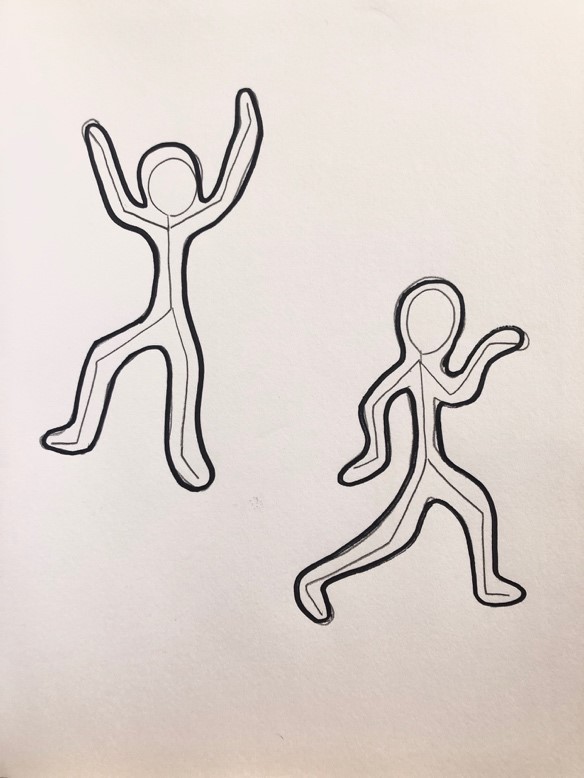
Put your stick figure in a bubble! Draw a line all around your stick figure charater, like so:

STEP 3:

Outline your bubble with a sharpie. Only the bubble! Do not go over the stick figure, see example:

STEP 4:

Erase the pencil lines

STEP 5:

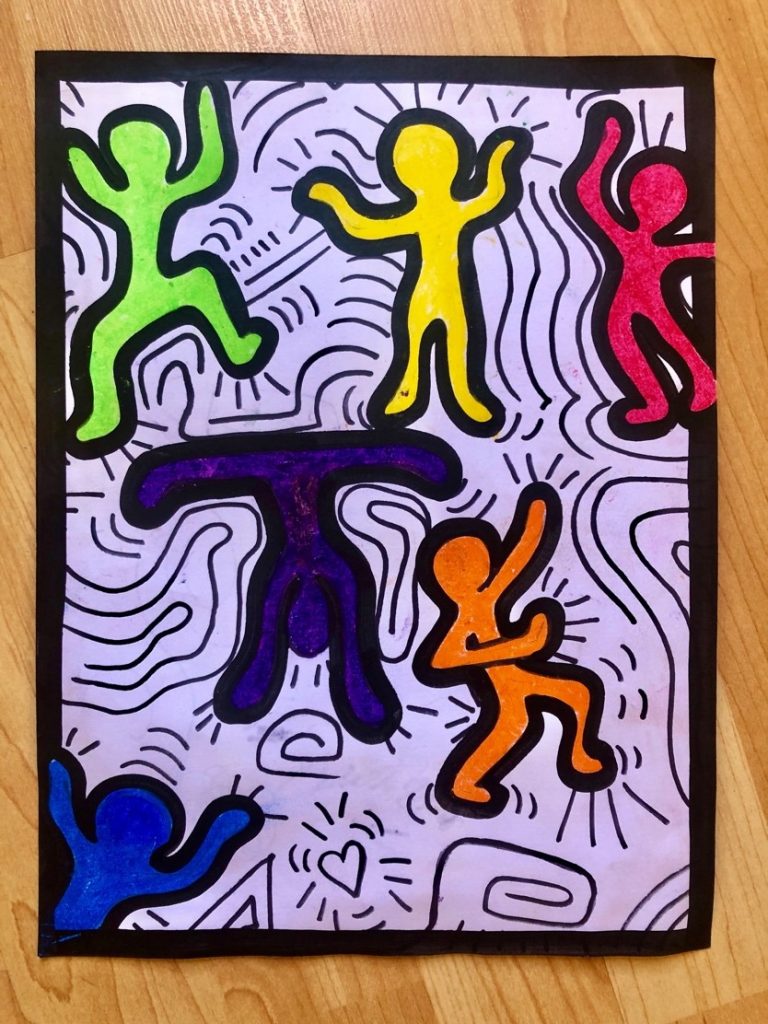
Color in the characters! Try using different colors for each one.

STEP 6:

Add movement lines to fill in the white space that is left: swirls, long lines, short lines, squiggles or simple designs are all great options. Use your imagination!

Make at Home – Printing Plates!

Materials:

  1. Foam sheet (Styrofoam take-out containers work great!) or “craft foam” from any art supply store.
  2. Sharp pencil
  3. Paint or Speedball Ink
  4. Breyer or paint brush
  5. Breyer, large marker or rolling pin
  6. Some sort of art paper – watercolor paper/cardstock for your print, and regular computer paper for your initial drawing. 

Step 1 – Make Your Initial Drawing

Decide what your print is going to be. You can print something out from the internet, or you can draw something you like. Some ideas we are into – landmarks, buildings, bridges, animals, mandalas, Indian block prints. If you plan to use words in your plate, make sure you write them backwards as the plate will print like a mirror! For our tutorial, I took a sample picture of our famous Siggy to draw from.  Here is the photo and the drawing done on regular computer paper:

**this is 2 lessons in one, luckily! Everyone gets to learn how to draw Siggy at the bottom of this tutorial. If you choose, you can use that drawing for your plate, and then choose where you want your Siggy to be when you create your background.  I have decided to make a picnicking Siggy wearing bunny ears, obviously.

Step 2 – Making Your Print Plate

If you have the supply, you could use soft cut and speedball carving tools.  However, to make this easily accessible for everyone at home, we are going to use foam sheets instead.

Take your drawing and lay it on top of the foam sheet. Pin, staple or tape down the drawing to the foam. Then, take your sharp pencil and make an outline of the drawing with deep dots. After you finish with the dots, remove your original drawing, and attach the dots with deep lines directly on the foam. You want the lines to be deep so that they will show up nicely after the transfer. Feel the lines with your fingers to make sure they are deep enough. Lastly, cut the plate out with 1/8” space around the entire image.

Let’s see if Siggy approves, shall we?

Oh, great.  Moving on.

Step 3 – Creating A Background for your Print

Watercolor a cool design or create a cool place to put your plate—this will depend on what you have actually created for your plate.  If you have decided to make a Siggy, perhaps she would like to be on a large couch or floating on a rainbow in the sky? It’s entirely up to you!  Also, the plate can be used multiple times, so you can easily create many different backgrounds and keep on stamping away!  I will start with some green grass for picnic time.

Here we go!

Step 4 – Inking Time!

At the studio we use a breyer and speedball screenprint ink, although since you probably have acrylic paint at home, that is what we will be using for the tutorial. Using a brush, evenly run the paint across the plate. You want a nice even coat of paint, and you don’t want it too thick because it will smoosh into the grooves you worked so hard to make.  Once you put the paint down, you want to make sure to print quickly while the paint is wet. Place the print face down onto the paper, and using a thick marker as we did (or a breyer if you have it), lightly roll over the surface of your plate evenly to make sure it is getting good contact with the paper.

And Voila! You now have your print!  We went ahead and made a few versions of ours.  We ran it by the big boss (Siggs), and she was definitely into them (especially outer space picnic time).

Siggy—Step By Step

And, always looking for approval: 

Success!  (She is a bit confused about the long tail, but other than that, A+)