Yesterday was Amy’s bday – I hope everyone gave her a ton of love! I really wanted to finish this post for her bday but the truth is, I am really enjoying my family time during this quarantine and after 5:30 we eat dinner together and play cards for 5 hours. So, I have been a little lax on my blog posting. To make up for it, I have 2 easter blog posts.. one sewing and one art and a fantastic sewing instruction from Ms. Deanna that will all go up before the weekend!
Since I am trapped far away from my art studio, I want the focus of these lessons to be what everyone can do from home, without all of the fancy supplies from the studio. For this lesson, we found some old
Here is my Shibori lesson brought to you by myself and Ava P, who was really the driver of this whole project. Her dying skills are insane. We picked out 4 different kinds of Shibori dye techniques for you: Kanoko, Itajime, Arashi, and Kumo. We finished up with a couple of our
Supplies
- Fabric: old sheet/pillow case, Cotton based tee shirt.
- Rit Navy Blue dye (available at Vons). We also had leftover Purple Cabbage Juice from an awesome science experiment we did earlier in the week which makes a really nice deep purple color if you don’t have anything else. You just cut the cabbage and boil it for a few hours and let sit overnight. Bonus: If you add baking soda to cabbage juice it turns bright teal for bright teal
dyin g. - Salt
- Water – boiled
- dish soap
- Rubber Bands
- Cardboard from the inside of a paper towel roll
- 2 pieces of cardboard – rectangles.
It’s important to note that the internets told us to wet some of the fabrics before we dyed. But, we ignored and it still turned out ok.
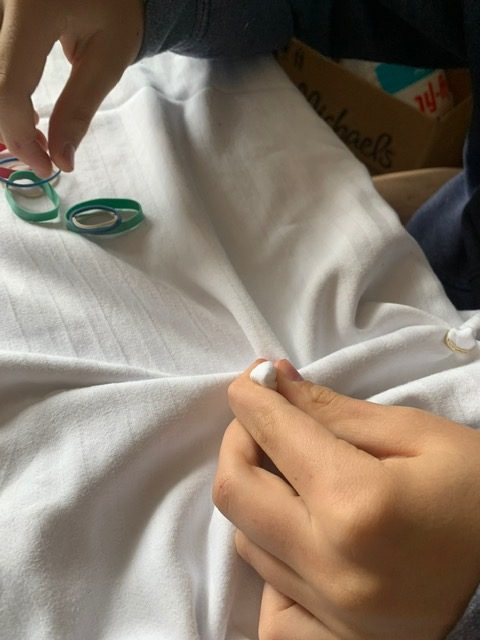
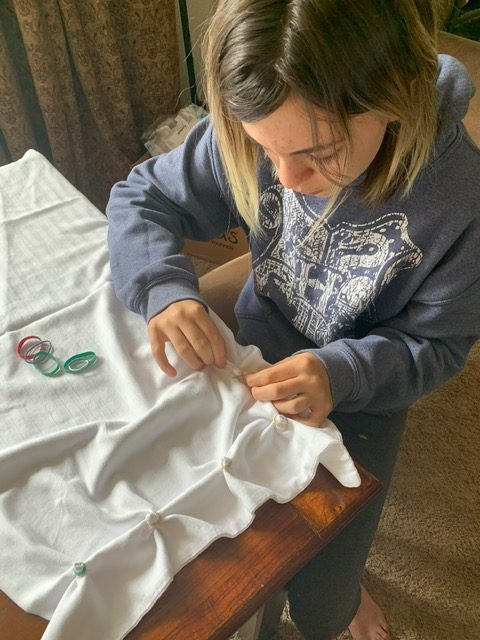
KANOKO
Let’s start with the Kanoko. We will go through each folding process and then show the dying at the end as we dyed all of our folded fabrics at the same time. This one is the easiest so it’s a good warm up.
you just pinch little areas of fabric like you are putting pony tails in your hair and rubber band them all over.
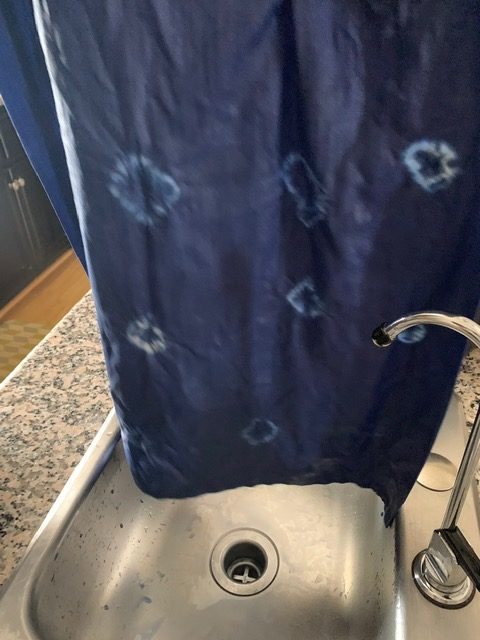
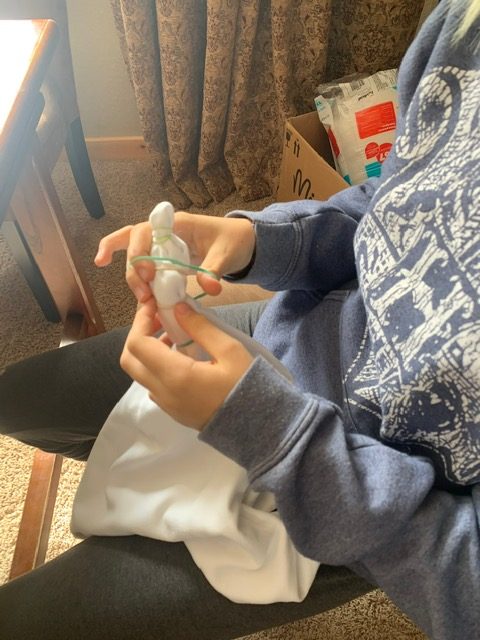
KUMO
Kumo is the bullseye.. you pinch the middle of the fabric and let it hang, then rubber band as far as you want the bullseye to be.
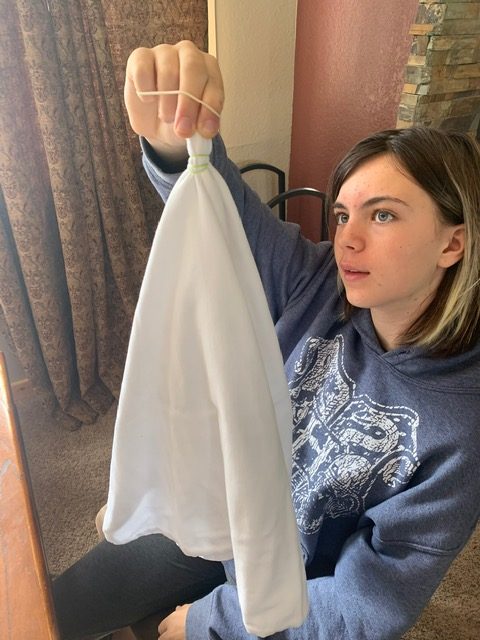
See.. then you have a horn.
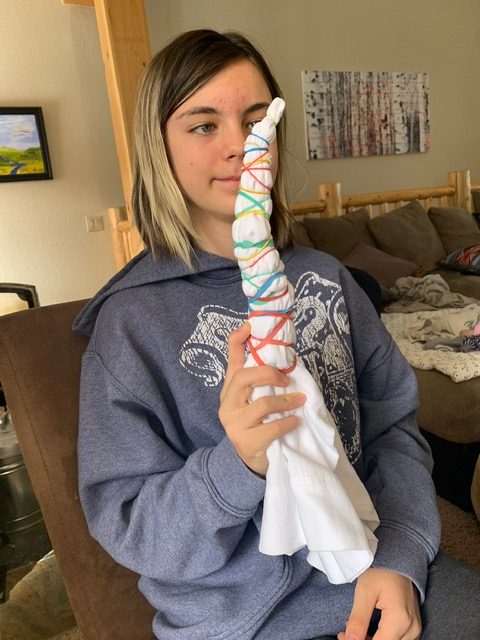
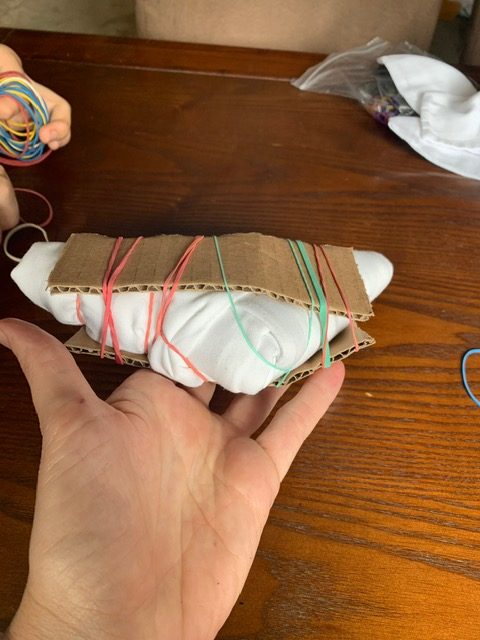
ARASHI
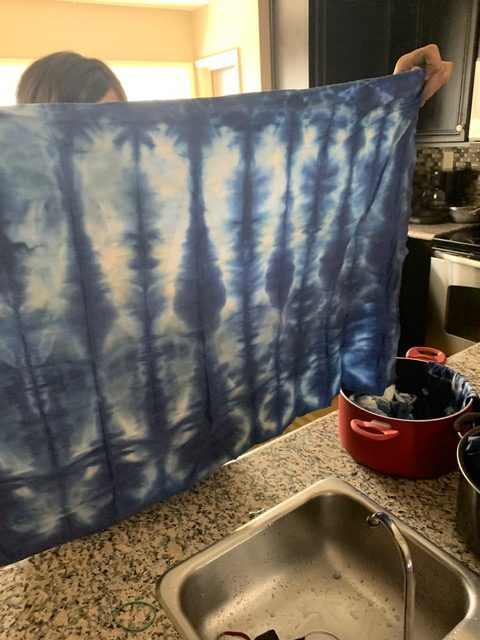
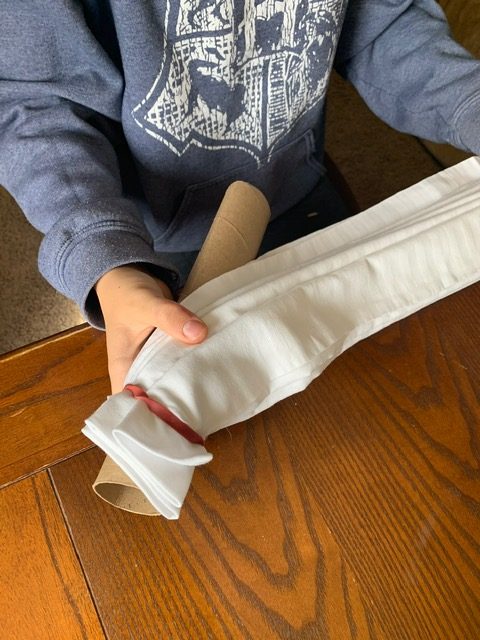
Arashi turned out super cool. All internet videos we watched used a PVC pipe to wrap but since paper towel is so in vogue, we used the cardboard from the middle of the paper towel holder and it worked fabulously.
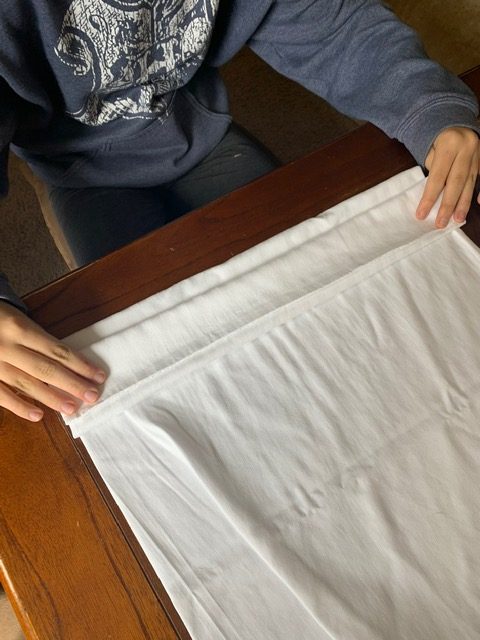
You start with an accordion fold..
Attach your fabric to the top of your cylinder with a rubberband
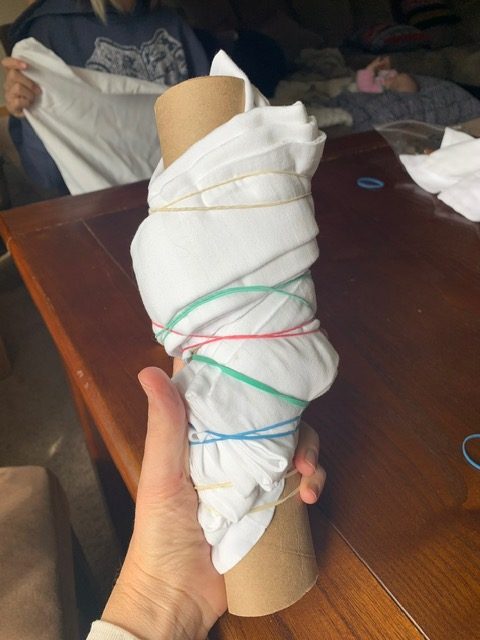
Then wrap it around and rubberband.
ITAJIME
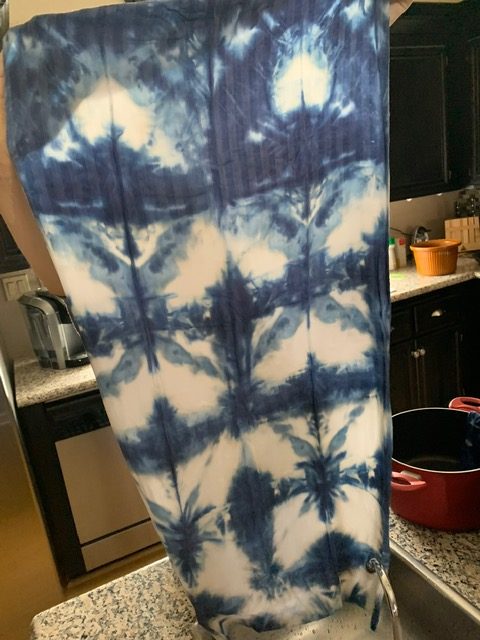
This one is so rad. It involves a lot of folding but its worth it! Our folding was a complete train wreck and not perfect like the videos we watched but it still looked super cool.
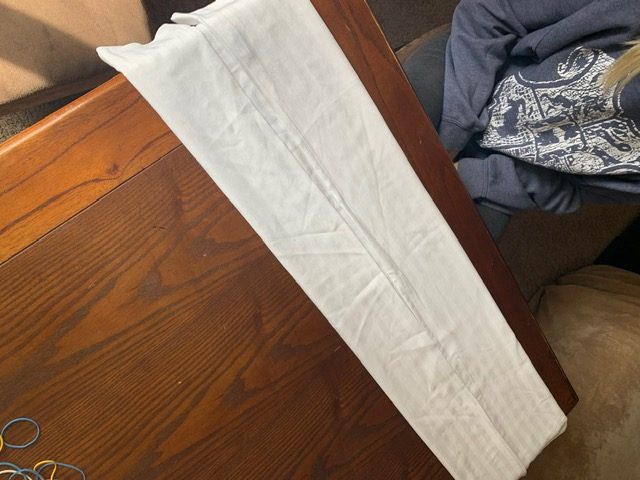
you start by folding each side into the middle
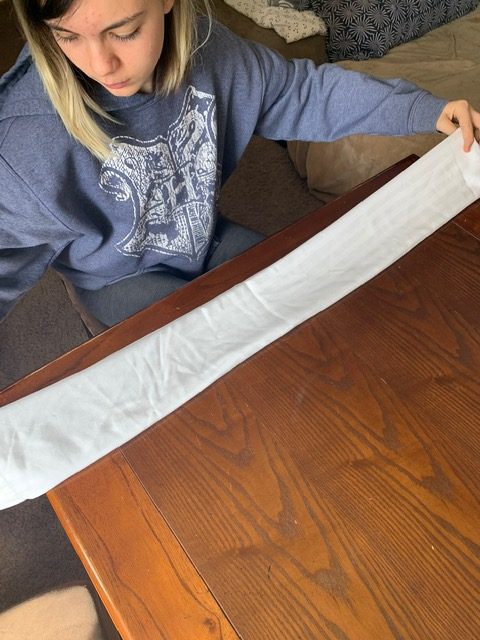
Then you fold in half again..
Then you do a flag fold… in person ours was so bad that I made a diagram instead lol. I give you.. Flag Fold!
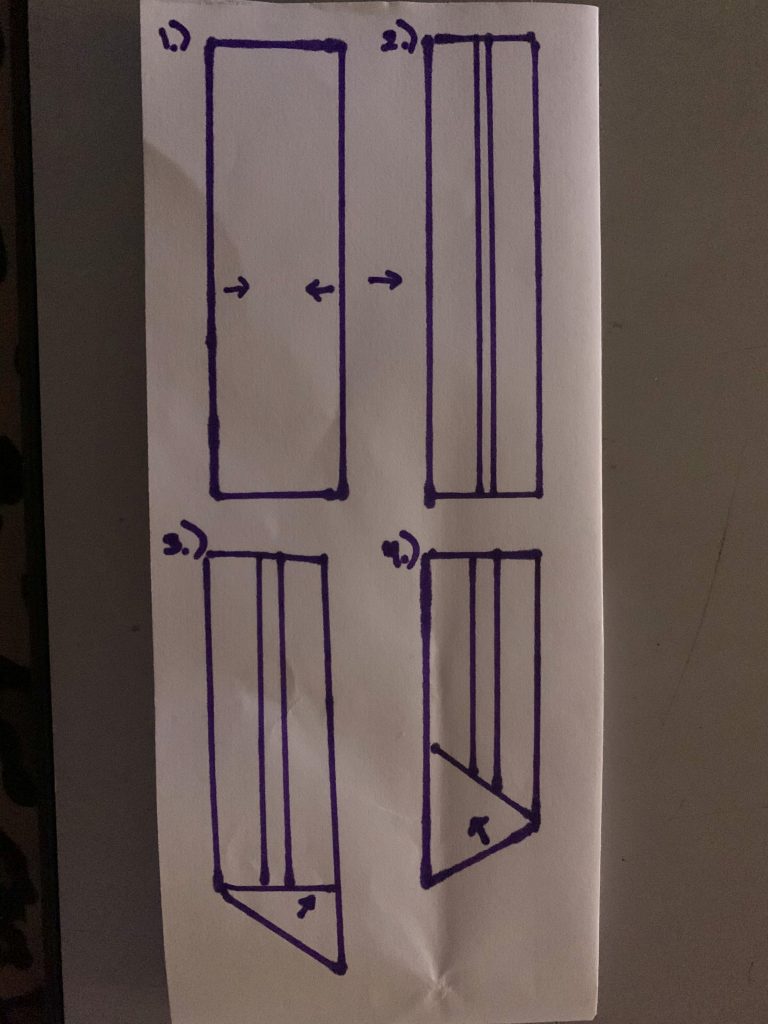
You fold your flag all the way up until you have a little triangle that looks like a spanakopita. Then.. you put it between 2 cardboards and rubber band it. On the net, there were many perfect versions that used clamps. But, ours still worked.
After you sandwich and rubber band it looks like a s’more. I wish I had a s’more right now.
DYING PROCESS
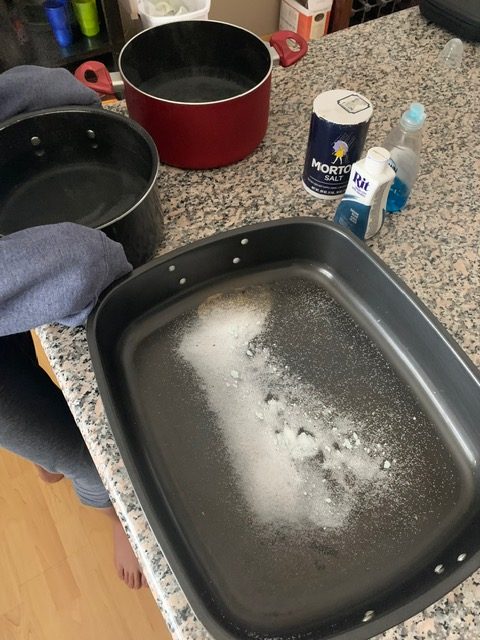
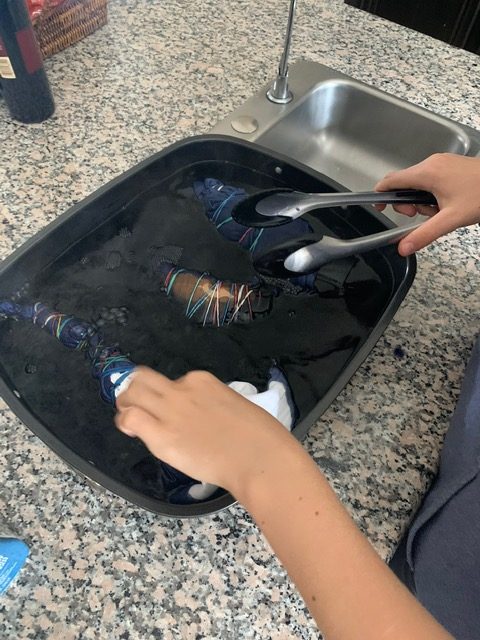
We threw everything in this big trough because it allowed us the space to throw all of the pieces in at once. The amount of supplies we used would dye probably 25 projects. we only had 7 pieces. Oof.
To dye 25 pieces you use 3 quarts water, 1/8 cup salt, a couple drops of dish liquid and a whole container of RIT dye. We wanted it to be super dark so we used the whole thing.
We started by sprinkling the salt and then adding dots of dish soap. Then we added the boiling water and finally, the dye..
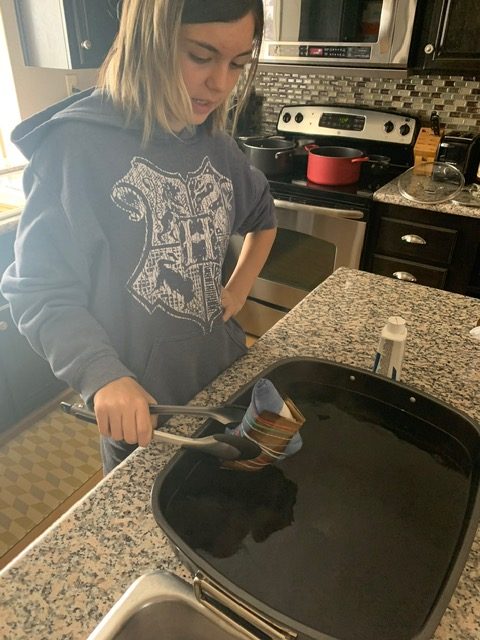
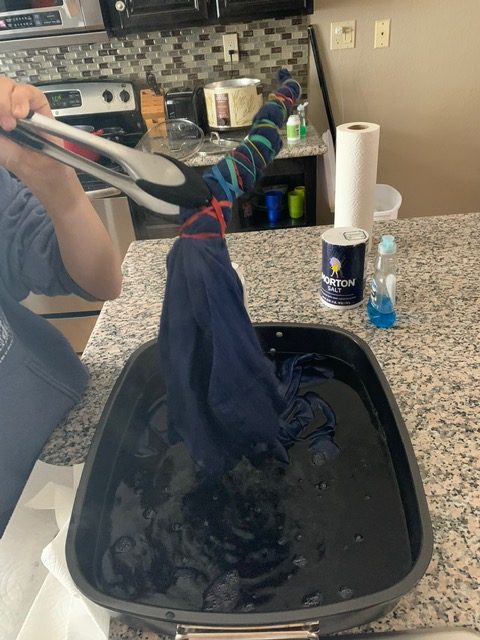
One by one we put our folded pieces in the dye with tongs. We let them sit in the dye for about 5 minutes to fully saturate.

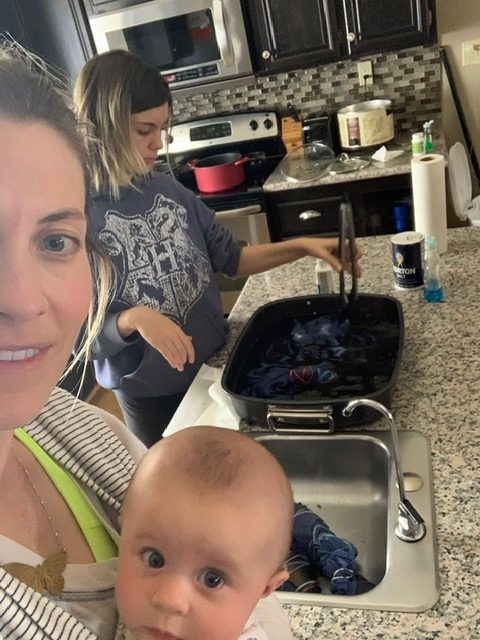
Mari and I were a super big help.
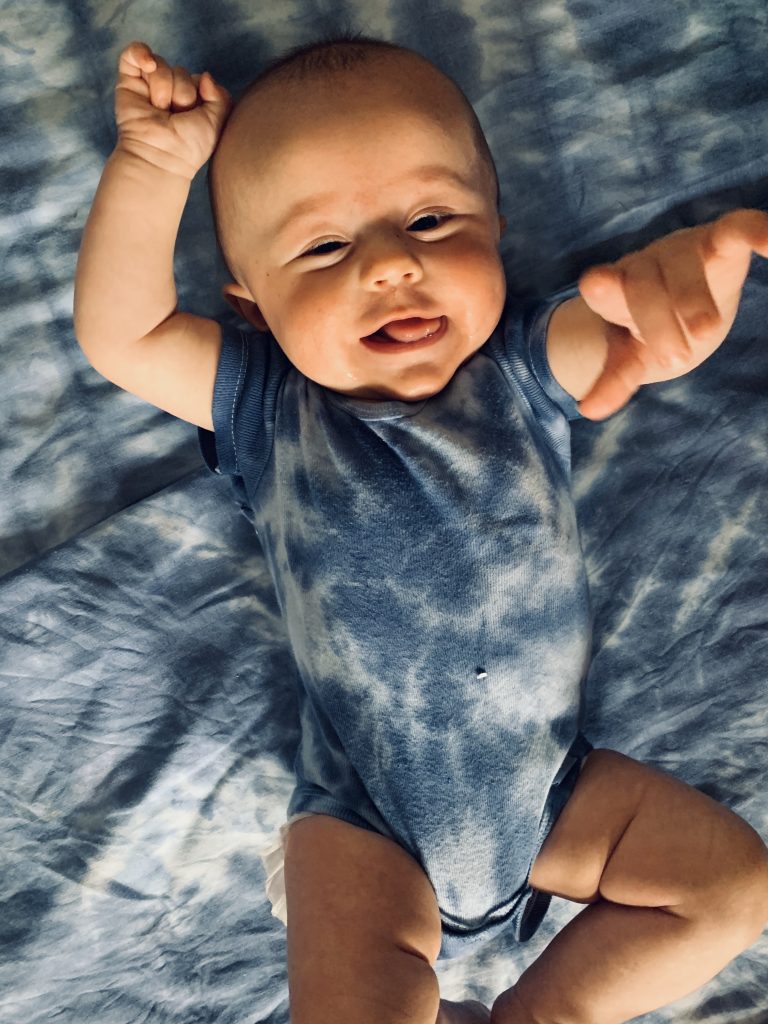
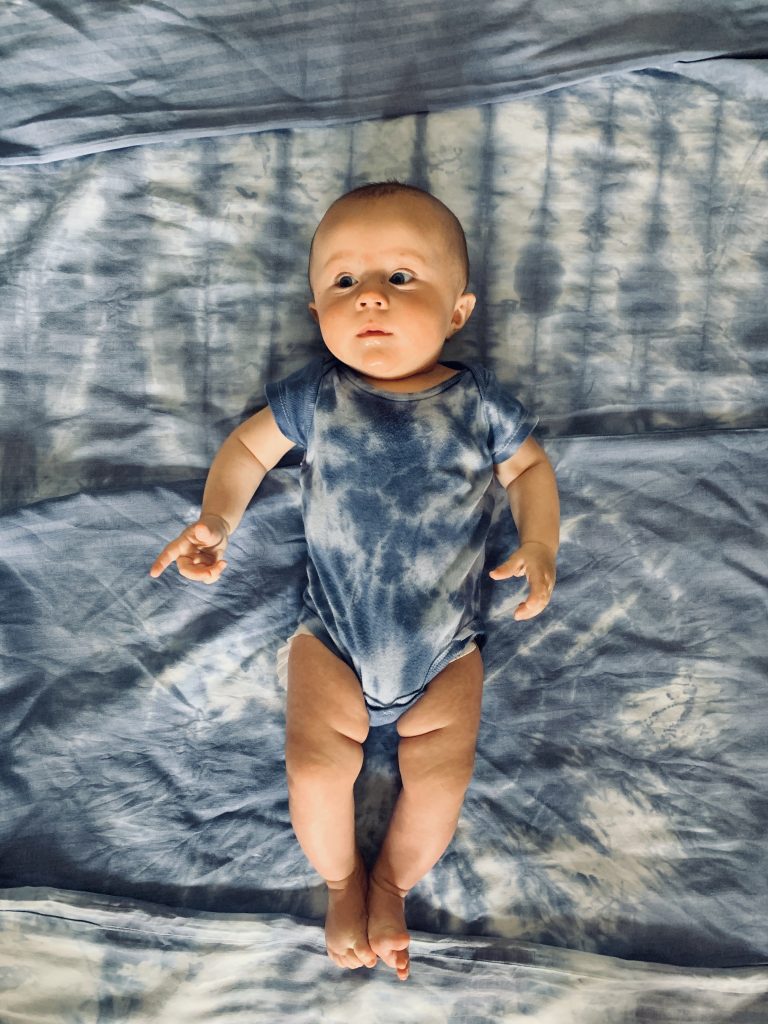
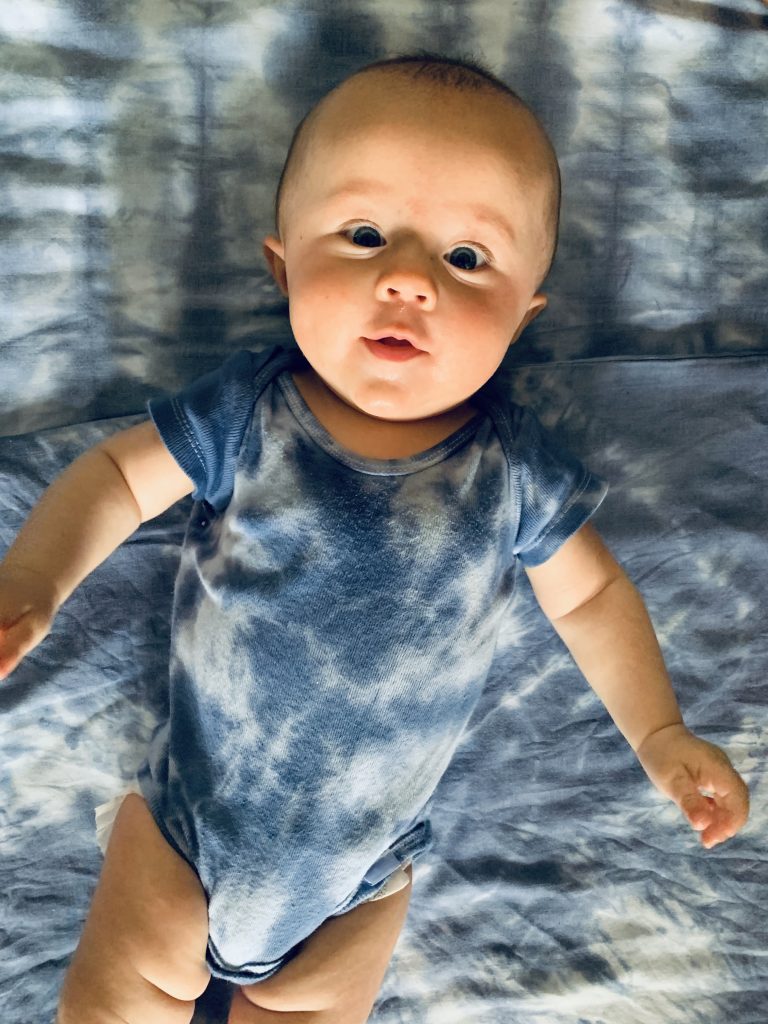
After we realized we had so much dye, we went around the house desperately searched for more things to dye. We found onesies.
For these onesies, we used some classic
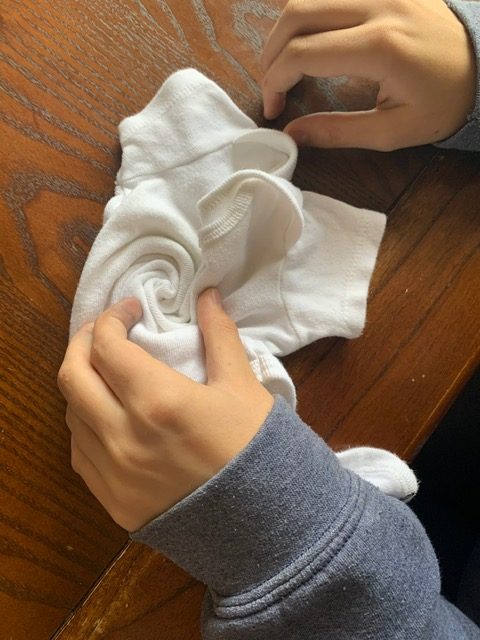
SPIRAL
Start in the middle of your fabric or wherever you want your spiral to center. Pinch the middle and turn like a cinnamon bun.
Wrap it up with rubberbands.
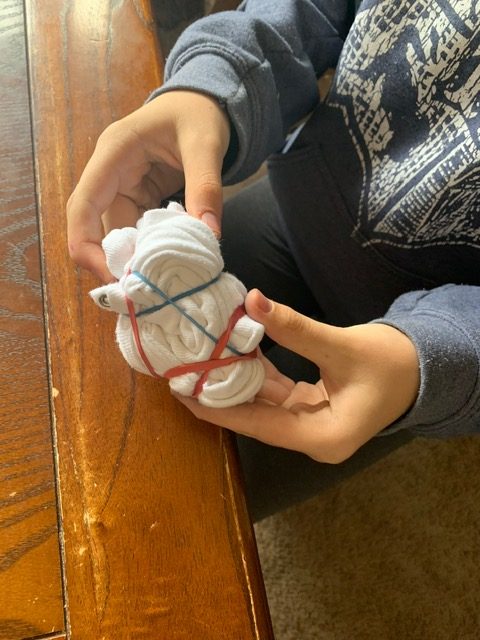
and.. viola! Not the best spiral, but cute none the less.
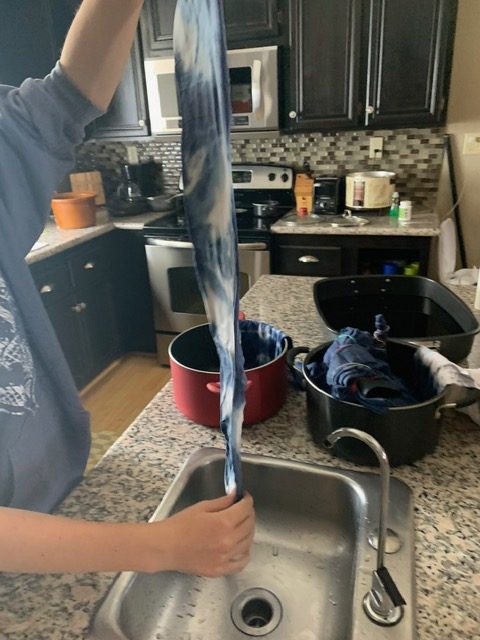
MEGATWIST
The megatwist is our all time favorite dye pattern. I’m sure someone created it and calls it something special, but Ava just started doing this one back in the day on a whim and it stuck. It turns out so good every time.
To megatwist, you straighten out your fabric and you guessed it.. twist.
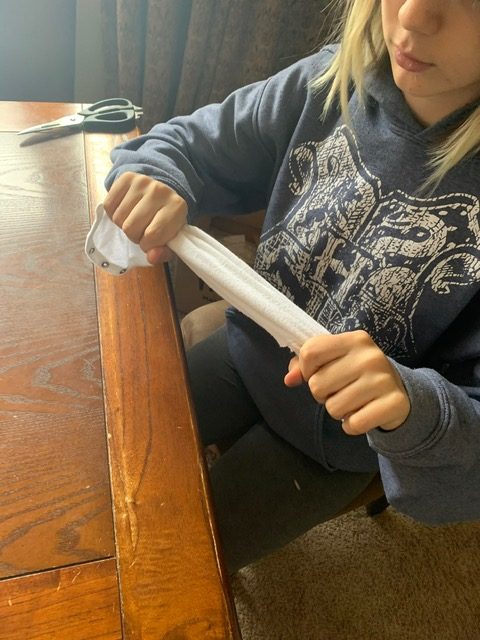
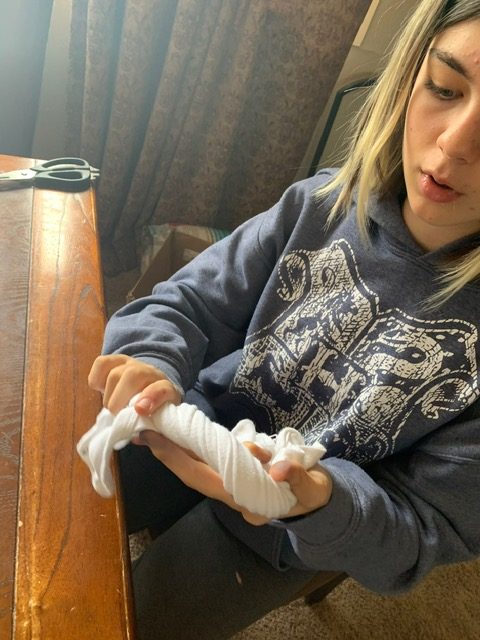
Twist until you can twist no more. Then rubberband.
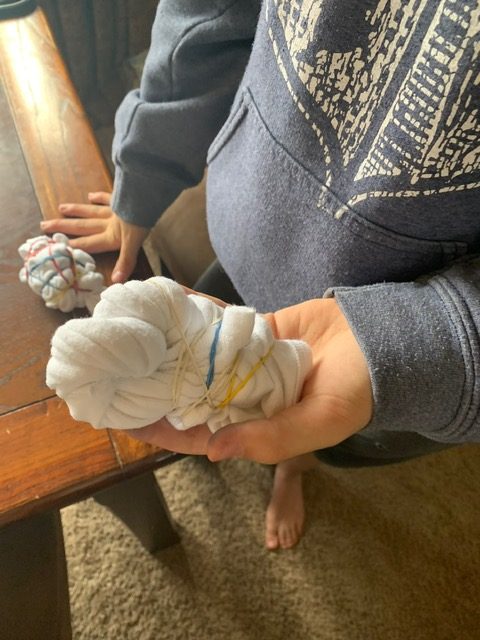
See.. so good.
Now back to dying –
Like I said before, we let the pieces sit in the dye for a few minutes to saturate.

Then, we took them out one by one and rinsed in cold water.
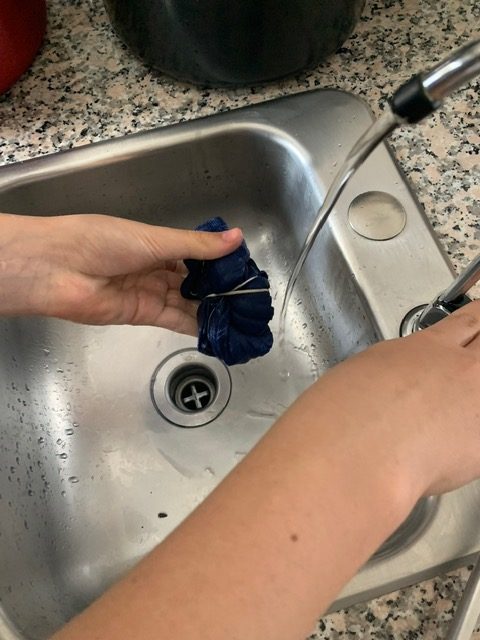

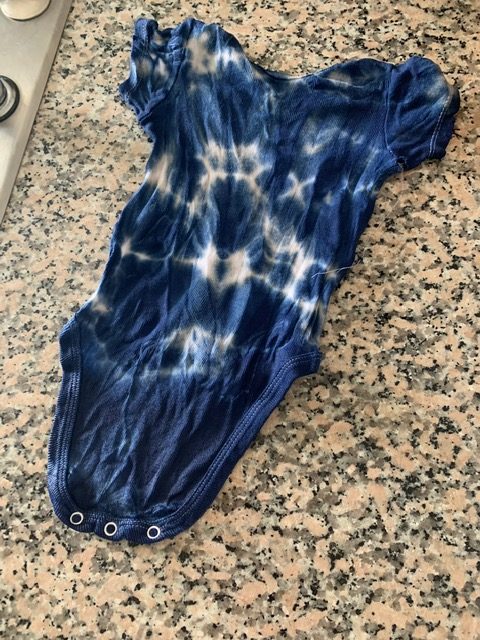
We kept rinsing until no dye came out. Then we let them sit in a pot overnight which I feel contributed to their success after washing.
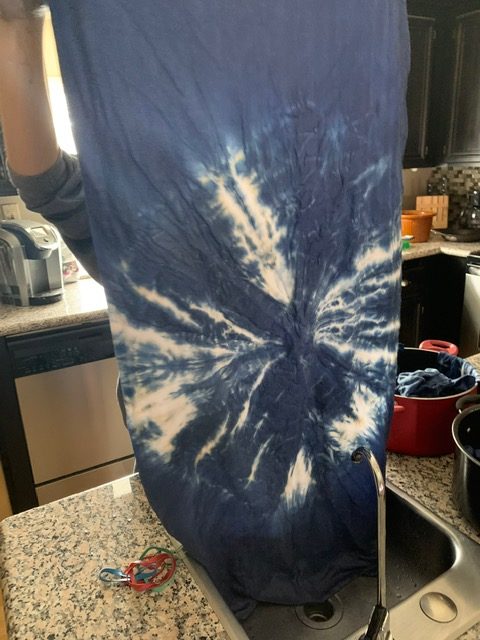
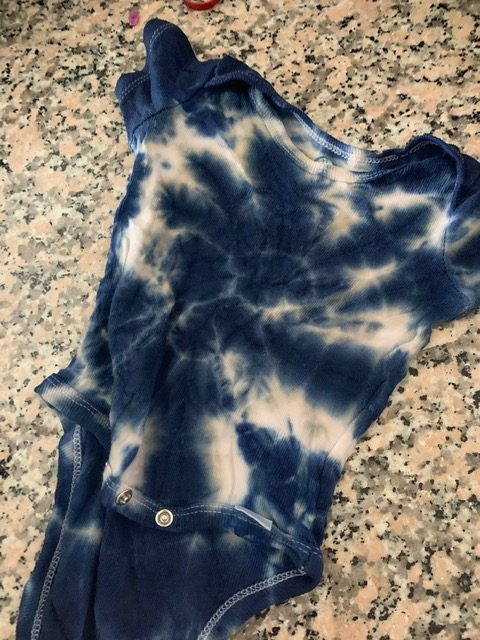
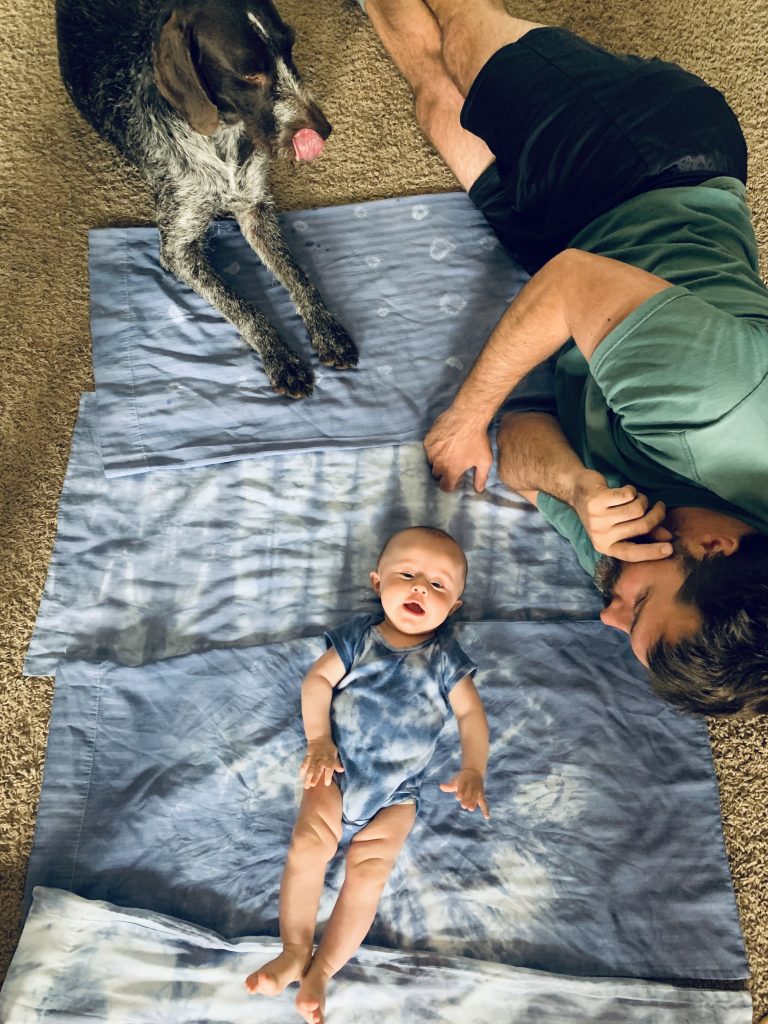
We washed on warm not hot and on a delicate cycle at first and the result was awesome! Once you are done feel free to take a Shibori photoshoot.
Ok – now go dye stuff! We want to see. Send us an email to jaimee@paintboxartstudio or tag us on insta!