Everyone needs a turtle pin cushion, right? So let’s make one! Here’s our printable pattern and tutorial! 🙂
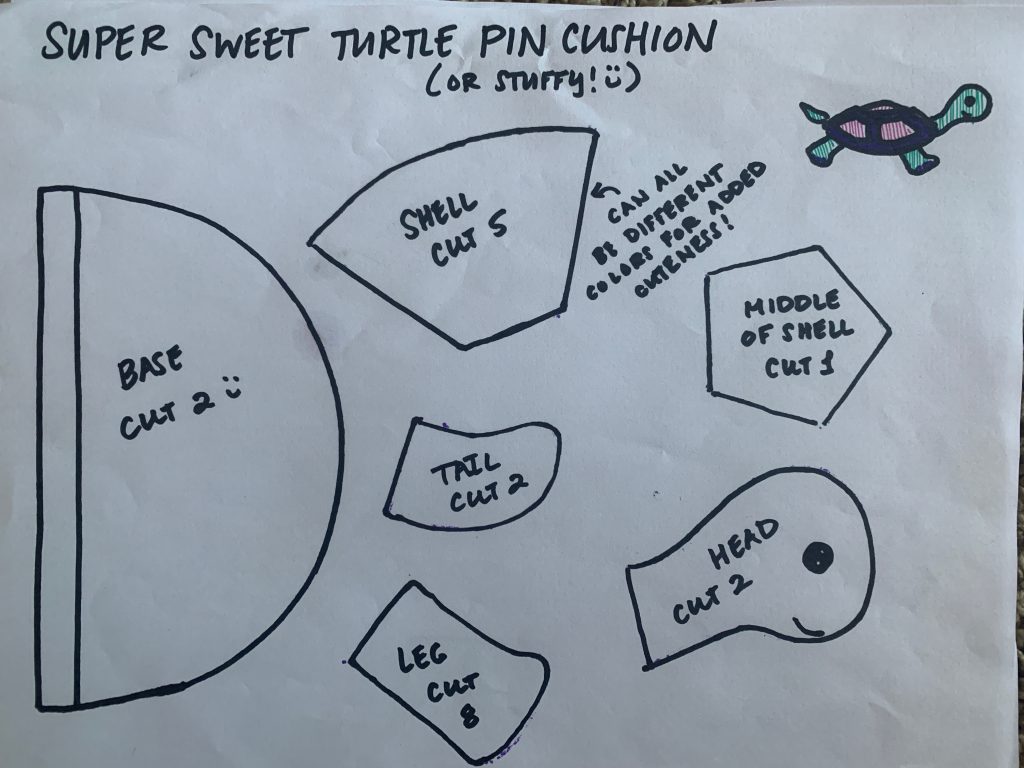

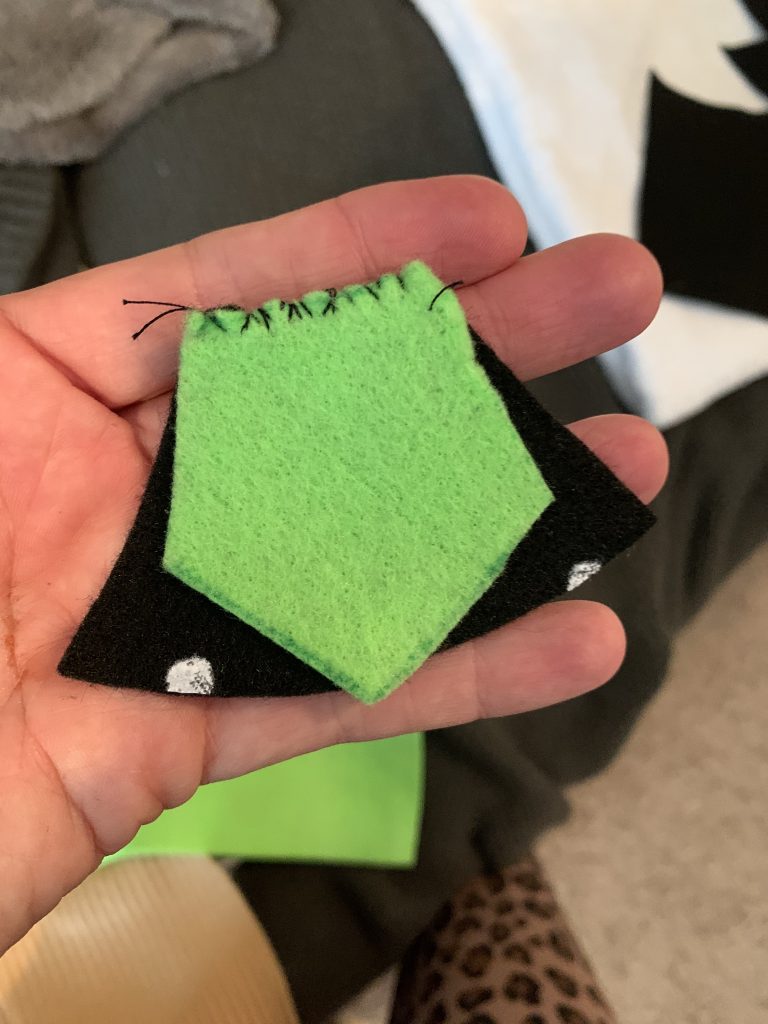
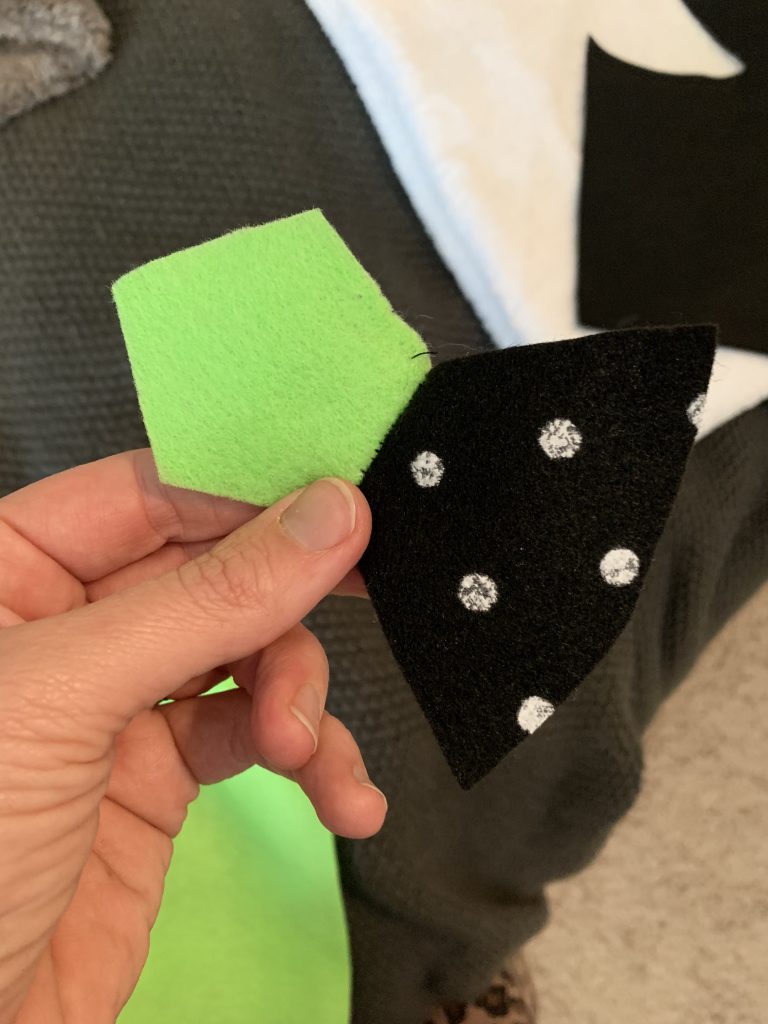
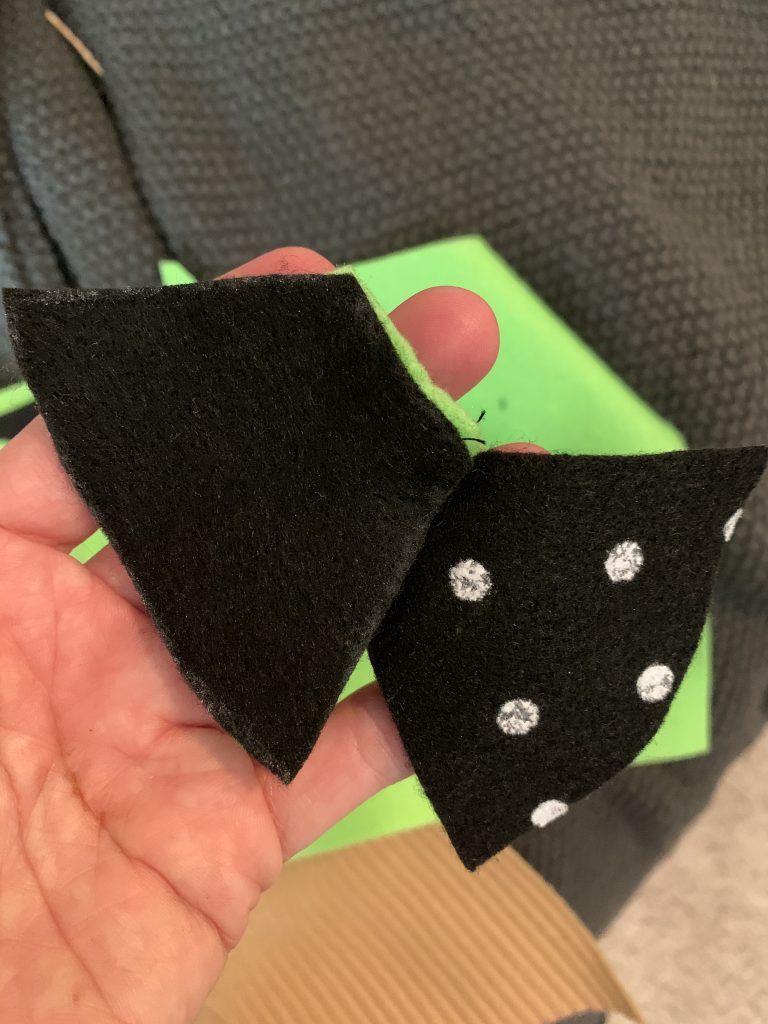
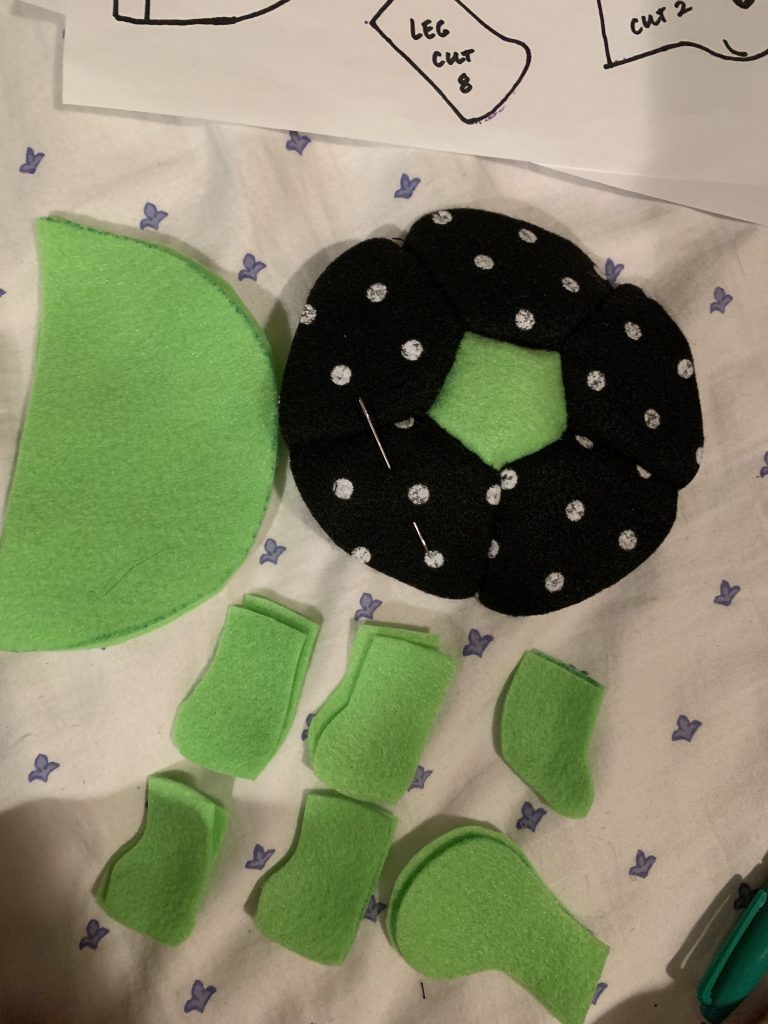
First, start by cutting out all of your pieces. And there’s a lot! Then, we’ll sew the shell first. Take the middle of the shell and one of the side pieces, and right side them together, lining up the top of the side piece with one edge of the top piece. Then, whip stitch it together and repeat that step with all 5 of the side pieces.

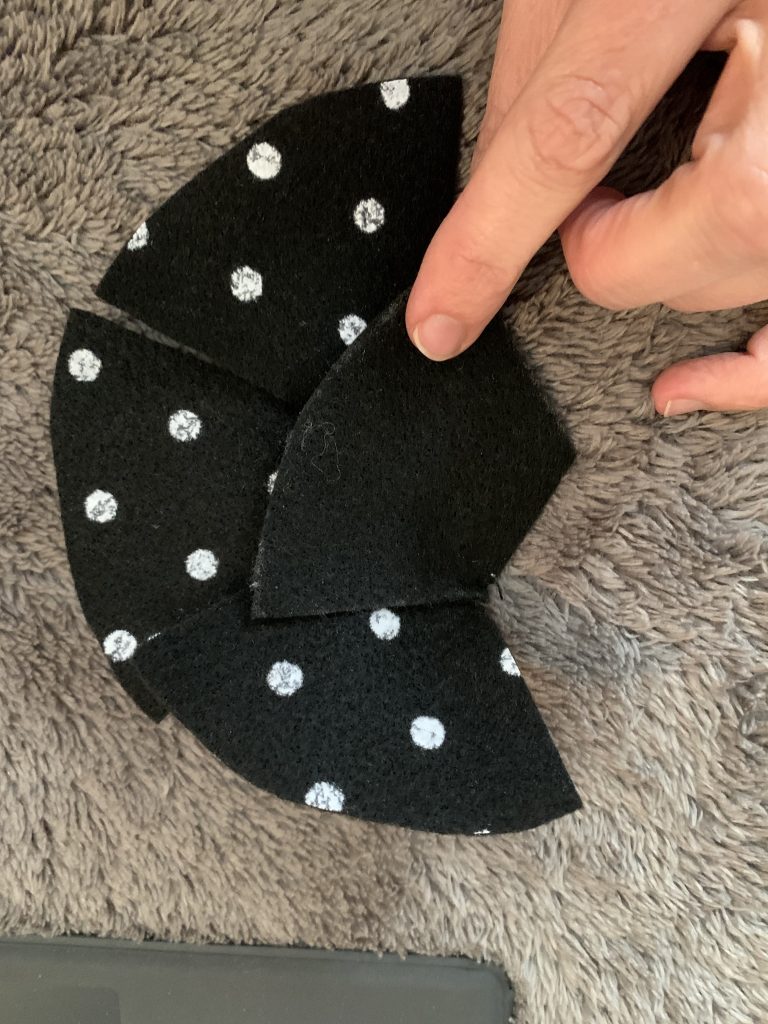
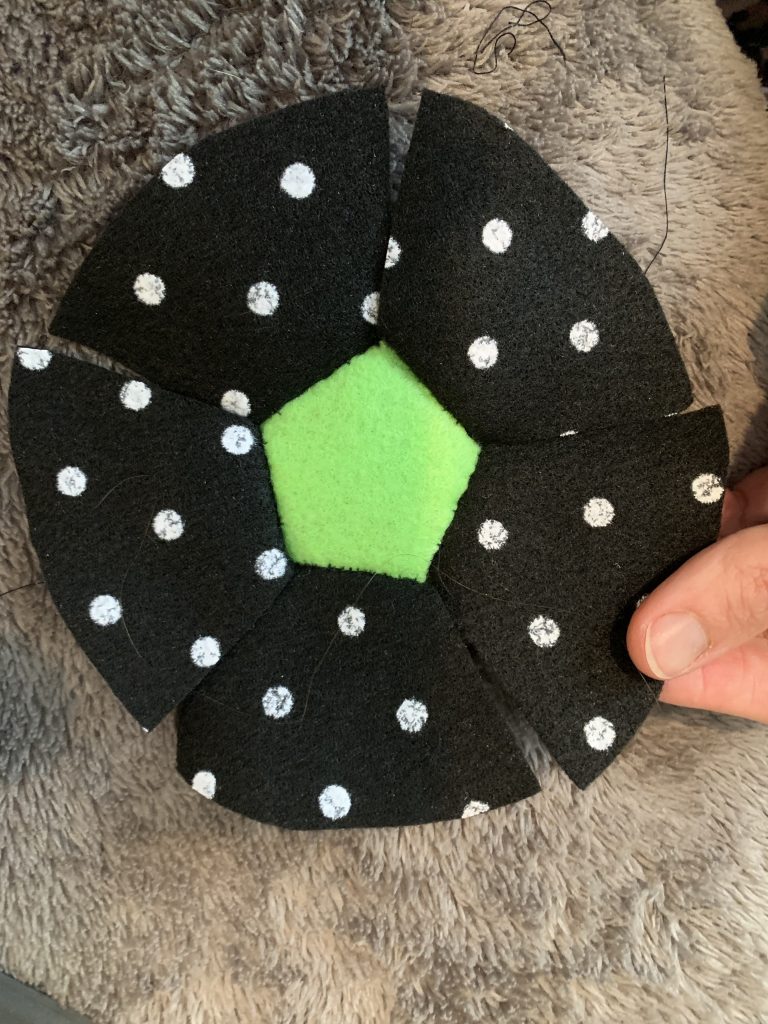
Next, sew each side of the side pieces together to close the entire top of the shell.
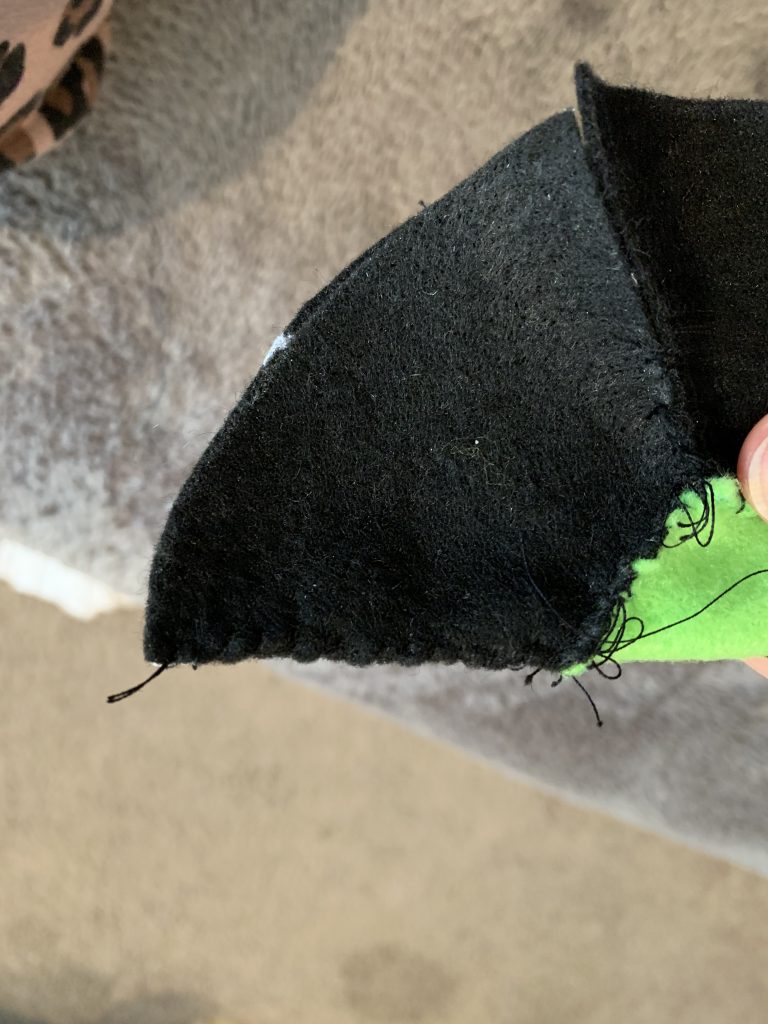
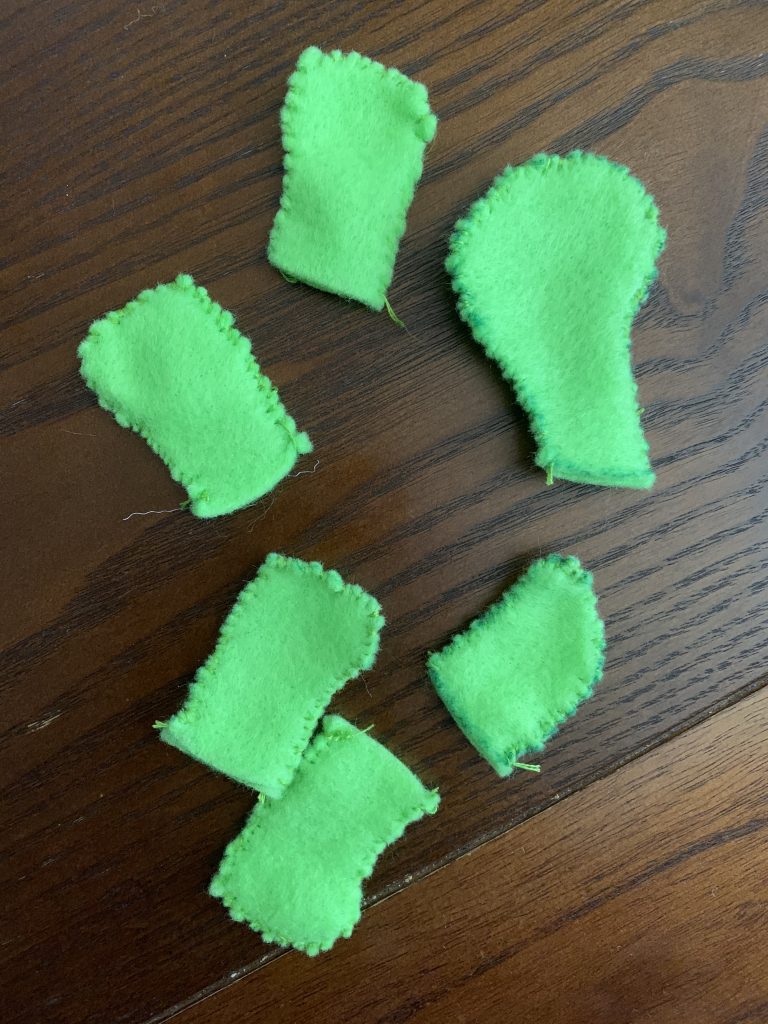
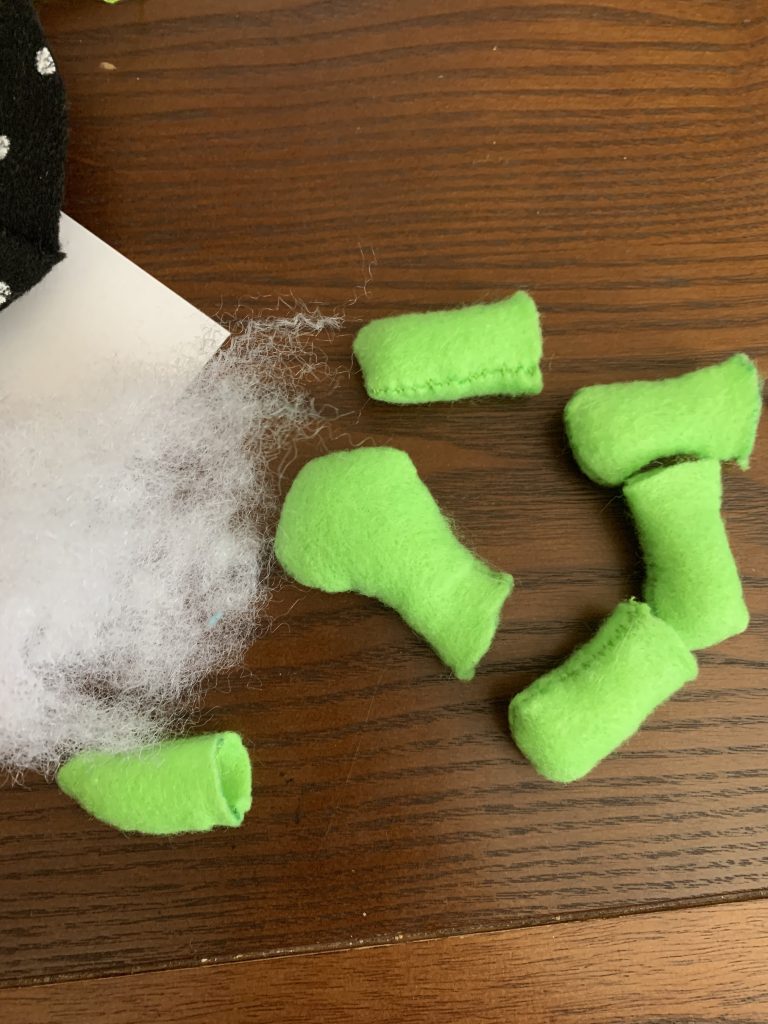
Now that we’ve got the top done, time to sew the legs, head, and tail. Simply whip stitch all the way around leaving the bottoms open, flip right sides out and add a bit of stuffing.
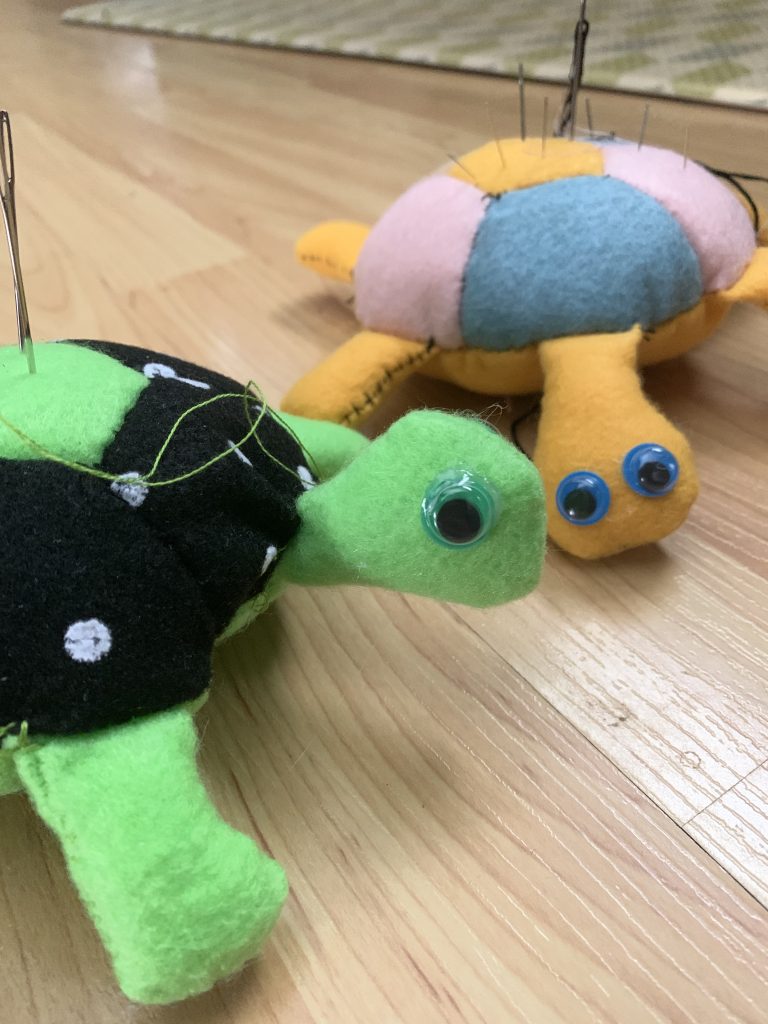
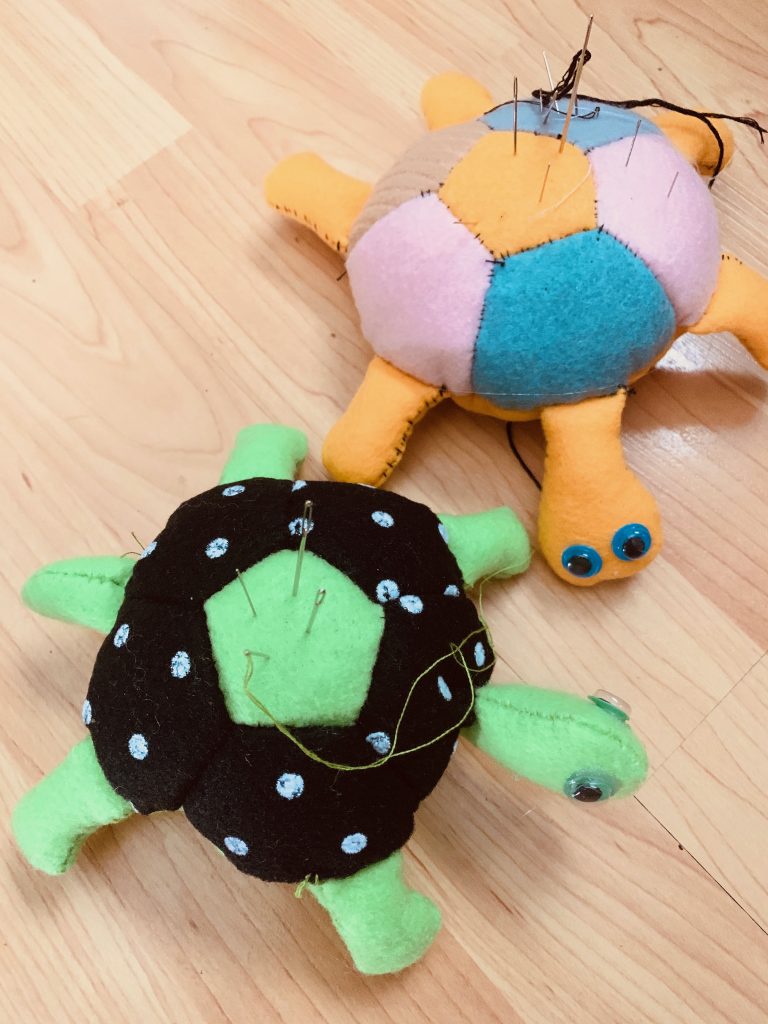
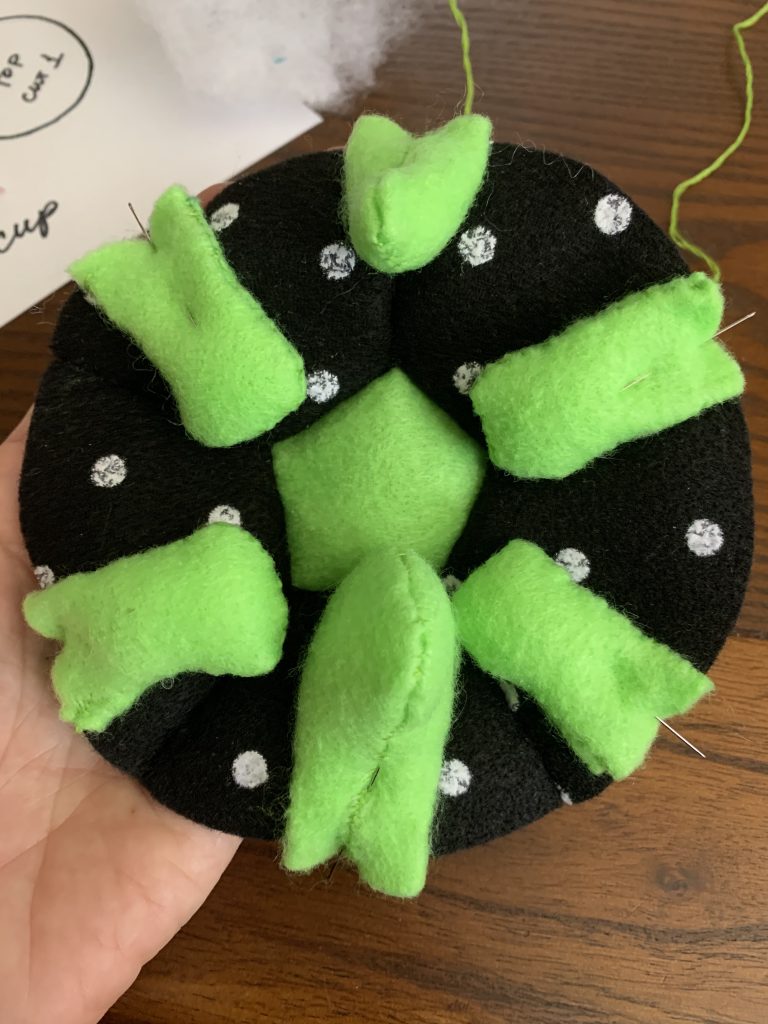
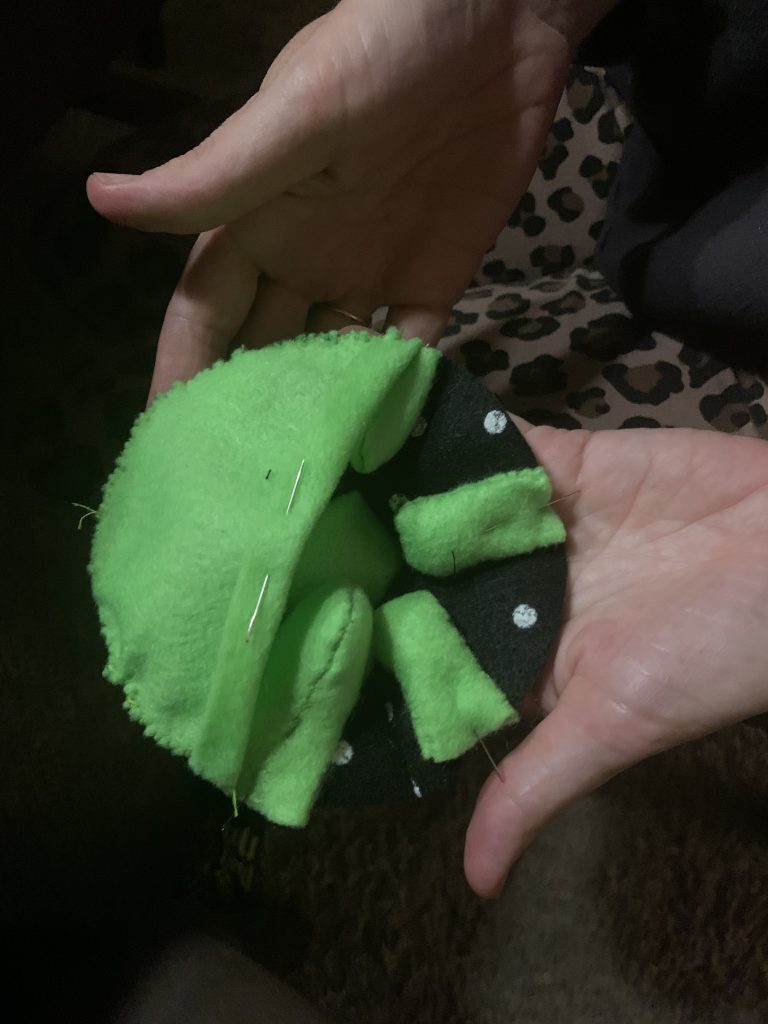
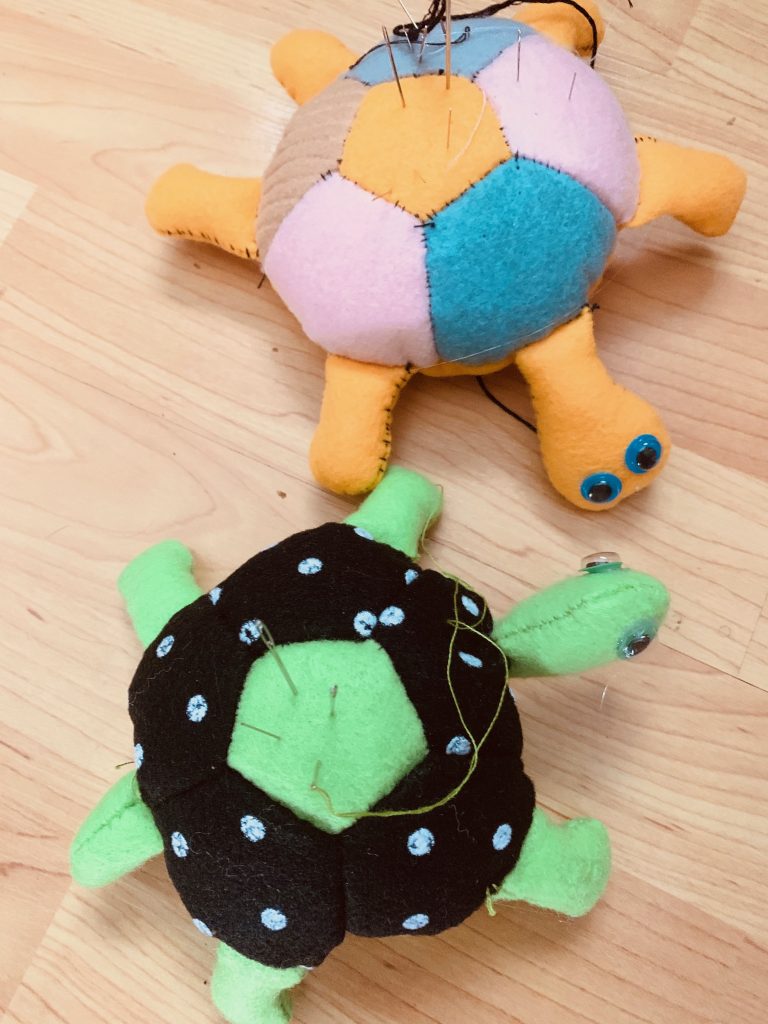
Now it’s time to pin them into the shell. It is important to note that the turtle head and tail can be flat or sideways depending on how you insert them. The green turtle has a sideways head and tail, and the orange turtle has a flat head and tail.

Inset them all facing inward to the right side of the shell, and pin them in place, like so:
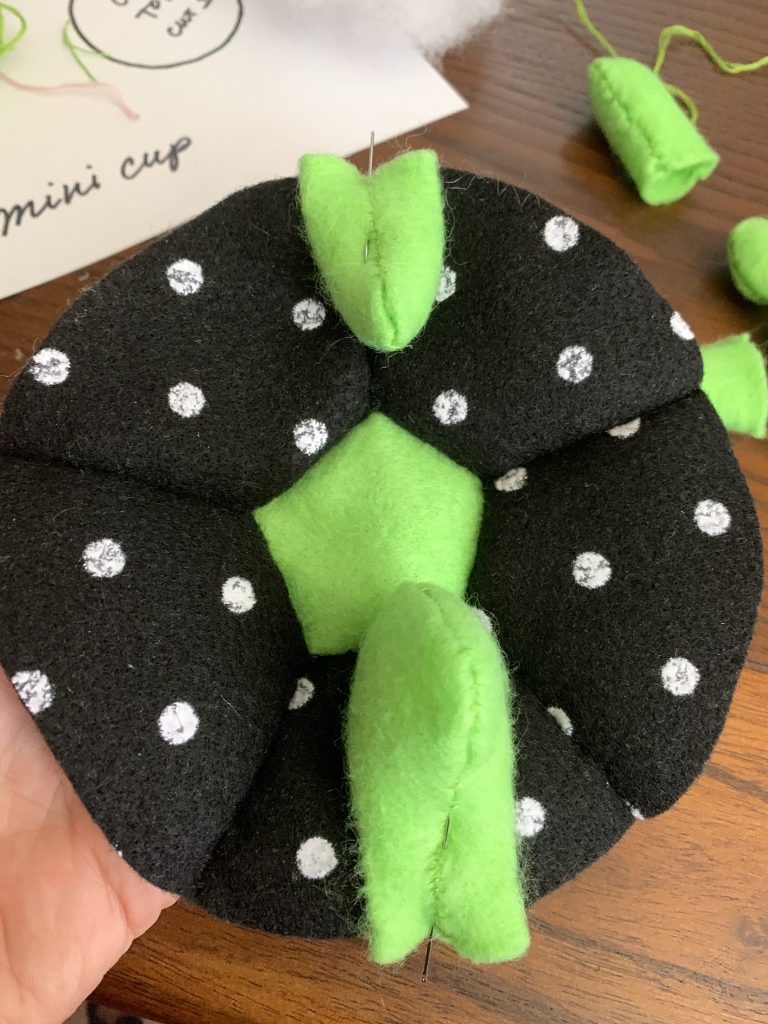
Simply flip the tail and the head sideways if you prefer the orange turtle.
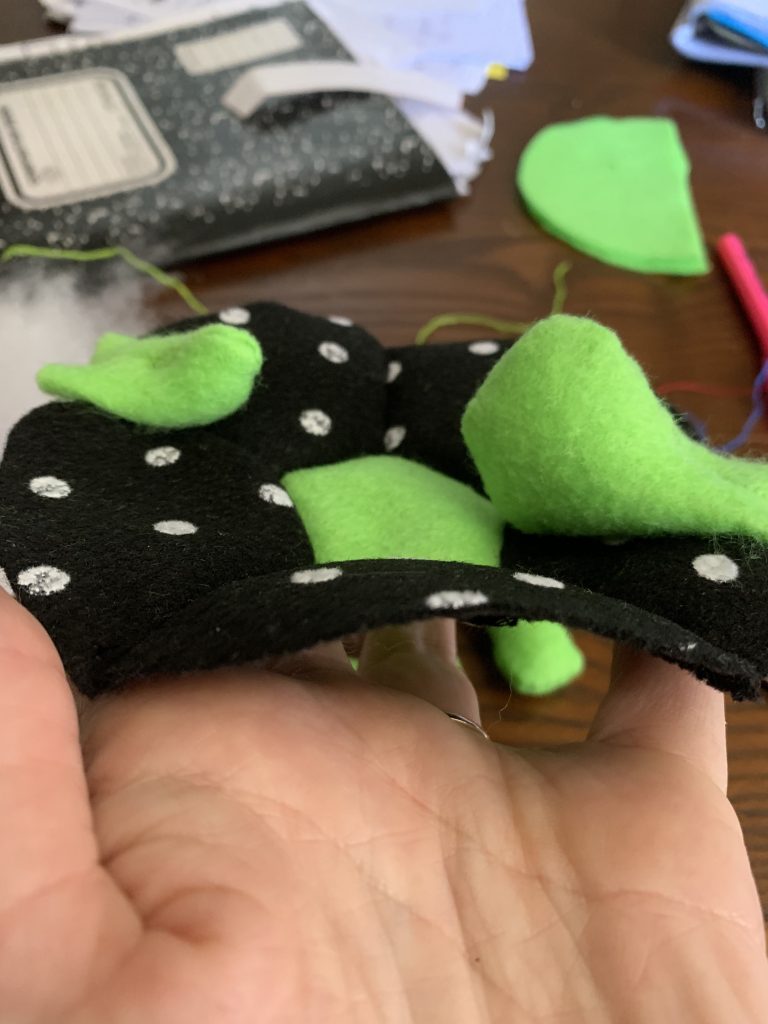
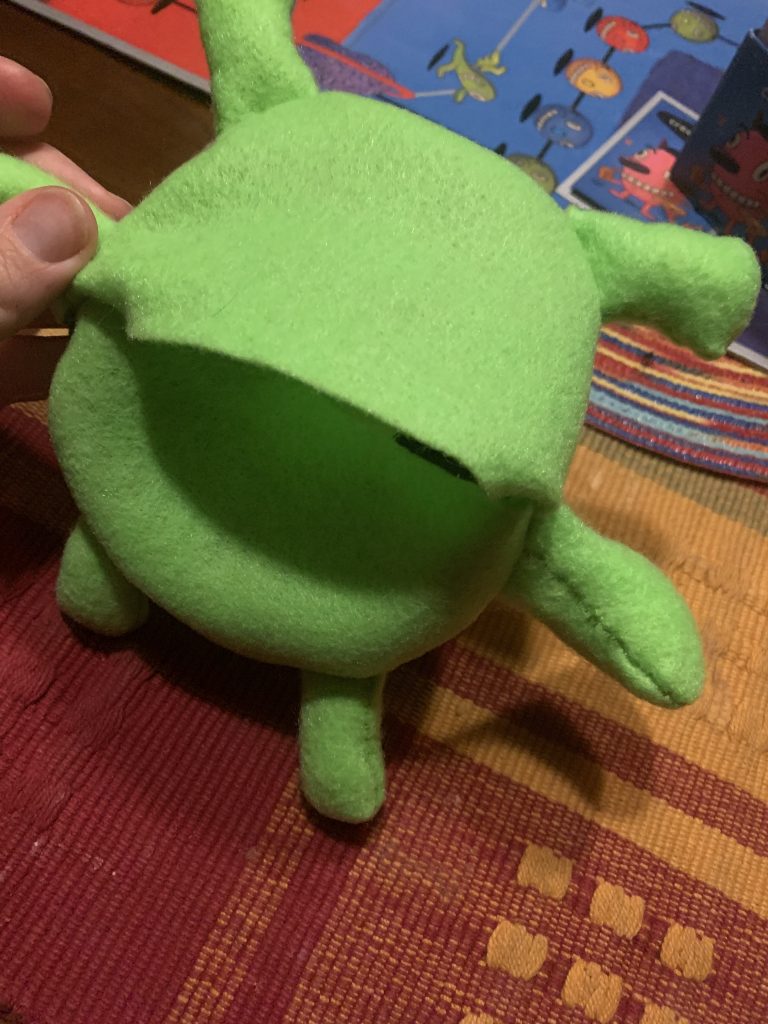
Next we want to prep the bottom of the shell. Take one piece of the bottom, and fold in the flat edge according to the seam allowance on the pattern. Pin that down, and line up that half right sides together with the top of the shell, closing the legs inside.

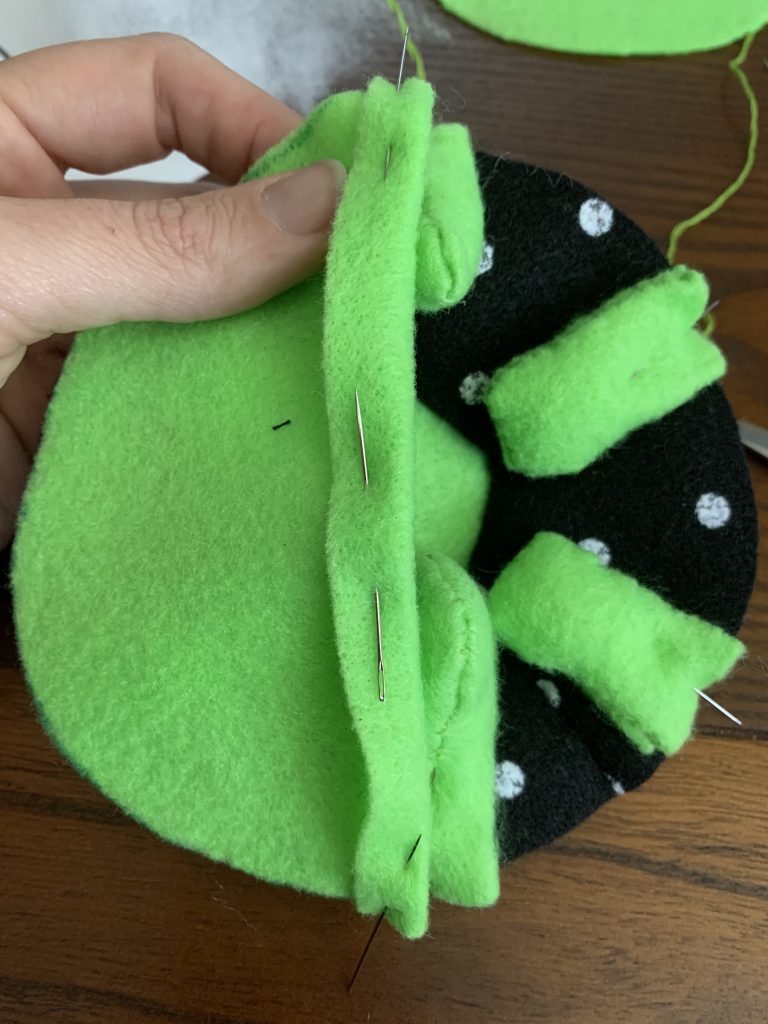
Whip stitch around the outer edge making sure you are sewing far enough in to capture the legs, tail and head! Then, line up the second piece (no need to fold the flat edge this time) and sew that down as well. The flat edge of the second piece should just cover the fold of the first piece.
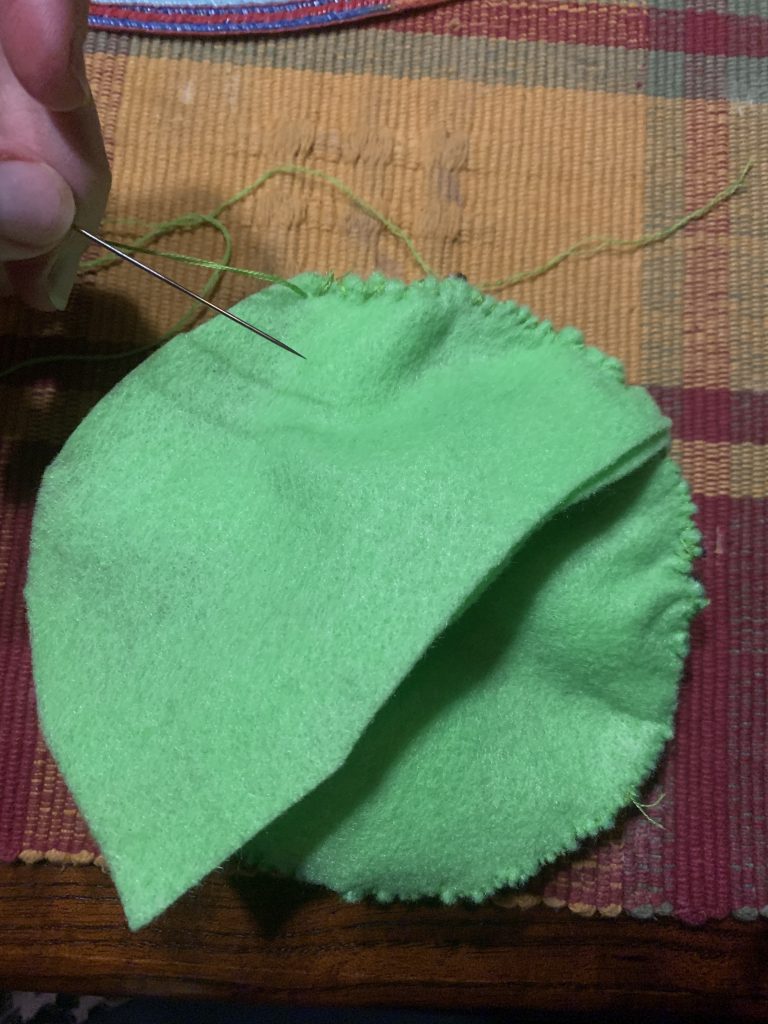
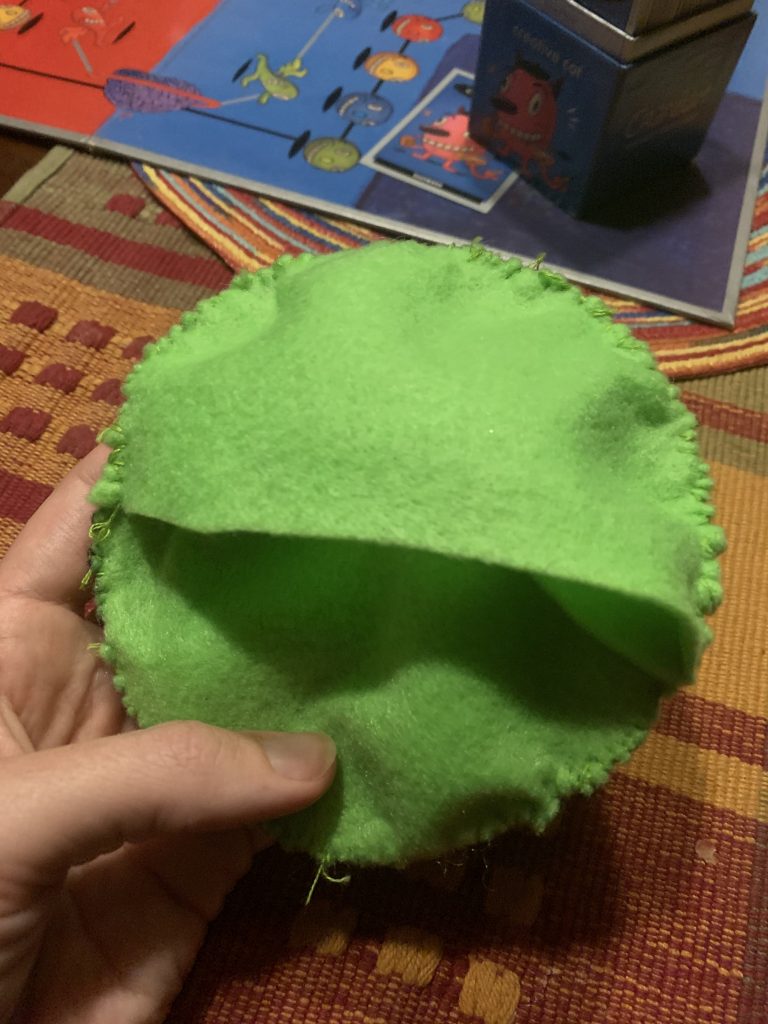
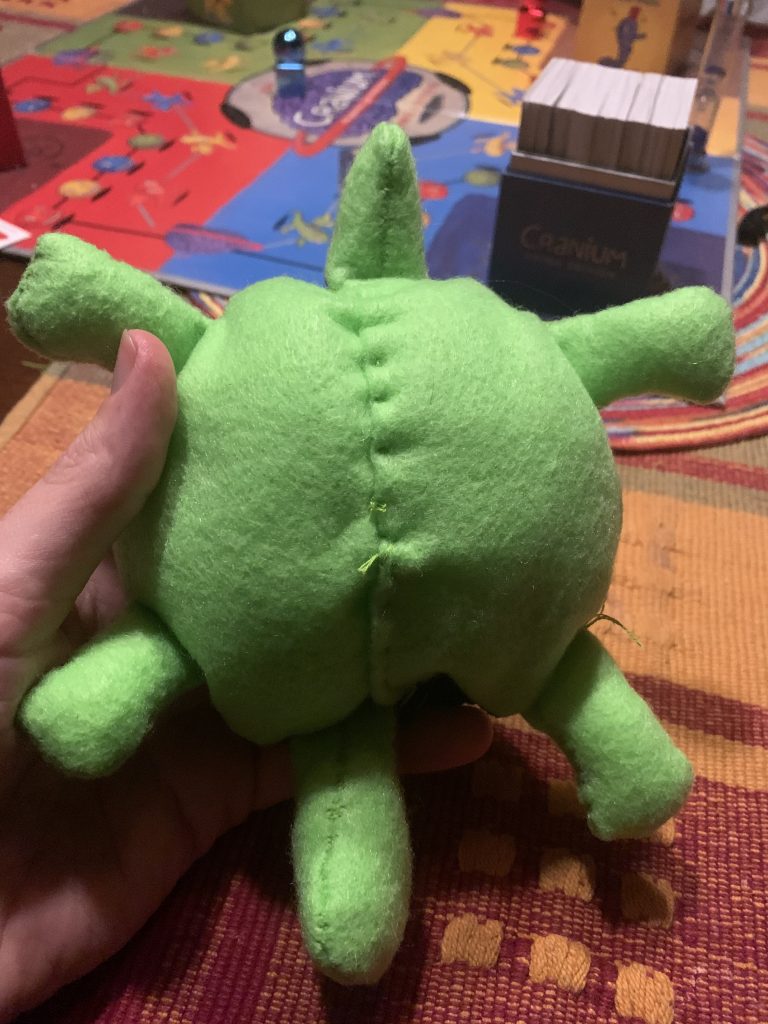
Time to flip! Once you’ve got it right sided out, fill it with some stuffing. Then, tuck in the edge of the unfolded side and stitch the hole shut.
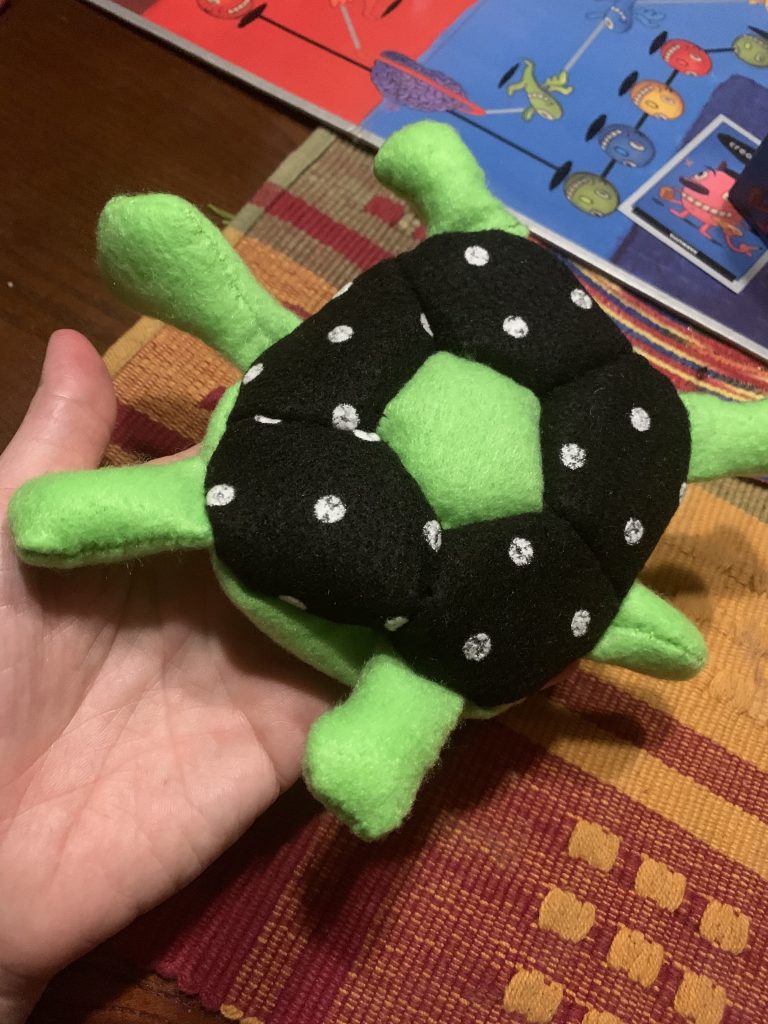
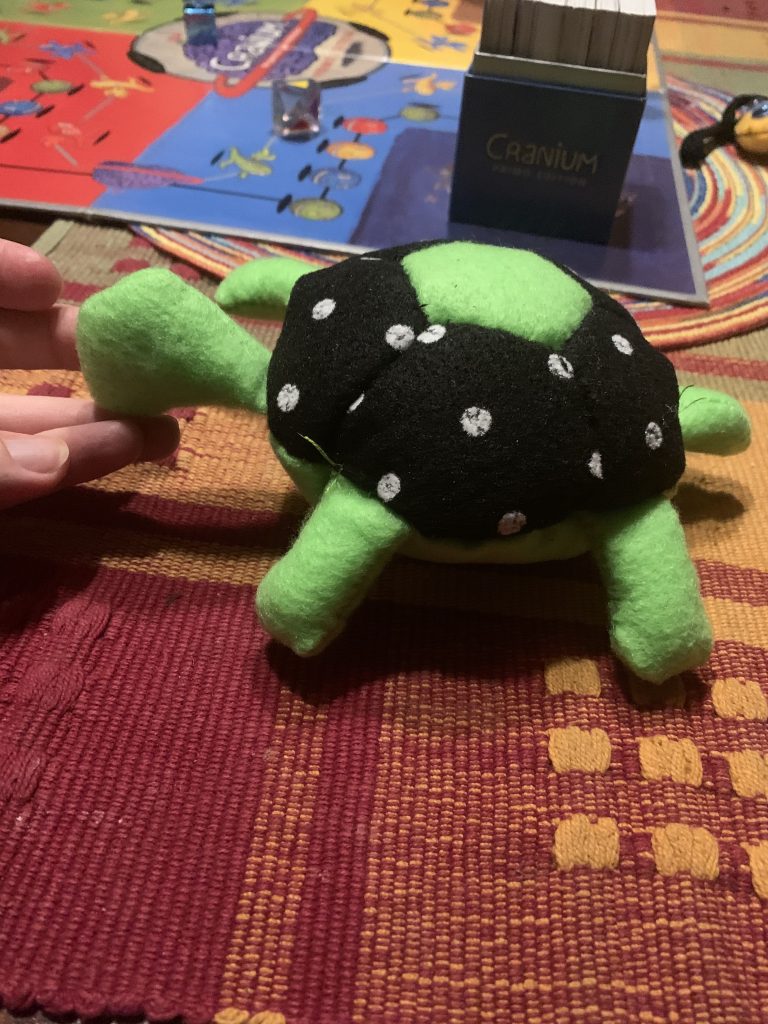
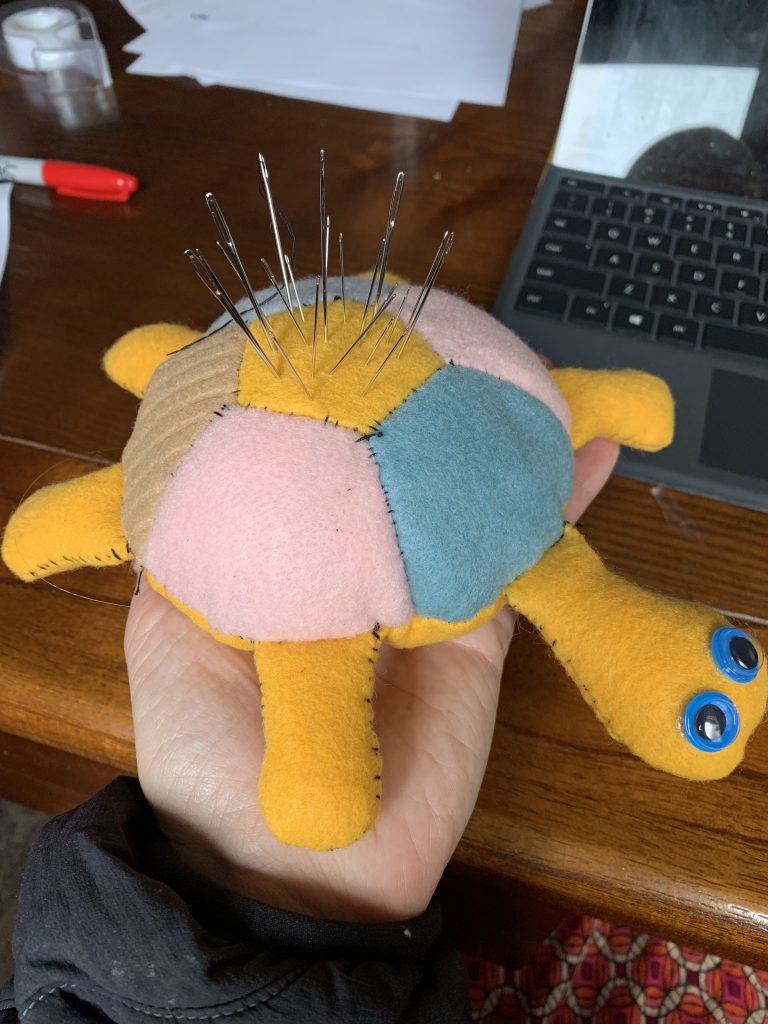
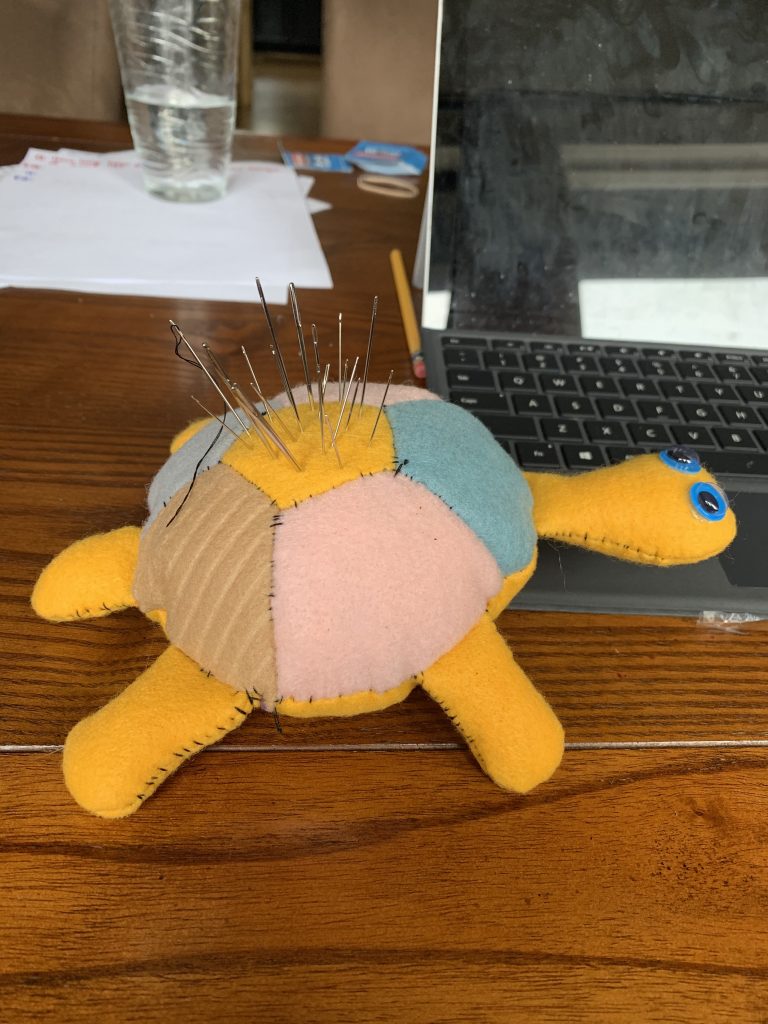
The last thing to do is add your eyes! Either draw them on, or glue on some googlies! Cutest turtle ever? We think so!
